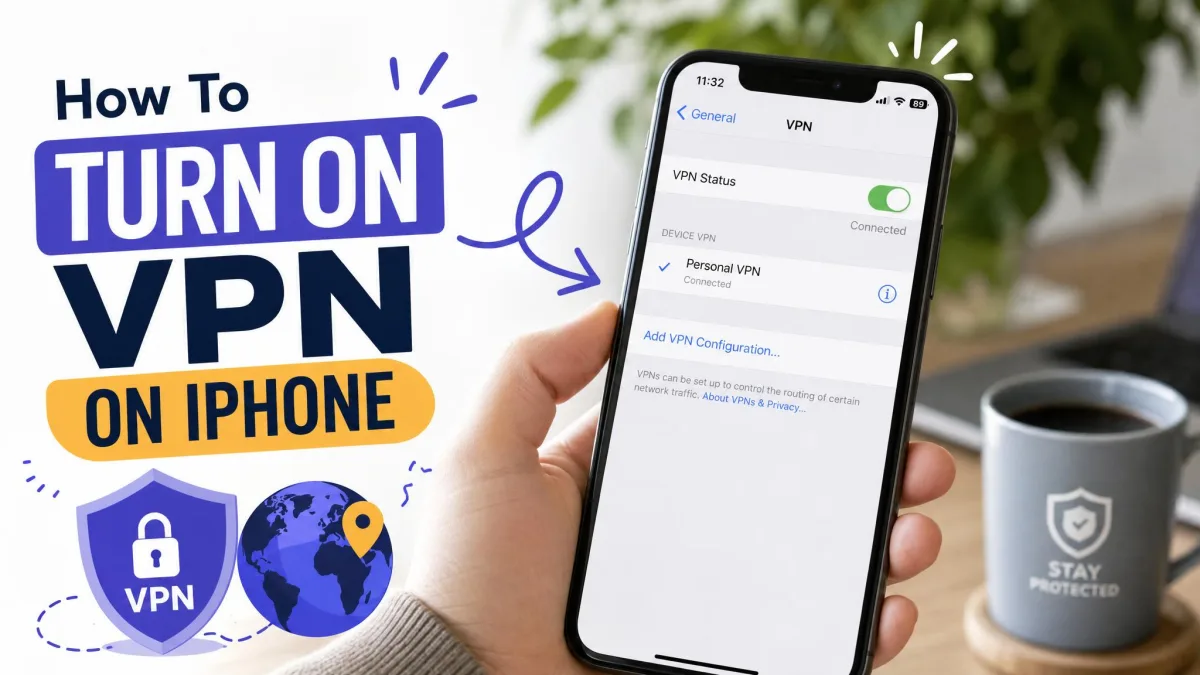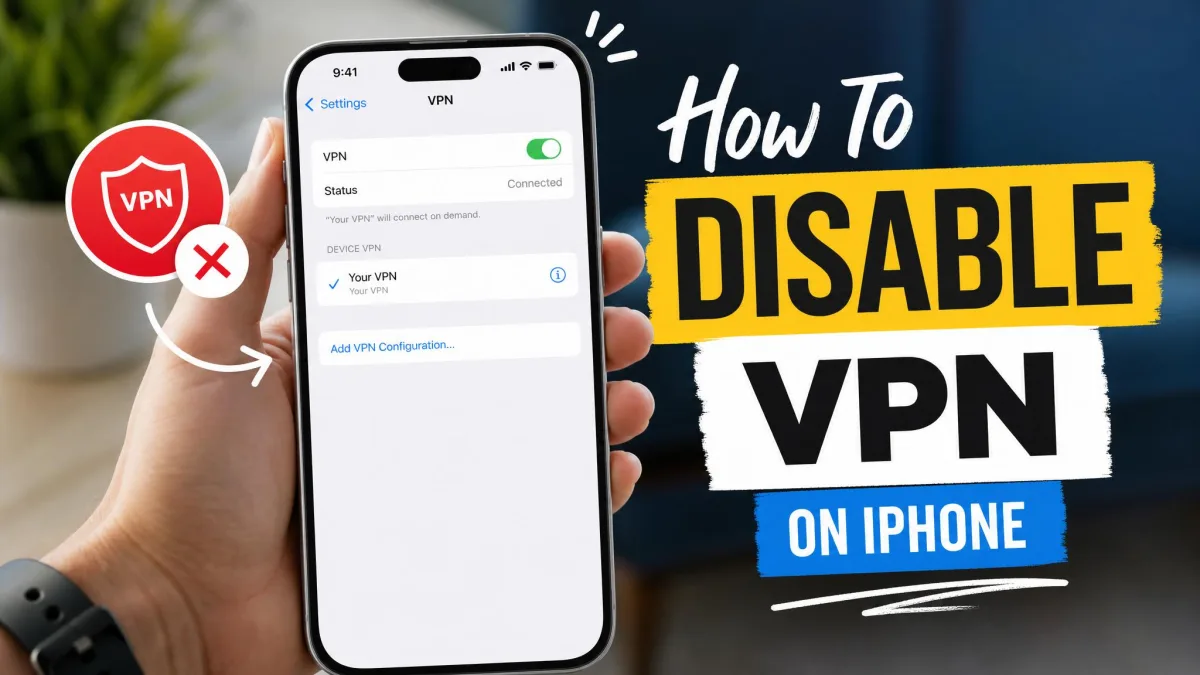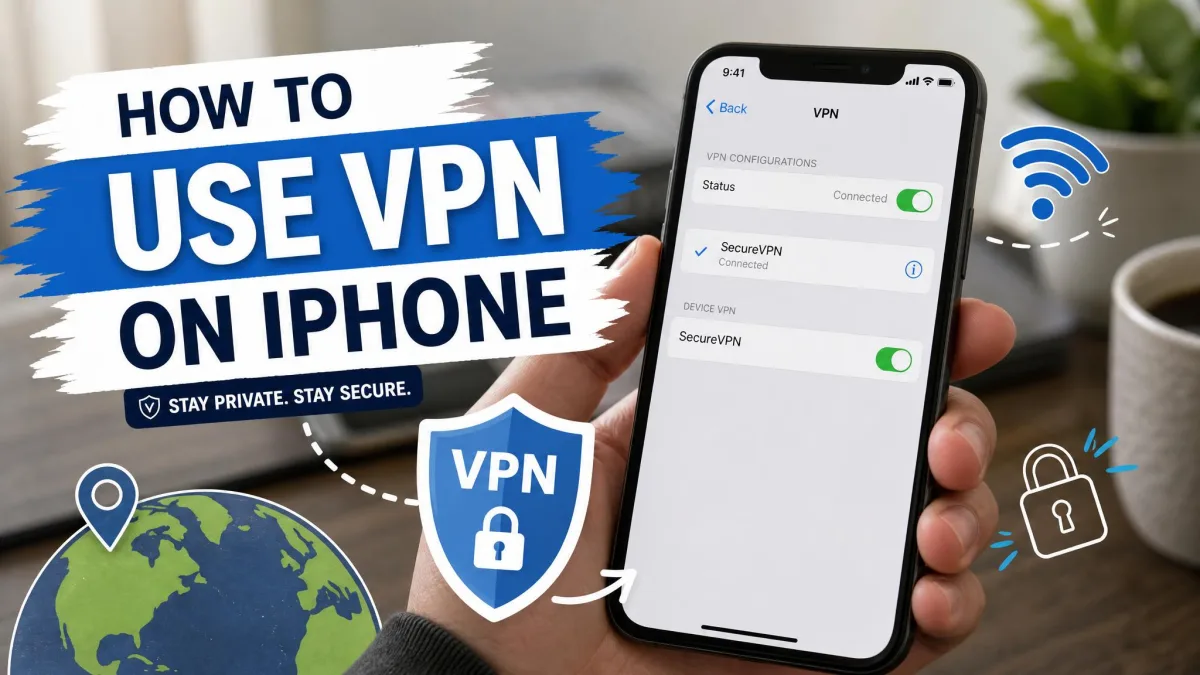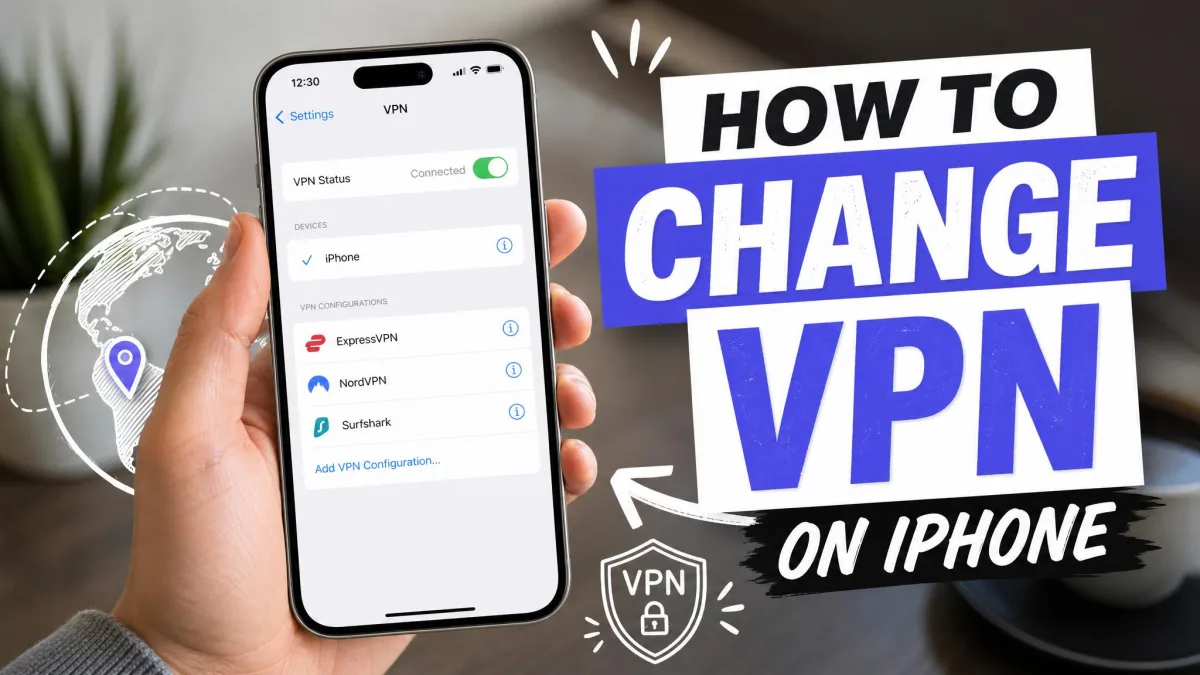
A VPN on iPhone is an app or profile that routes your internet traffic through an encrypted tunnel, hiding your real IP address and location from the sites and networks you connect to. Changing it is usually simpler than people expect. Whether you want a faster server, a new country, a different provider, or a fresh set of settings, the steps take a minute or two once you know where to look.
This guide covers every version of the task: switching your server or country inside a VPN app, moving to a new provider, editing a manually configured profile in iOS Settings, and confirming the connection took. Along the way we flag the small quirks that trip people up, because in our testing the same handful of issues cause most of the "why isn't this working?" moments. Every path works on a current iPhone and needs no jailbreak or technical background.
What Is a VPN on iPhone (and Why Change It)?
A VPN, or virtual private network, wraps your device's internet traffic in an encrypted tunnel and sends it through a server run by your VPN provider. To any website or network you touch, your connection appears to come from that server, so your real IP address and location stay private.
On iPhone, a VPN takes one of two forms. Most people use a VPN app from the App Store, which handles everything through a friendly interface. The other is a manual configuration added in iOS Settings, common on work or school networks. Both create a system-level VPN, so once either is active, all of your device traffic runs through it.
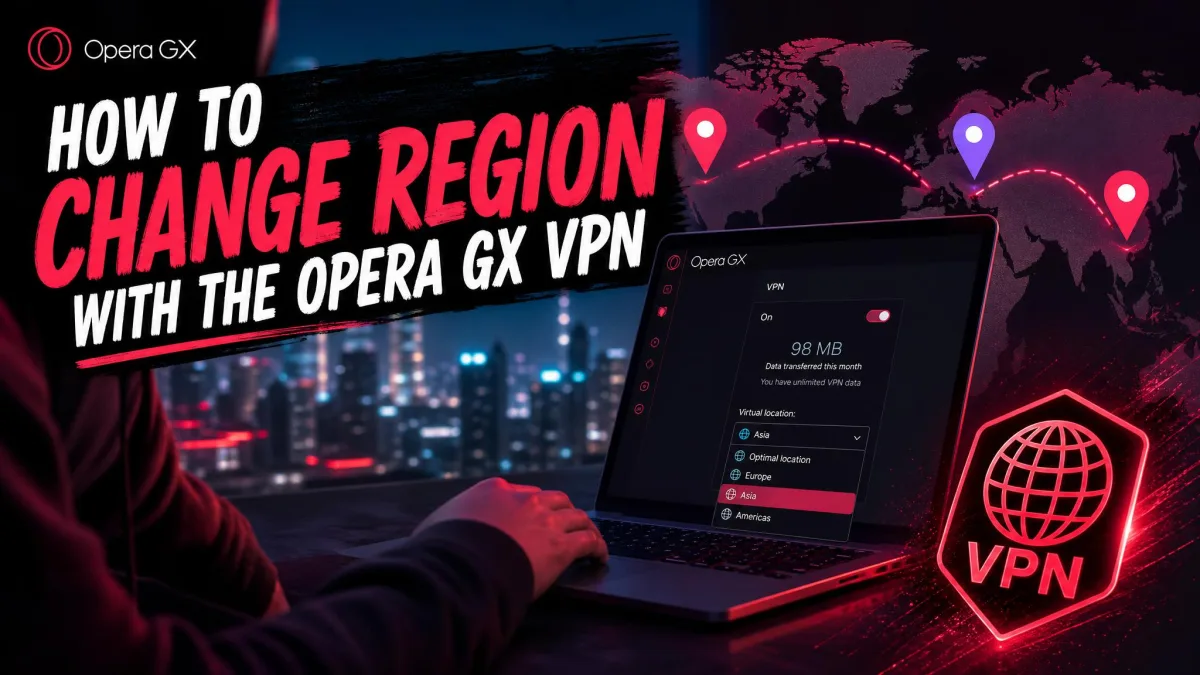
There are plenty of reasons to change one: a server closer to home for a faster connection, a country that unlocks region-specific content, a provider with better privacy features, or new server details from your workplace. Each is a different kind of "change," and the right steps depend on which one you mean.
Before You Begin
A few quick checks save time. Make sure you have an active VPN subscription, since most reputable apps require one to connect, and put your iPhone on a stable Wi-Fi or cellular network, because changing a VPN still needs the internet to authenticate. If you plan to switch providers, have your new account login ready, and if you are editing a manual profile for work or school, keep the server address and credentials from your administrator within reach.
How to Change Your VPN Location or Server (App-Based VPN Setup)
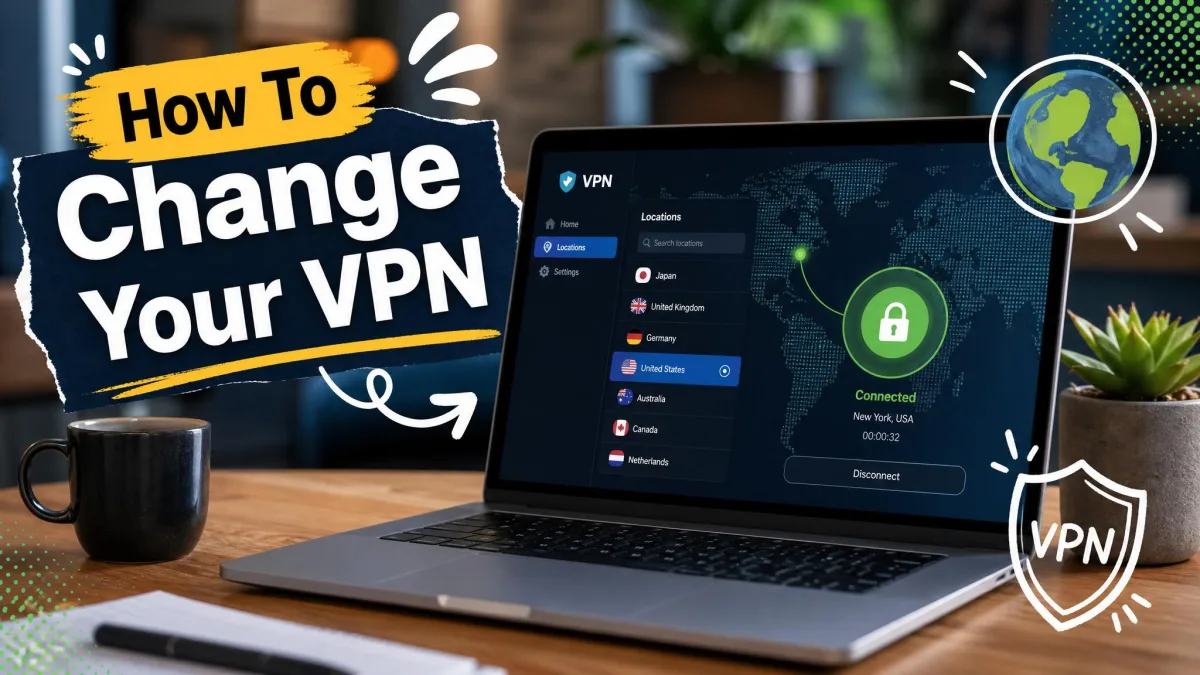
This is the most common change, and the easiest. If you use an app like NordVPN, ExpressVPN, Surfshark, or Private Internet Access, everything happens inside that app.
Step 1: Open your VPN app
Tap the VPN app on your home screen to launch it. You will land on a home screen showing your current connection status and the country you are connected to. If you are already connected, you do not need to disconnect first to switch locations.
Step 2: Open the server/location list
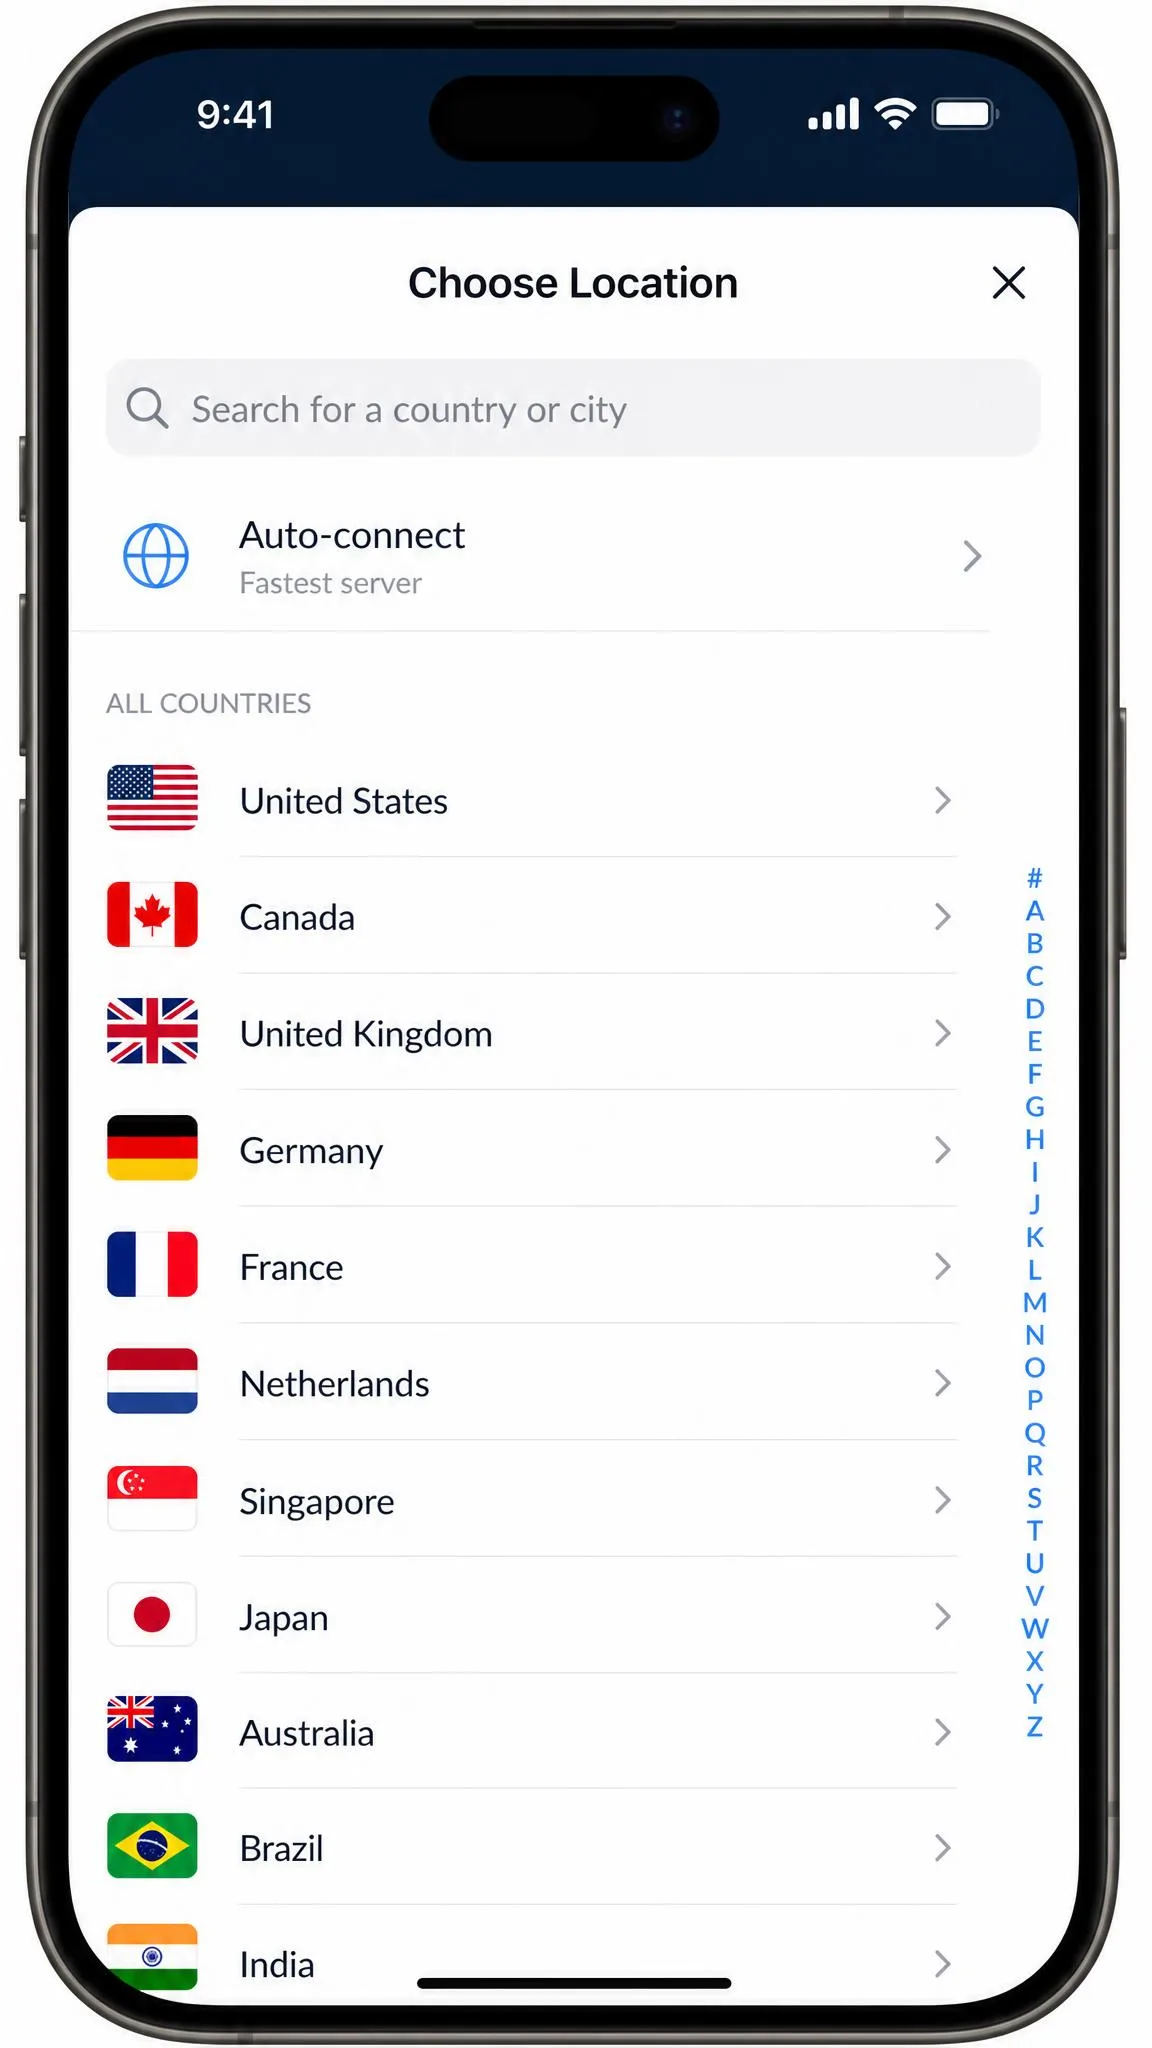
Look for the server list, often shown as a flag icon, a country name, or a "Locations" tab. Tapping it opens the full list of countries and, in most apps, individual city-level servers within each country.
Step 3: Select a new country or server
Scroll or search for the country you want, then tap it. Many apps let you drill into a specific city or server, handy when one server is busy and another is quick. In our testing, picking a server geographically close to you gives the best speed, so choose a nearby country unless you specifically need a distant one.
Step 4: Connect and confirm
The app switches your connection automatically as soon as you make a selection. Within a second or two, the home screen updates to show the new location and a connected status. There is no need to touch iOS Settings when you change location inside an app.
If a streaming site or app still shows your old region after you switch servers, force-quit it and reopen it. Many apps cache your location at launch, so they keep showing the previous country until you restart them. Clearing the browser cache or opening a private tab does the same for websites.
How to Switch to a Different VPN Provider
Changing the app you use, rather than just the server, takes a couple of extra steps to keep old settings from interfering with the new ones.
Step 1: Disconnect and remove the old VPN
Open your current VPN app and disconnect, then remove its configuration so it does not clash with the new provider. Open Settings, General, VPN and Device Management, tap the info (i) icon beside the old profile, and choose Delete VPN. You can also delete the old app by pressing and holding its home-screen icon.
Disconnecting a VPN can leave your iPhone with no internet if the app's kill switch is still on, because it blocks all traffic whenever the tunnel drops. Turn the kill switch off inside the old app before you remove that app, or you may be stuck with a dead connection.
Step 2: Download and set up the new VPN app
Open the App Store, search for your new provider, and download its app. Reputable providers publish a well-reviewed app with millions of downloads, so check the ratings and developer name before you tap Get, then open the app.
Step 3: Sign in and connect
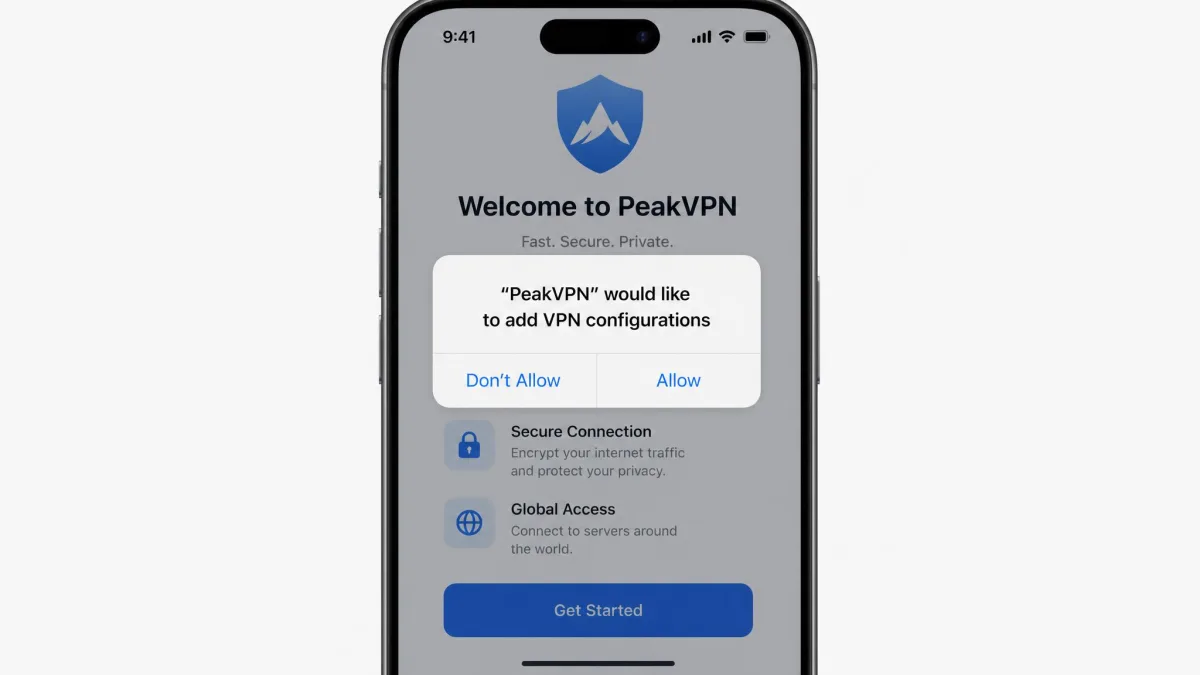
Sign in with your new account and grant the prompt that asks to add VPN configurations to your iPhone. That prompt is normal and required, since it is how the app installs its system-level profile. Once you approve it, tap Connect, pick a server, and you are running on the new provider with nothing left to compete with it.
How to Change a Manually Configured VPN in iPhone Settings
Some networks, especially workplaces and schools, ask you to set up a VPN by hand. iOS keeps these manual profiles in one place, and editing them is straightforward once you find the screen.
Step 1: Open Settings > General > VPN & Device Management
On your iPhone, open Settings, General, VPN and Device Management. This screen lists every manual VPN profile installed on the device. Tap the VPN entry to see the configurations you already have.
Step 2: Edit or add a VPN configuration
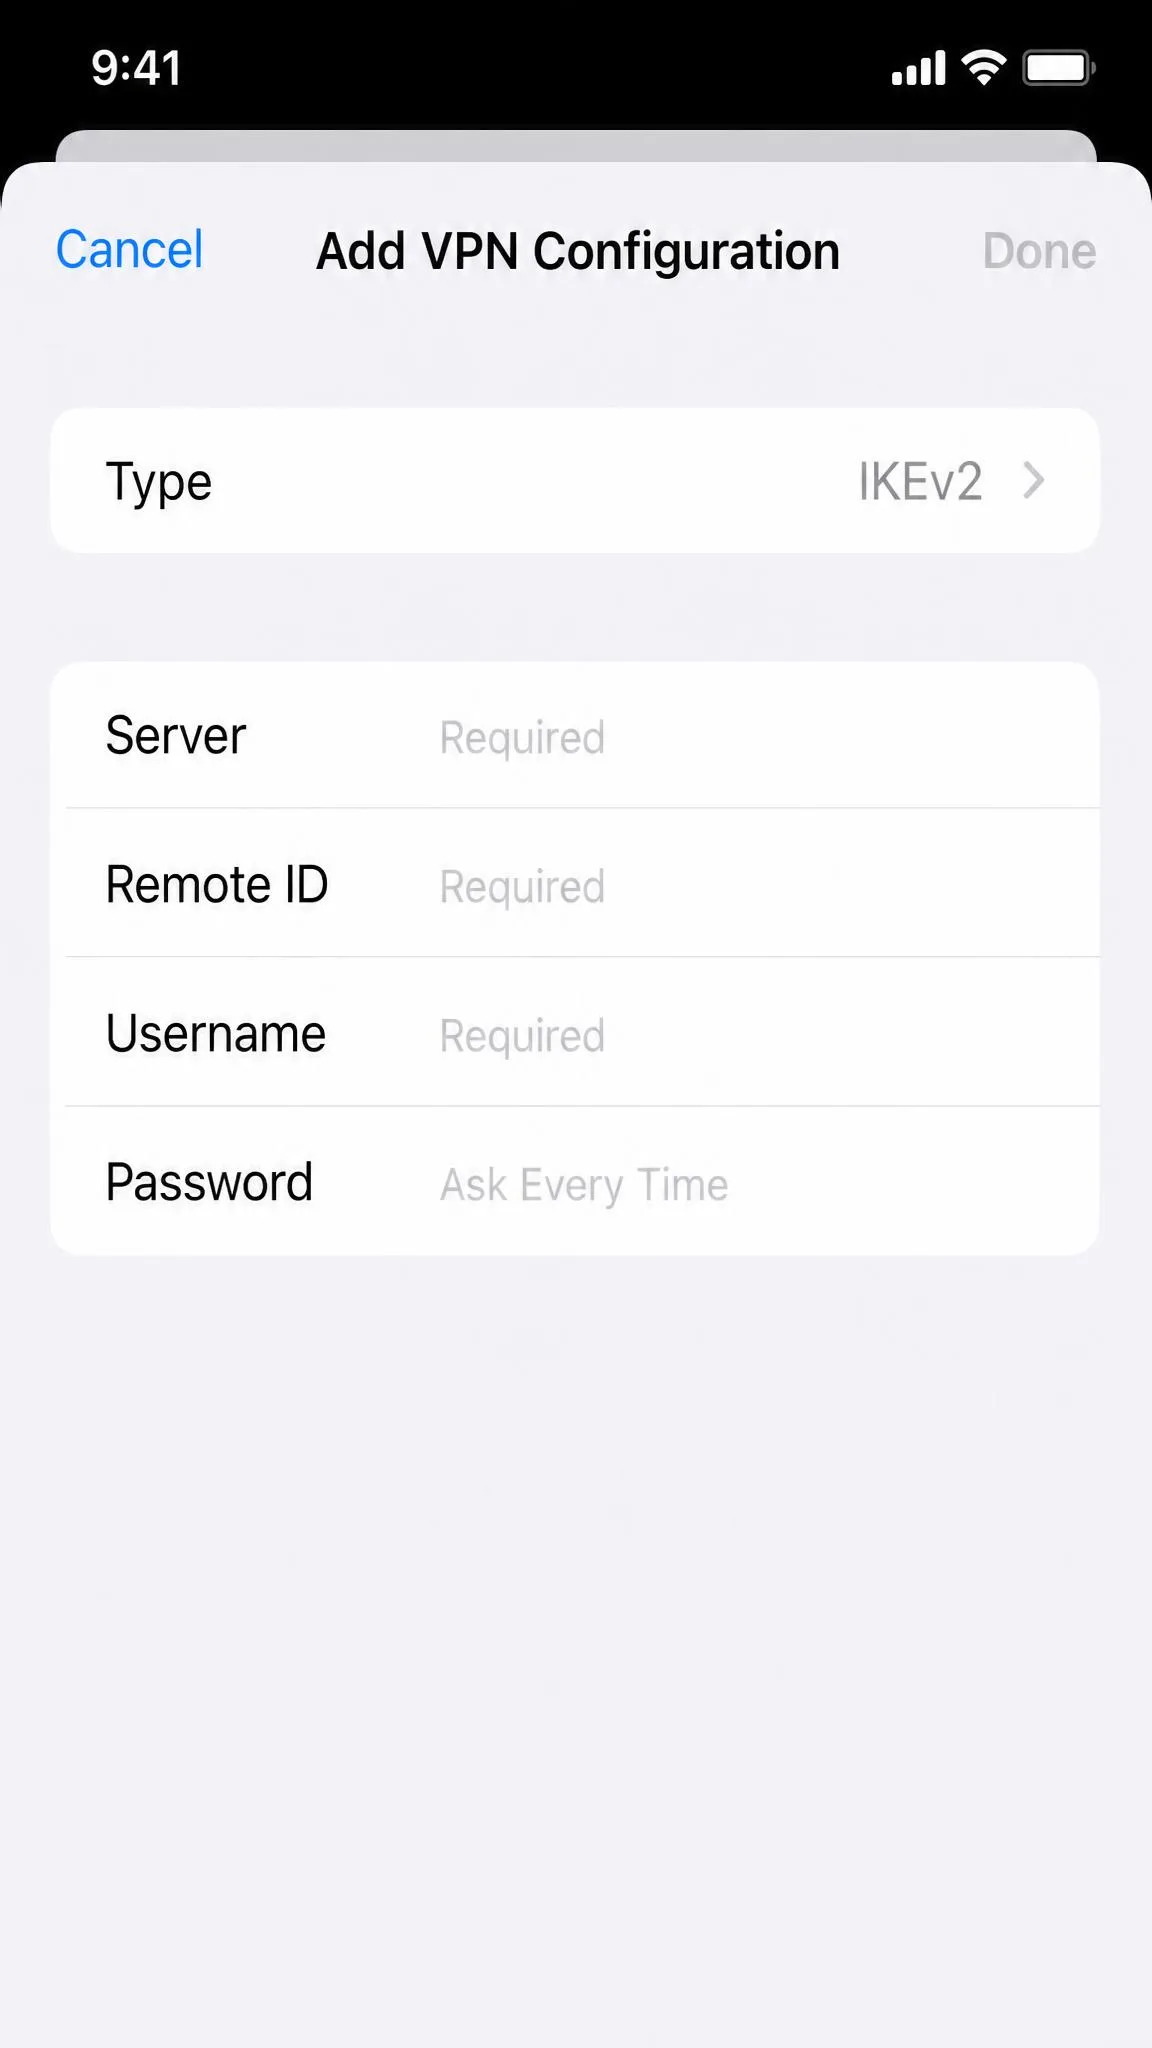
To change an existing profile, tap the info (i) icon next to it. To create a fresh one, tap Add VPN Configuration. iOS supports three manual connection types, IKEv2, IPsec, and L2TP, chosen in the Type field, so pick the one your network requires.
Step 3: Enter the new server details
Fill in the fields your administrator provided: Type, Server, and Remote ID, plus your account username and password. Editing the Server field is what actually changes which server you connect to, so update that value to point the profile at a new address.
Step 4: Save and toggle the VPN on
Tap Done to save the configuration. Back on the VPN screen, select the profile so it shows a checkmark, then flip the Status toggle to On. iOS connects using the new details, and the profile stays saved for next time.
How to Remove or Delete an Old VPN Configuration
Old profiles pile up faster than you would think. In our experience, stale configurations left by apps you no longer use are a leading cause of silent connection failures, because iOS may try an inactive profile first. To clean them up, open Settings, General, VPN and Device Management, tap the info (i) icon beside any profile you no longer need, then tap Delete VPN and confirm. Leave only the profile you currently use. Offloading an app strips it but leaves its profile behind, so delete that here too.
Deleting every profile except your current one is the fastest fix when a VPN suddenly stops connecting for no obvious reason. A single leftover configuration is often all it takes to break things.
How to Turn Your VPN On or Off
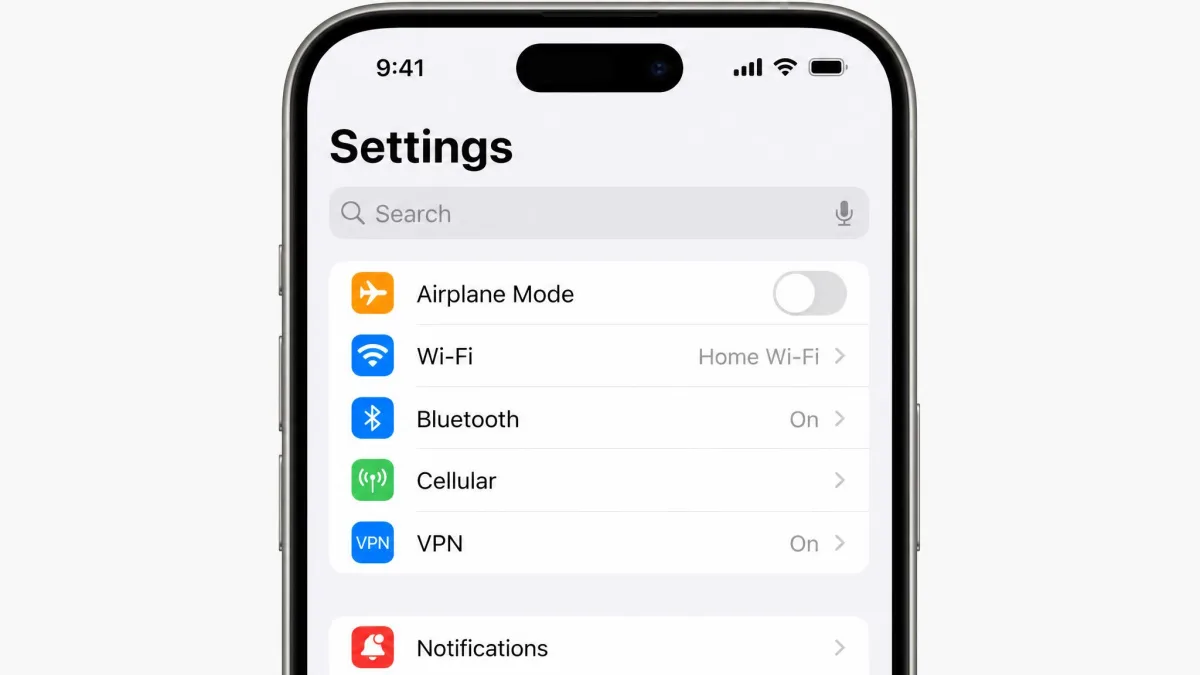
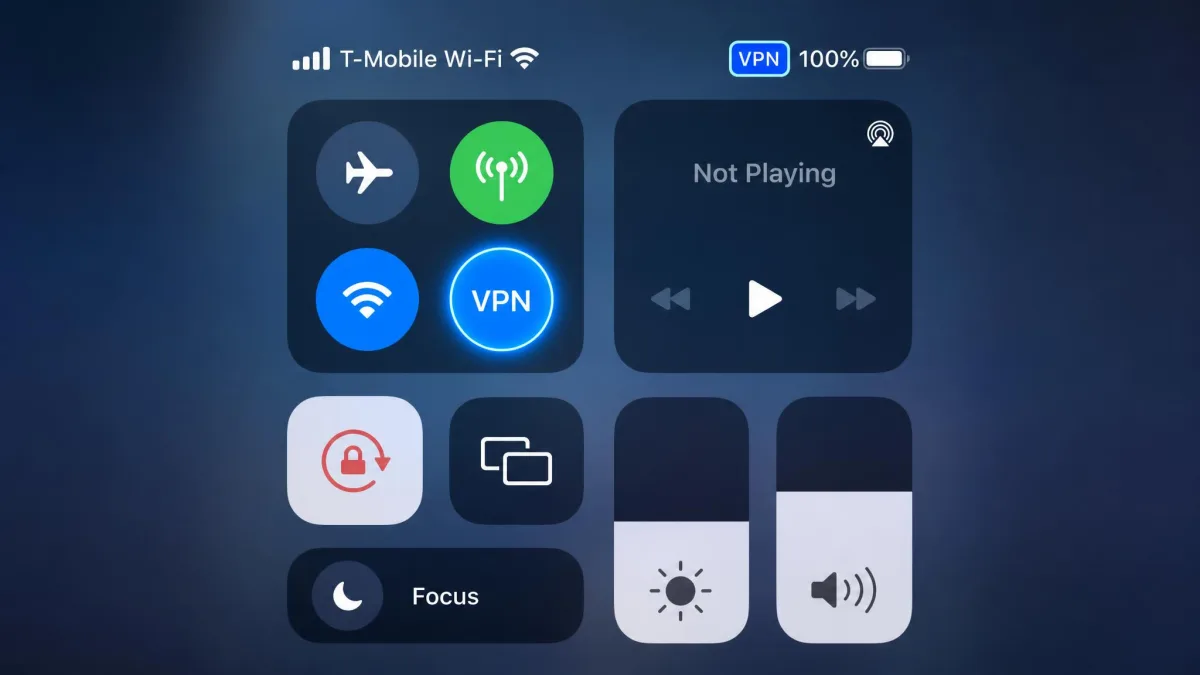
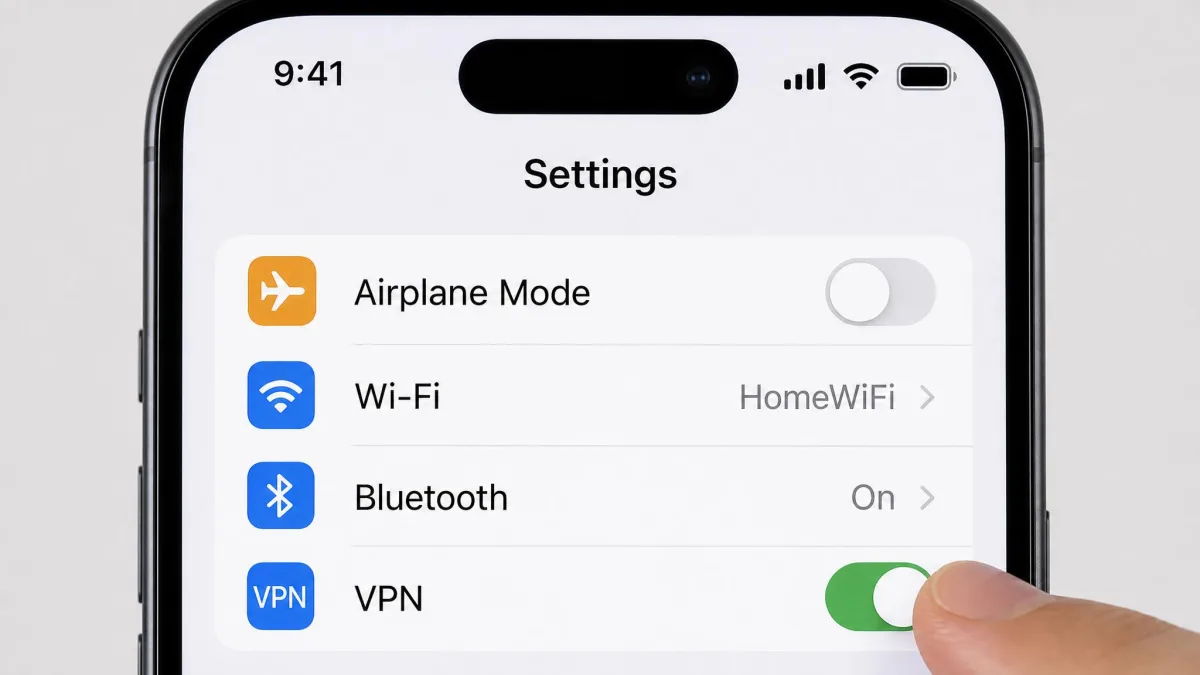
You do not always need the app to toggle a VPN. Once any VPN is installed, a VPN row appears in the first group on the main Settings page. Flip that switch from Off to On to enable the connection, or back to Off to disable it.
You can also turn most app-based VPNs on or off with the app's main Connect button, usually the quickest route. Either method controls the same system-level connection.
How to Confirm Your VPN Is Connected
After any change, verify the connection took. The clearest sign is the VPN badge in the status bar at the top of the screen when a tunnel is active. You can also open Control Center to see the VPN icon confirming the connection is live.
For a deeper check, your VPN app's home screen shows the connected server and country, and an IP-lookup site in Safari confirms your apparent location matches the server you chose. Apple documents this in its guide to how to connect to a VPN on iPhone, a useful reference if the row ever looks off.
Troubleshooting: When Changing Your VPN Doesn't Work
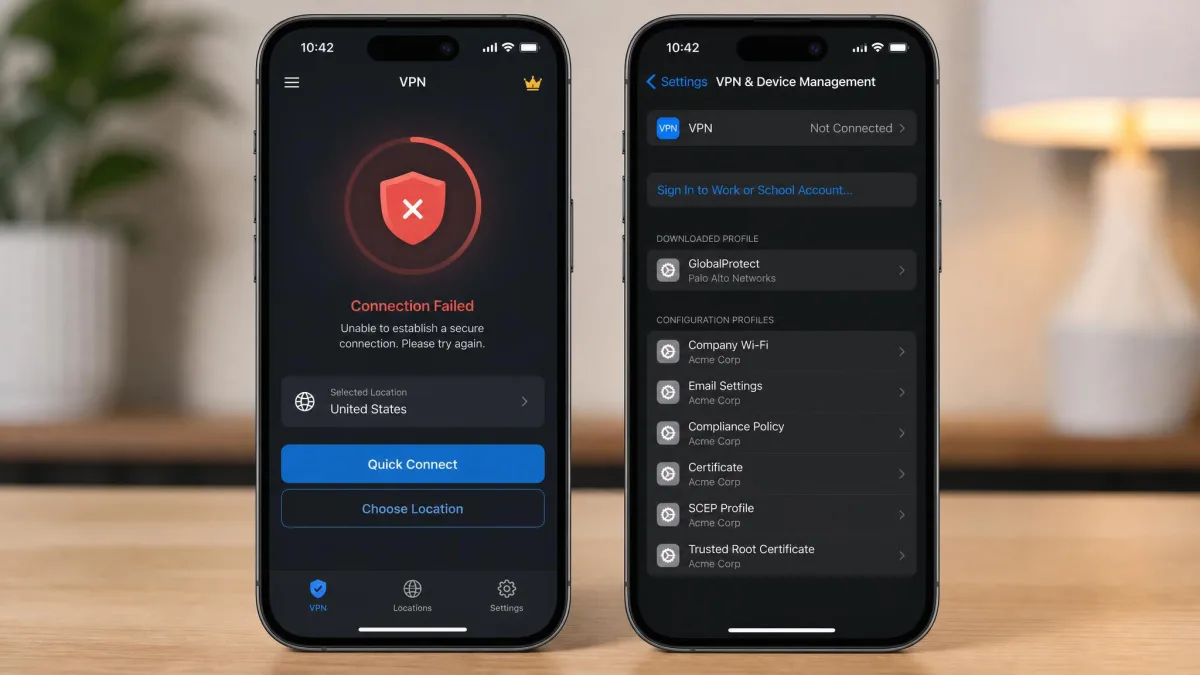
Most problems after a change come down to a short list of causes we see repeatedly. If the new location does not apply, the app or website is probably caching the old region, so force-quit it and reopen it, or clear the browser cache, and the correct location shows up. If the VPN refuses to connect at all, an old leftover profile is the usual suspect, so delete every configuration except the one you want under Settings, General, VPN and Device Management.
If the connection keeps dropping after you switch servers, a few iOS behaviors are often to blame. Low Power Mode suspends background networking and can drop the tunnel, and Wi-Fi Assist switching between Wi-Fi and cellular mid-session can break it too, so turning both off usually settles things. Switching the app's protocol to a modern option like WireGuard, NordLynx, or Lightway resolves most repeat disconnects in our experience. iOS also manages VPN connections more tightly than Android or Windows, so a few drops can persist no matter which server you pick.
How to Choose the Best VPN for Your iPhone
If you are changing providers, pick one that will not need changing again soon. A dedicated VPN app is easier than manual setup and unlocks extra features like a kill switch and split tunneling, while manual configuration is mainly for work or school networks. For everyday privacy and streaming, an app is the better choice for almost everyone.
Look for a large server network across many countries, modern protocols, a no-logs policy, and a kill switch. Well-regarded iPhone VPNs such as NordVPN, ExpressVPN, and Surfshark all carry high App Store ratings around 4.6 to 4.7 stars, though those figures drift as new reviews land. Pricing on multi-year plans tends to run roughly $2 to $3.50 per month billed upfront, but intro rates vary by promo and region and renew higher, so read the terms first. The major providers back a 30-day money-back guarantee, which lets you test one risk-free.
Apple's own iCloud Private Relay feature is included with iCloud+ and hides your Safari browsing by routing it through two separate relays. It is handy, but it only covers Safari and is not available in every country, so it is not a full replacement for a device-wide VPN.
Frequently Asked Questions
Should the iPhone VPN be on or off?
Does the iPhone have a built-in VPN?
Does a VPN change my location on iPhone for apps and maps?
Can I set my iPhone VPN to connect automatically?
Will changing servers cost me extra?
Final Thoughts
Changing a VPN on iPhone is quick once you know which kind of change you need. Switching servers happens inside the app, moving to a new provider means removing the old profile before installing the new one, and manual configurations live under Settings, General, VPN and Device Management. When something goes wrong, the fix is almost always clearing a cached location or deleting a leftover profile.
Pick a well-reviewed provider, turn on auto-connect, and confirm the VPN badge appears in your status bar after each change. Switching your VPN then becomes a few taps you barely think about.