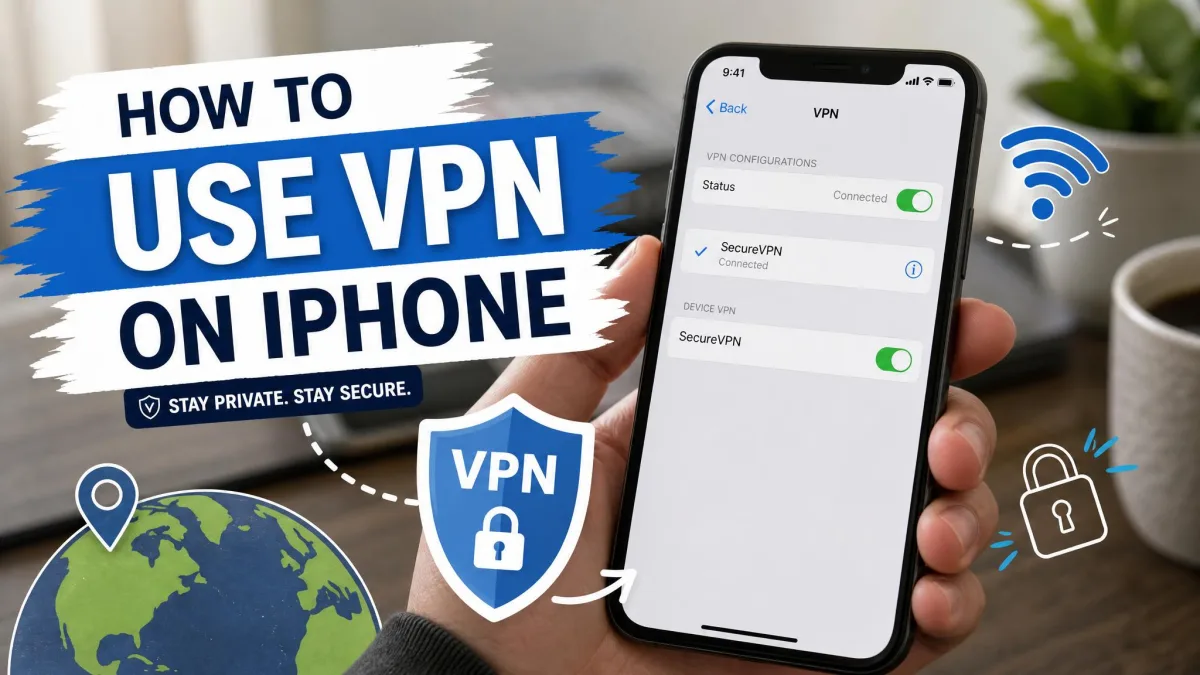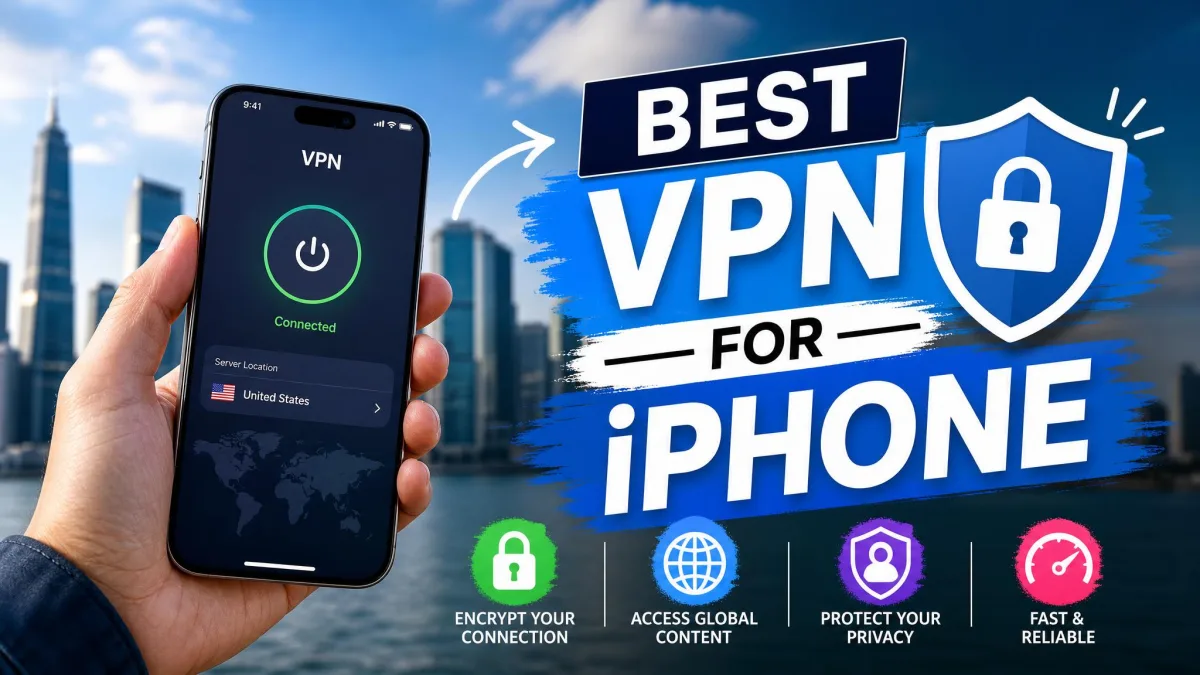
You want private, secure internet on your iPhone, and you want it set up today. Getting a VPN on iOS is quicker than most people expect. For the vast majority of users, it takes one app and about two minutes.
There are two routes, and this guide covers both. The first is installing a VPN app from the App Store, which is the easy path most people should take. The second is a manual setup in Settings, which you only need when a job or a school hands you server details to enter by hand.
We spend our weeks testing VPN apps on iPhones for speed, leaks, and stability, so we have run these steps more times than we can count. Below we walk you through each method, show you how to switch protection on and off, and cover what to do when a connection refuses to cooperate.
What Is a VPN on iPhone (and Do You Need One)?
A VPN, short for virtual private network, wraps your iPhone's internet traffic in an encrypted tunnel and routes it through a server somewhere else. Your data becomes unreadable to anyone snooping on the network, and websites see the server's address instead of yours. That is the whole idea in one sentence.
On iOS this matters most on networks you do not control. Public Wi-Fi at a cafe, an airport, or a hotel is the classic case, where a VPN keeps your logins and browsing private. It also lets you reach content and services as though you were in another location, which is handy when you travel.
Do you actually need one? If you only ever use your home network and cellular data, the risk is lower, though a VPN still hides your activity from your internet provider. If you connect to public or shared Wi-Fi regularly, or you want to keep your browsing private, the answer is a clear yes.
One point worth clearing up: iCloud Private Relay is not a full VPN. It is an iCloud+ privacy feature that routes only your Safari traffic through two separate relays, so it does not protect the rest of your apps. Apple explains the difference in its iCloud Private Relay support article, and we cover it again in the FAQ.
Before You Begin: Choosing a VPN for iPhone
The app you pick matters more than the setup steps, because the provider decides how fast, private, and trustworthy your connection is. A good iPhone VPN is one you can leave on all day without noticing it. That means fast servers, a strict no-logs policy, and a clean native iOS app.
Two providers we keep coming back to on iPhone are Surfshark and Proton VPN. Surfshark's iOS app runs on iOS 16.1.0 or later, allows unlimited simultaneous devices, and backs every plan with a 30-day money-back guarantee. It also offers a 7-day free trial through the App Store, so you can test it before you commit.
Proton VPN is the one we recommend when you want privacy without paying. It is Swiss-based, its apps are open-source, and its no-logs policy has been independently audited. The paid VPN Plus tier covers up to 10 devices, while the free tier is genuinely free with no ads and no data caps, limited to one device and a handful of server countries.
Ignore lifetime deals and dollar-a-month banners for a moment and check the refund window first. A 30-day money-back guarantee, which both Surfshark and Proton VPN offer, lets you install the app, run it for a few weeks, and walk away if it does not suit you.
What to look for in an iPhone VPN
Look for a native iOS app rather than a manual profile, because the app handles reconnection, protocol choice, and updates for you. Check that the provider runs a no-logs policy and, ideally, has had it audited. Confirm the app supports the features you care about, such as a kill switch and split tunneling.
Price matters, but be realistic about it. The headline rates you see are usually intro long-term deals that renew higher, so read the renewal price before you subscribe. Surfshark's Starter plan, for example, advertises from around $2.49 per month on a long-term plan, and that figure moves with promotions and plan length.
| Option | Setup on iPhone | Free option | Refund window | Devices |
|---|---|---|---|---|
| iOS built-in | Manual: Settings > General > VPN & Device Management | iCloud Private Relay (needs iCloud+) | n/a | n/a |
| Surfshark | App Store app, one tap | 7-day trial | 30-day | Unlimited |
| Proton VPN | App Store app, one tap | Free tier (1 device) | 30-day | 10 (Plus) / 1 (free) |

Method 1: Install a VPN App from the App Store (Easiest)
This is the route we take almost every time, and it is the one you should reach for first. The app method is the easiest and most common way to get a VPN on iPhone, and it handles all the technical parts for you. From download to connected, it runs about two minutes.
Step 1: Search for and download the VPN app
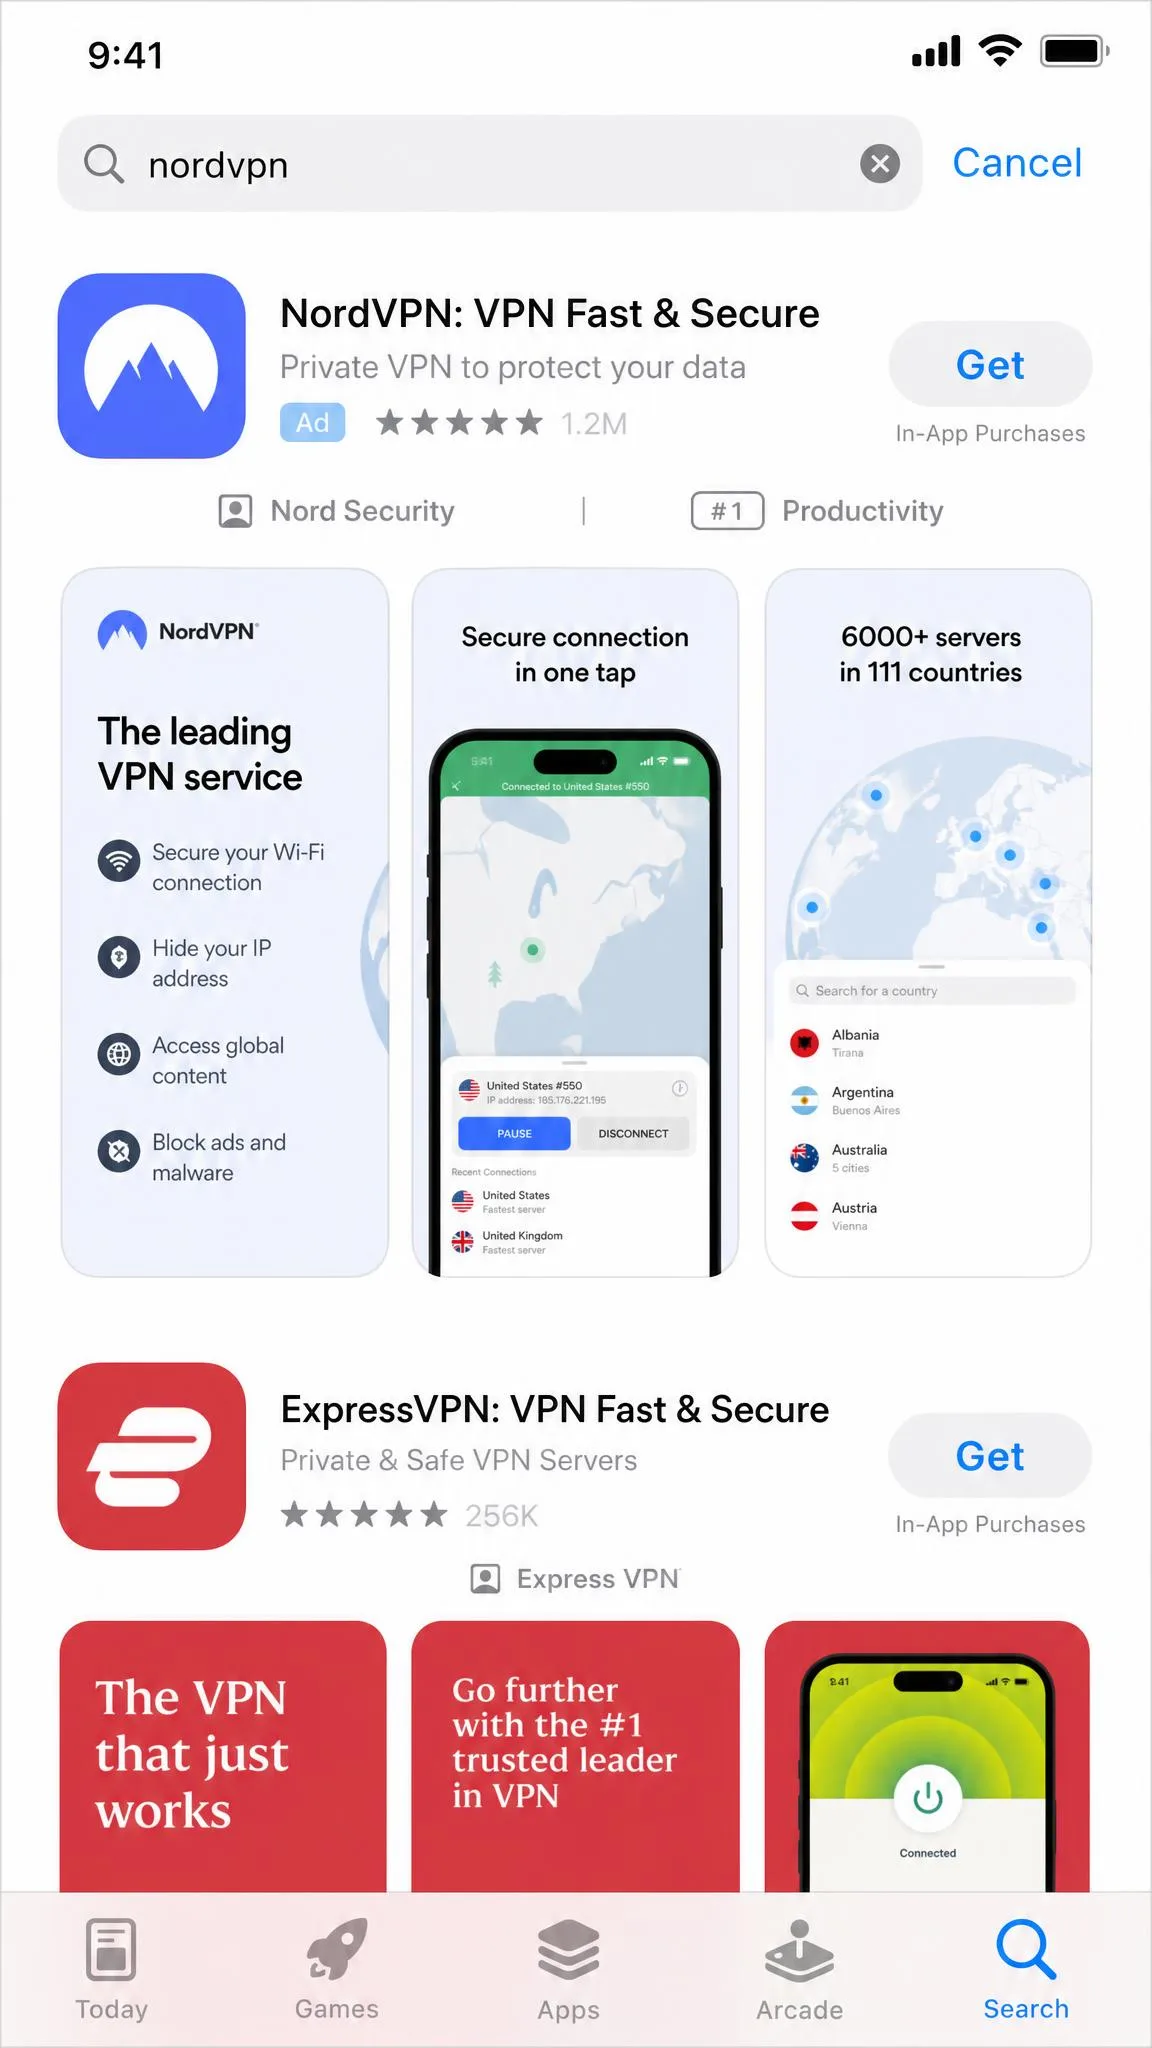
Open the App Store and search for your chosen provider by name, such as Surfshark or Proton VPN. Tap the correct result, check that the developer name matches the real company, then tap Get to download and install it. Watch out for copycat apps with similar names and few reviews.
Step 2: Open the app and sign in or create an account
Open the app once it finishes installing. If you already have an account, sign in. If you are new, tap the sign-up option and follow the prompts to create an account and choose a plan.
One thing to expect: creating an account sometimes bounces you into Safari to finish signing up before you return to the app. That detour is normal, so complete the checkout in the browser and come back when it sends you.
Step 3: Allow the VPN configuration
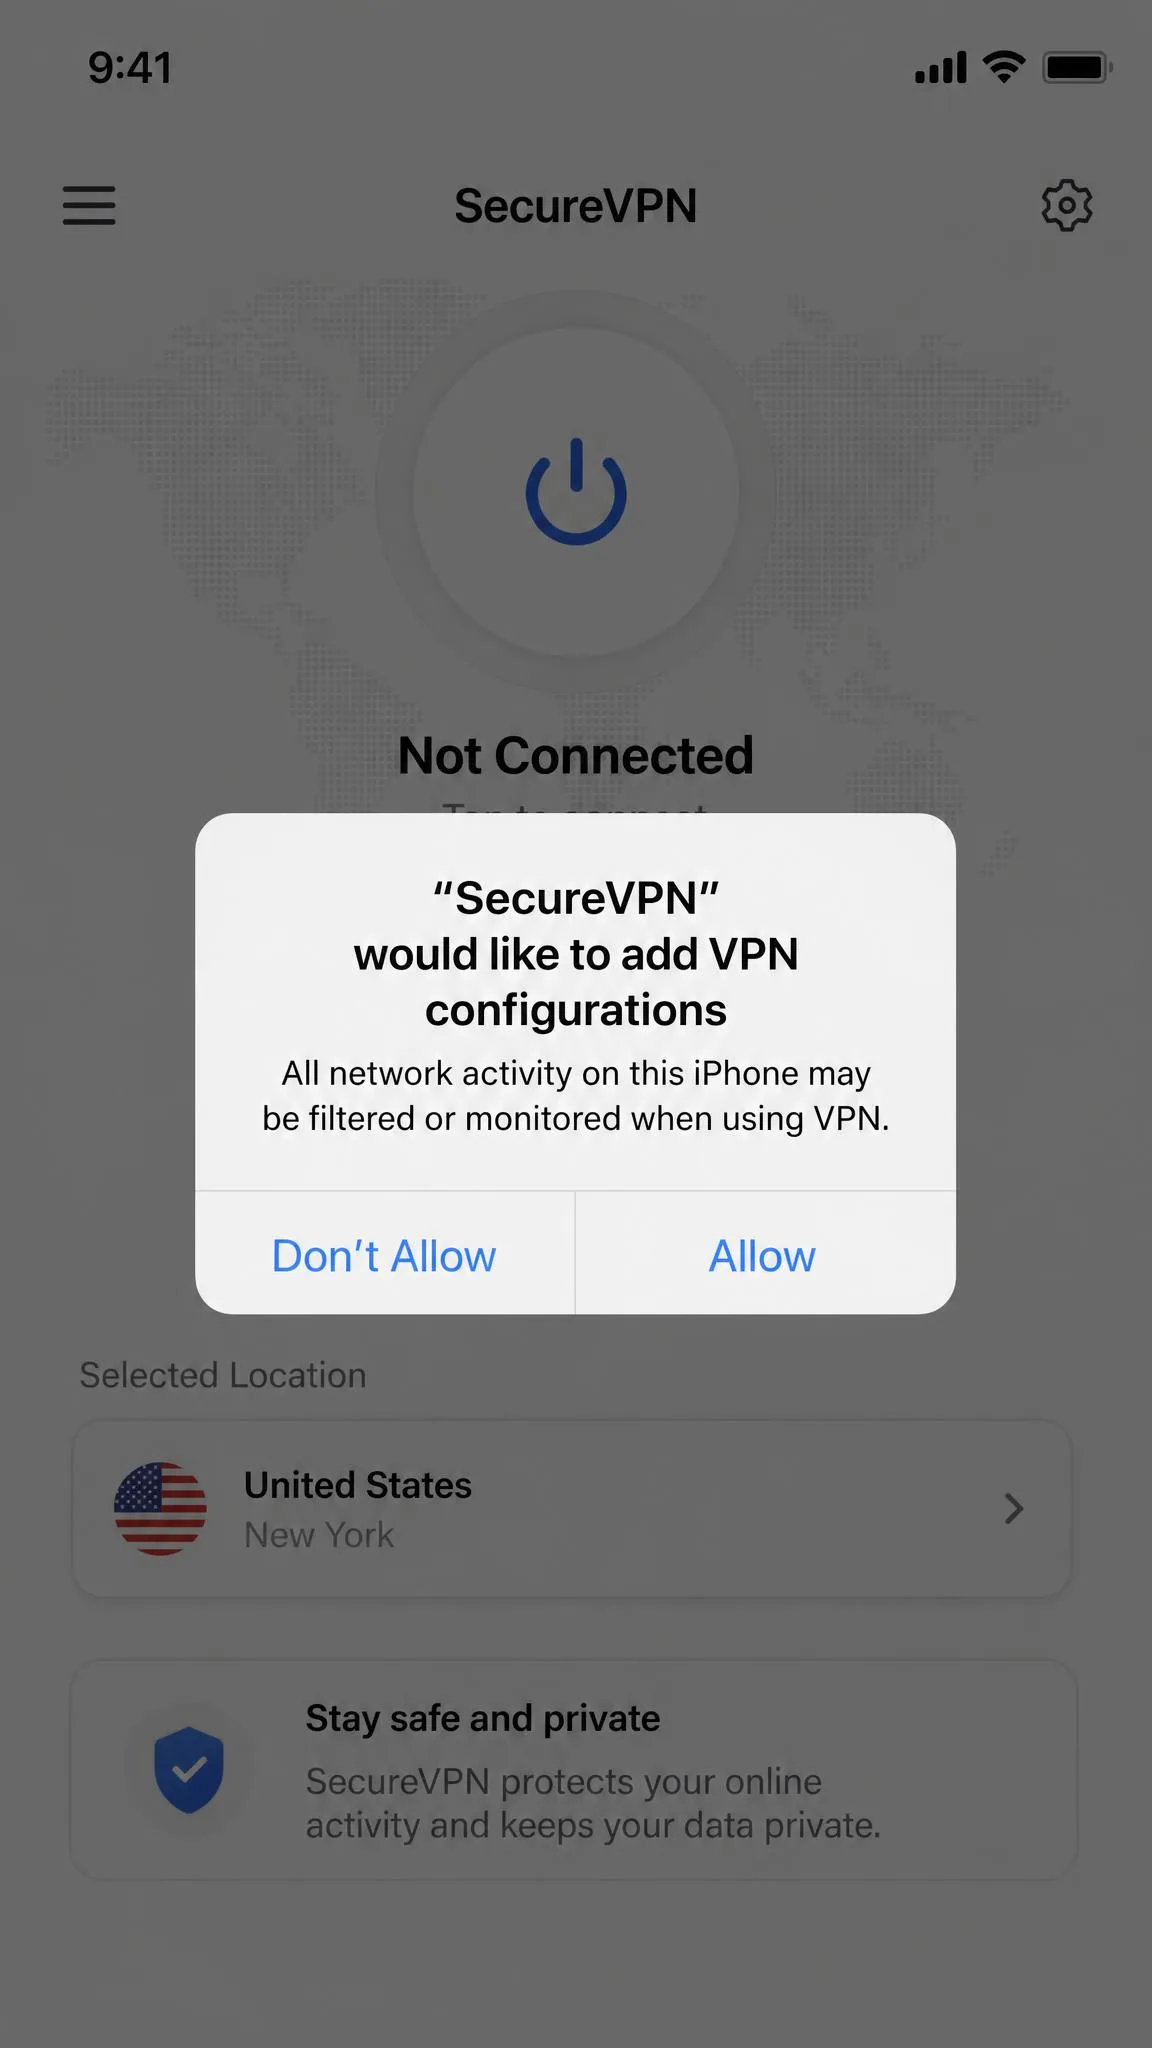
The first time you connect, iOS shows a permission prompt asking you to allow the app to add VPN configurations. Tap Allow, then enter your device passcode when iPhone asks for it. This is iOS handing the app permission to manage the encrypted tunnel, and you only do it once per app.
Step 4: Connect and pick a server location
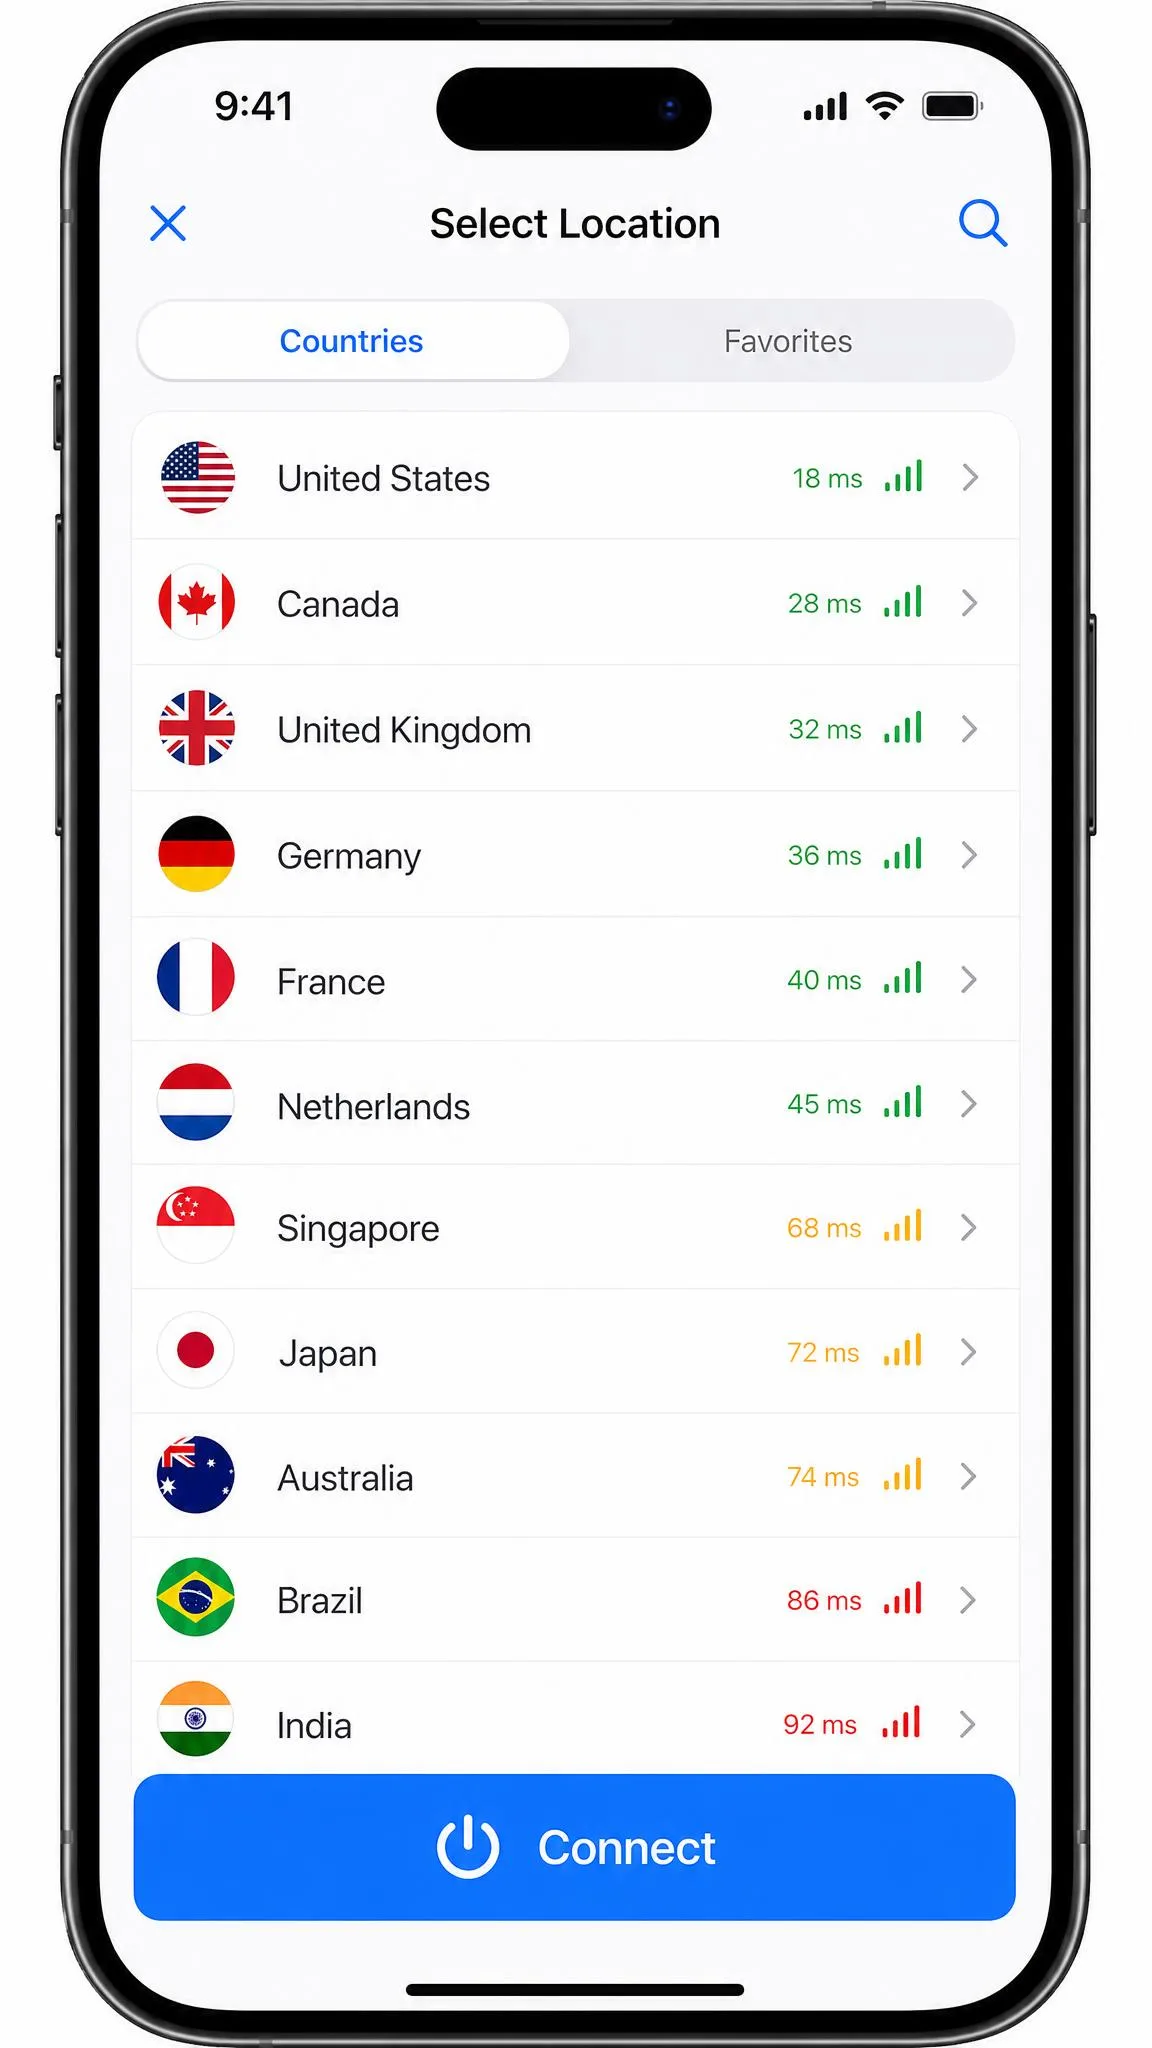
Back in the app, tap the main connect button to link to the fastest server automatically. To choose a specific country, open the server or location list and select one, then connect. For general privacy, a nearby server gives you the best speed; for content in another region, pick a server there.
Step 5: Confirm the VPN is connected
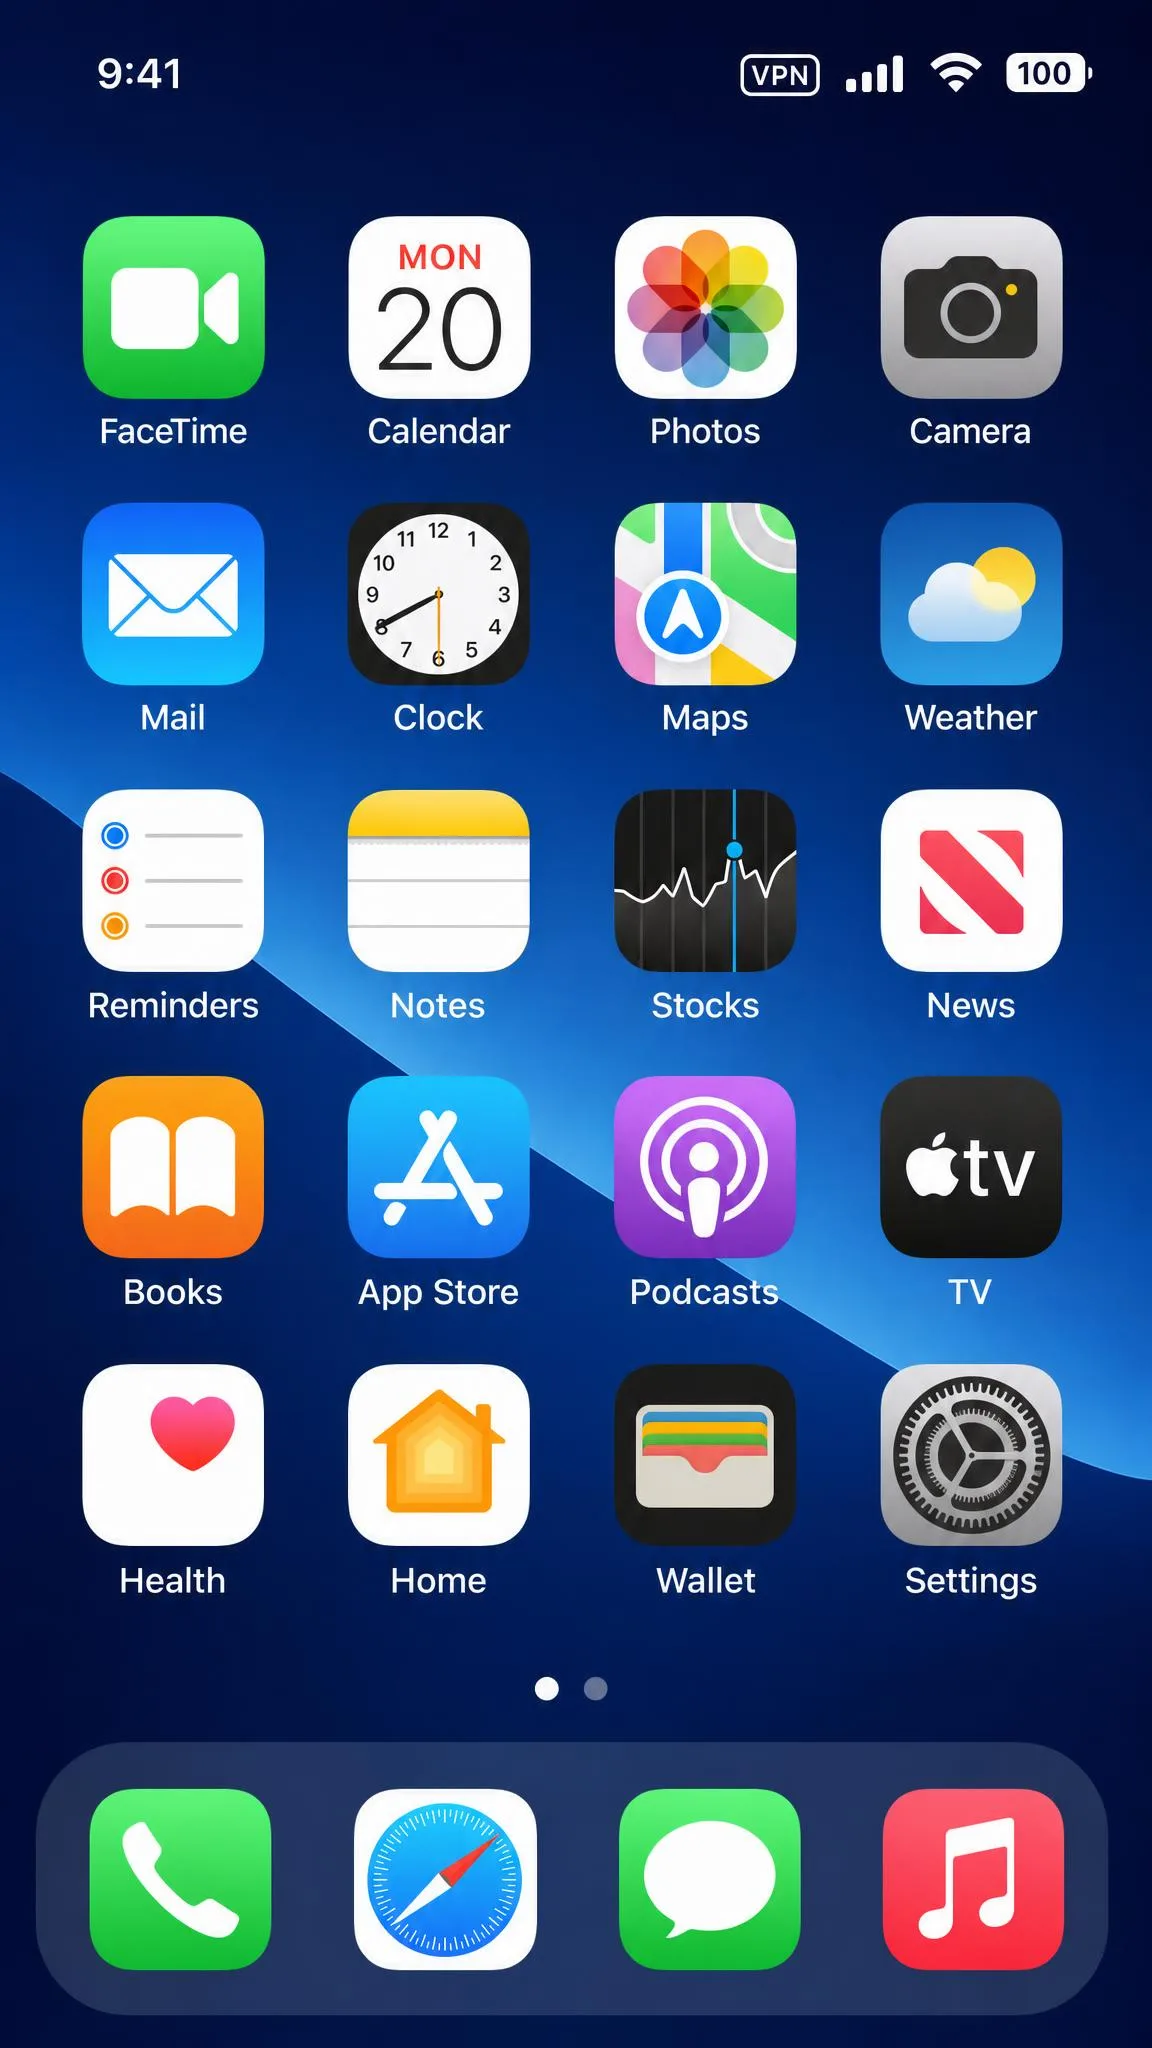
Look at the top of your screen. Once the connection is live, a small VPN badge appears in the status bar, and that badge is the quickest way to confirm the tunnel is active. The app itself will also show a connected state, usually with a timer or a green indicator.
Want to double-check it is really working? Search "what is my IP" in Safari. If the location and address shown match your chosen server rather than your real one, your traffic is going through the VPN.
Method 2: Set Up a VPN Manually in Settings (Work or School)
You only need this method when an employer or a university gives you VPN details to enter by hand. It is noticeably less convenient than an app, because there is no software to handle reconnection for you, and you type in a server address and credentials yourself. If you are setting up a consumer VPN, go back to Method 1 instead.
Step 1: Gather your VPN details
Ask your network administrator for the full configuration before you start. You will typically need the server address, your account username and password, the VPN type, and sometimes a shared secret or a certificate. Missing one of these is the usual reason a manual setup stalls, so collect them all up front.
Step 2: Open VPN & Device Management in Settings
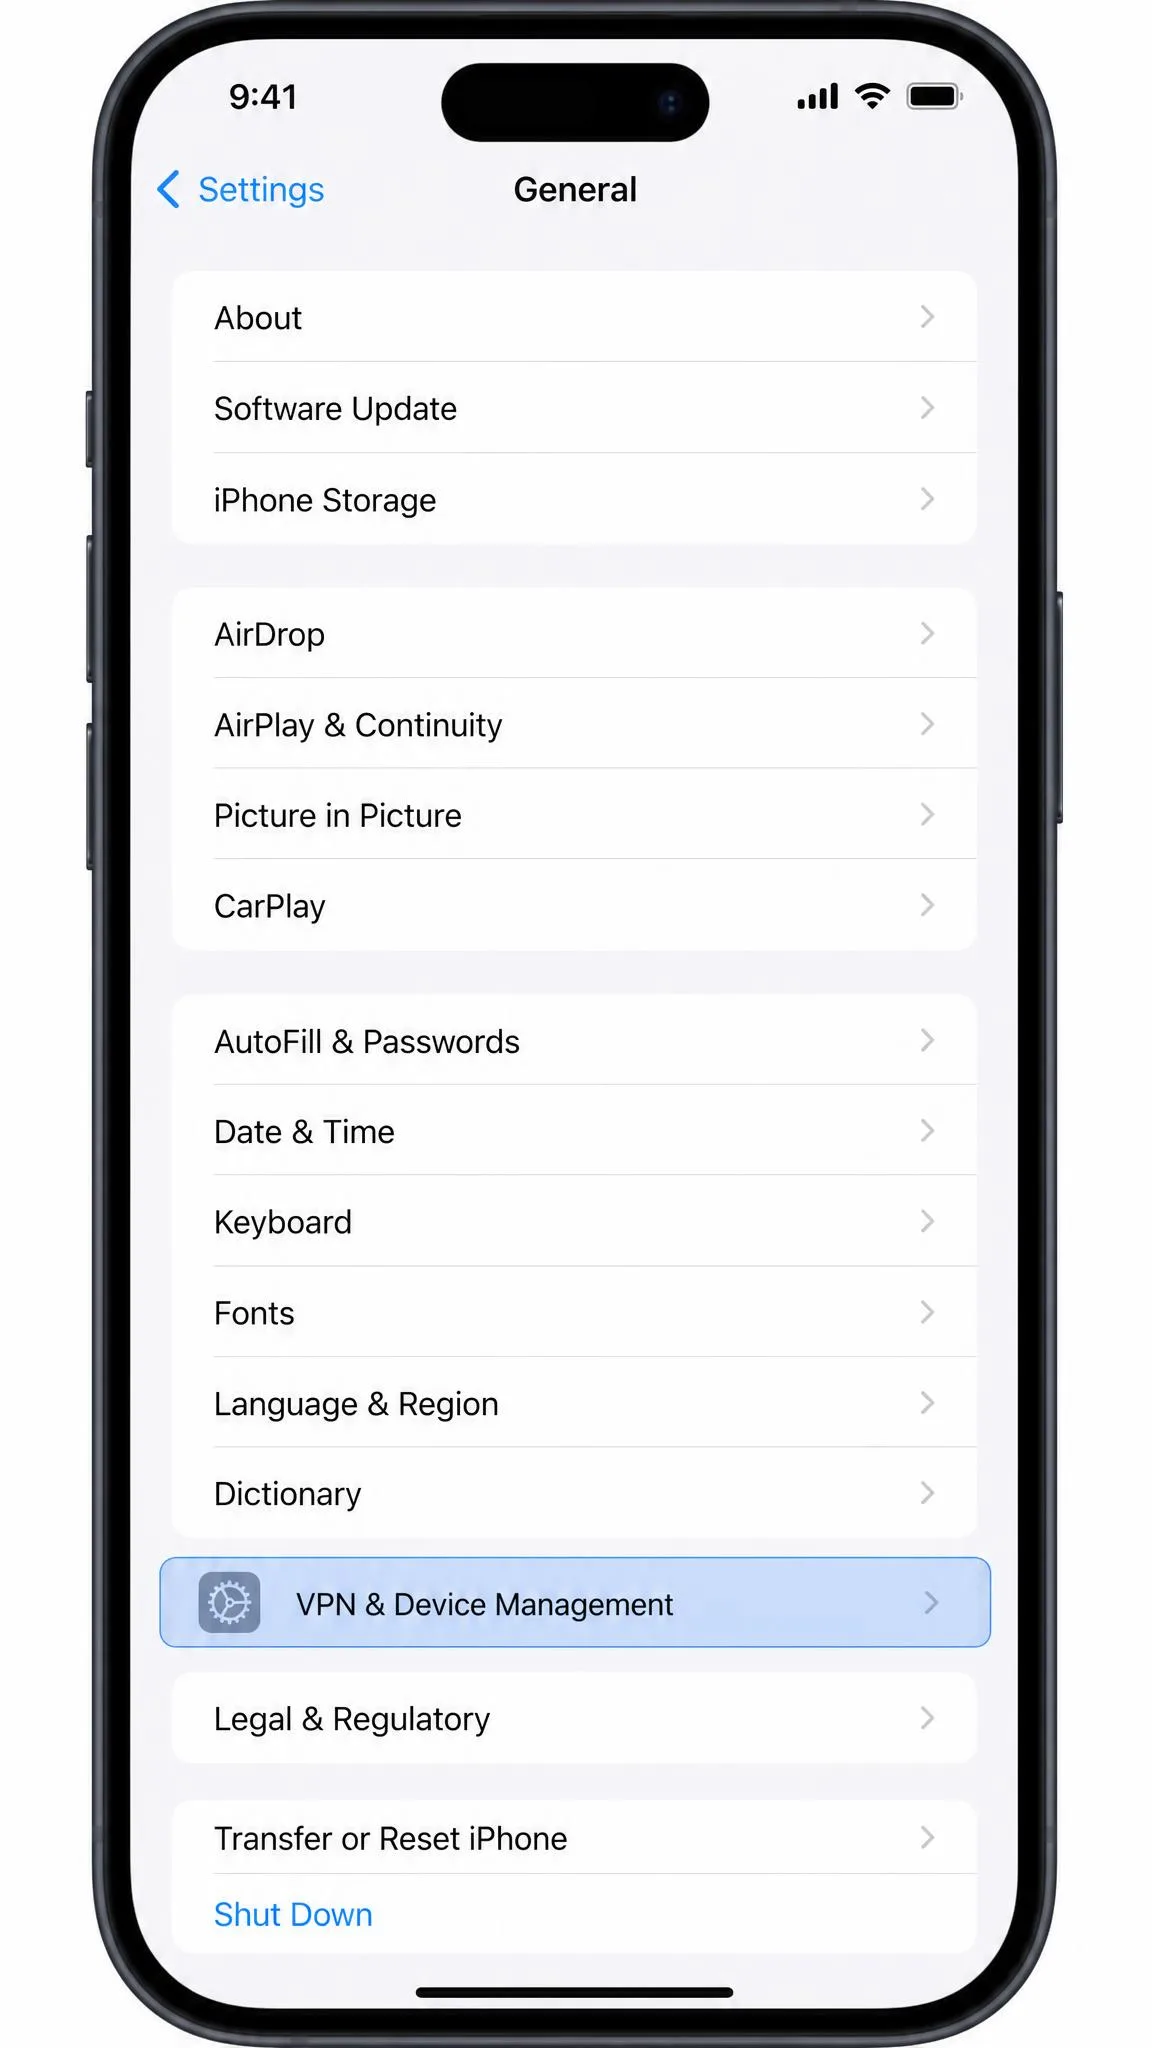
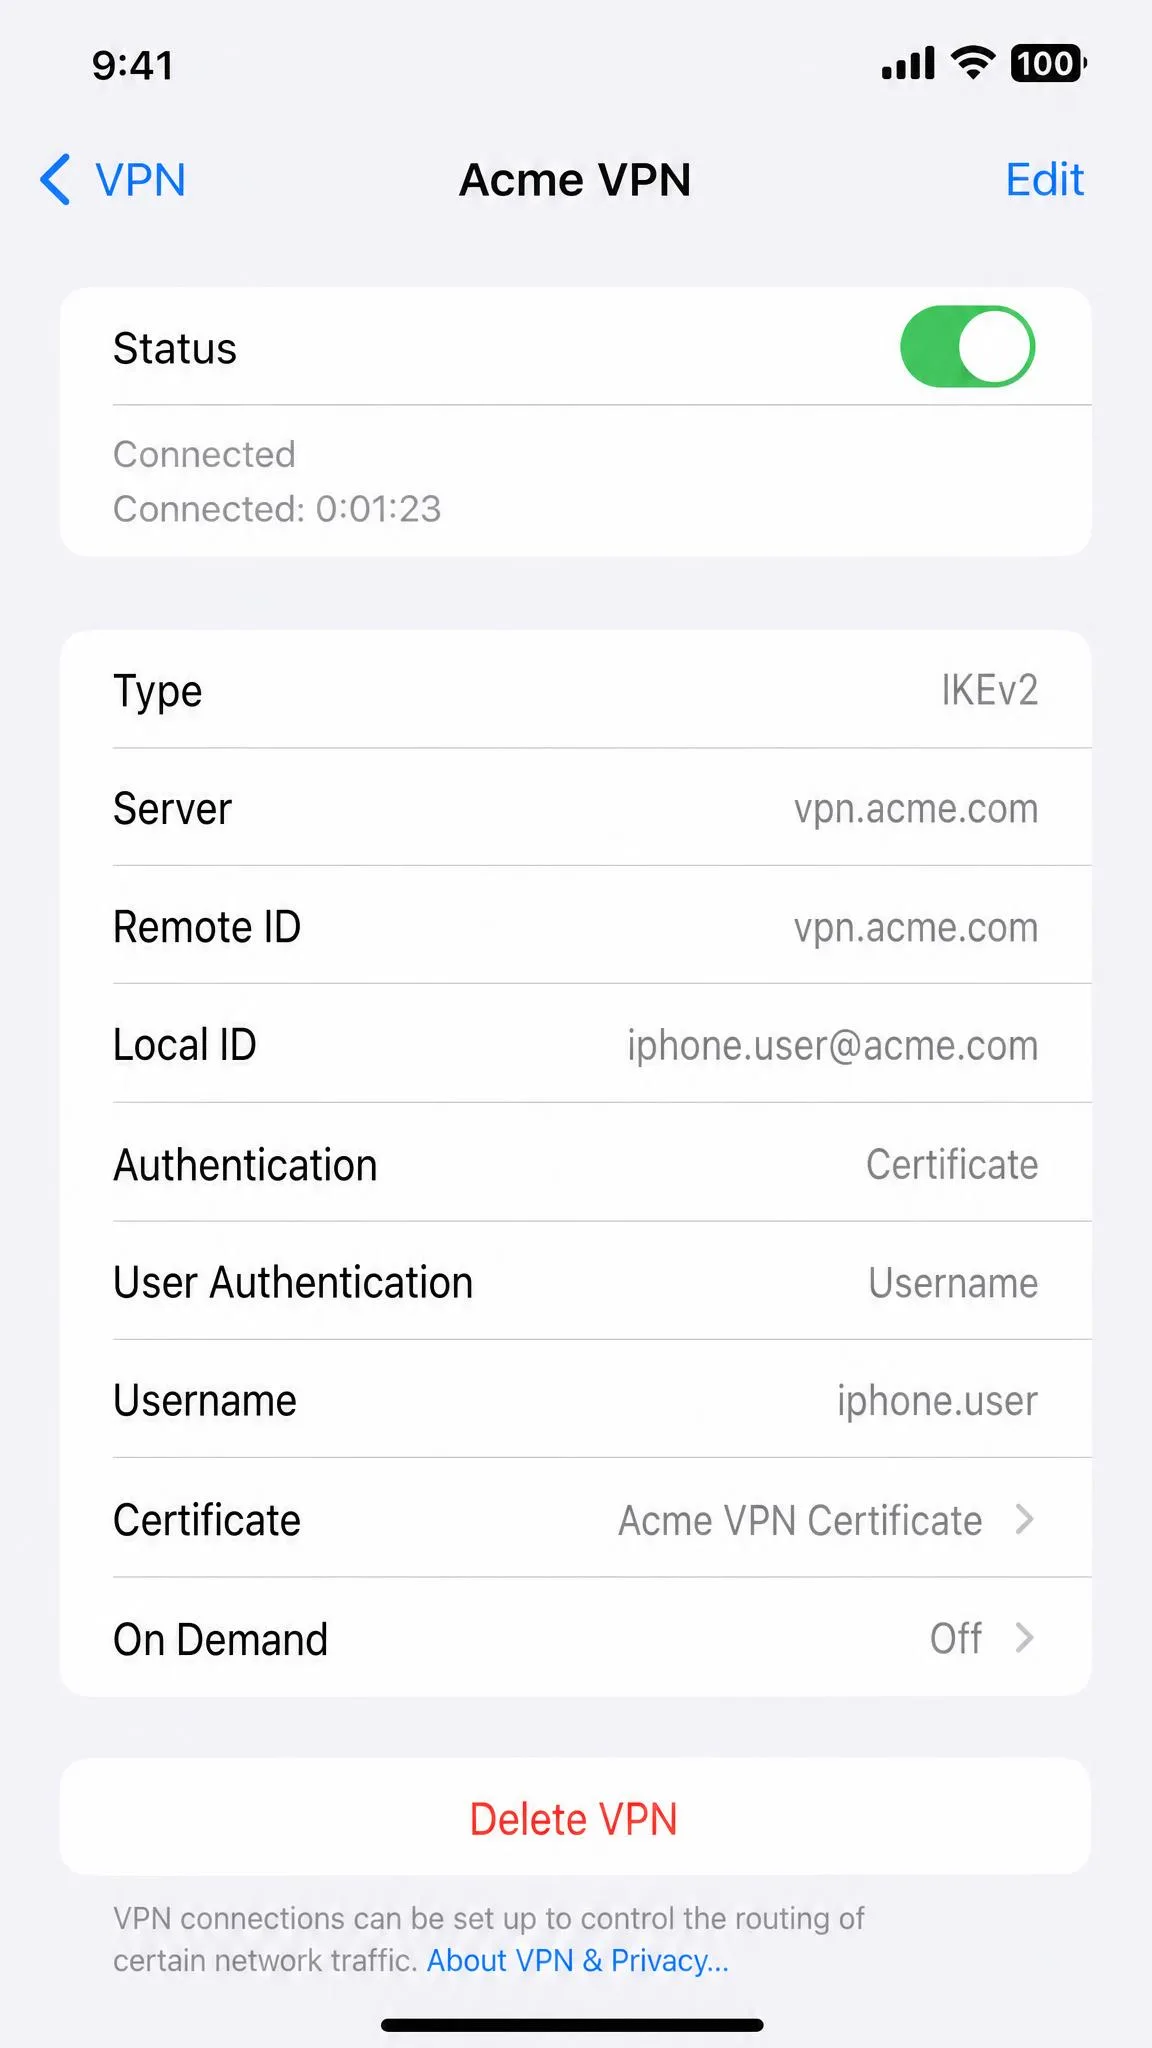
On your iPhone, open Settings > General, then scroll down and tap VPN & Device Management. This is where iOS keeps manual VPN profiles. Apple documents the same path in its guide to set up a VPN for iPhone and iPad.
Step 3: Add a VPN configuration and choose the type
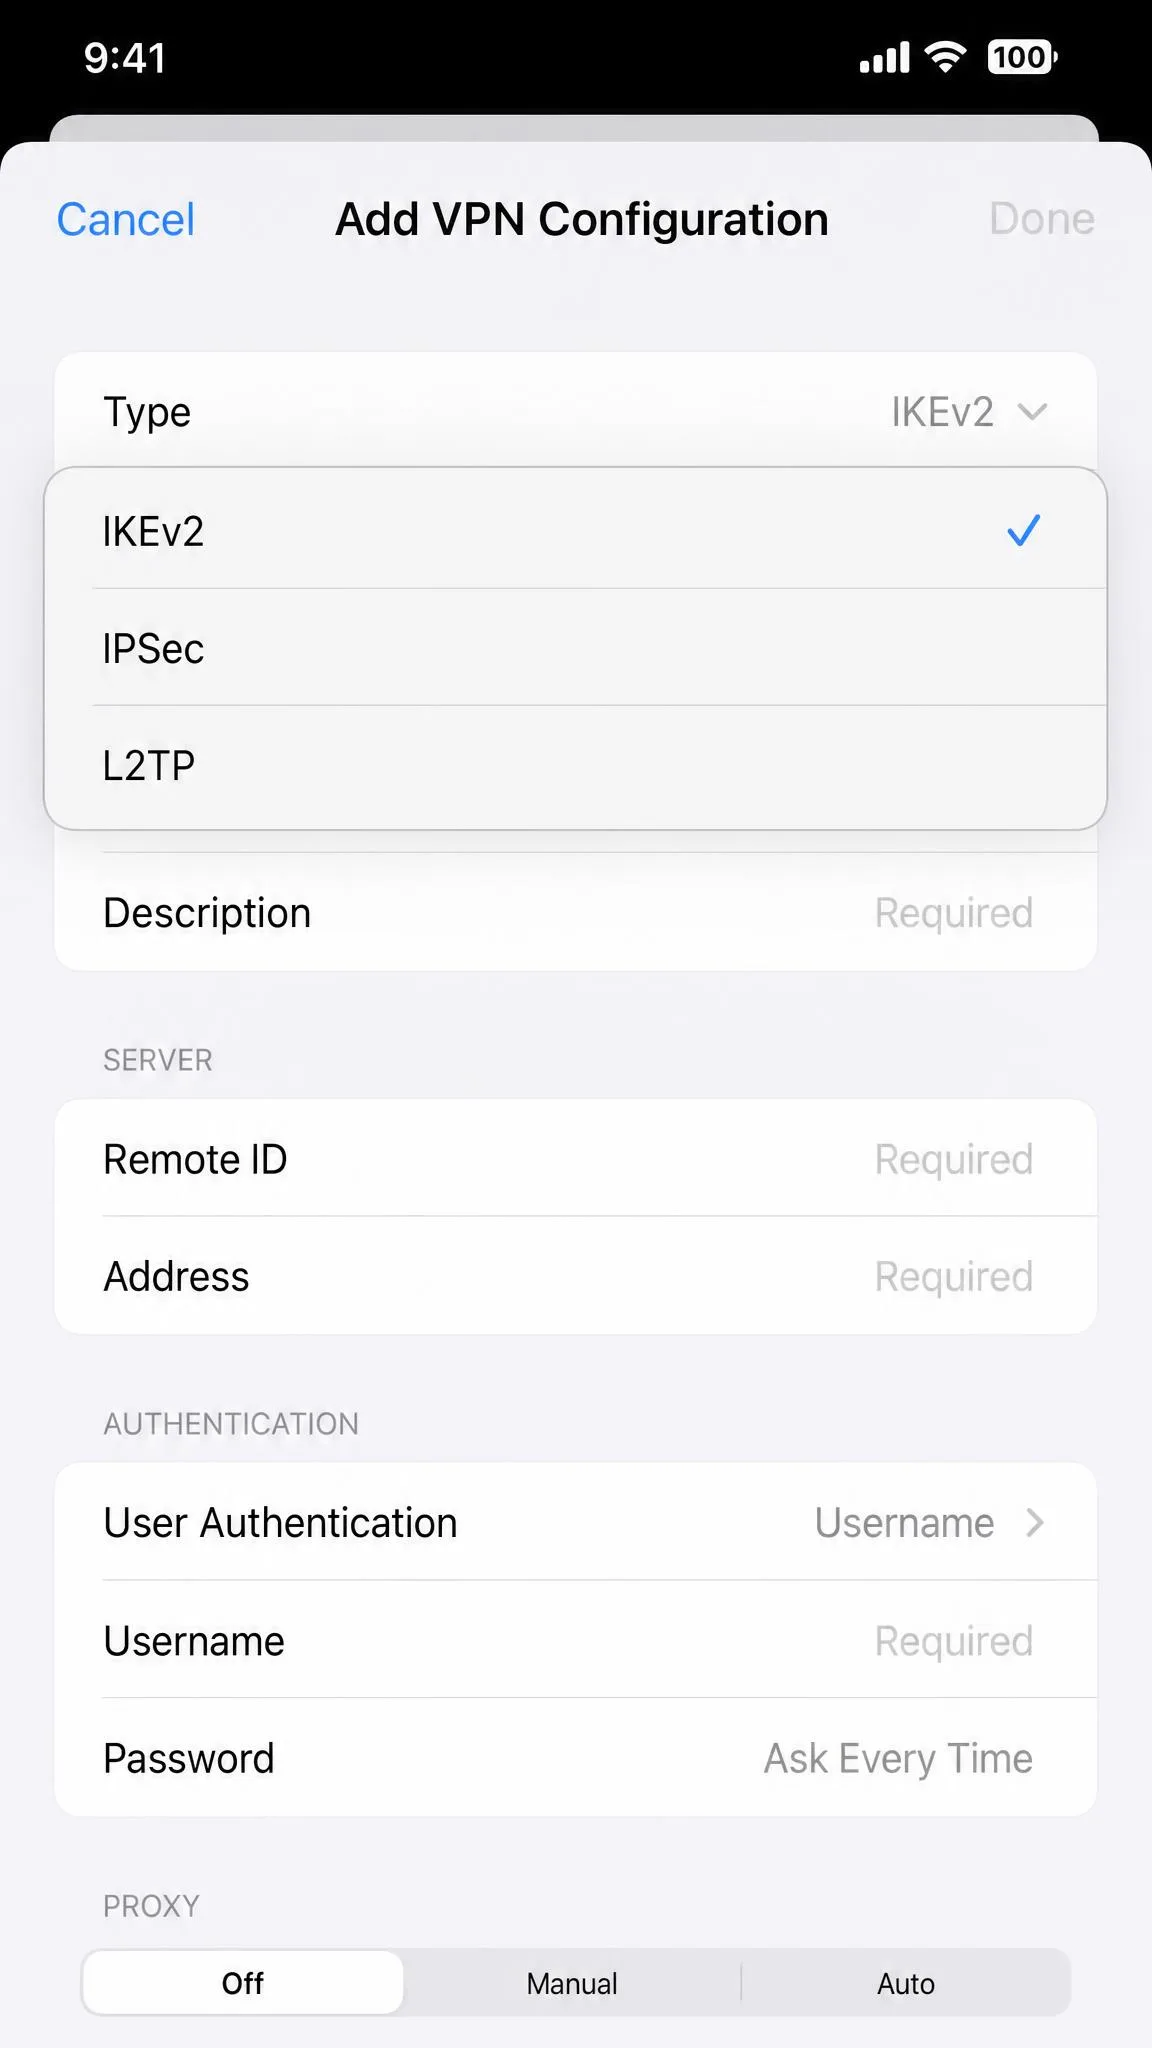
Tap VPN, then Add VPN Configuration. At the top, tap Type and pick the protocol your admin specified. iOS natively supports three manual VPN types: IKEv2, IPSec, and L2TP. Choose exactly what your details say, because picking the wrong VPN type is the single most common mistake here and it stops the connection from working.
If your admin does not specify a protocol, IKEv2 is usually the best default. In our testing it tends to be the fastest of the manual iOS protocols, and it is the most modern of the three. Do not guess between IPSec and L2TP; confirm the type before you save.
Step 4: Enter the server details
Fill in the fields with the information from your admin. Add a description you will recognize, then enter the server address, your remote ID or account, and your username and password. If your setup uses a shared secret, enter it in the field provided. Type carefully, since a single wrong character in the server address will block the connection.
Step 5: Save and turn the VPN on
Tap Done to save the profile. You will now see the VPN listed under VPN & Device Management, with a status toggle. Flip the toggle to On to connect, and confirm the VPN badge appears in the status bar. If it connects and holds, your manual profile is working.
How to Turn Your VPN On and Off on iPhone
Once a VPN is set up, switching it on and off is fast. Inside the app, one tap on the connect or disconnect button does the job, and this is the method we use day to day because it also lets you change servers.
There is a second switch built into iOS. Open Settings > General > VPN & Device Management > VPN, and use the Status toggle to turn the connection on or off. This works whether the profile came from an app or a manual setup.
Either way, watch the status bar. The VPN badge appears when you are protected and disappears when you disconnect, so a quick glance up top tells you where you stand.
If you toggle the VPN off in Settings but the app reconnects it moments later, that is the app's auto-connect feature doing its job. To stay disconnected, turn it off from inside the app, or disable auto-connect in the app's settings.
Troubleshooting: When Your iPhone VPN Won't Connect
Most connection problems come down to a handful of causes, and you can usually clear them in a minute or two. Start simple and work down the list.
First, check the basics. Confirm your internet works without the VPN, then try switching to a different server, since a single overloaded server can fail while others connect instantly. Force-quit and reopen the app, and if you are still stuck, restart the iPhone.
Second, consider where you are. A restricted network, such as a university firewall or some corporate Wi-Fi, can block VPN traffic entirely. If the VPN works on cellular data but not on a specific Wi-Fi network, the network itself is almost certainly the cause, and switching protocols in the app sometimes gets you through.
For a manual profile, re-check the details. The wrong VPN type or a mistyped server address is the usual culprit, so delete the profile and re-enter it carefully against what your admin gave you. Make sure your account is active and paid up, too, because an expired subscription looks a lot like a broken connection.
If your VPN connects but websites still will not load, try disabling then re-enabling the connection, and check whether iCloud Private Relay is also switched on. Two privacy layers fighting each other can break Safari, so run one at a time.
Tips and Hidden iPhone VPN Features
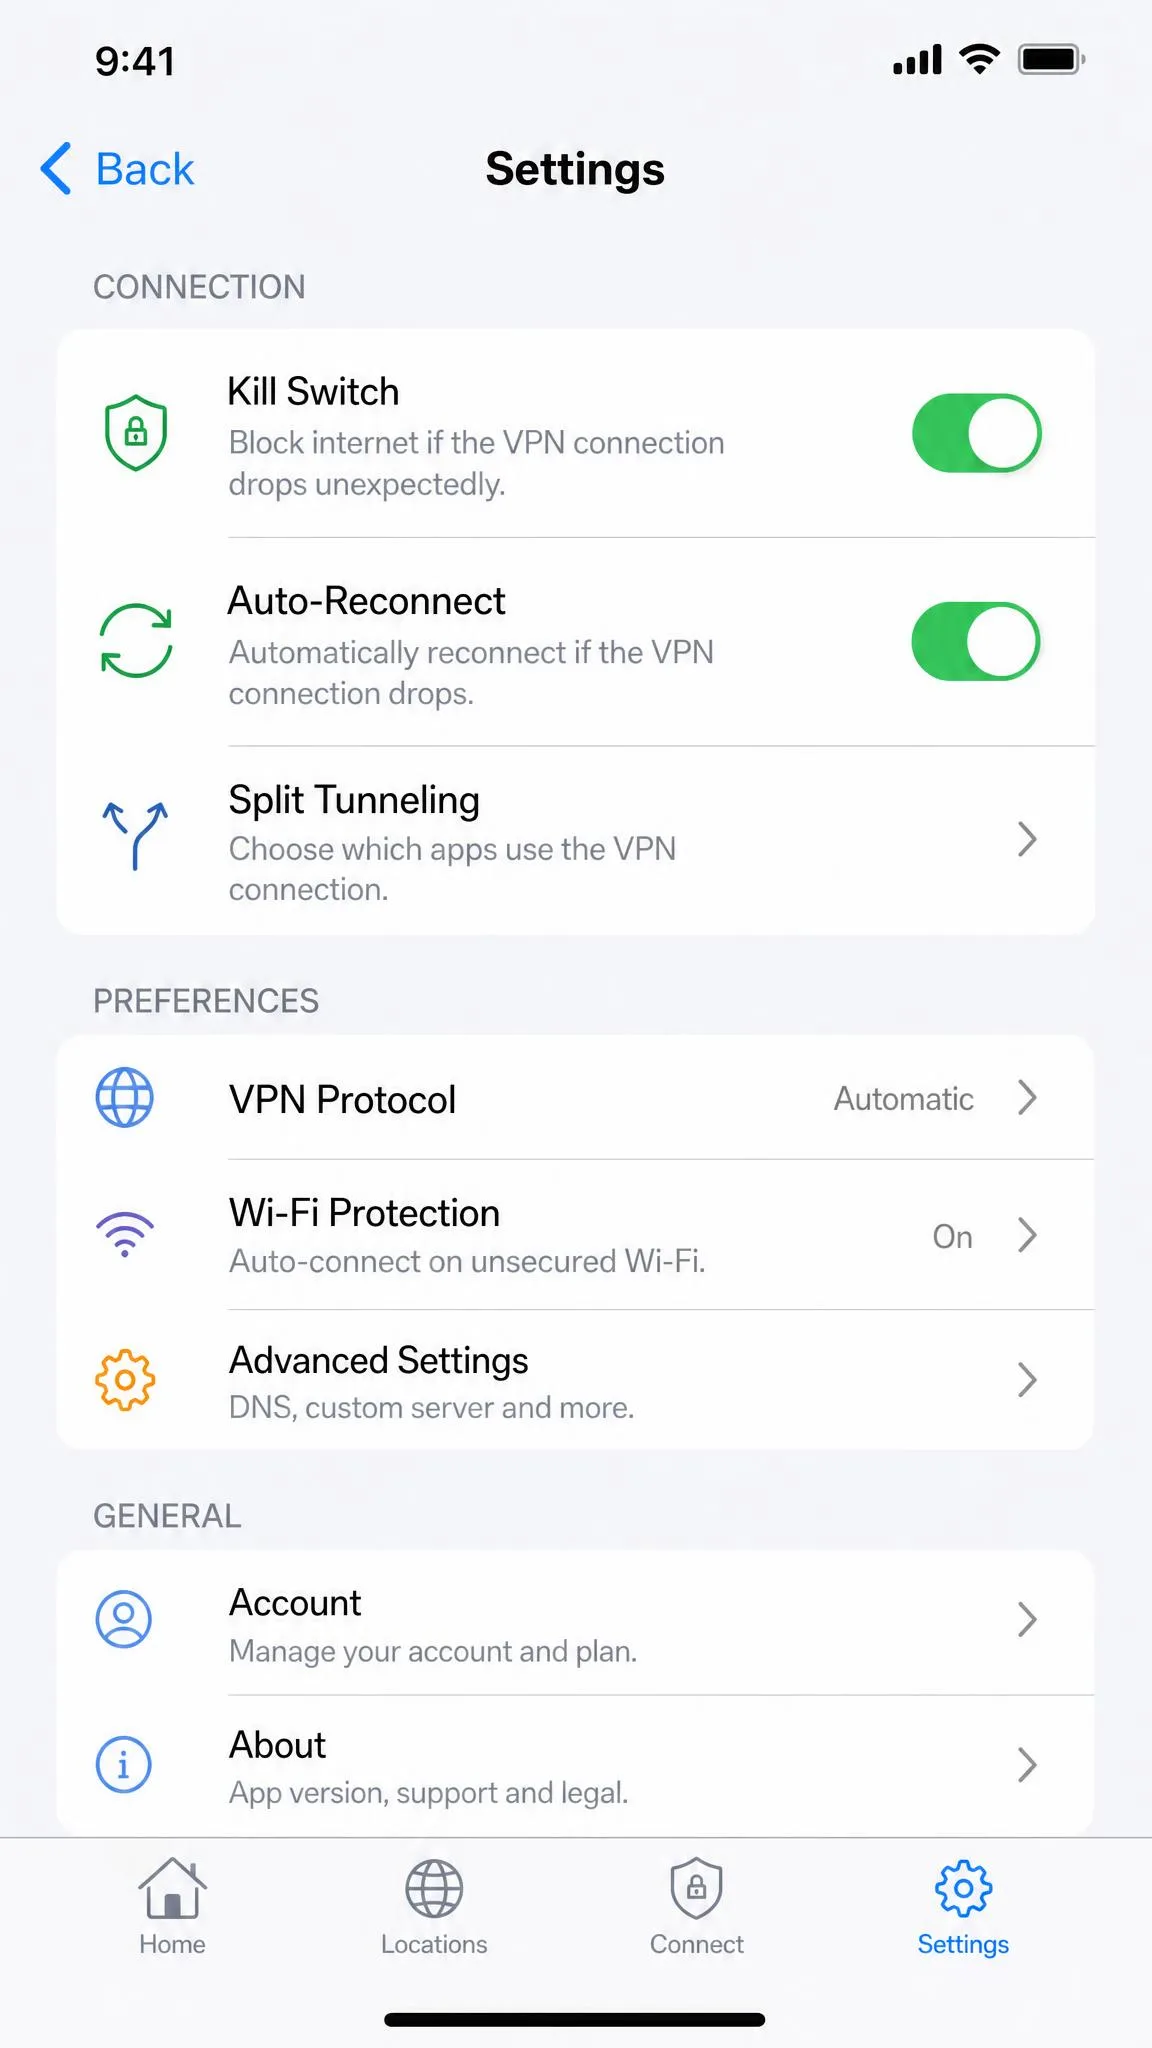
A few settings turn a VPN from something you fiddle with into something you forget is even there. These are the first switches we flip on any new install.
Turn on the kill switch. It blocks all internet traffic if the VPN drops, so your real address never leaks during a reconnect. Pair it with auto-reconnect, which re-establishes the tunnel automatically when the connection stutters, and together they keep you covered without any effort.
Explore split tunneling if your provider offers it. It lets you route some apps through the VPN while others use your normal connection, which is useful when a banking app dislikes foreign server locations. Many iOS apps also support connecting on demand, so the VPN springs to life the moment you join an untrusted network.
Add the VPN app to your Control Center or a home-screen widget if the provider offers one. It turns connecting into a one-tap habit rather than a menu dive, and habits are what keep you protected.
Frequently Asked Questions
What is the best VPN for iPhone?
Does iPhone have a built-in VPN?
Are free VPNs safe on iPhone?
How do I turn off a VPN on my iPhone completely?
Do I really need a VPN on my iPhone?
Will a VPN slow down my iPhone?
Final Thoughts
Getting a VPN on your iPhone is genuinely a two-minute job for almost everyone. Install a reputable app from the App Store, allow the configuration once, tap connect, and check for the badge in the status bar. That is the path we recommend, and it is the one you will use ninety-nine times out of a hundred.
Save the manual route for when a job or a school hands you server details, and match the VPN type exactly to avoid the most common setup snag. Whichever method you use, pick a provider you trust, switch on the kill switch, and leave it running. Private, secure browsing on iOS really is that straightforward.