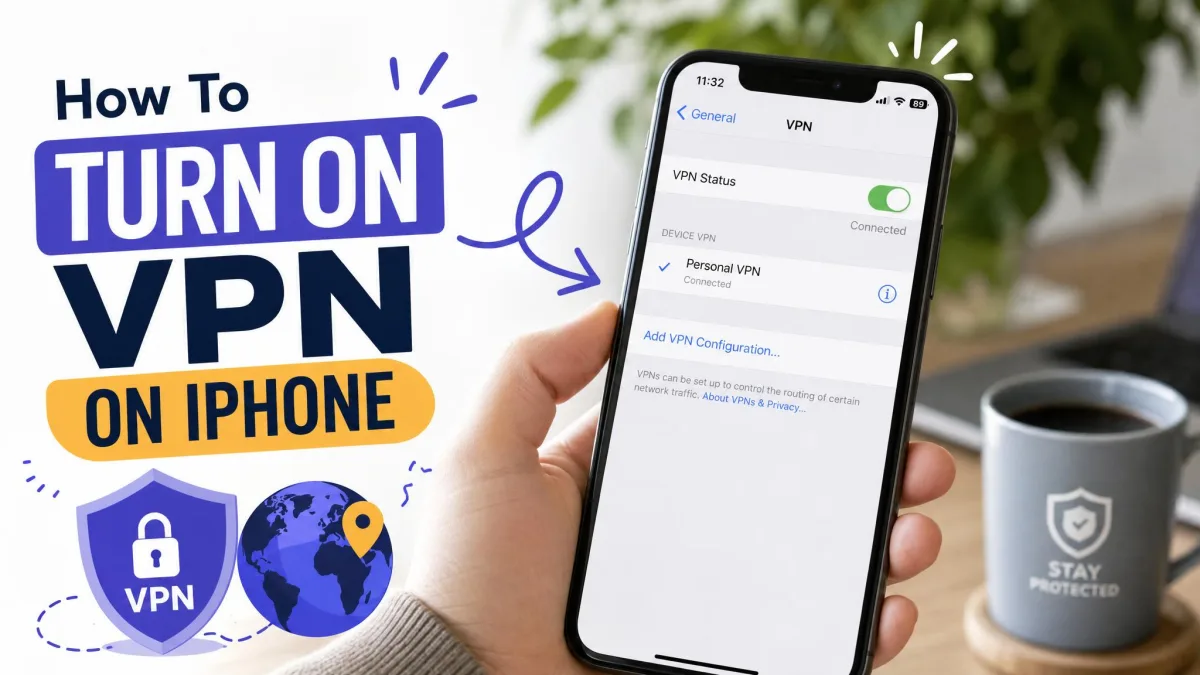
Turning on a VPN on your iPhone takes about two minutes, whether you type in the details yourself or let an app do it for you. This guide walks you through both routes, then shows you how to confirm the connection is live, automate it, and fix it when it drops. We ran every step below on our own test iPhones so the taps you read here match what you will actually see on screen.
You have two practical ways to get connected. You can add a VPN configuration by hand in the Settings app, or you can install a provider's app and let it configure everything for you. Most people should use an app, but the manual route is worth knowing when your workplace or school hands you server details. We cover both.
What Is a VPN and Why Use One on Your iPhone
A VPN, or virtual private network, routes your iPhone's internet traffic through an encrypted tunnel to a server run by your provider. Websites and apps see that server's address instead of yours, and anyone snooping on the network in between sees only scrambled data.
Why bother on a phone? Public Wi-Fi at cafes, hotels, and airports is the usual reason. Those networks are easy to eavesdrop on, and a VPN closes that gap. A VPN also hides your browsing from your carrier and lets you reach content tied to another region when you travel.
There is a trade-off worth naming up front. A VPN connection is noticeably slower than connecting straight to your home broadband, because your traffic takes a longer, encrypted path. In our testing that slowdown is easy to ignore for browsing and email, but it shows up during high-resolution streaming, where speed and reliability depend heavily on the provider you pay for and how far away the server sits.
How to Turn On a VPN on iPhone Using the Built-In Settings
Use this route when someone gives you server details directly, such as an employer, a university, or a self-hosted server. iOS has native support for IKEv2, L2TP/IPSec, and Cisco IPSec connections, so no extra app is needed. Note that PPTP was removed in iOS 17 and later, so you will not find it in the configuration list on a current iPhone.
Step 1: Open the Settings App
Tap the grey Settings icon on your Home Screen. This is the same app you use for Wi-Fi, notifications, and everything else, so it is already on your phone.
Step 2: Go to General > VPN & Device Management
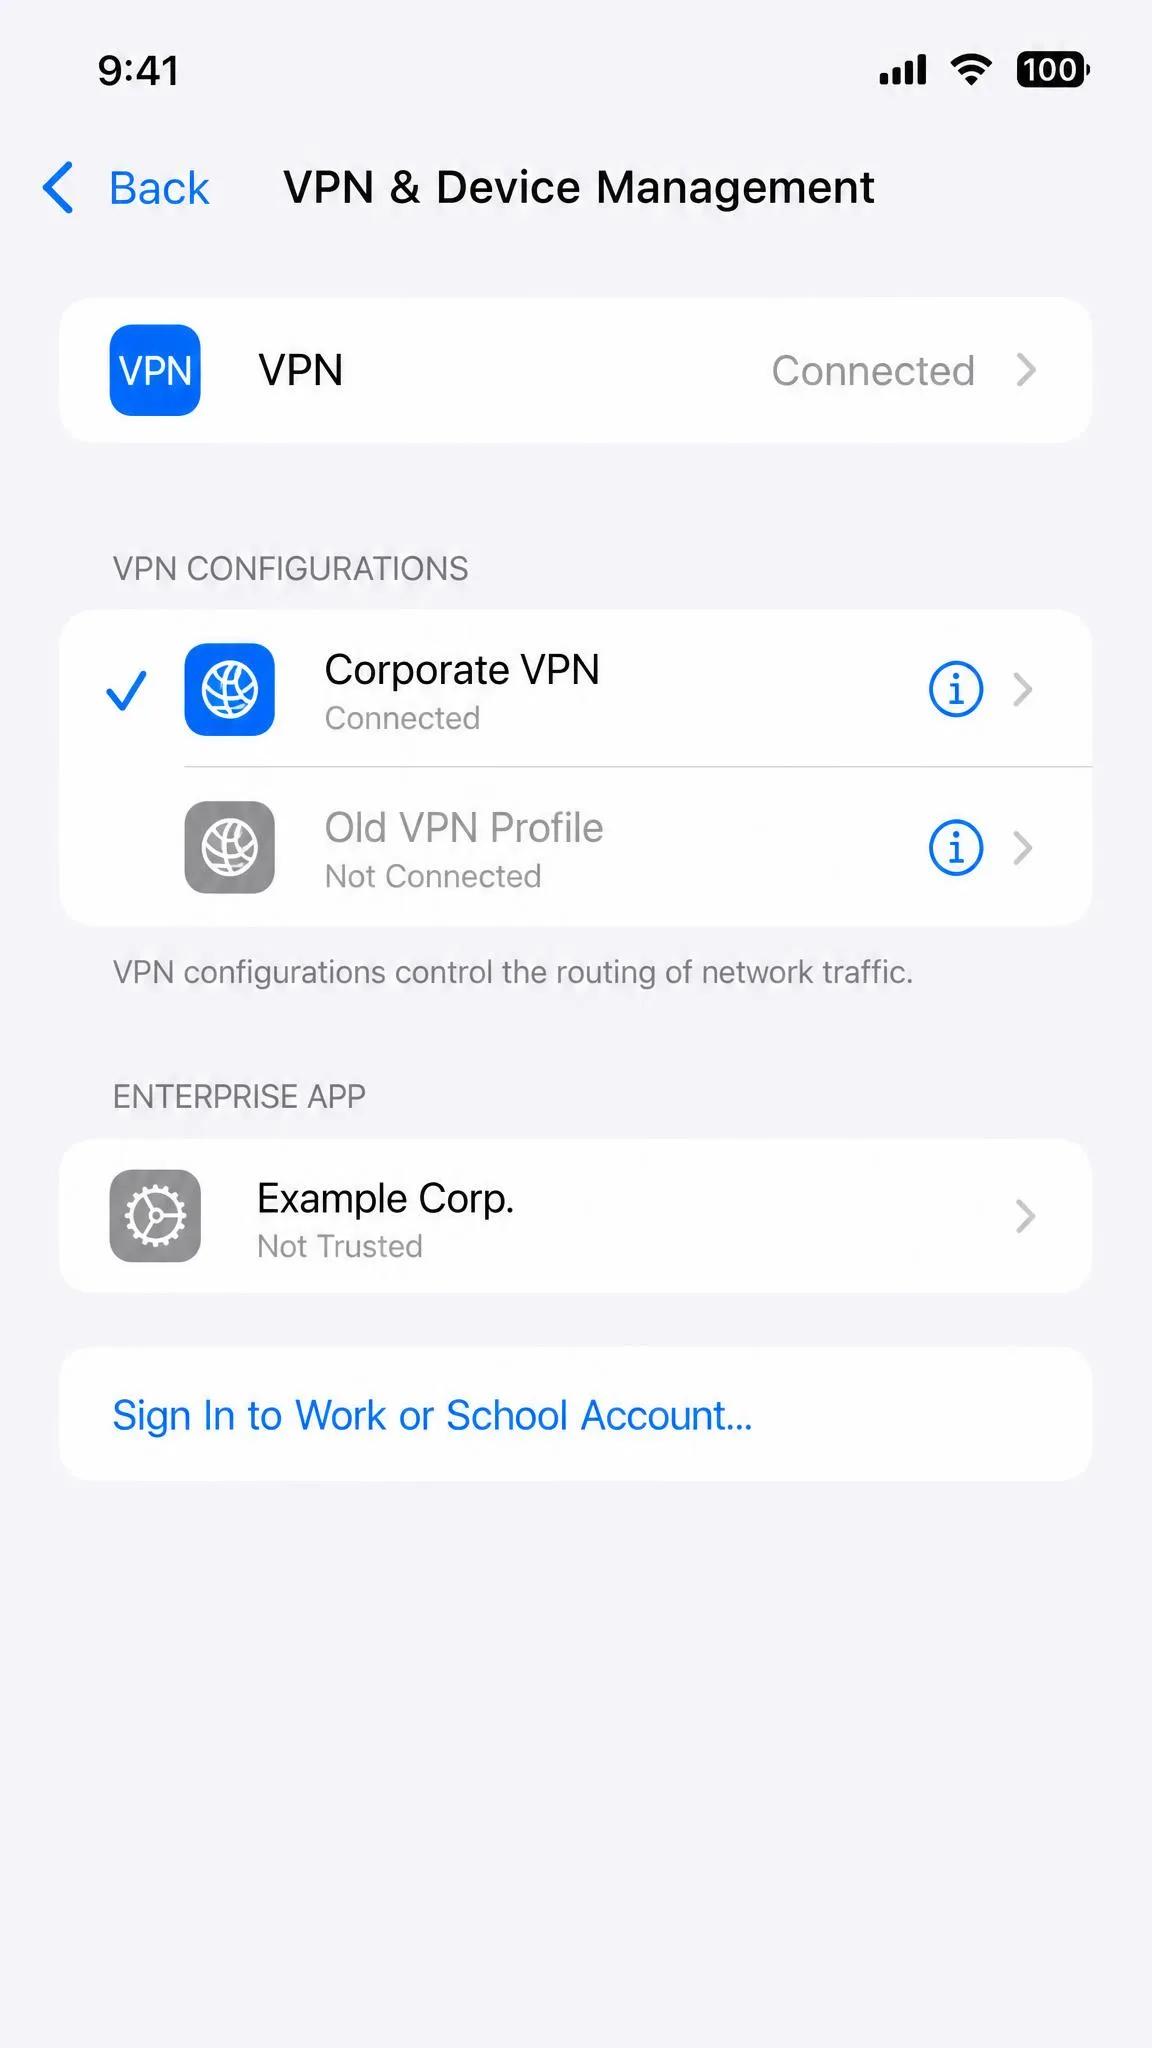
In Settings, tap General, then scroll down and tap VPN & Device Management. On older versions of iOS this entry is labeled simply VPN. This screen is where every VPN configuration on your iPhone lives, whether you added it by hand or an app created it for you.
Step 3: Add a VPN Configuration
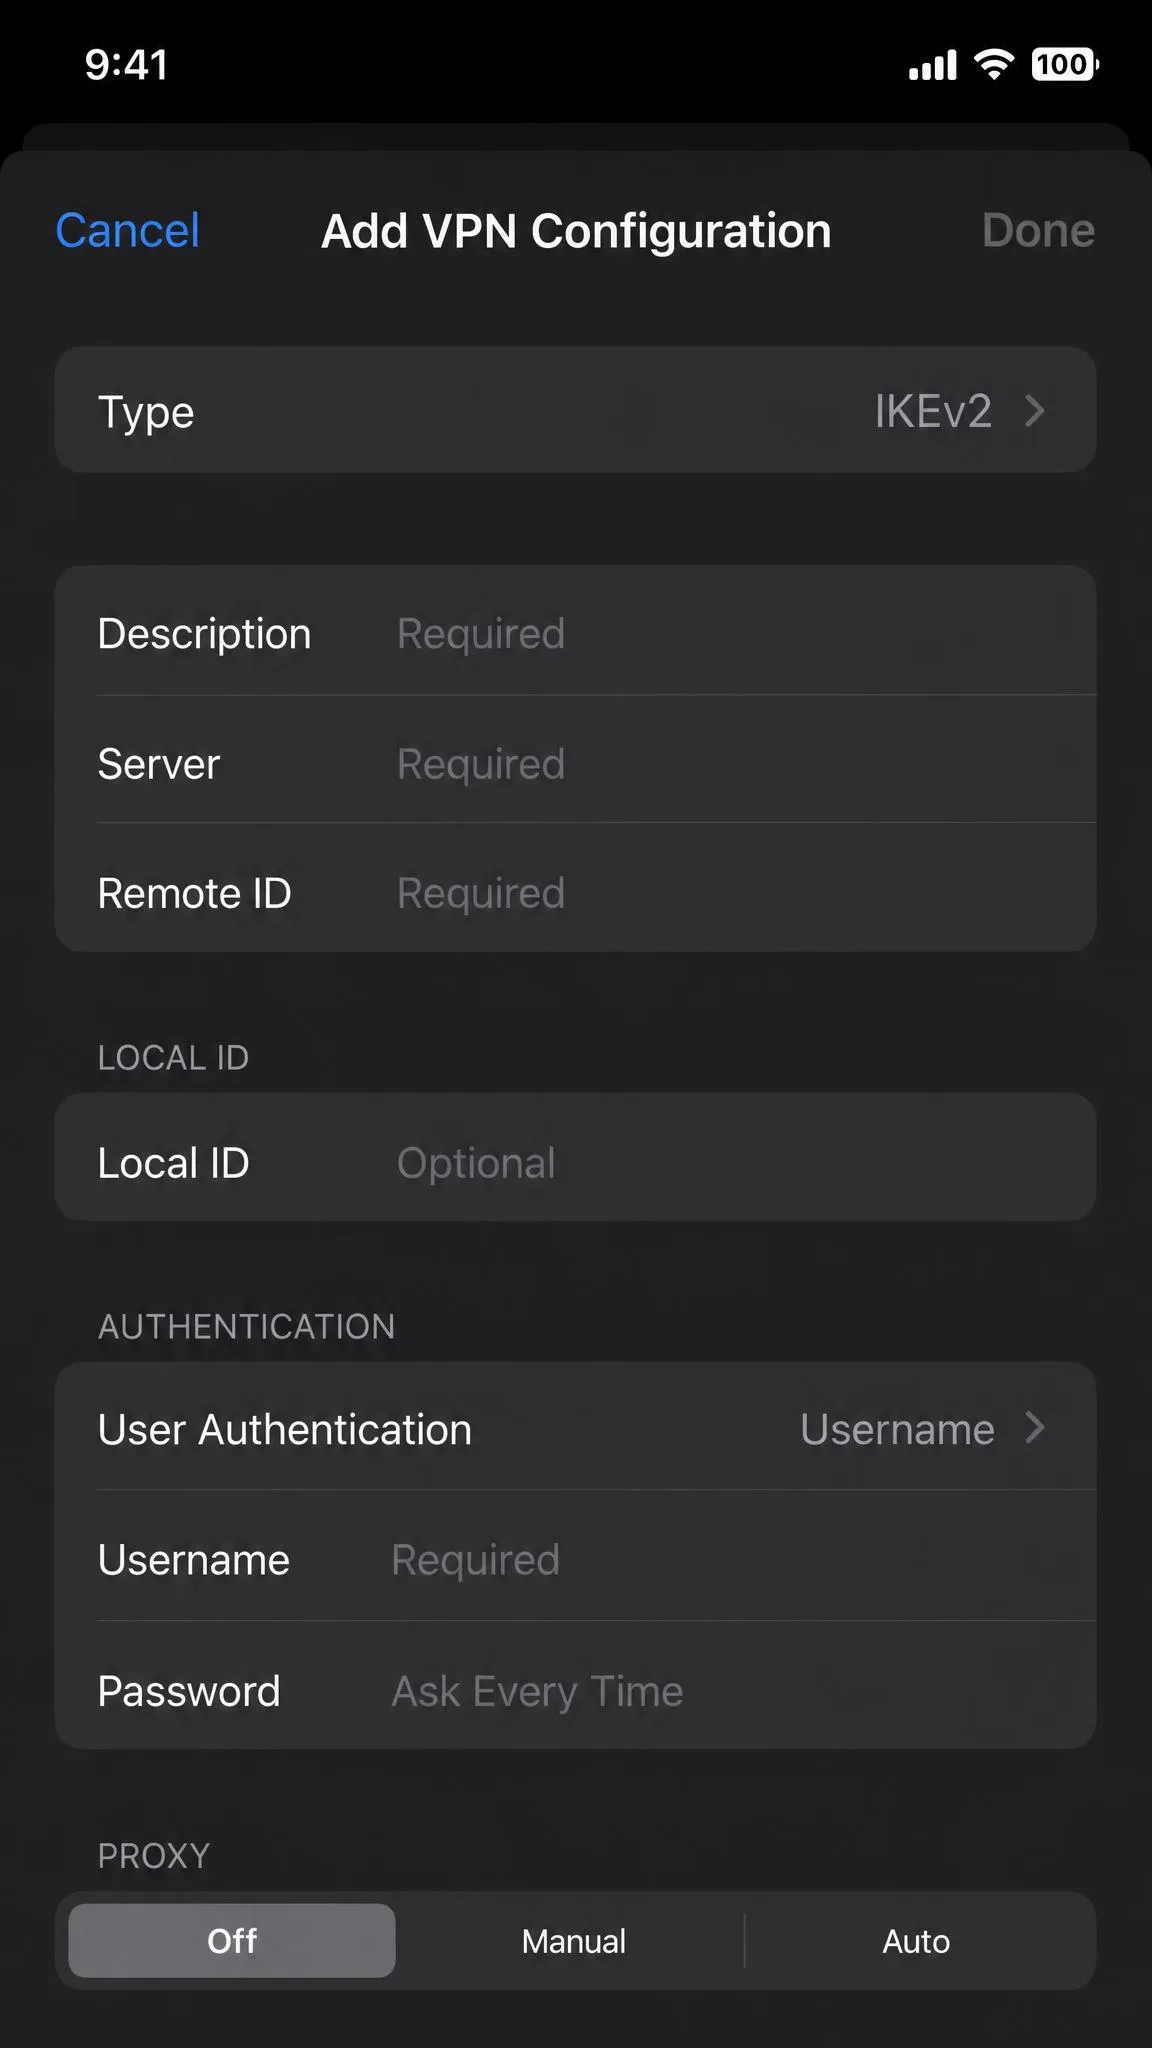
Tap VPN, then Add VPN Configuration. iOS asks you to pick a connection Type at the top of the screen. Choose the protocol your provider told you to use, which is IKEv2 for most modern setups.
If you are not sure which type to pick, ask whoever supplied the server details. Choosing the wrong protocol is the most common reason a manual configuration refuses to connect.
Step 4: Enter Your VPN Details
Fill in the fields your provider gave you. A manual configuration asks for a Description, the Server address, a Remote ID and Local ID, the Authentication type, and your User Name and Password. The Description is just a label, so name it something you will recognize later. Tap Done when every required field is filled.
Step 5: Toggle the VPN On
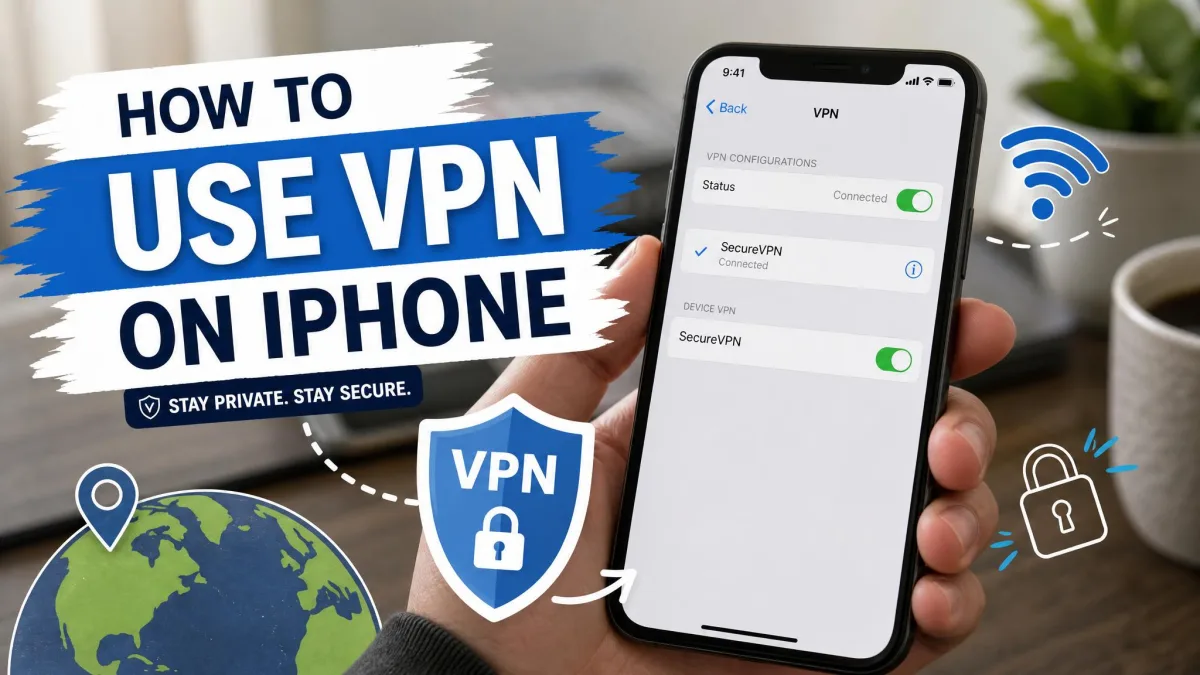
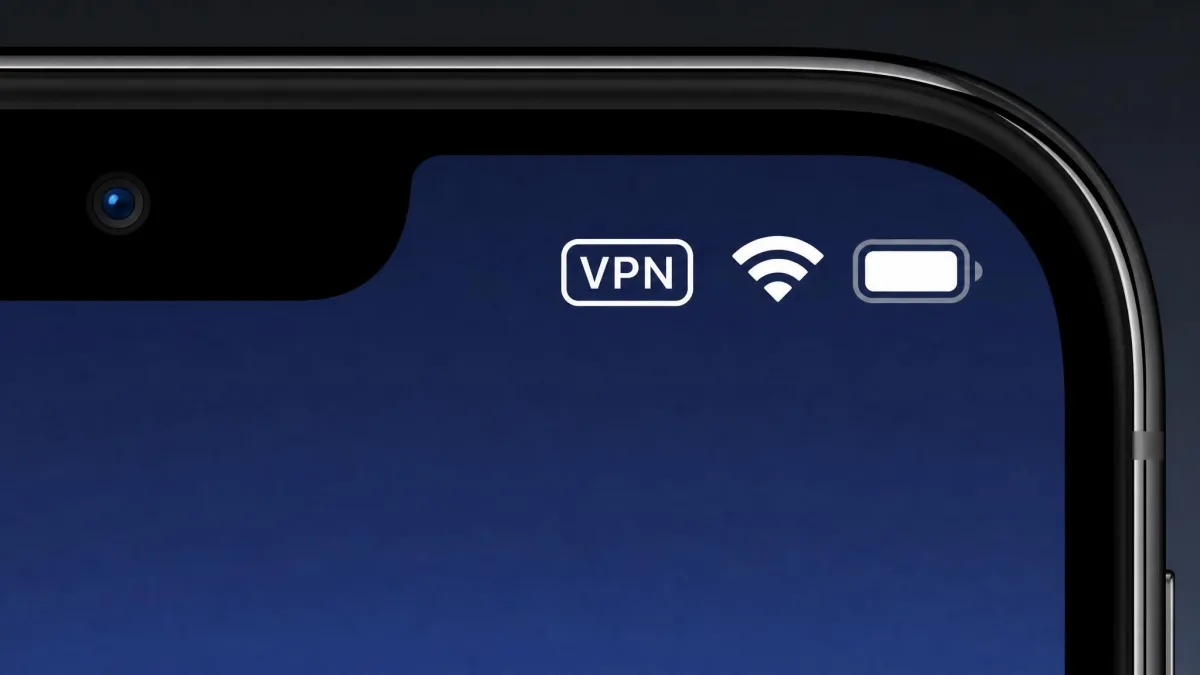
Back on the VPN screen, your new configuration appears in the list with a Status toggle beside it. Tap the toggle to connect. When it turns green and the status reads Connected, you are protected. A VPN badge appears briefly in the status bar to confirm the tunnel is live.
How to Turn On a VPN on iPhone Using a VPN App
This is the route we recommend for most people. A good app handles protocols, server selection, and reconnection for you, so there is nothing to type in by hand.
Install and Sign In to Your VPN App
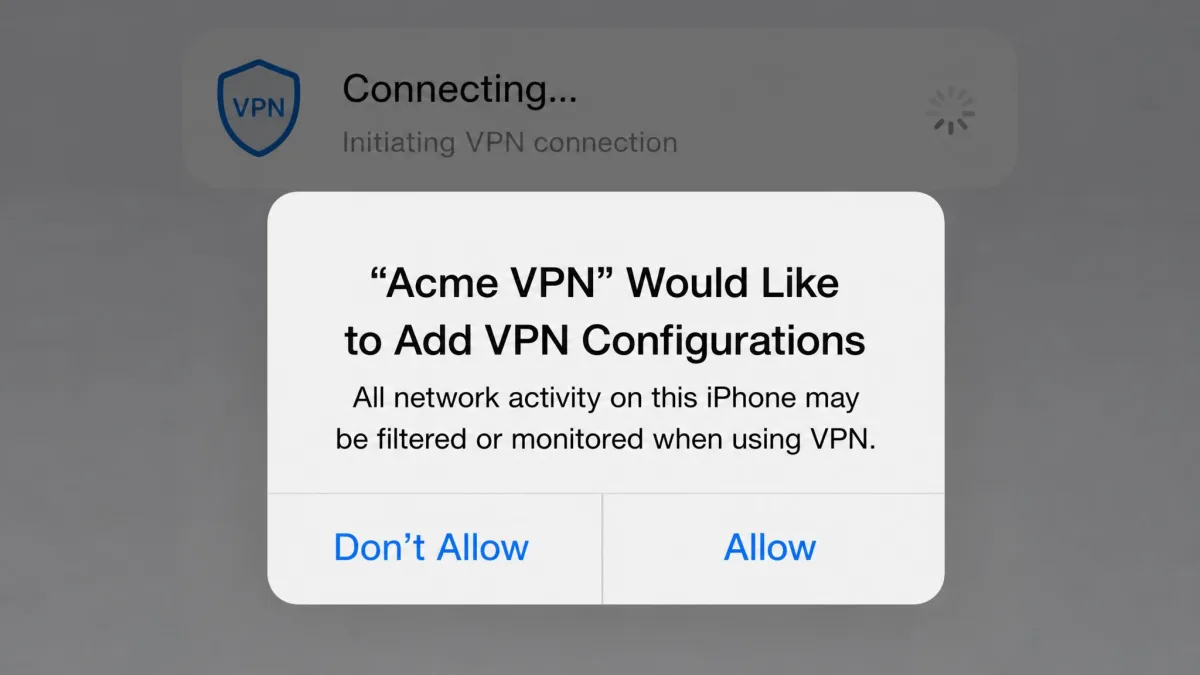
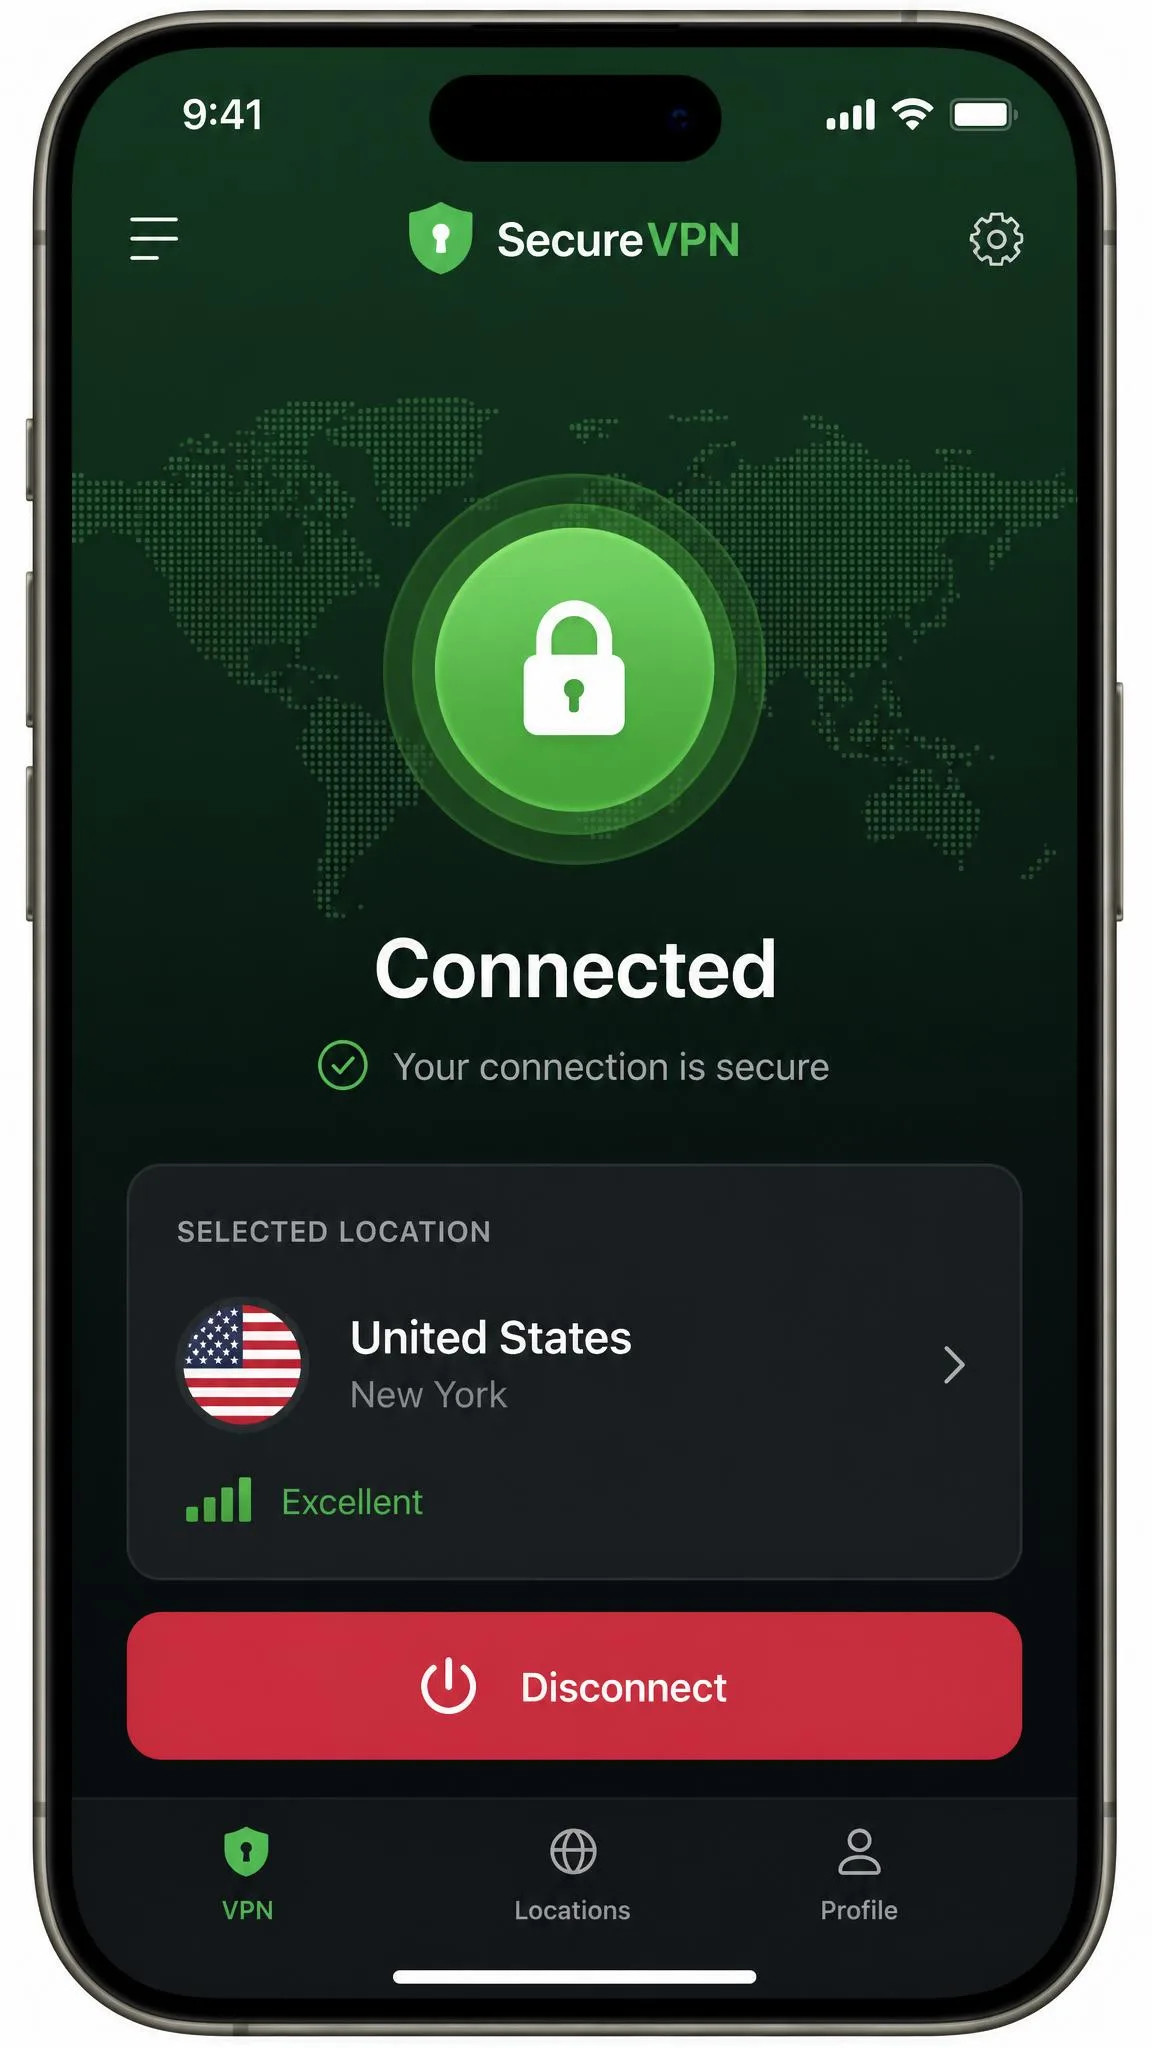
Open the App Store, search for your provider, and download its app. Open it, then sign in with the account you created when you subscribed. Most apps ask permission to add a VPN configuration the first time you connect; tap Allow and confirm with Face ID, Touch ID, or your passcode. That one-time step is what lets the app manage the connection.
Connect and Confirm the VPN Is Active
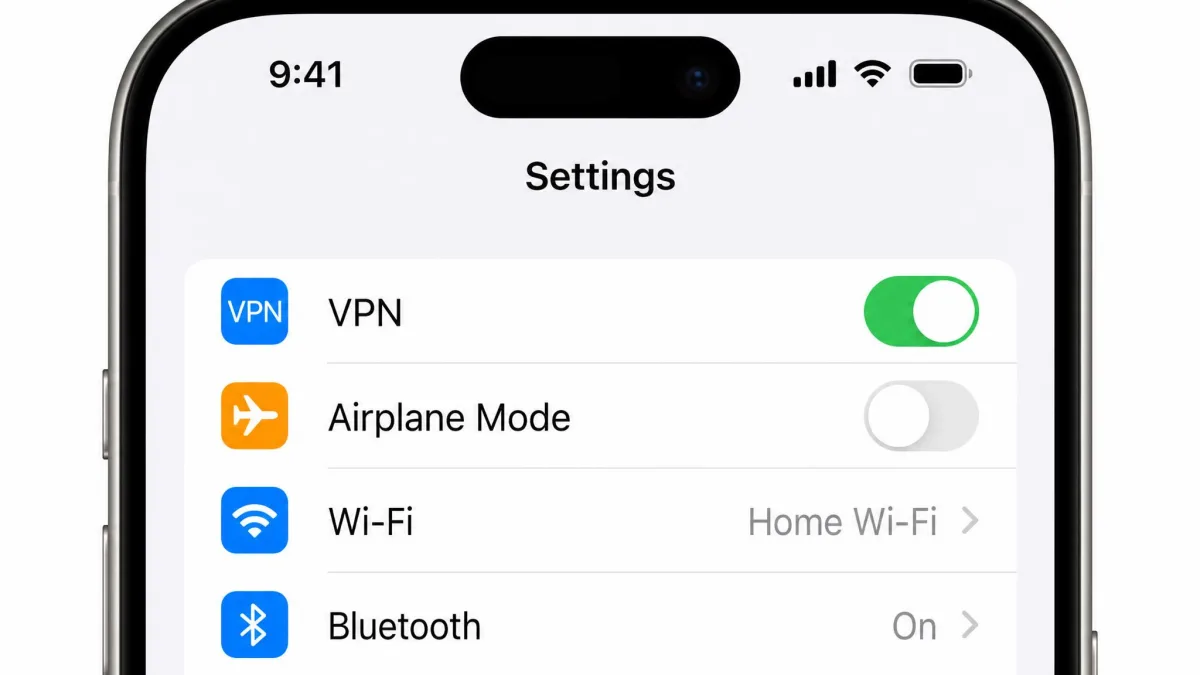
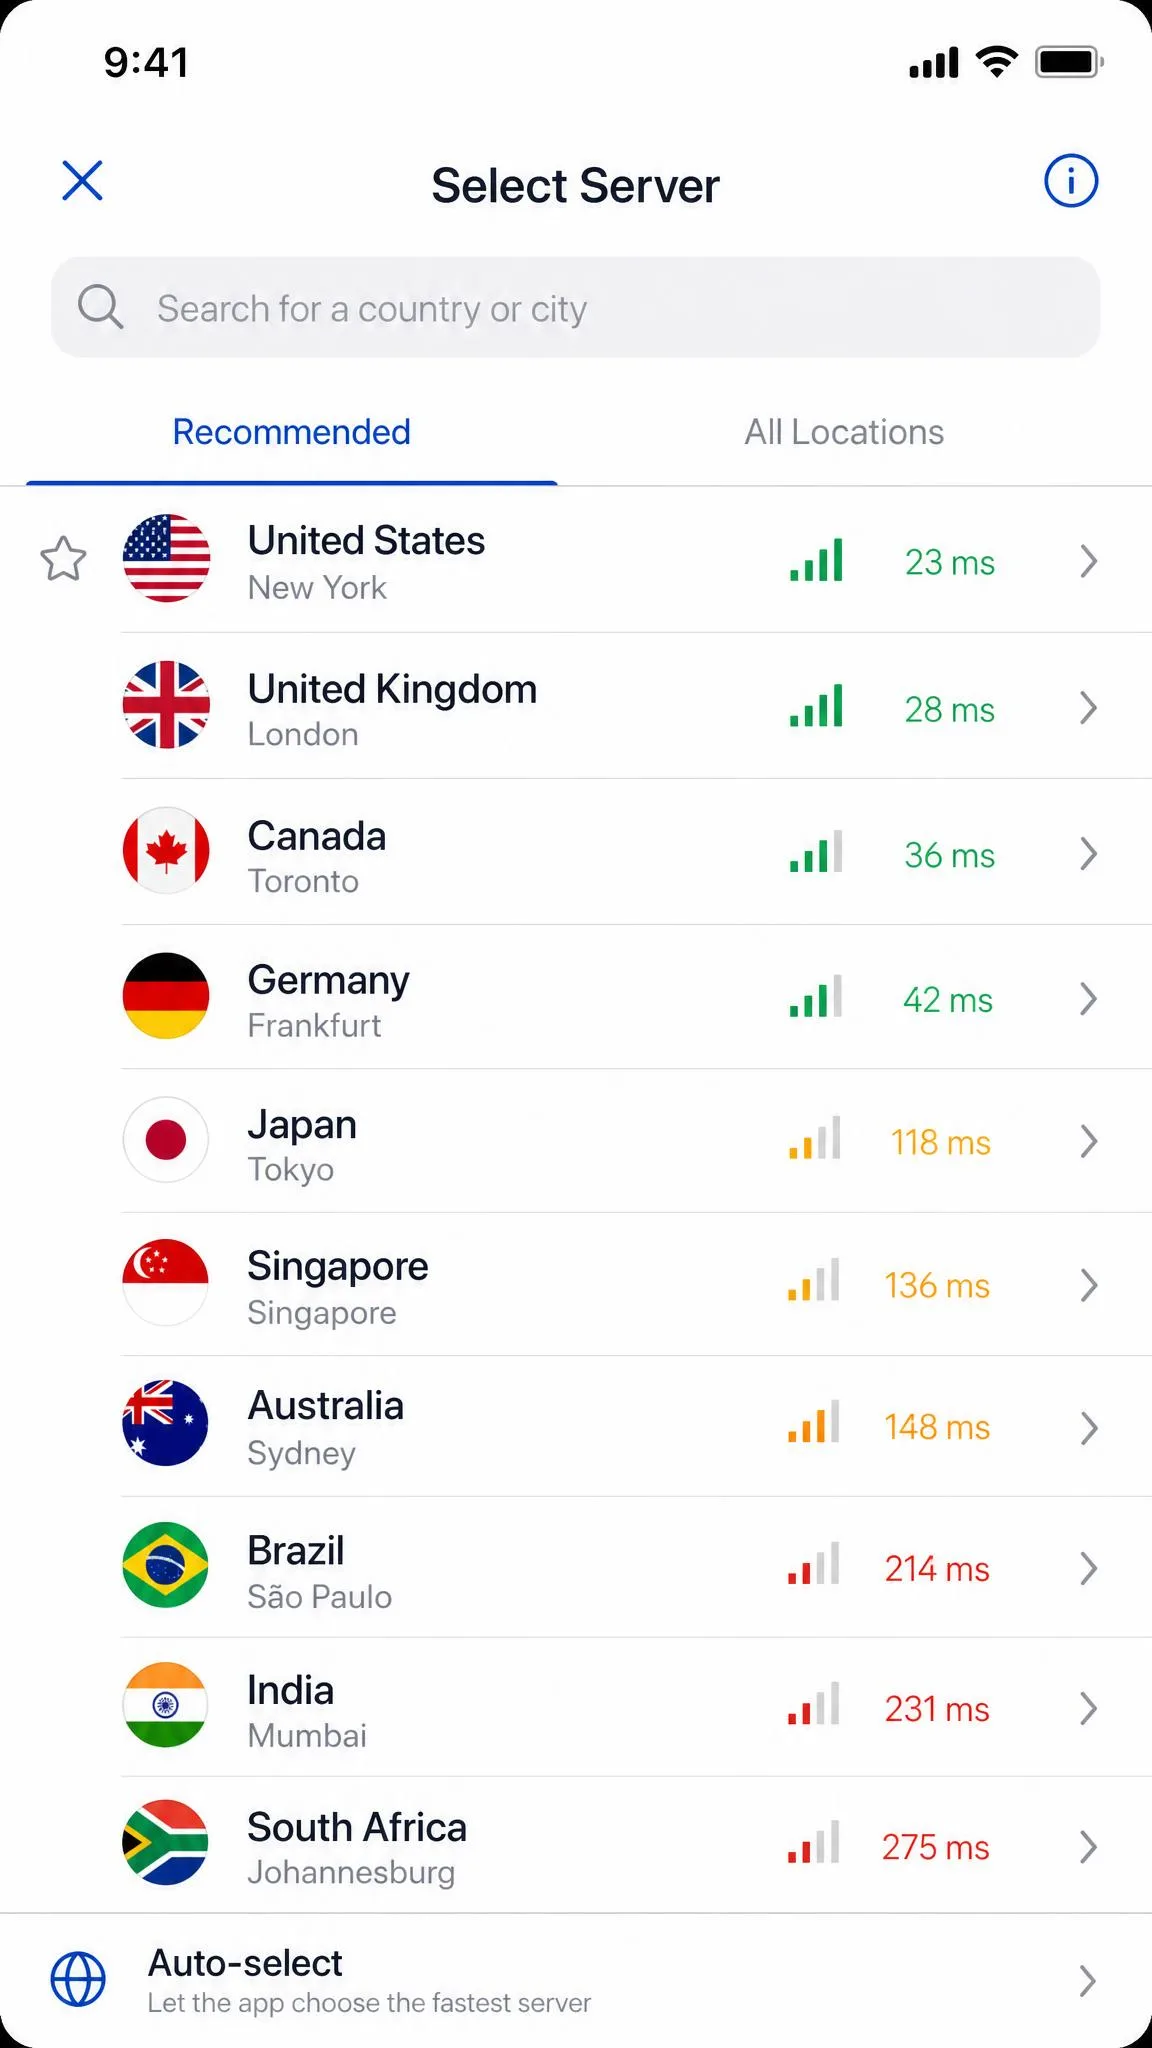
Pick a server location, usually the nearest one for the best speed, and tap the big connect button. Within a few seconds the app reports that you are connected. From then on, a VPN On and Off toggle sits at the very top of the Settings app, in the first settings group, and it stays there as long as the app is installed. That toggle is the quickest way to flip the connection later without opening the app.
How to Set a VPN to Connect Automatically (On Demand)
If you would rather not remember to connect, most VPN apps offer an auto-connect or On Demand feature in their own settings. Turn it on and the app establishes the tunnel automatically whenever your iPhone joins a network, or only on untrusted Wi-Fi, depending on the option you choose.
This is the setting we enable on our own daily phones for public Wi-Fi protection. One thing to know: because the app has to stay awake to hold the tunnel, auto-connect works most reliably when the app is allowed to run in the background.
Leaving a VPN connected around the clock adds battery drain, since encrypting and routing traffic uses extra CPU. Newer protocols like WireGuard are easier on the battery than older ones like OpenVPN, so pick a provider that offers a modern protocol if all-day use matters to you.
How to Check That Your VPN Is Working
The quickest check is the VPN badge in your status bar. You can also confirm it later by opening Control Center, where a VPN icon shows the connection is active. For a firmer test, search "what is my IP" in a browser before and after connecting; the address and location should change once the VPN is on.
One quirk to watch for: some apps do not pick up the new location until you force-quit and relaunch them after connecting. If a streaming or maps app still shows your real region, close it fully and reopen it.
How to Turn Off or Disable a VPN on iPhone
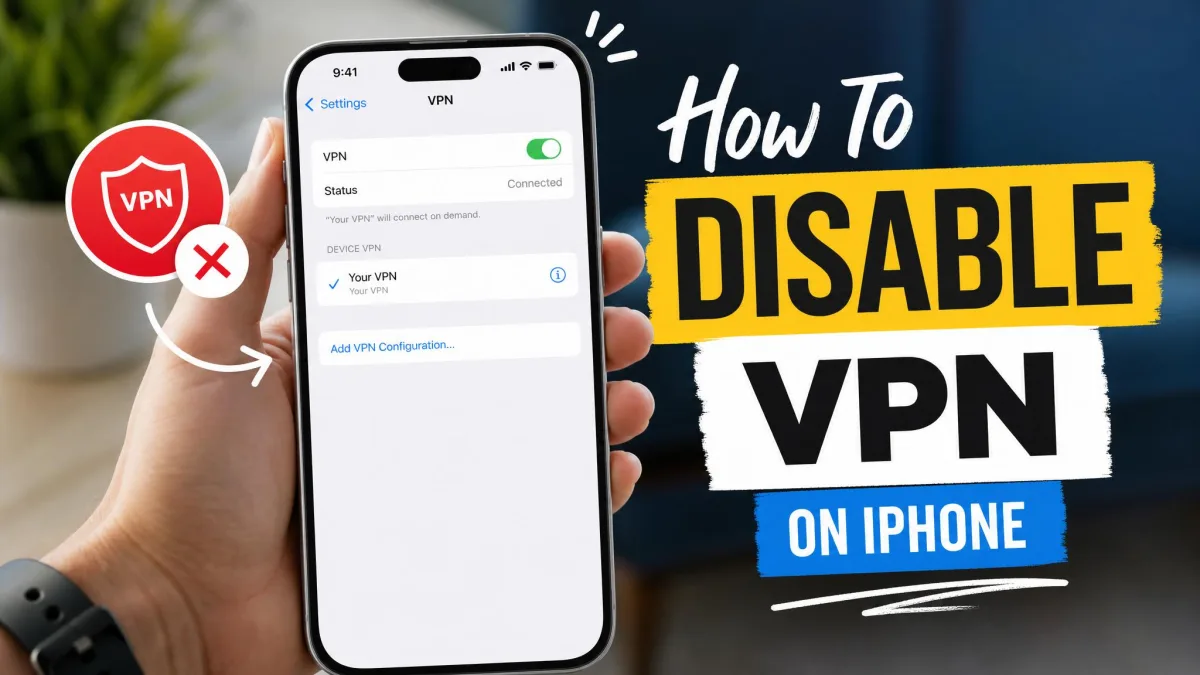
Turning a VPN off is as easy as turning it on. Open Settings and flip the VPN toggle at the top of the screen to Off, or use the disconnect button inside the app. iOS makes it simple to switch the VPN on only when you need it and off again the rest of the time, because that toggle stays in Settings while the app is installed.
To remove a connection entirely, go to Settings, General, VPN & Device Management, tap VPN, tap the information icon next to the configuration, and choose Delete VPN. Deleting stale profiles you no longer use is also good housekeeping, and it prevents the profile conflicts we cover in troubleshooting below.
Does the iPhone Have a Built-In VPN? (iCloud Private Relay)
Not exactly. Apple offers iCloud Private Relay, which people often mistake for a built-in VPN, but it is a narrower tool. It routes your Safari browsing through two separate relays so that no single party, not even Apple, can see both who you are and which sites you visit.
The limits matter. Private Relay only protects browsing in Safari, so Chrome, Firefox, and your other apps still need a real VPN. It also requires an iCloud+ subscription and iOS 15 or later, and it is unavailable in some regions. You can turn it on under Settings, your name, iCloud, Private Relay. For the full details, Apple documents it in Apple's iCloud Private Relay support guide.
How to Choose the Best VPN for Your iPhone
A VPN is only as good as the company running the servers, so choose carefully. VPN apps commonly named for iPhone include NordVPN, Surfshark, PureVPN, IPVanish, and FlowVPN, and they differ mainly in server locations, speed, and price.
Here is what we weigh when we test one. Speed and reliability vary widely between providers and depend on how far away the server is, so look for a large server network near where you live and travel. A clear no-logs policy, a kill switch, and a modern protocol like WireGuard round out the essentials. Be wary of free VPNs, which often fund themselves by logging or selling the very data you are trying to protect.
Troubleshooting Common iPhone VPN Problems
Most VPN trouble on an iPhone comes down to a handful of causes, and the fixes are quick.
- It will not connect at all. A VPN often fails on a weak or unstable Wi-Fi or cellular signal, because it needs a steady underlying connection to hold the tunnel. Move to better signal and try again.
- It connects, then drops when the screen locks. Low Power Mode or restricted Background App Refresh can stop iOS from keeping the app awake, which silently drops the tunnel. Turn Low Power Mode off and allow the app to refresh in the background.
- It stopped working after an iOS update. An outdated VPN app can break until it is updated for the new iOS. Check the App Store for an update.
- It keeps disconnecting. Conflicting or leftover VPN profiles and overloaded servers are the usual culprits. Delete stale profiles under VPN & Device Management, or switch to a different server in the app.
Frequently Asked Questions
Can I use a free VPN on iPhone?
Does a VPN slow my internet?
Is it legal to use a VPN?
Can I set up a VPN without an app?
Should the VPN stay on all the time?
Conclusion
Turning on a VPN on your iPhone is genuinely simple: install a trusted app and tap connect, or add a configuration by hand when someone gives you server details. From there, the toggle at the top of Settings lets you switch protection on and off in a second. Watch for the VPN badge to confirm you are covered, enable auto-connect if you want it handled for you, and remember that iCloud Private Relay is a Safari-only privacy layer rather than a replacement for a real VPN. Pick a reputable provider, and your browsing stays private wherever you go.