Changing your VPN means one of two things, and it helps to know which one you actually need. You are either swapping to a whole new VPN service, or you are keeping your current app and just moving to a different server or country. This guide covers both, on every major device, plus how to confirm the switch worked and what to do when it does not.
We test VPNs the boring way: real speed runs, leak checks, and streaming attempts before any tool earns a spot in our lineup. The steps below are the same ones we walk through ourselves whenever we set up or move a connection, written so you can follow along on Windows, Mac, Android, iPhone, or even a router.
What "changing your VPN" actually means
"Change my VPN" is a phrase people use for two separate jobs. The first is replacing your provider entirely, for example canceling one subscription and installing a different company's app. The second is staying with your current service and changing which server or country you connect through. Both are simple, but the steps and the reasons differ.
Your reason usually points to the right task. If you want a faster connection, a better price, or features your current app lacks, you are switching providers. If you just want to appear in another country or fix a slow, crowded server, you are changing your location inside the app you already have.
A VPN encrypts your internet traffic and assigns you a new server-based IP address. So "changing" it can mean changing the company behind that encryption, or simply changing the exit point your traffic leaves from.
Switching VPN providers vs. changing VPN location/server
Switching providers is the bigger move. You cancel the old service, remove its app, install the new one, sign in, and connect. Everything from your IP address to your app's settings changes at once.
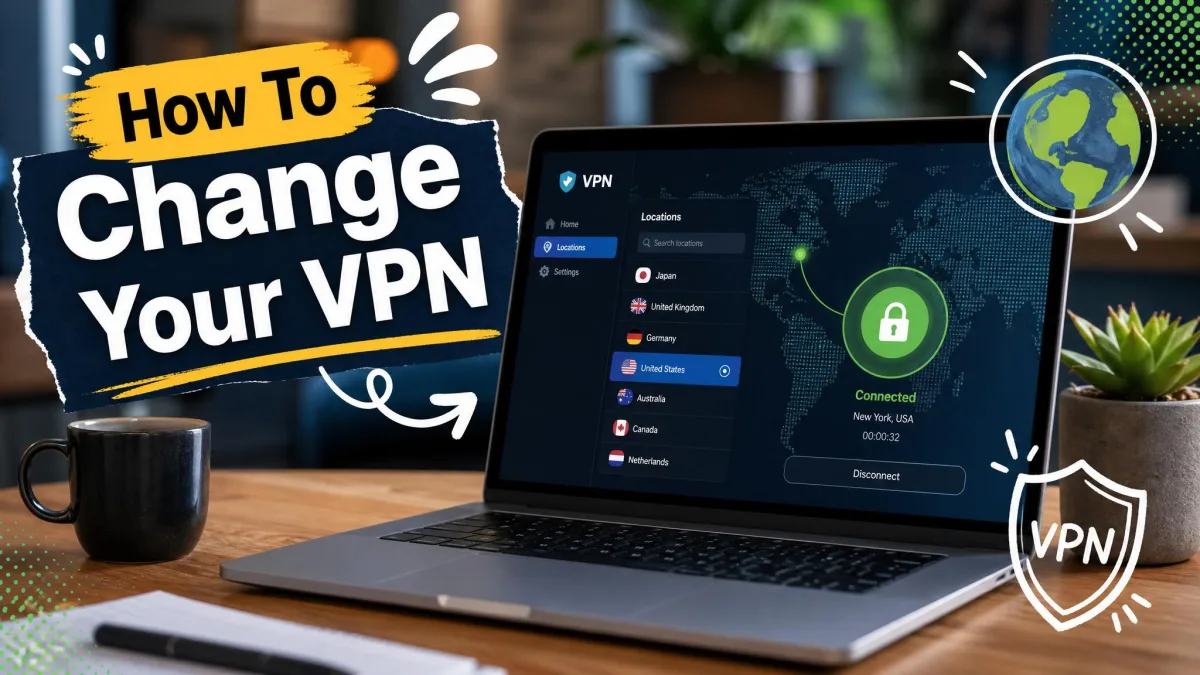
Changing your location or server is a two-tap job inside an app you already trust. You open the location list, choose a country or city, and connect. Your provider stays the same, but your apparent location and IP address change. Most people who search for how to change a VPN actually want this second, quicker option.
Before you switch: cancel and remove your old VPN
If you are moving to a new provider, tidy up the old one first. Running two VPNs at once causes connection conflicts, and forgotten subscriptions keep charging you. Cancel the old plan through the provider's website or through your app store, because deleting the app alone does not stop billing.
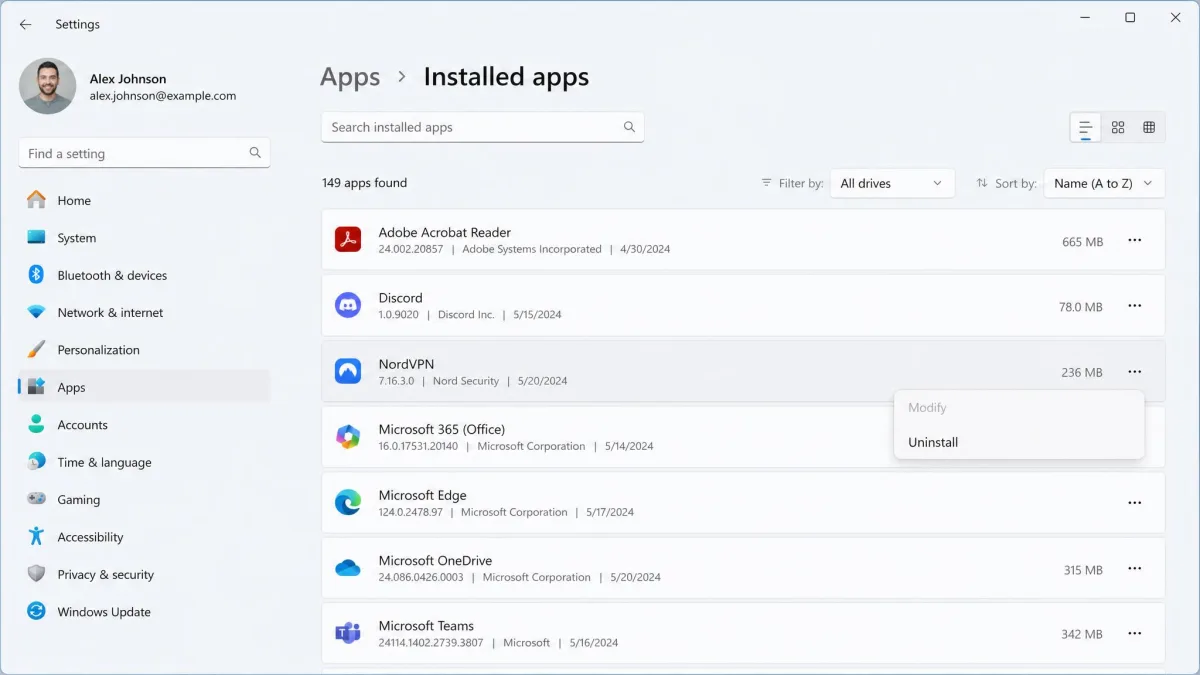
Next, remove the old app the normal way for your device. On Windows, open Settings > Apps > Installed apps, find the VPN, and select Uninstall. On a Mac, drag the app to the Trash or use its own uninstaller. On phones, press and hold the app icon and choose to remove or uninstall it.
Before you uninstall, make sure any leftover VPN connection profile is gone too. On Windows, open Settings > Network & Internet > VPN and remove the old connection if it still appears. Leftover profiles are a common reason a new VPN refuses to connect cleanly.
How to change your VPN on Windows
For most people, changing your VPN on Windows means installing the new provider's app and letting it do the work. Download the app from the provider's site, sign in, and connect. The app adds its own connection to Windows automatically, so you almost never touch the built-in settings. In our testing, this app-driven route is the smoothest and the least error-prone.
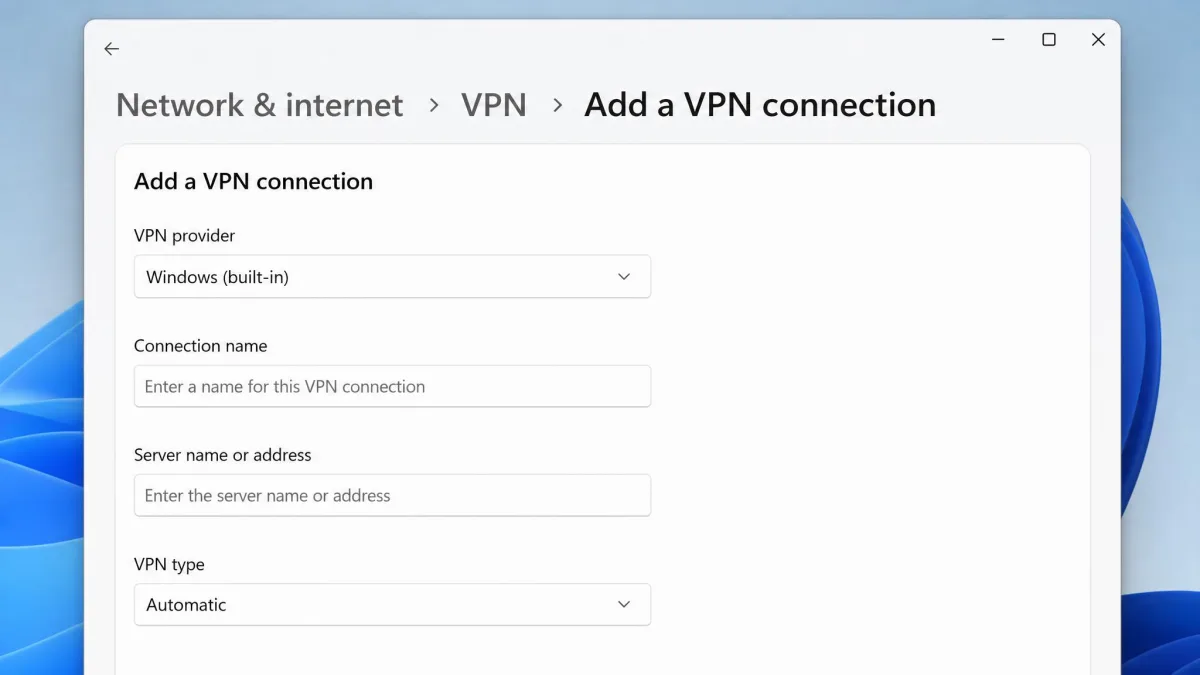
If you use the built-in Windows client instead, add the connection by hand. Open Settings > Network & internet > VPN > Add VPN on Windows 11, or Settings > Network & Internet > VPN > Add a VPN connection on Windows 10. Set the VPN provider to "Windows (built-in)", enter a connection name, the server name or address, the VPN type, and your sign-in info, then select Save.
To connect, open the network options from the taskbar or the VPN settings page and select your connection. When it works, Windows shows the connection as "Connected" and places a small blue shield on the taskbar network icon. Microsoft's own guide to connecting to a VPN in Windows walks through the same fields if you want the official reference.
If you are switching providers, remove the old built-in connection first so it does not clash with the new one. Open Settings > Network & Internet > VPN, select the old connection, and remove it before you add the new app.
How to change your VPN on Mac (macOS)
On a Mac, the easiest path is the same as on Windows. Install the new provider's app, sign in, and grant it permission to add a VPN configuration the first time you connect. The app handles the system setup for you, and switching providers rarely needs a manual profile at all.
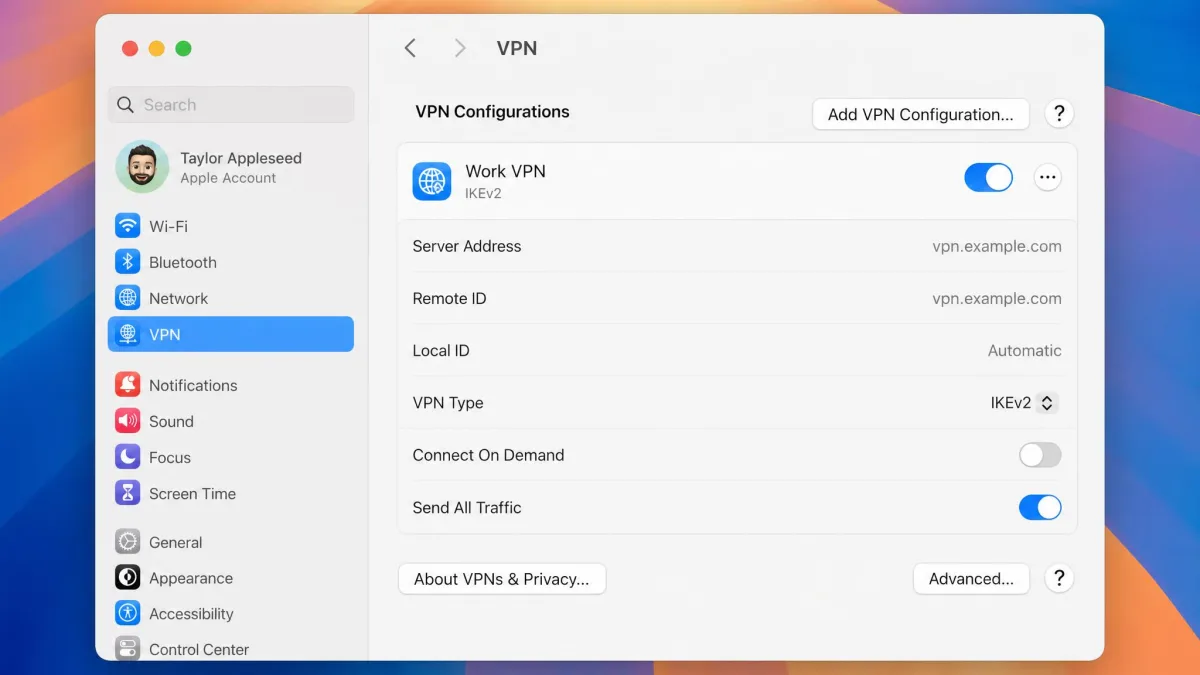
If you prefer a manual connection, add it under the system settings. Open System Settings > VPN (or Network on older macOS), add a configuration, and enter the server address, VPN type, and your credentials. Save it, then connect from that same screen or from the menu bar. First-time connections ask you to allow the configuration, which is normal.
When you swap providers on a Mac, open System Settings > VPN and delete the old configuration before you rely on the new one. Two active profiles can send your traffic through the wrong tunnel without any obvious warning.
How to change your VPN on Android
On Android, the app does nearly all of it. Install the new VPN from the Play Store, open it, sign in or create an account, and tap Connect. Android will ask you to allow a VPN connection request the first time, so select OK to approve it.
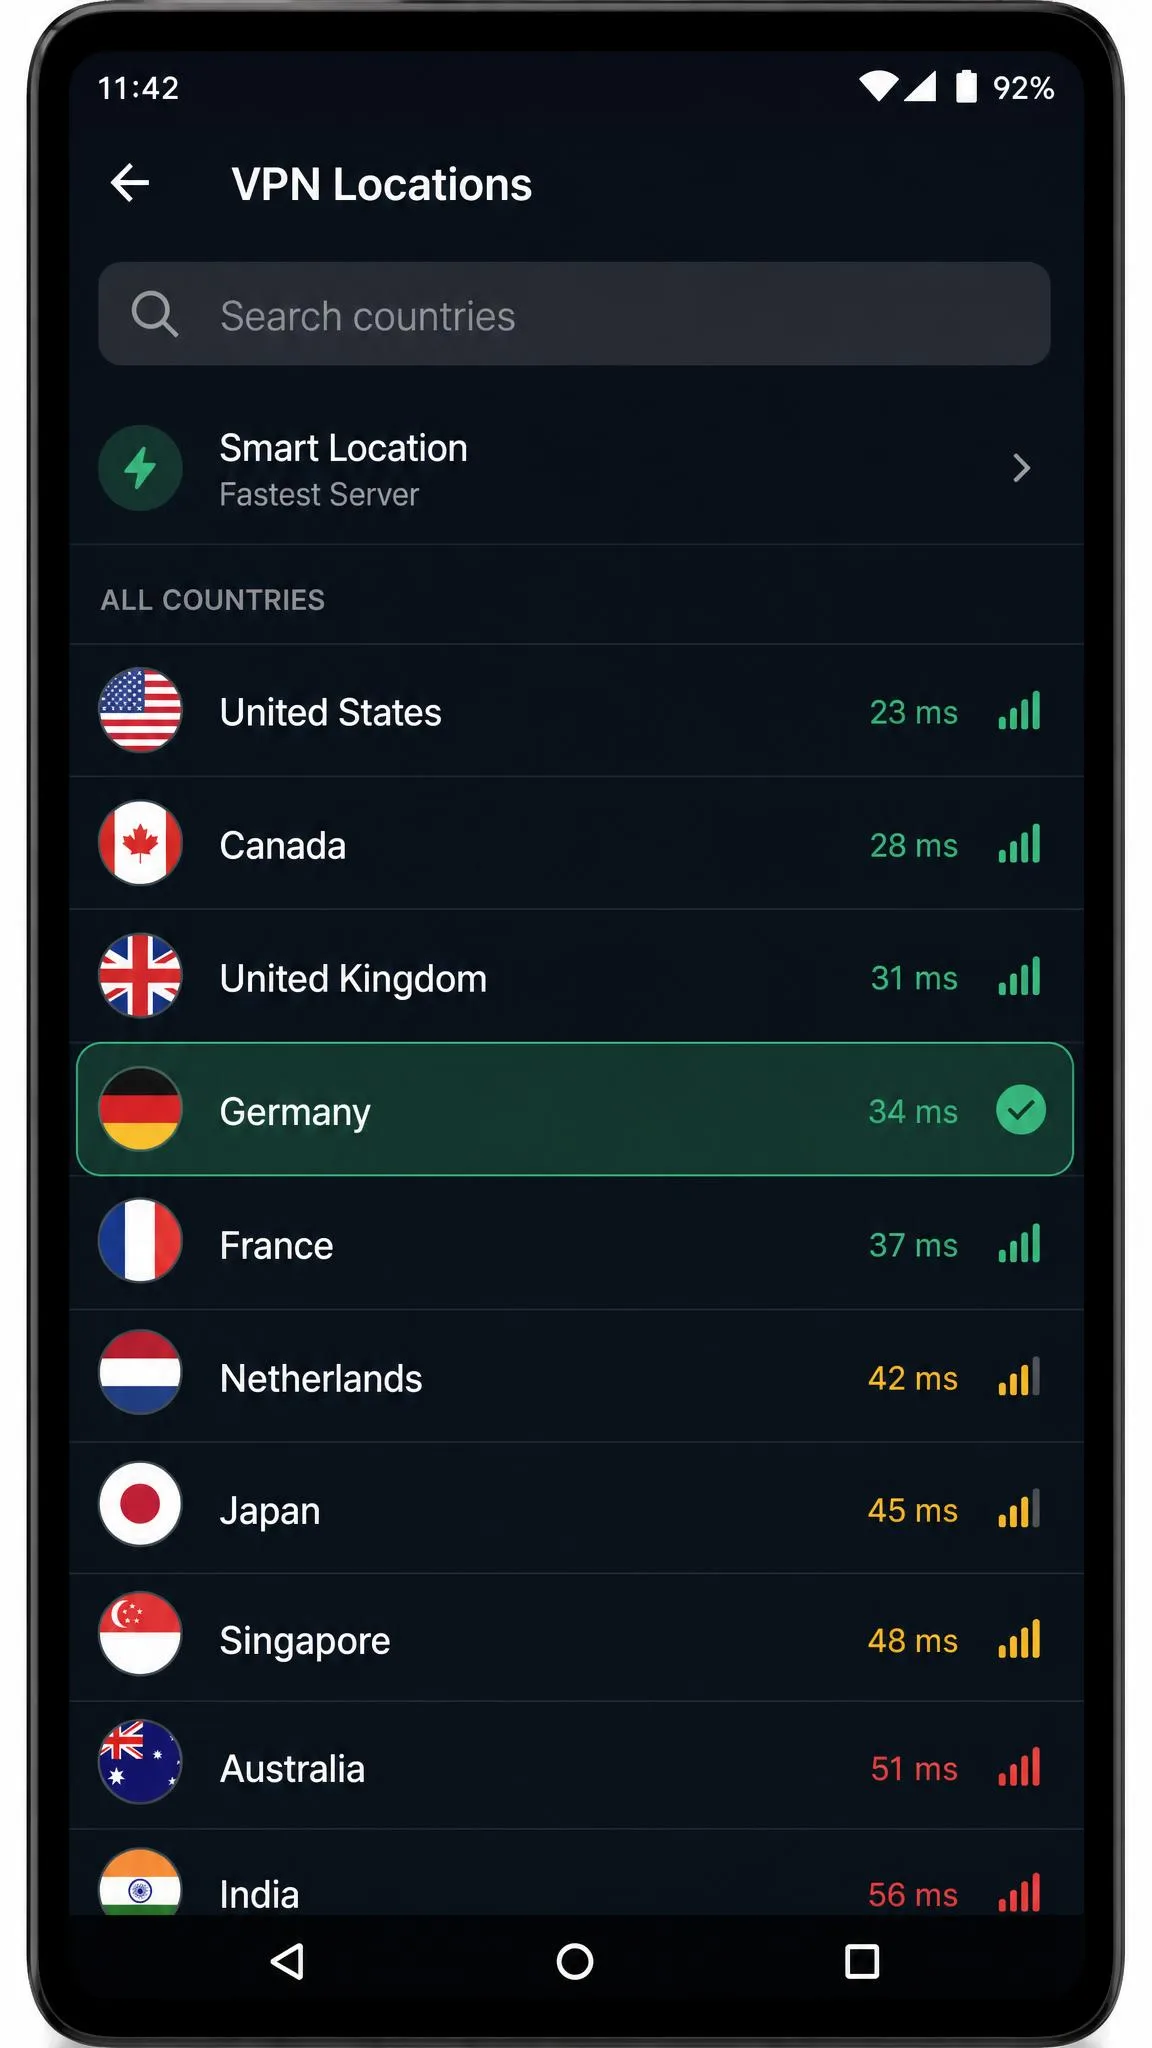
To add a manual profile instead, open Settings > Connections > More connection settings > VPN > Add VPN Profile, then enter the name, type, server address, and credentials your provider gave you. To change your location inside an app you already use, open the app, sign in, and tap a country or city on the map or in the search bar, then connect.
How to change your VPN on iPhone (iOS)
The iPhone follows the same pattern. Install the new app, open it, sign in, and connect. iOS shows a prompt asking you to allow the VPN configuration, and a small VPN badge appears in the status bar once you are connected.
For a manual setup, open Settings > General > VPN & Device Management > VPN > Add VPN Configuration, choose a type such as IKEv2, and enter the server, Remote ID, and your credentials. App users who just want a new country skip all of that and tap a different server inside the app to change location. It is the fastest option on iOS by far.
If you keep more than one VPN app on your iPhone, only let one connect at a time. iOS routes through a single active configuration, so leaving an old one enabled can quietly override the new provider you just installed.
How to change your VPN on a router
Changing the VPN on a router protects every device on your network at once, but it takes more care. First, make sure your VPN provider supports your specific router model, because many consumer routers cannot run VPN client firmware at all.
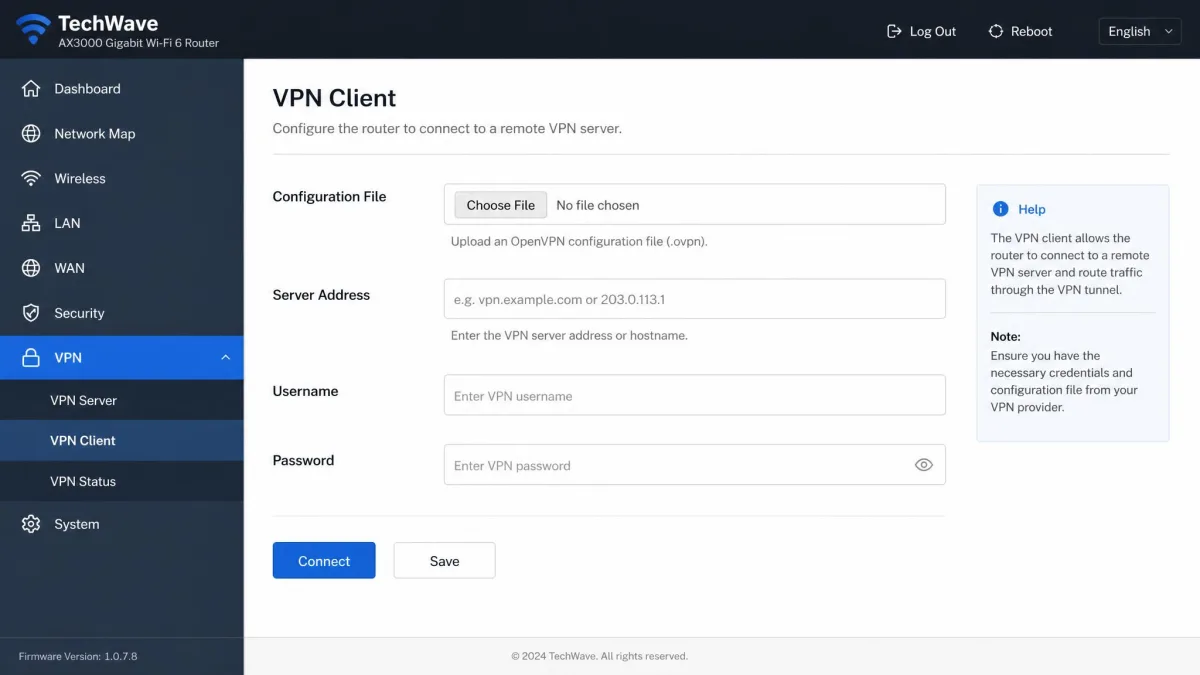
Open a browser and go to your router's admin address, commonly 192.168.0.1 or 192.168.1.1, then log in. Find the router's VPN or OpenVPN settings and enter the configuration your provider supplies, which usually includes a config file, server address, and login details. Save and apply, then reboot the router if it asks. To change providers later, remove the old configuration in that same panel before you load the new one.
How to change your VPN location or server country
Changing your location is the quick, everyday task most people mean, and it lives entirely inside your app. You do not touch any operating system settings for this. The flow is nearly identical across Windows, Mac, Android, and iPhone.
Sign in or create an account
Open your VPN app and sign in. If this is a brand-new service, create an account first, then sign in with those details. Some free options make this easy: Proton VPN offers a free plan that covers 1 device with no data limit, though free servers are restricted to a small set of countries. Paid plans go much wider, covering 110+ countries and up to 10 devices.
Choose a server and connect
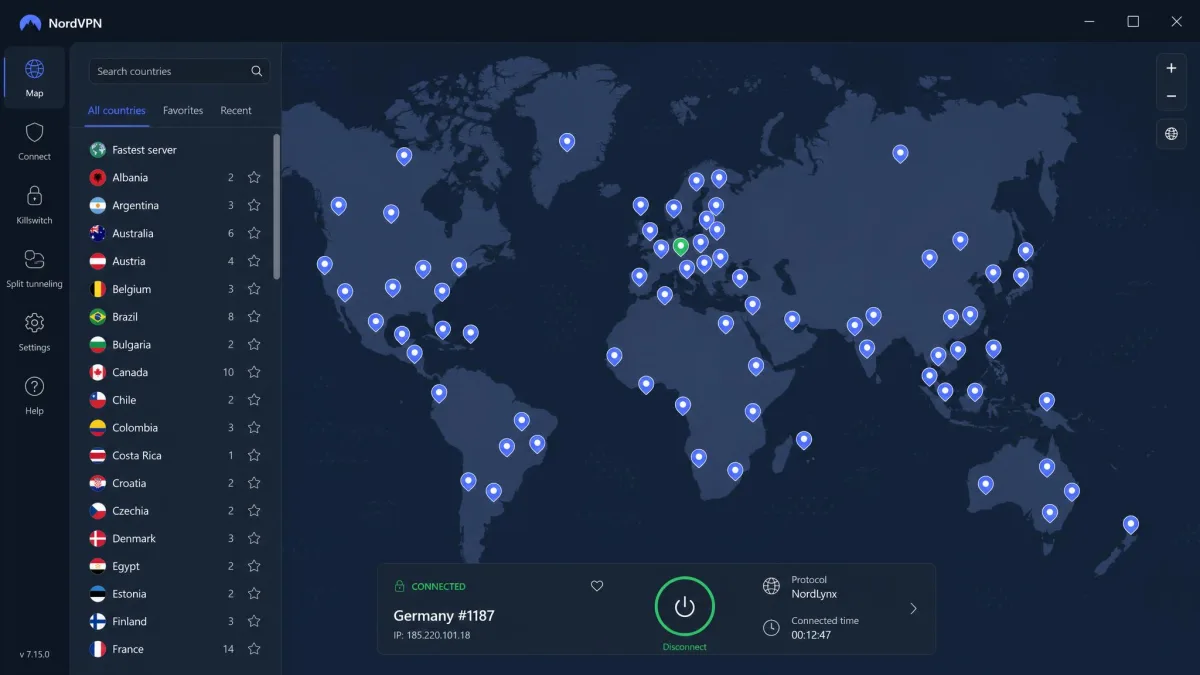
Once you are signed in, open the location or server menu, select the country you want to browse from, and connect. The app assigns you an IP address in that country and reroutes your traffic through it. On your first connection it may request permission to add a VPN configuration, which you should approve. Providers like Norton VPN advertise access to over 130 server locations, so you usually have plenty of choice.
Distance adds latency, so the nearest available server is usually your fastest choice after switching. Pick a far-off country only when you actually need that location, for example to access a regional service.
How to confirm your VPN (IP/location) changed
Never assume the switch worked just because the app says "connected." We always verify, because a stale connection can show green while your real IP still leaks through. After you connect, visit an IP-checking site such as WhatIsMyIPAddress.com or IPLeak.net and read the location and IP it reports back.
If the site shows the country you selected, your new server is working. If it still shows your real location, the change did not take hold, and the troubleshooting steps below will sort it out. DNS requests can also leak even when your IP looks right, so run a DNS leak test and turn on your app's DNS leak protection to confirm the new location is fully in effect.
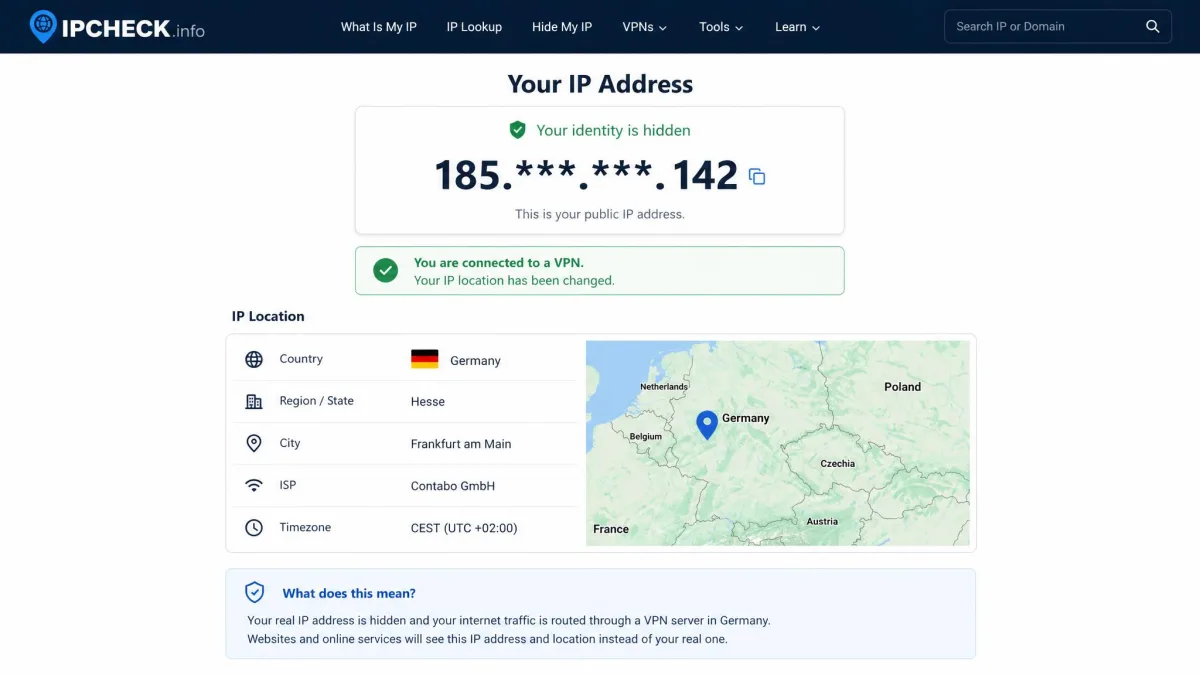
A green "connected" light tells you the app is running. Only an IP check tells you your location actually moved.
— From our hands-on testing routine
New VPN not working? Troubleshooting tips
When a fresh VPN will not connect, start with the fastest checks. Restart the app, and confirm your plain internet works with the VPN switched off. Those two steps rule out a general outage before you dig any deeper, and they solve more problems than people expect.
If the internet is fine but the VPN still fails, switch servers. A single popular server can be overloaded, so moving to another server in the same country often fixes a slow or refused connection right away. Next, try changing the protocol: connect with WireGuard first, then OpenVPN UDP, then OpenVPN TCP on port 443, which is the most firewall-friendly option.
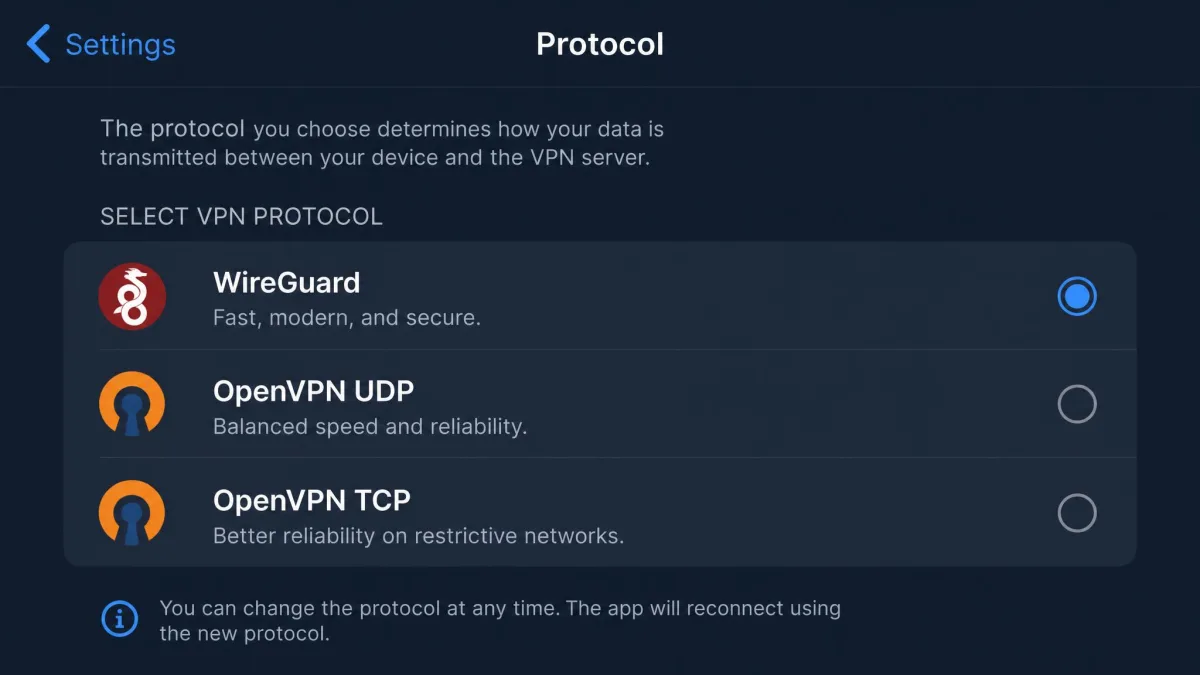
Two more fixes cover the stubborn cases. Clearing the DNS cache resolves stale-location and site-access problems after a switch, using ipconfig /flushdns on Windows or dscacheutil -flushcache on macOS. And if a streaming site or page stays blocked even after your IP clearly changed, that is the site detecting VPN traffic, not a failure on your end. Switching to a different server usually gets you through.
Expect a rough 10 to 20% speed drop versus your no-VPN connection, since encryption adds overhead. If a new provider feels far slower than that, switch to a closer or less crowded server before you blame the service itself.
How to choose the right new VPN service
If you are switching because your current VPN disappoints you, choose the next one on the things that actually matter in daily use. We weigh speed under load, a working kill switch, DNS leak protection, a wide server network, and a modern protocol like WireGuard. A no-logs policy and clear pricing round out the list.
Match the plan to how you live online. Count the devices you need to protect, check whether the countries you care about are covered, and look at router support if you want whole-home protection. A free tier is fine for light, occasional use, but heavy streaming and daily privacy are better served by a paid plan with room to grow.