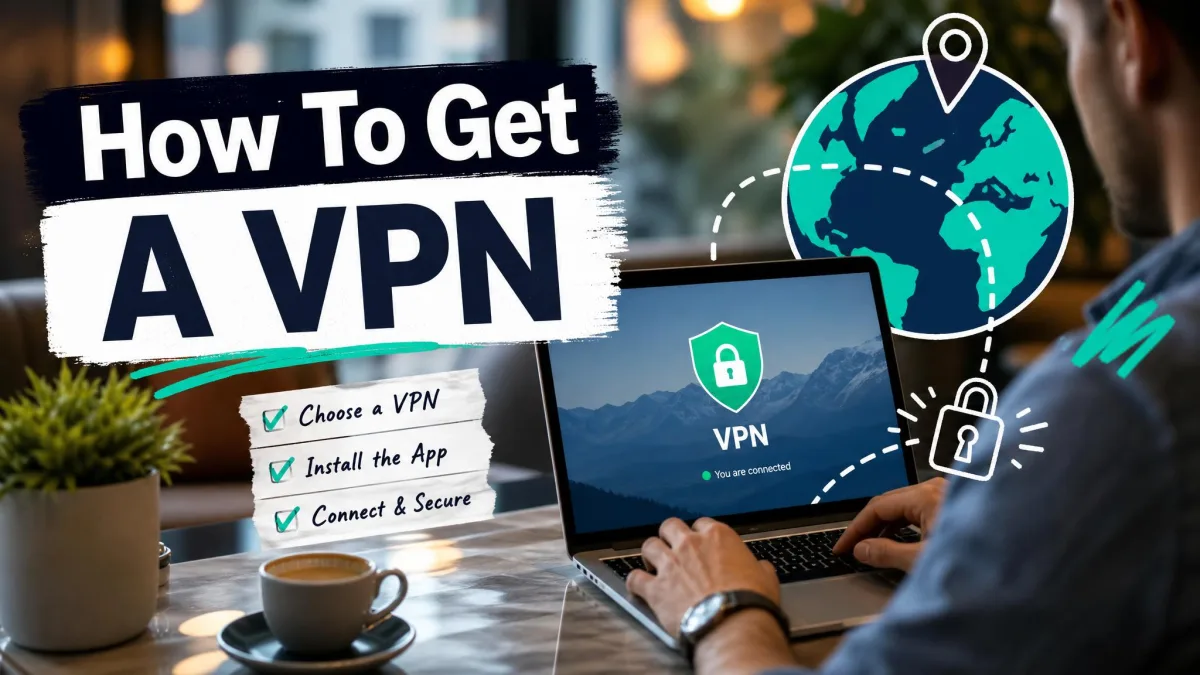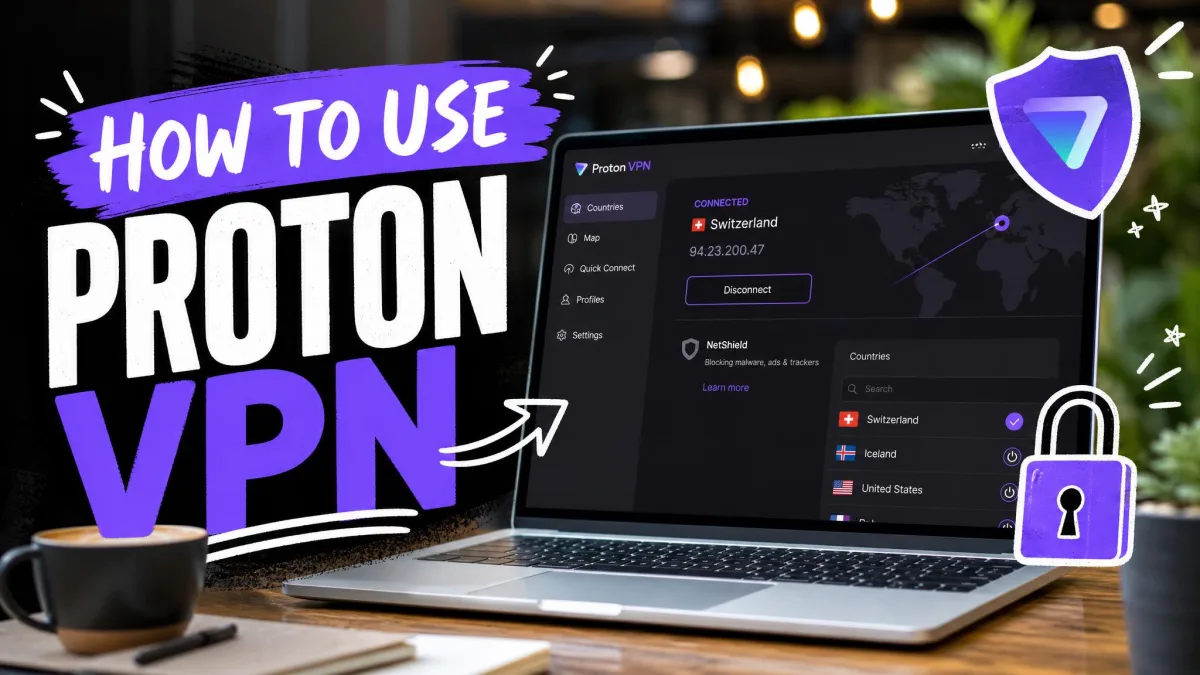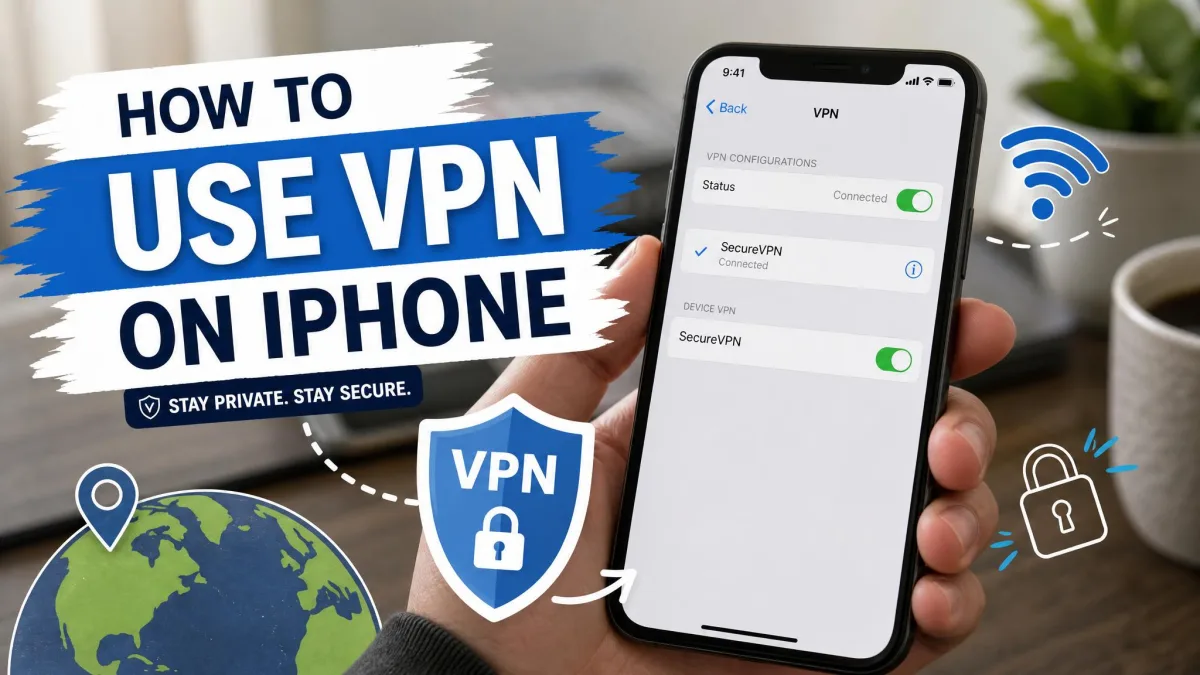
You just joined the coffee-shop Wi-Fi, and a small voice in your head wonders who else is on that network. Maybe you want to reach a streaming library from back home, or you simply do not love the idea of your carrier logging every site you open. Whatever brought you here, the fix is the same: a VPN on your iPhone. The good news is that setting one up is far easier than most people expect, and you do not need to be a network engineer to get it right.
In this guide, we will walk through everything we tested on our own iPhones, from installing an app and connecting in about a minute to configuring a VPN by hand in Settings. We will also cover Apple's built-in iCloud Private Relay, when to switch protection on and off, and how to fix the connection problems that trip people up. By the end, you will know exactly which method fits your situation and how to confirm it is actually working.
We ran through each of these methods on current iPhones over several days, timing the setup steps, checking for leaks, and connecting to servers near and far to see how they held up. The steps below are the ones we would follow ourselves.
What Is a VPN and Why Use One on Your iPhone?
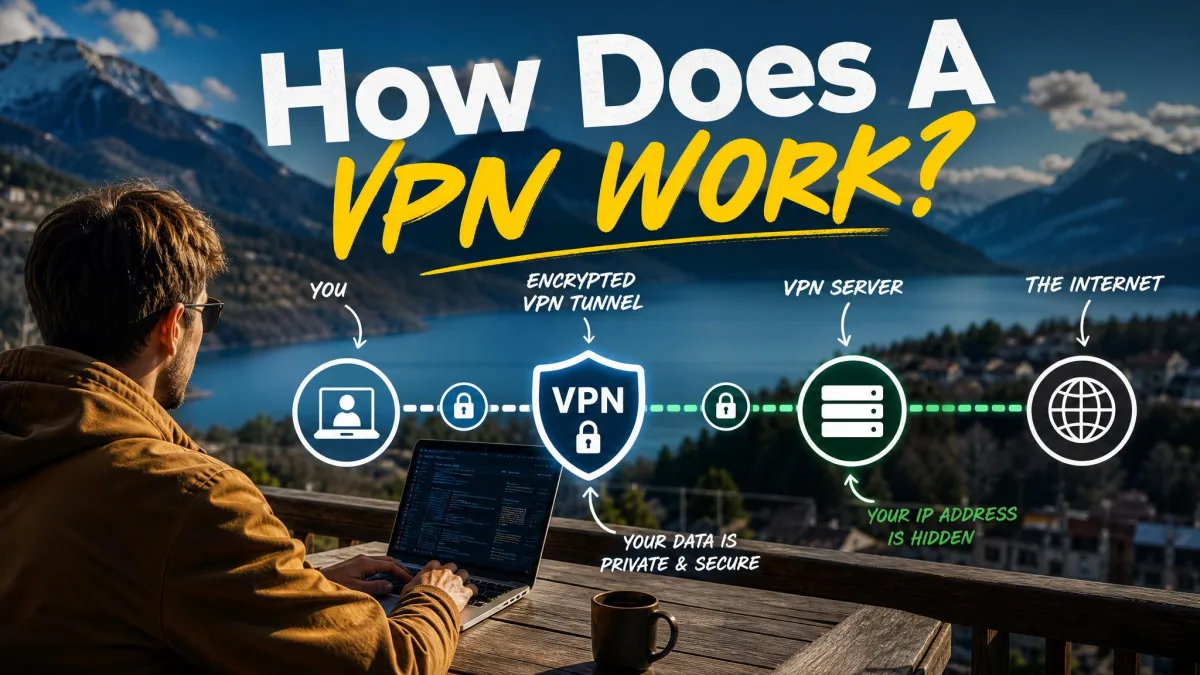
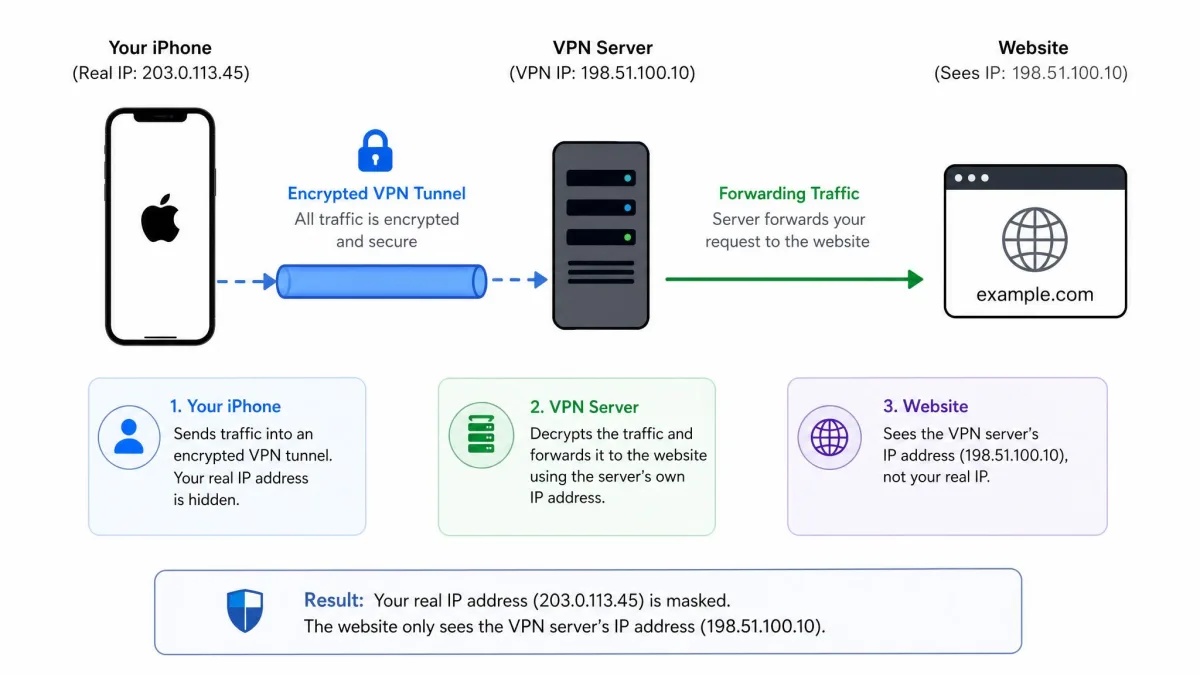
A VPN, short for virtual private network, is a service that routes your internet traffic through an encrypted tunnel to a server run by the VPN provider. Instead of your data traveling straight from your iPhone to a website, it first passes through that private connection, where it is scrambled so nobody in between can read it. The website then sees the VPN server's address rather than your real one.
That single change buys you two things that matter. First, privacy: your internet provider, a network owner, or anyone snooping on public Wi-Fi cannot see which sites you visit or what you send. Second, access: because your traffic appears to come from the server's location, you can reach content and services as if you were sitting in that country. Together, encryption and a swapped IP address are the whole point of the feature.
Why does this matter more on a phone? Your iPhone hops between networks all day, from home Wi-Fi to cellular to whatever hotspot a hotel or airport offers. Those public networks are exactly where prying eyes have the easiest time. A VPN closes that gap on every network you touch, which is why we keep one installed and ready rather than only reaching for it in emergencies.
A VPN hides your traffic from the network you are on and from the sites you visit, but the VPN provider itself can see your connection. That is why the company you choose, and its privacy policy, matters as much as the technology.
How to Choose the Right VPN App for iPhone
Before you install anything, it helps to know what separates a VPN worth trusting from one that quietly sells your data. The App Store is full of free options, and many of them make money in ways that defeat the entire purpose of running a VPN. A little care here saves a lot of regret later.
The biggest divide is free versus paid. A reputable paid service has a business model you can point to: you pay, they run servers. Many free apps have no such clarity, and independent research has repeatedly found free mobile VPNs leaking data or logging activity. If a VPN is genuinely free with no catch, be curious about how it keeps the lights on.
What to Look For in an iPhone VPN
When we evaluate a VPN app for iPhone, a handful of features do the heavy lifting:
- A no-logs policy, ideally one that has been independently audited, so the provider is not keeping records of what you do.
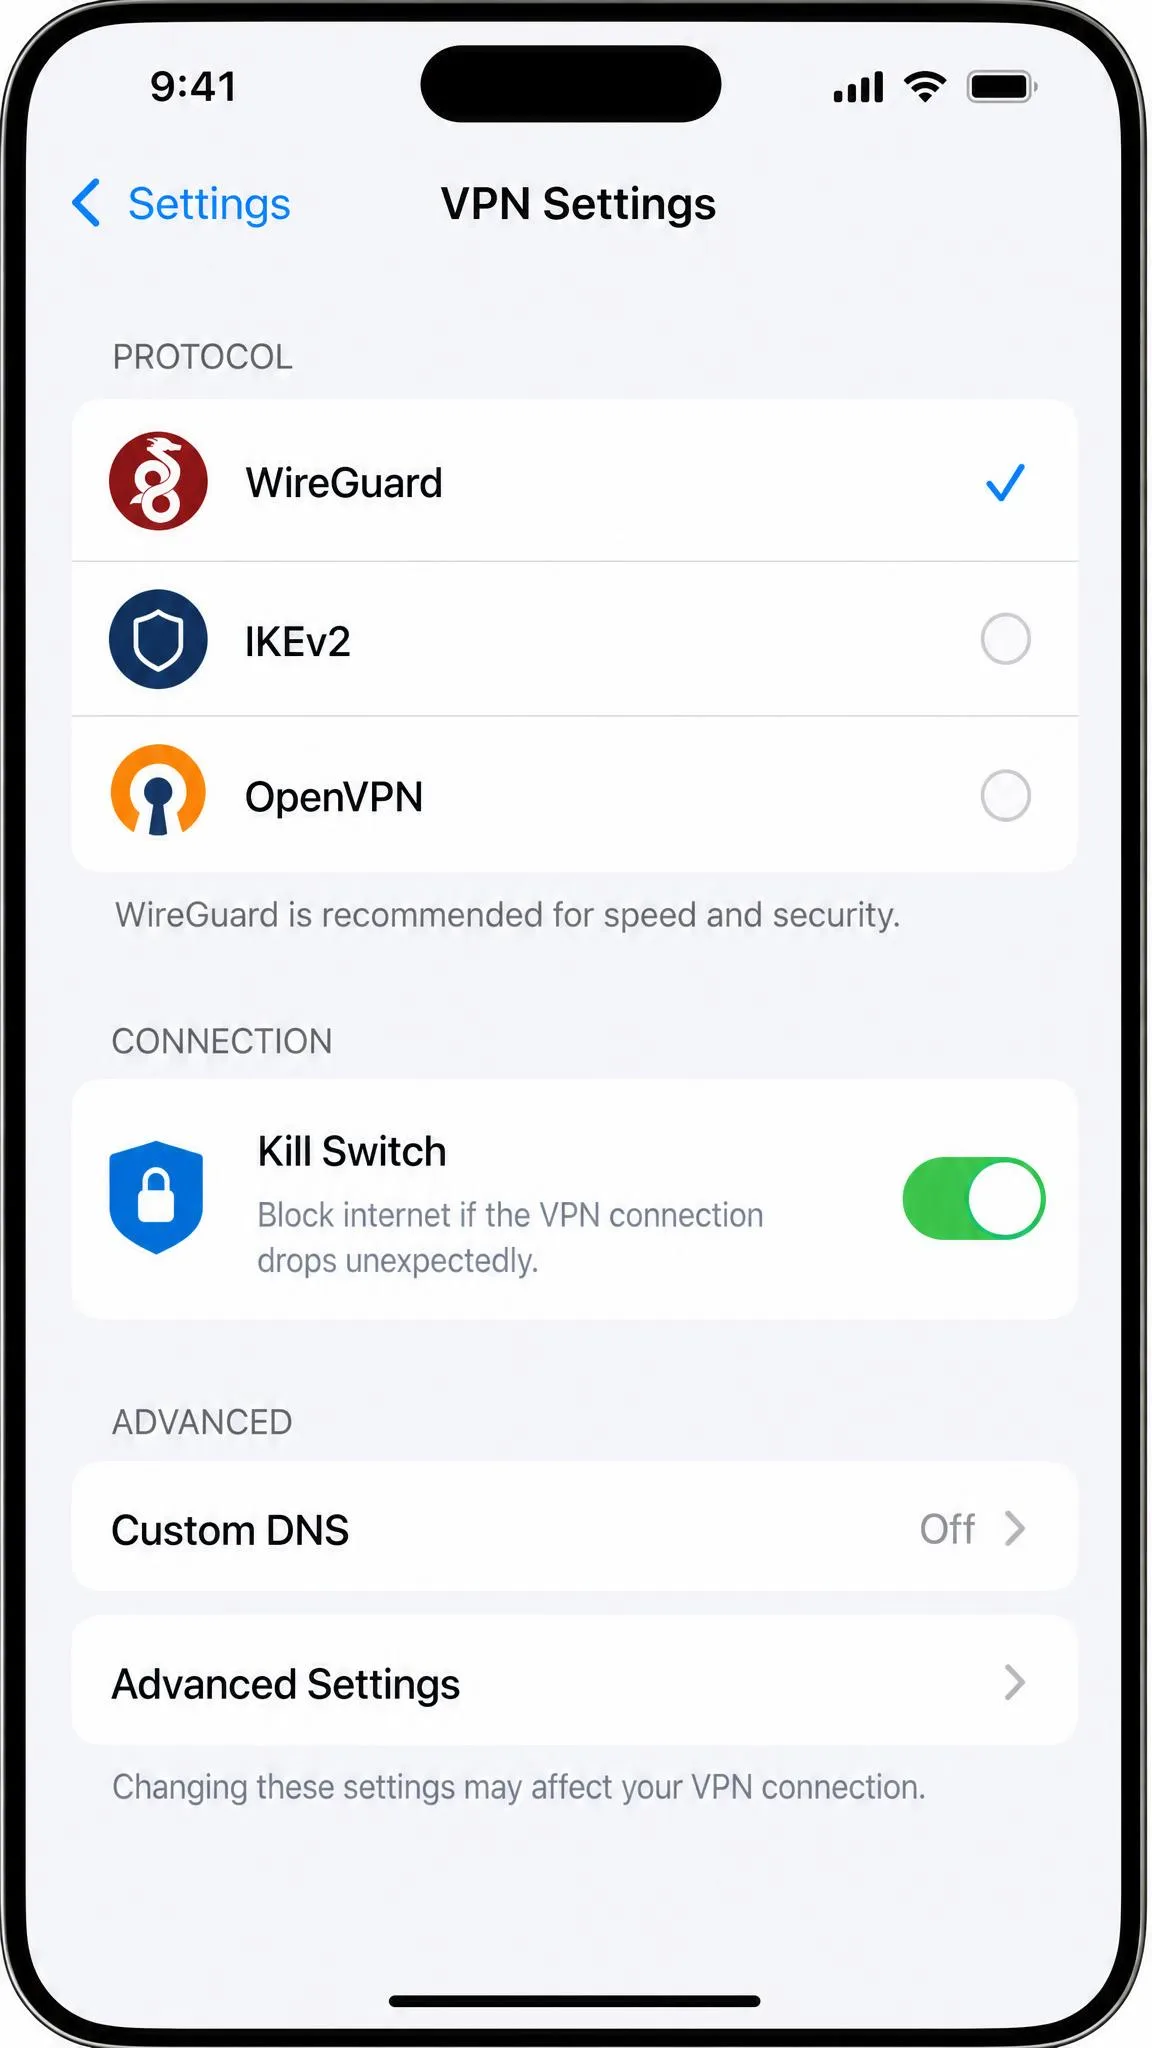
- A kill switch, which cuts your internet if the VPN connection drops, so your traffic never leaks unprotected.
- Modern protocols. The best iOS apps offer WireGuard, IKEv2, and OpenVPN. WireGuard is the most battery-efficient of the three, which matters a lot on a phone.
- A wide server network, so you can pick a nearby server for speed or a specific country for access.
- Extra controls like auto-reconnect, split tunneling, and an always-on VPN mode for people who want protection running full time.
If battery life is a concern, choose an app that supports WireGuard and set it as your default protocol. In our testing it was consistently the easiest on the battery while staying fast.
You do not need every feature, but a kill switch and a clear no-logs policy are the two we would not go without. Get those right and the rest is refinement.
How to Set Up a VPN on iPhone Using an App
For almost everyone, the app method is the way to go. It is fast, it protects every app on your phone rather than just your browser, and the app handles the technical parts for you. When we timed it, the whole process took roughly a minute from download to a live connection. Here is exactly how it goes.
Step 1: Download and Open a VPN App
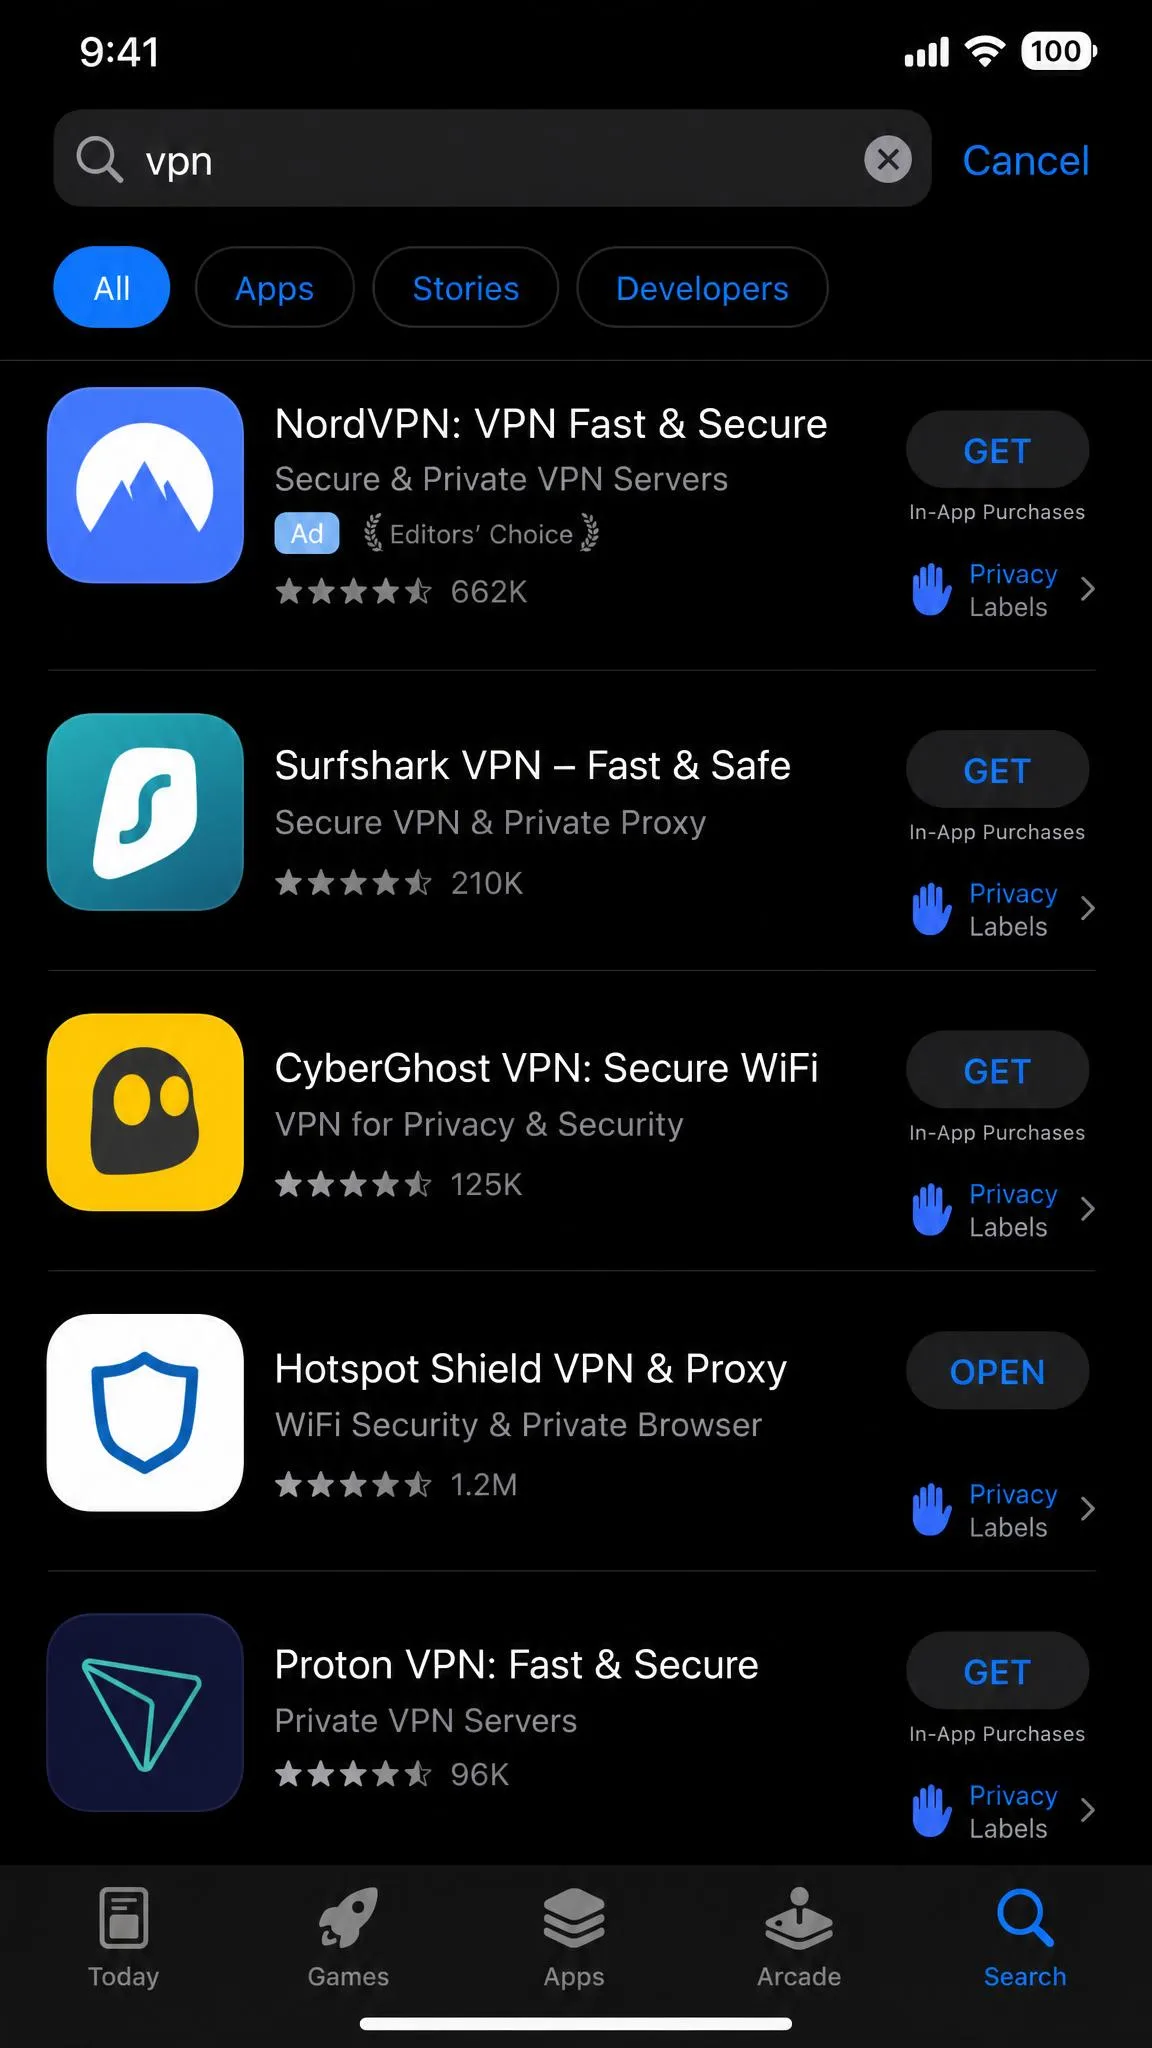
Open the App Store, search for the VPN service you chose, and tap to download it just like any other app. Once it finishes installing, tap to open it. Most VPN apps greet you with a welcome screen and a prompt to sign up or log in.
Step 2: Create an Account or Sign In
If you already bought a subscription on the provider's website, choose the sign-in option and enter your credentials. If not, the app will walk you through creating an account and picking a plan. Some services let you subscribe directly through your Apple account, which keeps billing simple. Complete this step and you are ready to connect.
Step 3: Allow the VPN Configuration
The first time you connect, iOS asks for permission to add a VPN configuration to your iPhone. This is normal and required: the app is installing the profile that lets it route your traffic. Tap Allow, then confirm with Face ID, Touch ID, or your passcode. You only have to do this once per app, and after that connecting is a single tap.
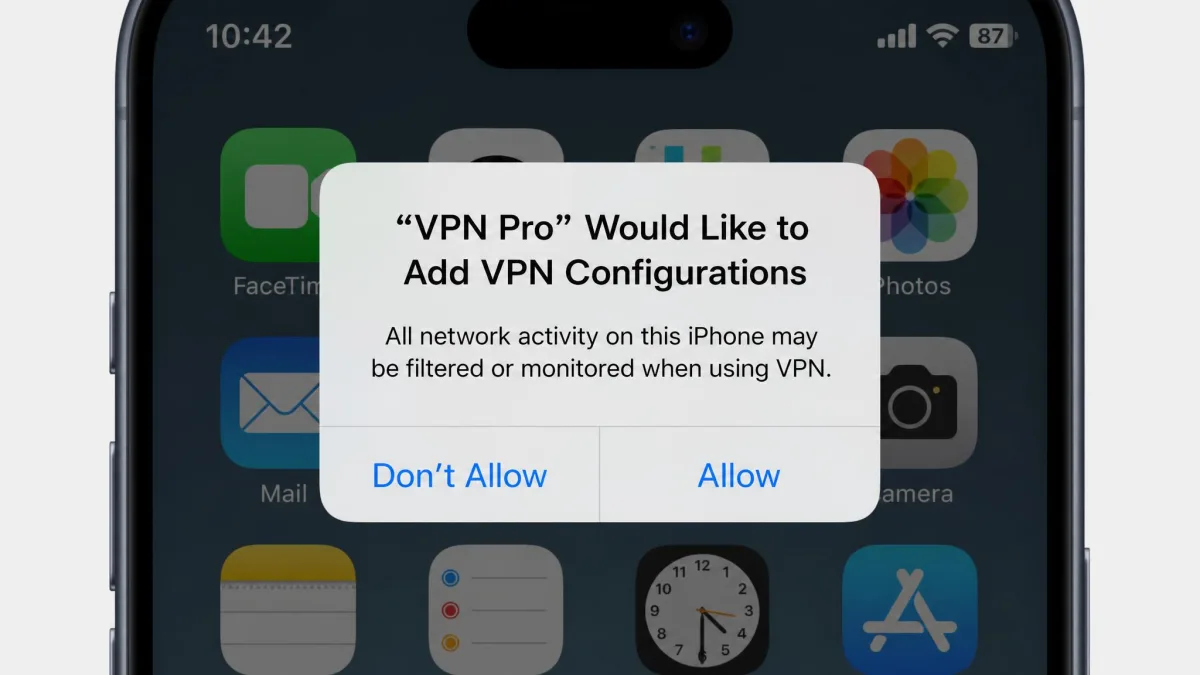
That permission prompt is iOS doing its job. It is telling you an app is about to manage your network traffic, which is exactly what a VPN needs to do. You should only ever see it from a VPN or a work-management app you installed on purpose.
Step 4: Connect to a Server
Now for the satisfying part. Most apps have a large connect button that picks the fastest nearby server for you, which is the right choice for everyday privacy. If you want a specific country, open the server list and choose it. Tap connect, wait a second or two, and the app will show a connected status.
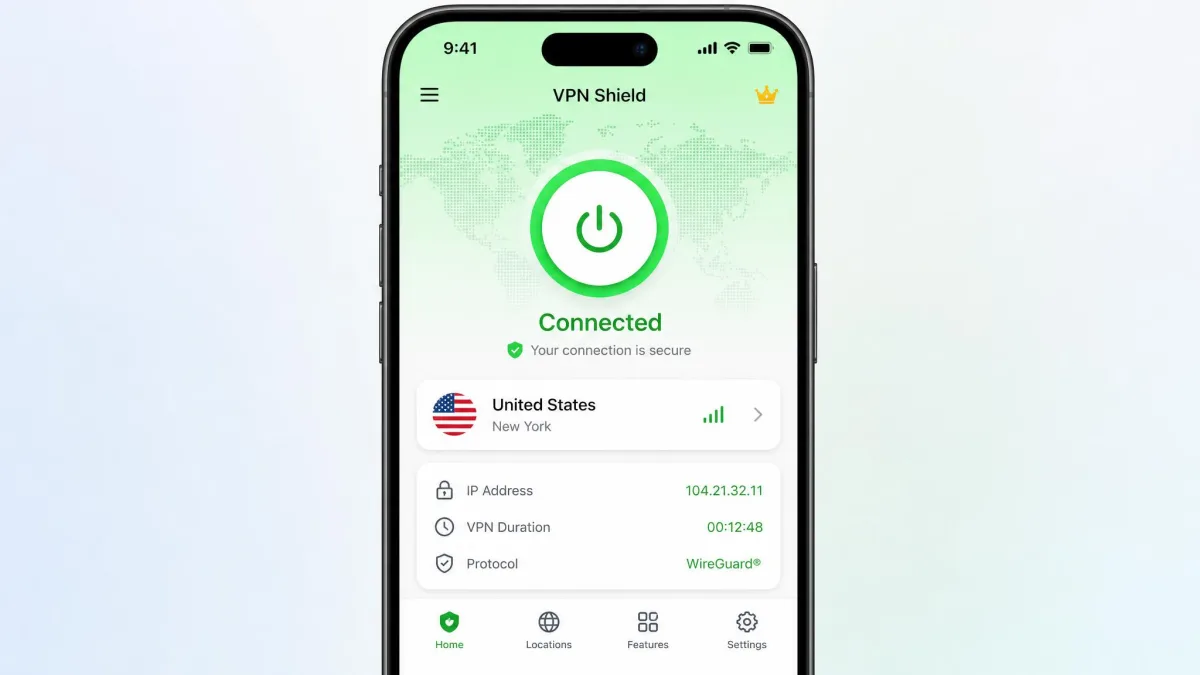
Step 5: Verify Your Connection
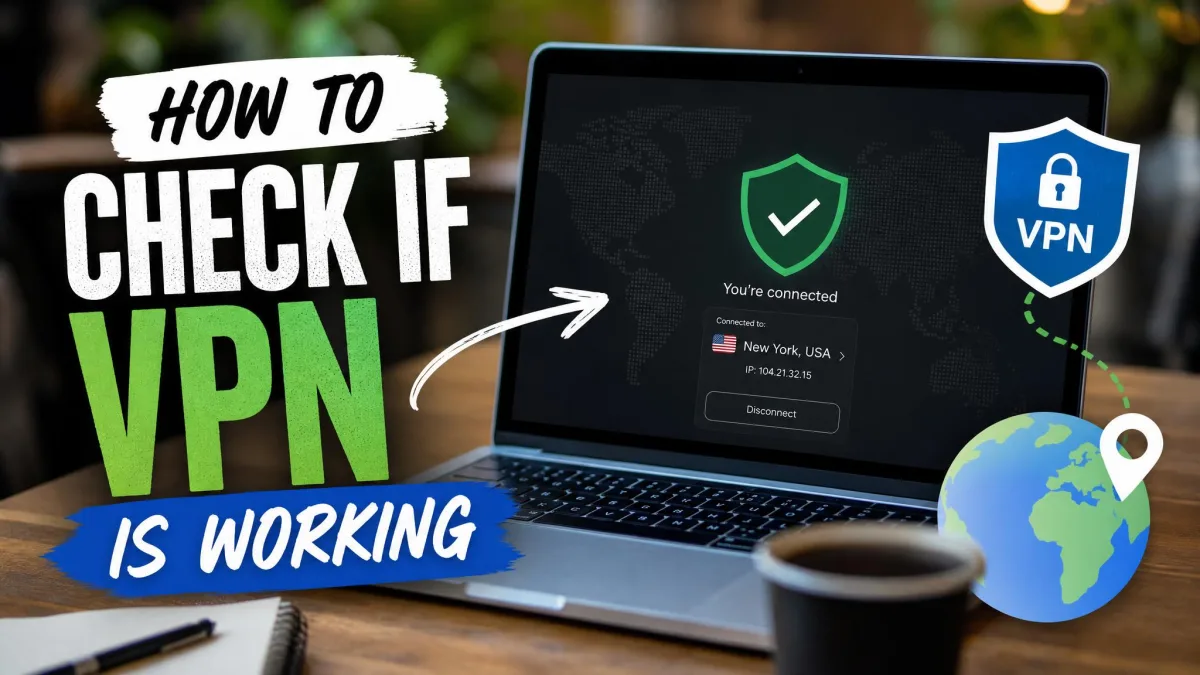
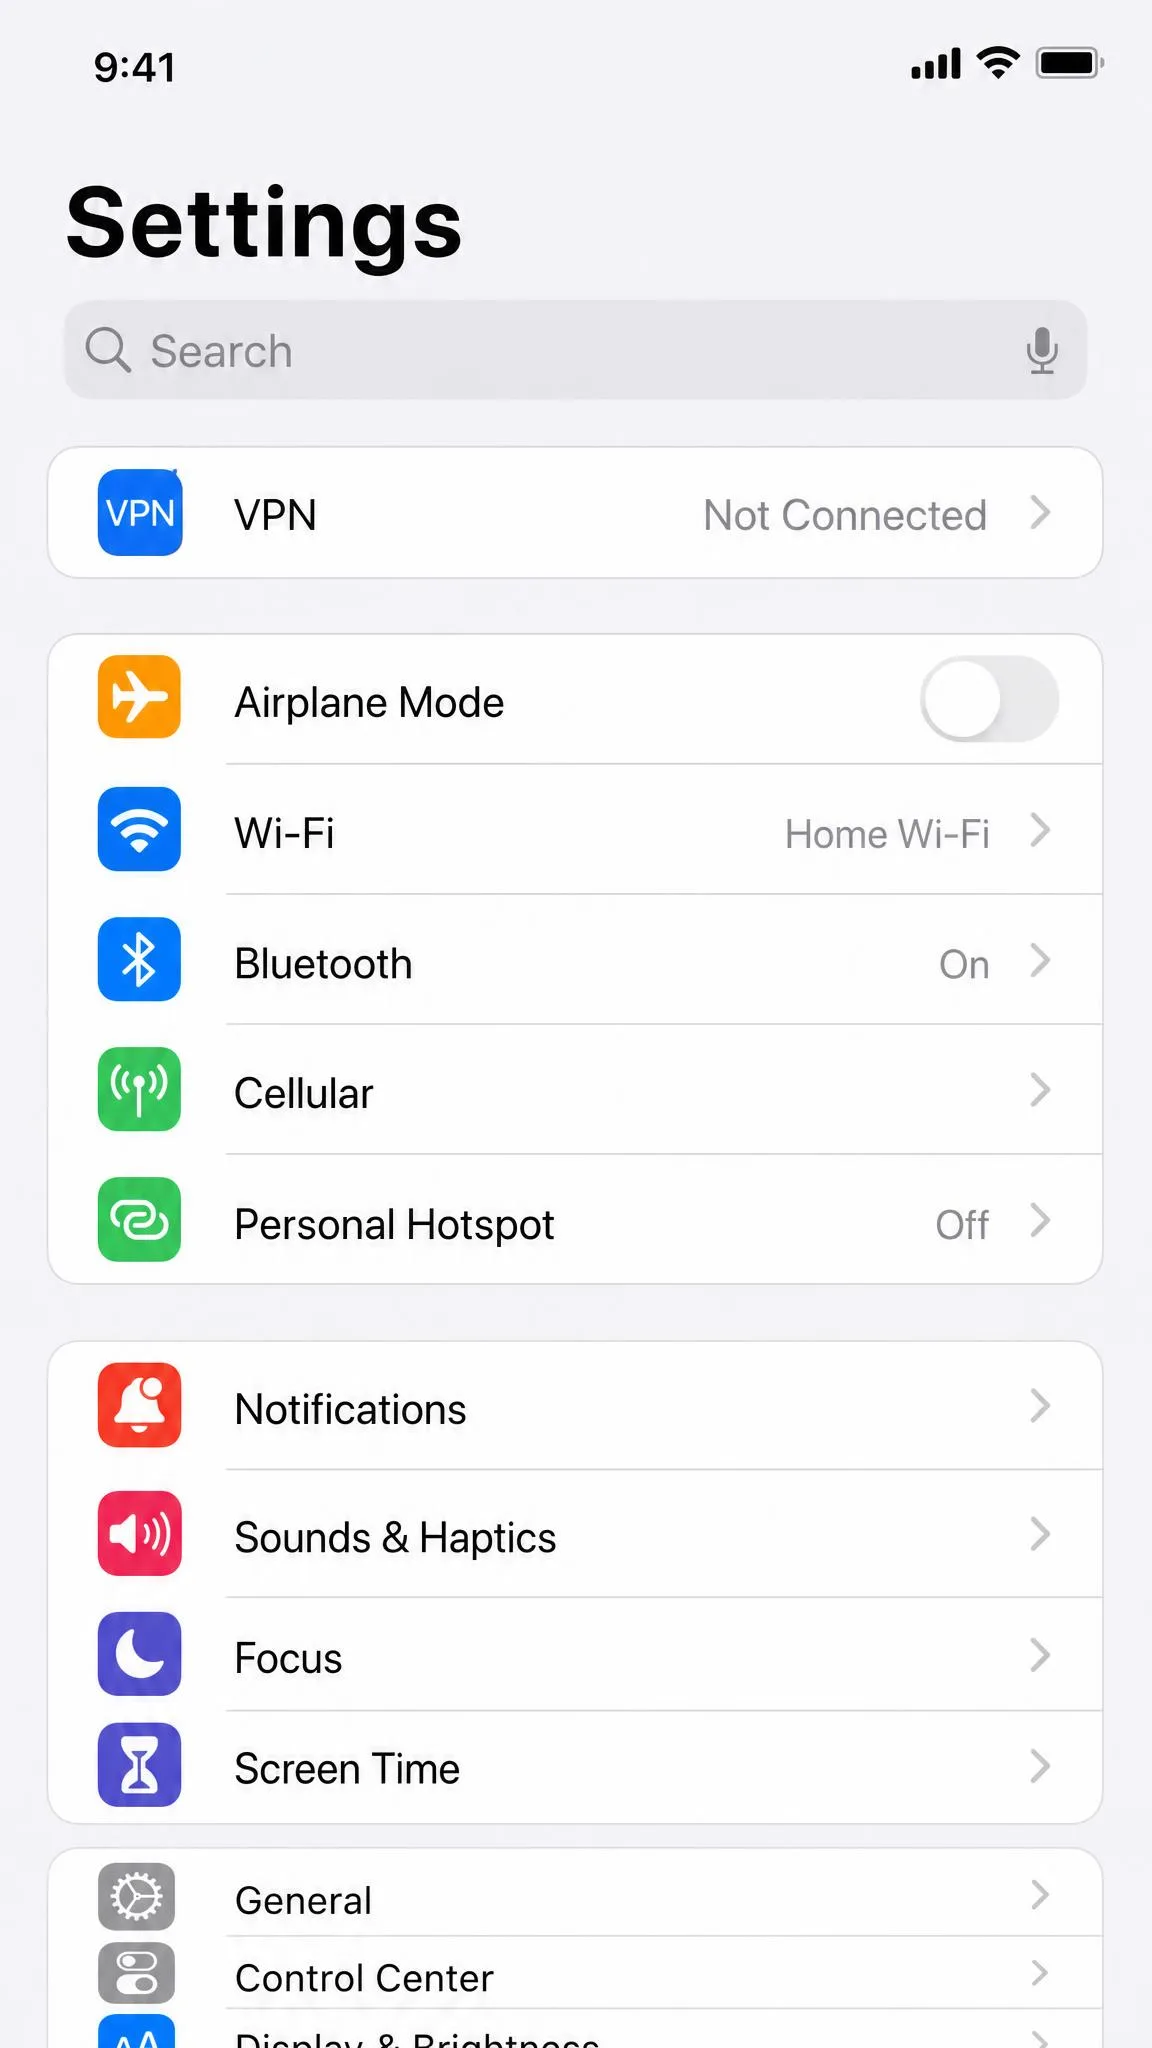
Never assume it worked; always confirm. When a VPN is active, iOS shows a small VPN badge in the status bar at the top of your screen. You can also open Settings and check that the VPN toggle near the top reads connected. For extra certainty, visit a site that reports your IP address or location, and check that it shows the server's country rather than your own. We run this check every time we connect on a new network, and it takes only a moment.
Bookmark a "what is my IP" page so you can verify a connection in seconds. If it still shows your real location, the tunnel is not up, and your traffic is not protected.
How to Set Up a VPN Manually in iPhone Settings
Sometimes you do not have an app. Maybe your workplace or school gave you server details, or your provider only supports manual setup. iOS has a built-in VPN client for exactly this, and it supports IKEv2, which is the fastest native type, along with IPsec and L2TP. The trade-off is that you have to enter the connection details yourself.
Adding a VPN Configuration in Settings
Open Settings, tap General, then scroll down and tap VPN & Device Management. Tap VPN, then tap Add VPN Configuration. You will land on a form with a Type field at the top. For most modern connections you will choose IKEv2, but use whatever type your provider specified.
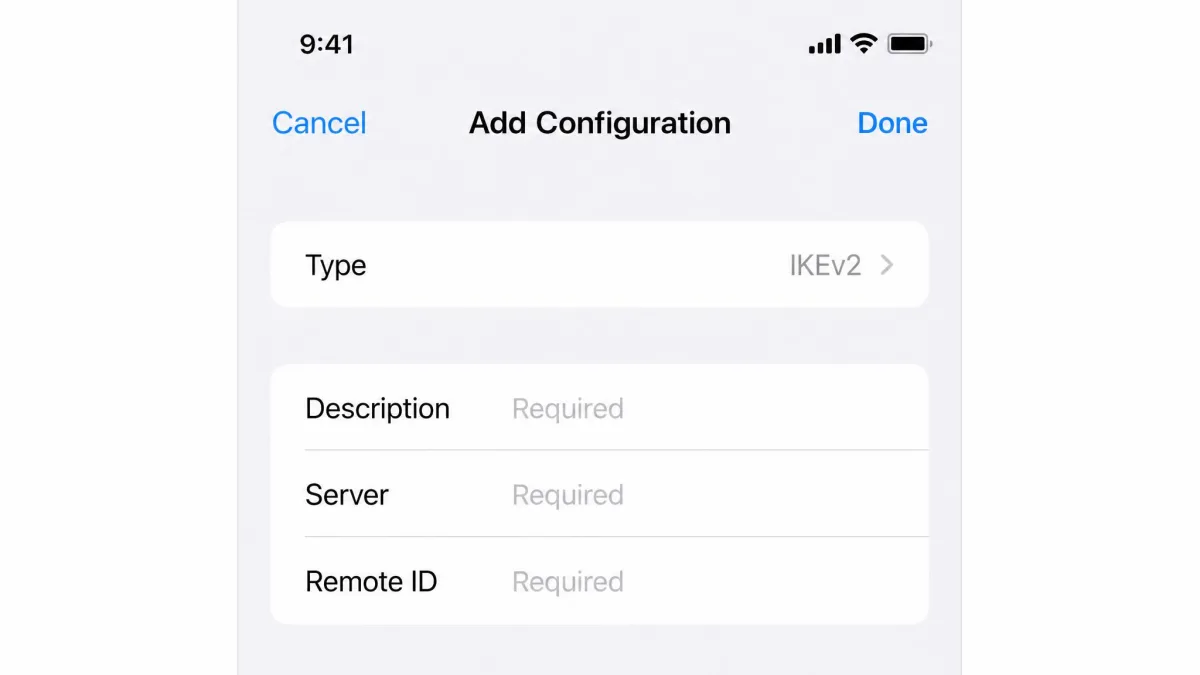
Entering Connection Details and Connecting
Fill in the fields your provider gave you. Typically that means a description you choose, the server address, a remote ID, and your username and password or a certificate. Double-check each entry, because a single wrong character will stop the connection from working. Tap Done to save, then flip the VPN switch to connect. As with the app method, confirm the VPN badge appears in your status bar before you trust it.
Manual configuration is unforgiving. If the connection fails, the culprit is almost always a mistyped server address, remote ID, or password. Re-enter the details carefully rather than assuming the server is down.
Using the iPhone's Built-In Option: iCloud Private Relay
Apple ships its own privacy feature that people often mistake for a full VPN. It is called iCloud Private Relay, and it was introduced with iOS 15. It sends your Safari browsing through two separate relays so that neither Apple nor the sites you visit can tie your identity to what you are viewing. It is a genuinely useful privacy tool, but it is not a substitute for a VPN, and understanding the difference saves confusion.
The key limitation is scope. Private Relay only protects web browsing traffic in Safari, not all apps the way a full VPN does. It also cannot make you appear to be in a specific country, so it will not help with region-locked streaming. And it is not available in all countries or regions, so you may not see the option at all.
To use it, you need a paid iCloud+ or Apple One subscription along with iOS 15 or later. Even the entry-level iCloud+ plan, around $0.99 per month at the time of writing, enables it, though pricing varies by region. Turn it on by opening Settings, tapping your name at the top, then iCloud, then Private Relay. Apple explains the feature and its requirements in more detail on Apple's support page, and there is a step-by-step walkthrough in Apple's iPhone Private Relay guide.
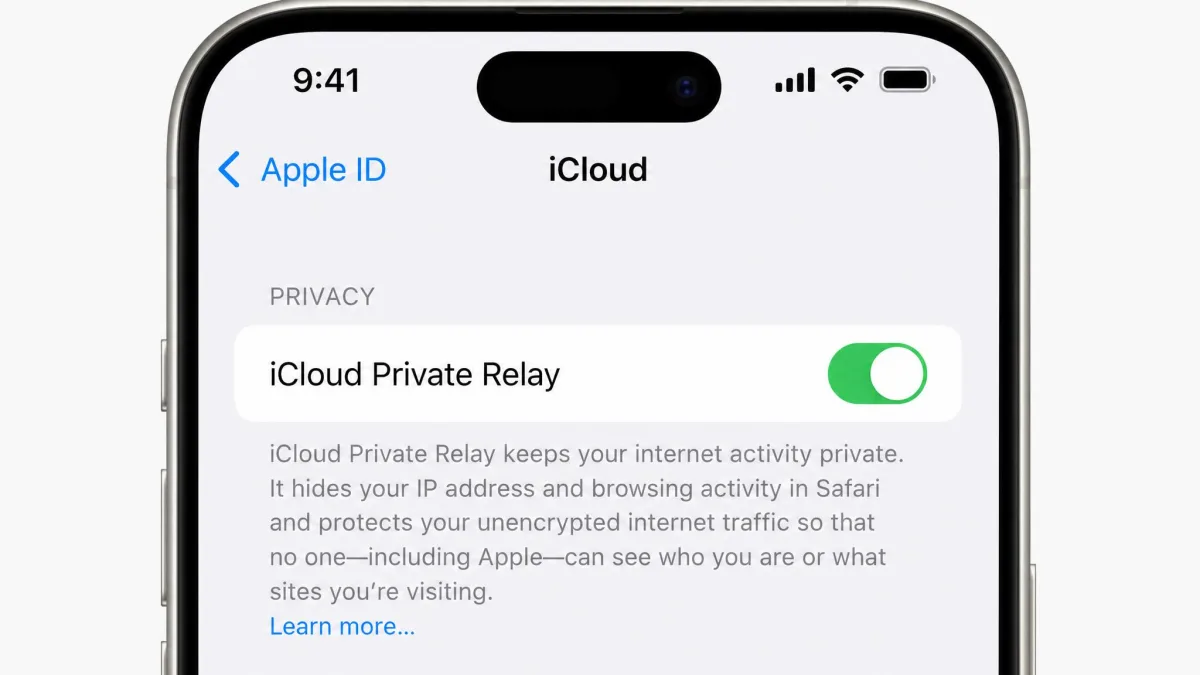
A couple of things surprised us in testing. With Private Relay on, everyday Safari browsing stayed fast, yet speed-test numbers often read lower than expected. That is because it uses a single connection rather than the parallel connections speed tests rely on, so the score understates real-world performance. We also found that some websites asked for extra sign-in or verification steps, since Private Relay hides your IP address from them.
Think of iCloud Private Relay as lightweight privacy for Safari, and a full VPN as protection for your entire phone. If you only care about browsing privacy and already pay for iCloud+, Private Relay is a free bonus. For anything beyond Safari, you still want a VPN.
How to Turn a VPN On and Off (and When to Use It)
Once a VPN app is set up, controlling it is easy. The fastest way is to open the app and tap its connect or disconnect button. You can also go to Settings, where a VPN toggle sits near the top of the main list, and flip it on or off from there. Both do the same thing.
So when should it be on? We keep the VPN running on any network we do not control, especially public Wi-Fi in cafes, hotels, and airports, where prying eyes are most common. We also switch it on when we want to reach content from another country. On our trusted home network, protection is optional, though plenty of people leave it on all the time for consistency.
There are moments to turn it off, too. Some services, especially banking apps and a few streaming platforms, refuse to work while a VPN is active. If an app suddenly misbehaves, disconnecting the VPN is the first thing worth trying. If a particular app needs to bypass the tunnel regularly, split tunneling lets you route just that app outside the VPN while everything else stays protected.
Streaming, Gaming, and Performance Tips
Here is the honest truth about performance: a VPN will slow your connection somewhat, because your traffic is taking a longer, encrypted path. In our testing, speed dropped noticeably compared with connecting straight to home broadband, and how much depended heavily on the provider's quality and how far away the server was. A nearby server on a good service is barely noticeable; a distant one on a cheap app can crawl.
A few habits keep things fast. Pick a server close to you for general use, and only choose a distant country when you specifically need that location. Before settling in for a long session, it is worth running an Ookla speed test on a couple of servers and going with the fastest one in your target country. That five-minute check makes a real difference for streaming and gaming.
Speaking of streaming, be patient. Streaming services actively detect and block VPN traffic, so getting a geoblocked library to load often means trying several servers in the same country until one works. And after you switch your virtual location, apps may not pick up the change until you force-quit and relaunch them, which is a common reason people think a server failed when it did not.
For gaming and video calls, latency matters more than raw speed. Choose the geographically closest server you can, and prefer the WireGuard protocol, which tends to give the lowest lag in our experience.
One more thing to expect: a VPN drains extra battery, because your iPhone is constantly encrypting traffic. WireGuard was the easiest protocol on battery life in our testing, so switch to it if your app offers the choice and you plan to leave the VPN on for long stretches.
Troubleshooting Common VPN Issues on iPhone
Even a good setup hits the occasional snag. The problems are almost always the same handful, and so are the fixes.
The connection keeps dropping. VPN tunnels can drop intermittently, especially as you move between Wi-Fi and cellular. Turn on the kill switch so that no traffic escapes while the tunnel is down, and check your app's settings for an option that keeps it running in the background so iOS does not suspend it.
A specific app will not work. Banking apps and a few others simply refuse to run with an active VPN. Either disconnect briefly, or set up split tunneling to route that one app outside the tunnel while the rest of your phone stays protected.
The new location is not taking effect. If you switched countries and a service still shows the old region, force-quit the app and reopen it. Apps often cache your location until they are relaunched.
Nothing connects at all. Confirm your subscription is active, try a different server, and make sure you tapped Allow on the VPN configuration prompt. On a manual setup, re-check every field for typos.
Security and Privacy Best Practices
A VPN is a powerful tool, but it works best as part of a few sensible habits. Getting these right means your connection is protecting you as fully as it can.
- Choose a provider you trust. A VPN can see your connection, so a clear, audited no-logs policy is the single most important factor. Free apps with murky funding are the ones to avoid.
- Keep the kill switch on. It is your safety net for the moments a connection drops, and it costs you nothing.
- Turn it on for public Wi-Fi, every time. That is the scenario where a VPN earns its keep, so make it a reflex rather than an afterthought.
- Keep iOS and your VPN app updated. Security fixes arrive through updates, and running the latest version is the easiest protection you can give yourself.
- Verify after connecting. A quick IP check confirms the tunnel is up. It takes seconds and removes all doubt.
A VPN protects your connection, not your logins. It will not stop you from handing over a password on a fake site or clicking a bad link. Keep using strong, unique passwords and good judgment alongside it.
Frequently Asked Questions
Is it legal to use a VPN on my iPhone?
Will a VPN slow down my iPhone's internet?
Do I need a VPN if I already use iCloud Private Relay?
Should I leave my VPN on all the time?
Are free VPN apps safe to use on iPhone?
Conclusion
Using a VPN on your iPhone comes down to a simple choice and a few taps. For nearly everyone, downloading a reputable app, allowing the configuration once, and connecting to a nearby server is all it takes, and you will be protected in about a minute. If you were handed server details instead, the manual setup in Settings gets you there with a little more care. And if you only want lightweight Safari privacy and already pay for iCloud+, Private Relay is waiting to be switched on.
Whichever route you take, the fundamentals stay the same: pick a provider you trust, keep the kill switch on, turn the VPN on for any network you do not control, and verify the connection before you rely on it. Do that, and your iPhone stays private and open wherever you go.