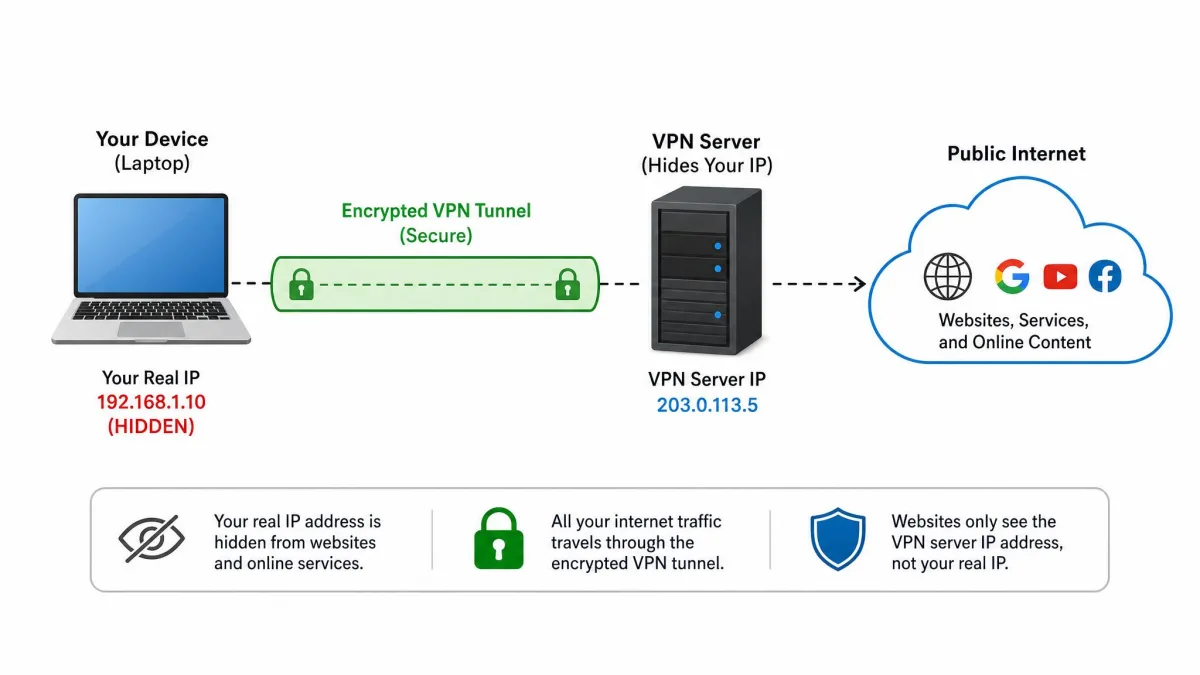
A VPN, short for virtual private network, creates an encrypted tunnel between your laptop and a VPN server. That tunnel hides your real IP address and shields your traffic from anyone watching the same network, which matters most on public Wi-Fi. In plain terms, it makes your connection private on networks you do not control.
This guide walks through every way to get a VPN running on a laptop. We cover the easiest route with a provider's app, the manual setup inside Windows Settings, the equivalent on a Mac, and how to connect, verify, and troubleshoot the tunnel once it is live. Every method below is one we have set up and used ourselves.
We keep the steps short and the judgment calls honest. Where a choice affects your privacy or your speed, we say which option we would pick and why.
What a VPN Does and Why Use One on Your Laptop
A VPN routes your internet traffic through a server run by a VPN service before it reaches the wider network. Because that link is encrypted, the coffee-shop router, the airport network, or anyone else on the same public connection cannot read what you send. Your browsing looks like it comes from the VPN server, not your laptop.
The privacy gain is the main reason to use one. On a public network, an open connection exposes the sites you visit and the data you enter. A VPN closes that gap by wrapping the whole connection in encryption.
There is a second, practical benefit. Because your traffic appears to start from the server you choose, you can reach services and content tied to the server's location. That is why the server you select, and how near it sits, both matter later in this guide.
A VPN protects the connection, not the device. It does not replace antivirus software, and it will not stop you from entering a password on a fake login page. Treat it as one layer, not the whole wall.
Before You Start: What You Need
You need three things before you begin: a laptop that is already online, a VPN account with a provider or a set of server details, and a few minutes to enter or confirm the settings. The internet part is not optional. A VPN cannot reach its server unless the laptop already has a working connection, so confirm you are online first.
For the app method, an account is all you need, because the app carries the server address and protocol for you. For the manual method, you need the connection details your provider or workplace supplies: the server name or address, the VPN type, and a username and password.
Choosing a VPN provider
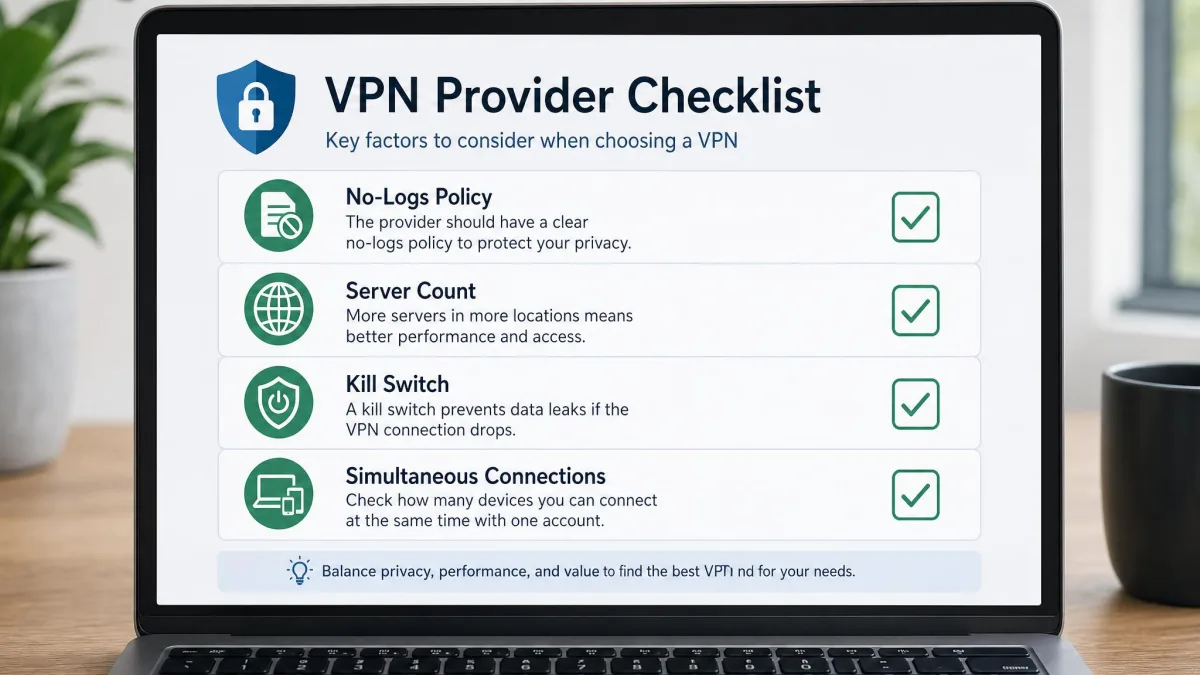
If you are picking a service rather than connecting to a work network, choose a reputable paid provider over a free one. Free VPNs often cap speed, limit servers, or fund themselves in ways that undercut the privacy you signed up for. A paid service gives you more servers, faster links, and a clearer privacy policy.
Look for a no-logs policy, a broad server list, and a kill switch that cuts traffic if the tunnel drops.
Most paid providers let you install the same account on Windows, macOS, and your phone at once. Set up the laptop first, confirm it works, then reuse the same login on your other devices.
Method 1: Set Up a VPN Using a Provider's App (Easiest)
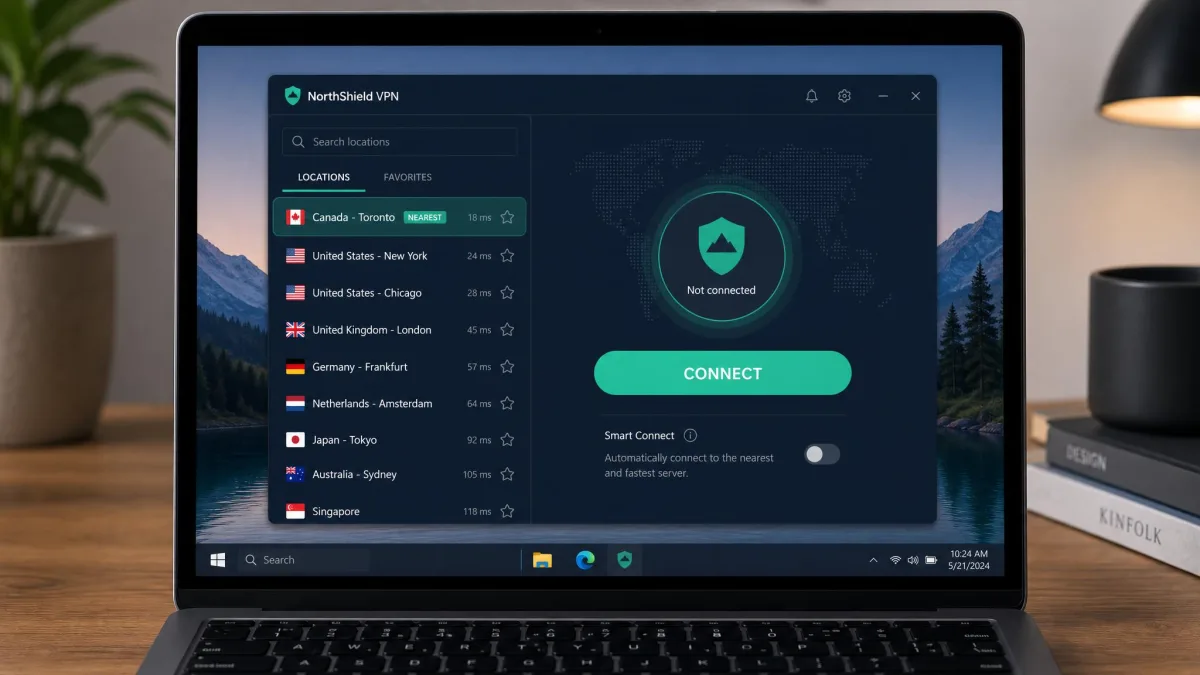
The app route is the one we recommend for most people. You choose a VPN provider, download and install its app, sign in, then pick or auto-select a server and connect. There is no server address to copy and no protocol to guess, because the app handles all of that for you.
The app method also unlocks the features a manual setup cannot offer, such as a kill switch, auto-connect on untrusted networks, and a one-tap server picker. Those extras are the main reason we reach for the app first.
Windows laptop
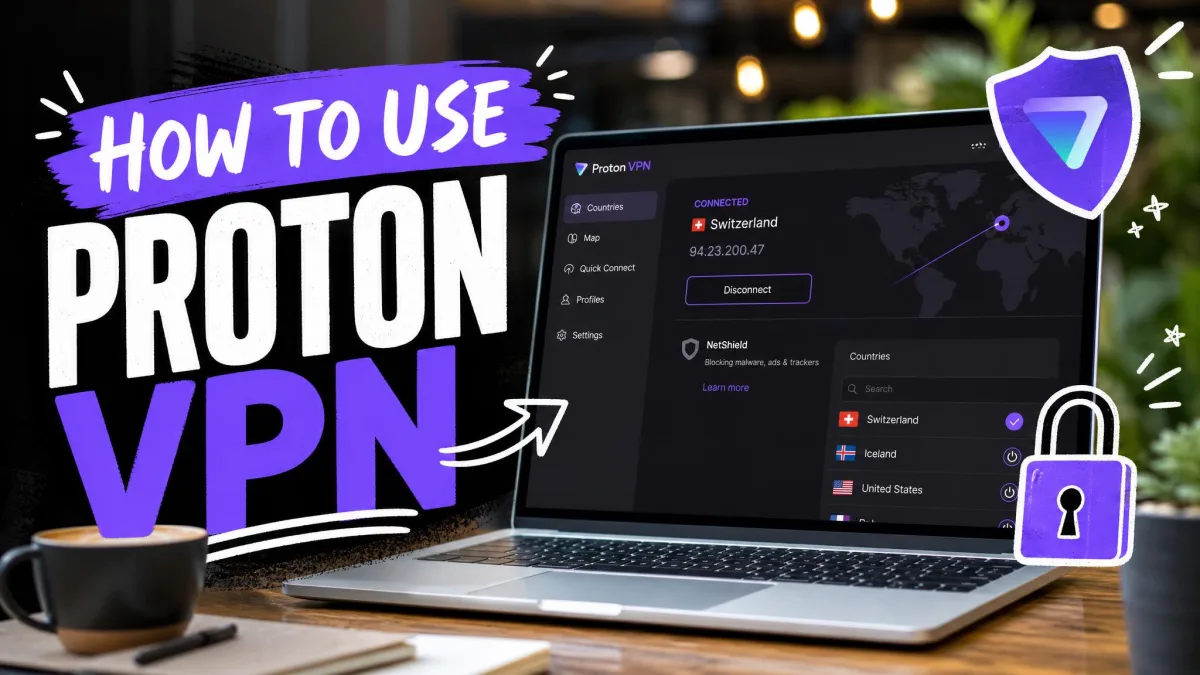
Download the provider's Windows app from its official site, install it, and open it. Sign in with your account, then either let the app select the nearest server or choose one from the list. Click Connect, and wait for the status to show a live connection.
To stop, open the app and click Disconnect. To switch locations, pick a different server and the app reconnects for you.
Mac laptop
The flow on a Mac is the same. Download the provider's macOS app, install it, and grant the network permission macOS asks for on first launch. Sign in, choose a server, and connect. The app adds its own VPN configuration to the system, so you can also toggle it from the VPN status menu in the menu bar.
Method 2: Manually Set Up a VPN in Windows Settings
If your provider gives you server details instead of an app, or you are connecting to a work or school network, use the built-in Windows tool. Microsoft's own walkthrough covers the same fields, so keep the built-in Windows VPN settings handy as a reference.
Step 1: Open Network & Internet settings
Open Settings → Network & internet → VPN. This is the panel where Windows stores every VPN connection you create. Select Add VPN to start a new one.
Step 2: Add a VPN connection (provider, server address, credentials)
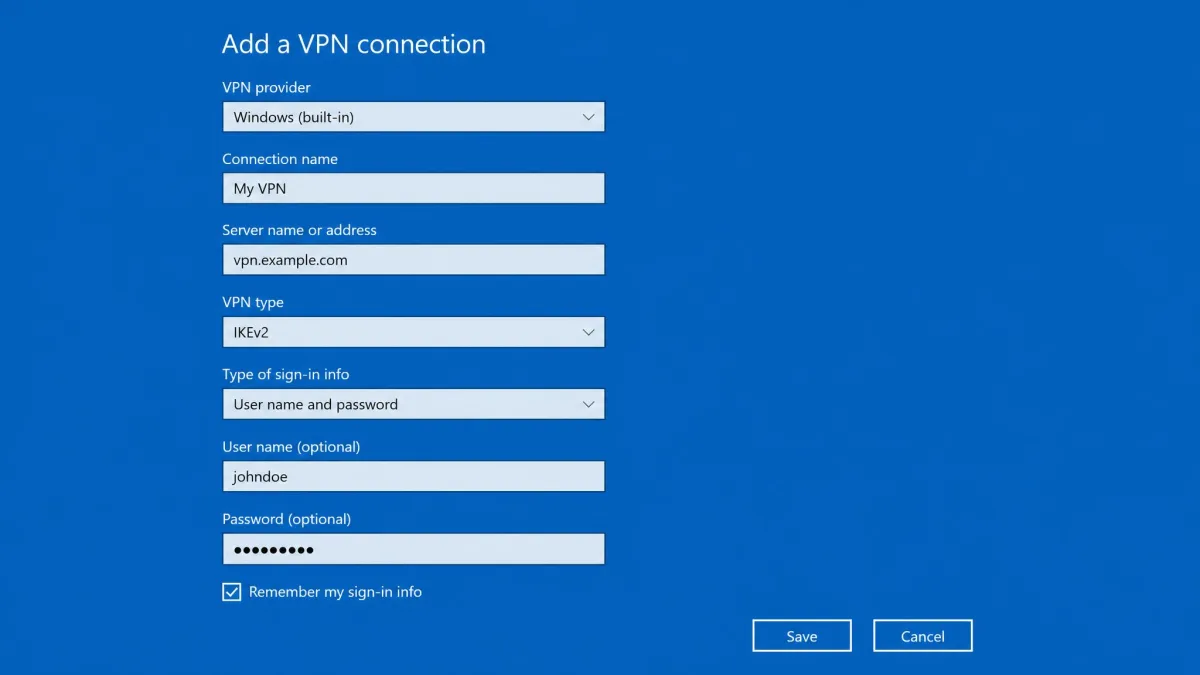
The Add VPN form asks for a short set of fields. Fill them in exactly as your provider lists them:
- For VPN provider, select Windows (built-in).
- For Connection name, enter any label you will recognize, such as Work VPN.
- For Server name or address, enter the address your provider supplies.
- For VPN type, choose the protocol your provider specifies. If you are unsure, Automatic or IKEv2 is a safe default.
- For Type of sign-in info, select username and password, then enter your Username and Password.
Accuracy is everything here. A manual setup fails outright if any field is off. An incorrect server address, username, or password stops the connection cold, so copy each value exactly as given.
Saving your password in the profile is convenient, but it lets anyone on the laptop connect as you. Leave the password blank if the device is shared, and accept that you will re-enter your credentials on every connect.
Step 3: Save and connect
Select Save, and the new connection appears in your VPN list. Click Connect next to it, and Windows opens the tunnel using the details you entered. If it authenticates, you are done. If it does not, the troubleshooting section below covers the usual causes.
How to Connect and Disconnect Your VPN
Once a connection exists, you rarely need to open Settings again. Windows keeps the VPN one click away in the taskbar.
Connect from the taskbar
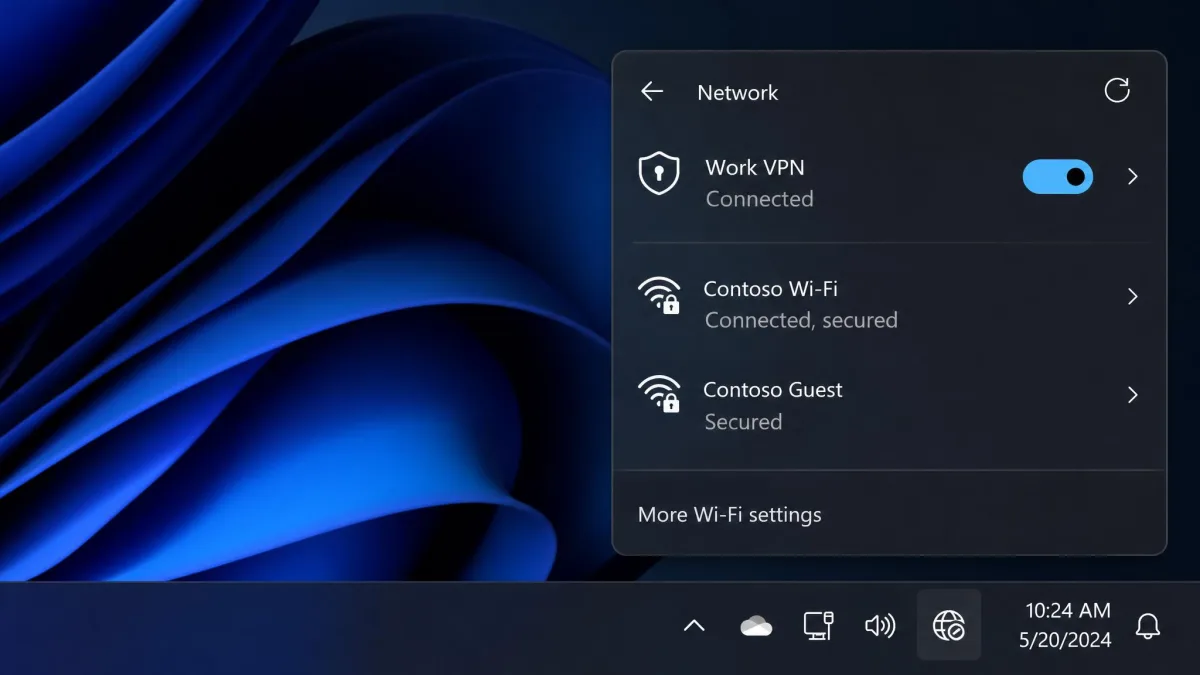
Click the network icon in the taskbar, select VPN, and toggle on the connection you want. You can also choose Manage VPN connections to reach the same list from Settings. To disconnect, toggle the same connection off, or use Disconnect from the system tray.
Verify your VPN connection
Do not assume the tunnel is live just because you clicked Connect. Windows shows a Connected label and a status indicator once the link is up. For a firmer check, open a browser and search for "what is my IP address." If the location and IP match your chosen server rather than your home network, the VPN is working.
Run the IP check the first time you use any new server. It is the fastest way to confirm your real address is hidden, and it takes about ten seconds.
Troubleshooting: VPN Not Working on a Laptop
Most laptop VPN problems come from a handful of causes, and the fixes are quick once you know where to look.
The connection will not authenticate. When a tunnel refuses to come up, the usual culprit is a mistyped username or password rather than the server. Re-enter both carefully, and confirm the server address matches your provider's list.
The connection will not establish at all. Confirm the laptop is already online, because the VPN cannot reach its server without a working internet link. If you are online and it still fails, switching the VPN protocol, for example from IKEv2 to OpenVPN or WireGuard, often clears a stubborn connection.
Security software is blocking the tunnel. Firewall or antivirus tools can quietly block a VPN. Adding the VPN as an allowed app in that software usually restores the connection.
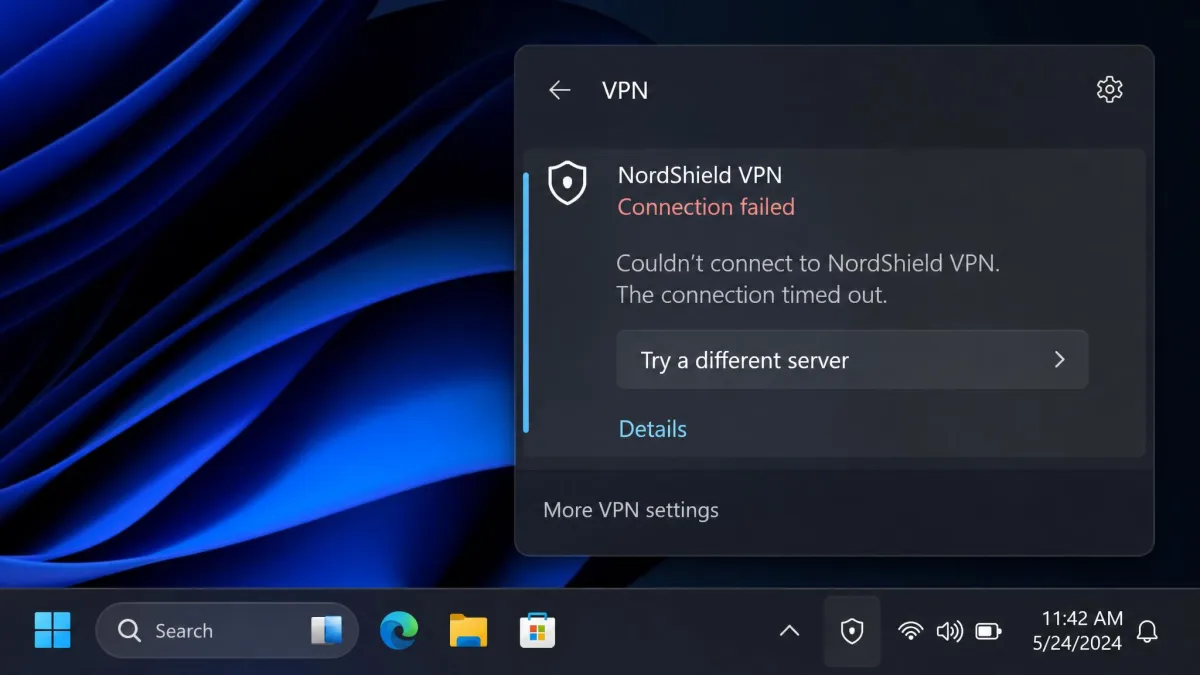
The connection is dead or crawling. An overloaded or blocked server shows up as a stalled or very slow link. Switching to a different server, ideally one nearer to you, usually fixes it faster than any other step.
Tips for Using a VPN Safely
A VPN only helps if you use it where it counts. Turn it on before you join any public or unfamiliar network, not after you have already logged into an account.
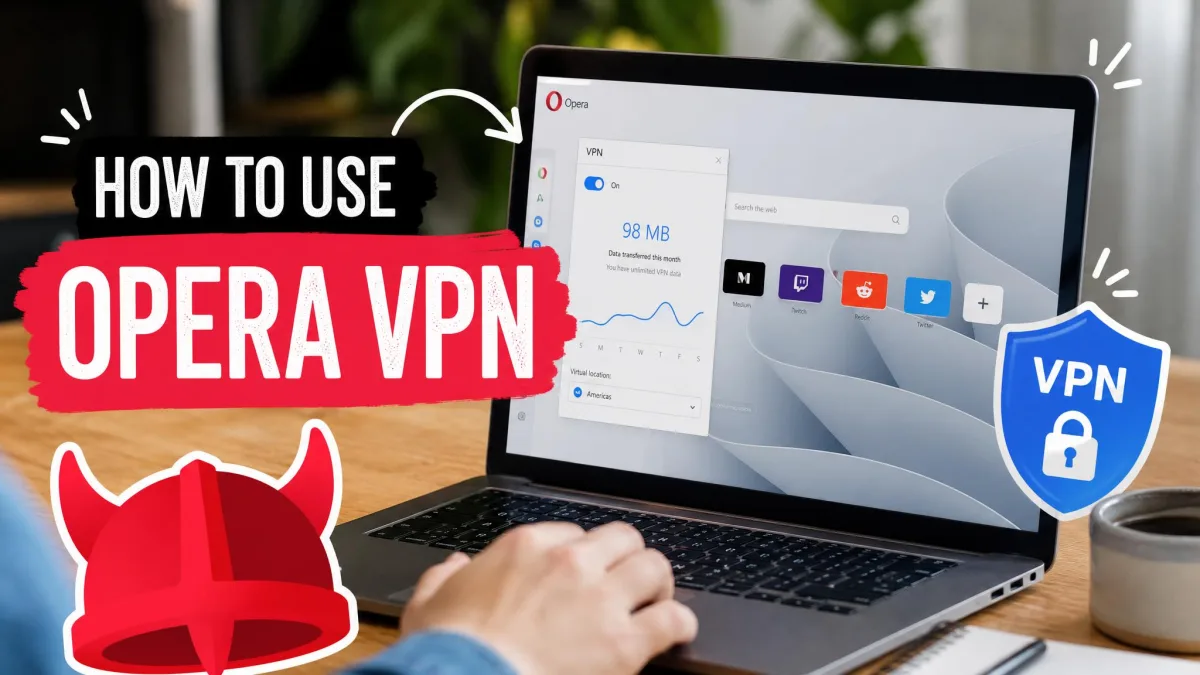
Know the limits of a browser-only VPN. A browser extension, such as the one built into Opera, protects only that browser. Your other apps and other browsers keep using the unprotected connection, so use a full system VPN when you want everything covered.
Pick a nearby server when speed matters. A shorter route reduces lag, and long-haul international routes add a noticeable slowdown of their own. If your Wi-Fi is weak, plugging into the router by Ethernet gives a more stable and faster baseline than blaming the VPN.
| Setup method | Ease | Where you set it up | Needs server address? | Extra features |
|---|---|---|---|---|
| Provider app | Easiest: download, sign in, connect | The provider's own app | No | Kill switch, auto-connect, server picker |
| Manual (Windows) | Moderate: enter fields by hand | Settings → Network & internet → VPN | Yes | Basic tunnel only |
| Manual (macOS) | Moderate: enter fields by hand | System Settings → Network | Yes | Basic tunnel only |

Frequently Asked Questions
Is it legal and safe to use a VPN on a laptop?
Does a VPN slow my laptop down?
Do I need a paid VPN, or will a free one work?
Why won't my VPN connect even after I re-enter my details?
Can I use one VPN on Windows and Mac at the same time?
Conclusion
Getting a VPN onto a laptop is genuinely quick once you pick a lane. The provider app is the easiest path and the one we recommend for most people, since it handles servers and protocols and adds a kill switch on top. The manual route in Windows Settings or macOS Network settings is there when a provider or workplace hands you raw connection details instead.
Whichever method you use, the same habits keep you covered: confirm you are online first, verify the tunnel with a quick IP check, and switch servers when speed or reliability dips. Set it up once, and using a VPN on your laptop becomes a single click before you connect to any network you do not fully trust.