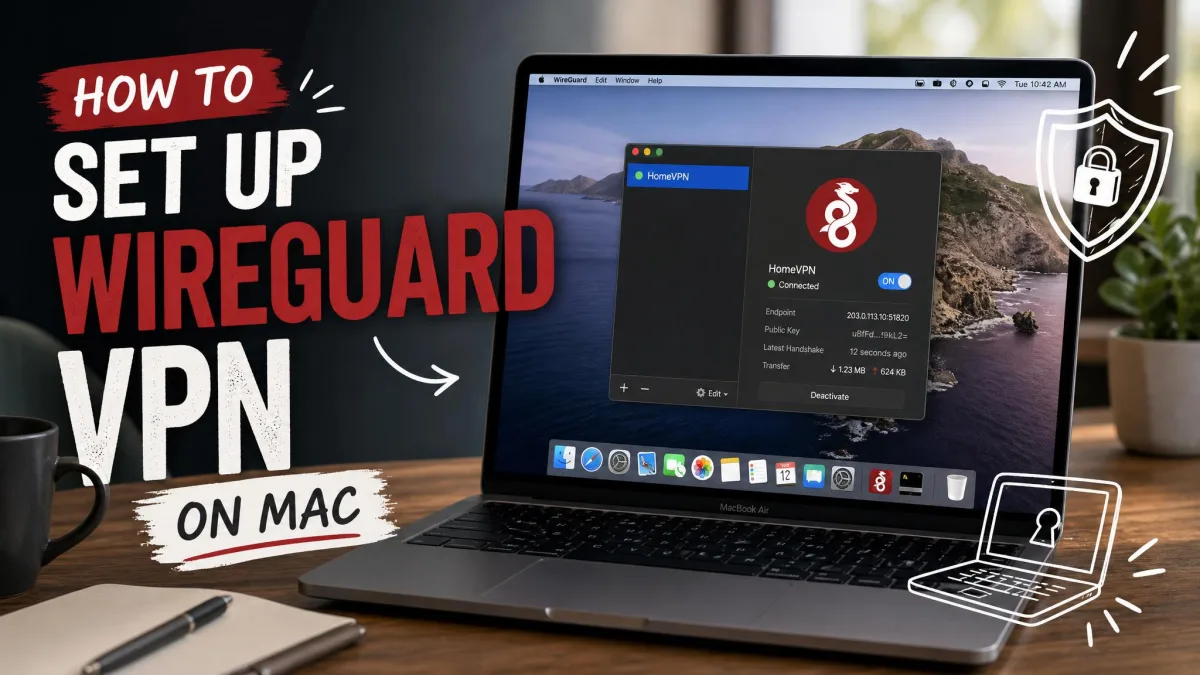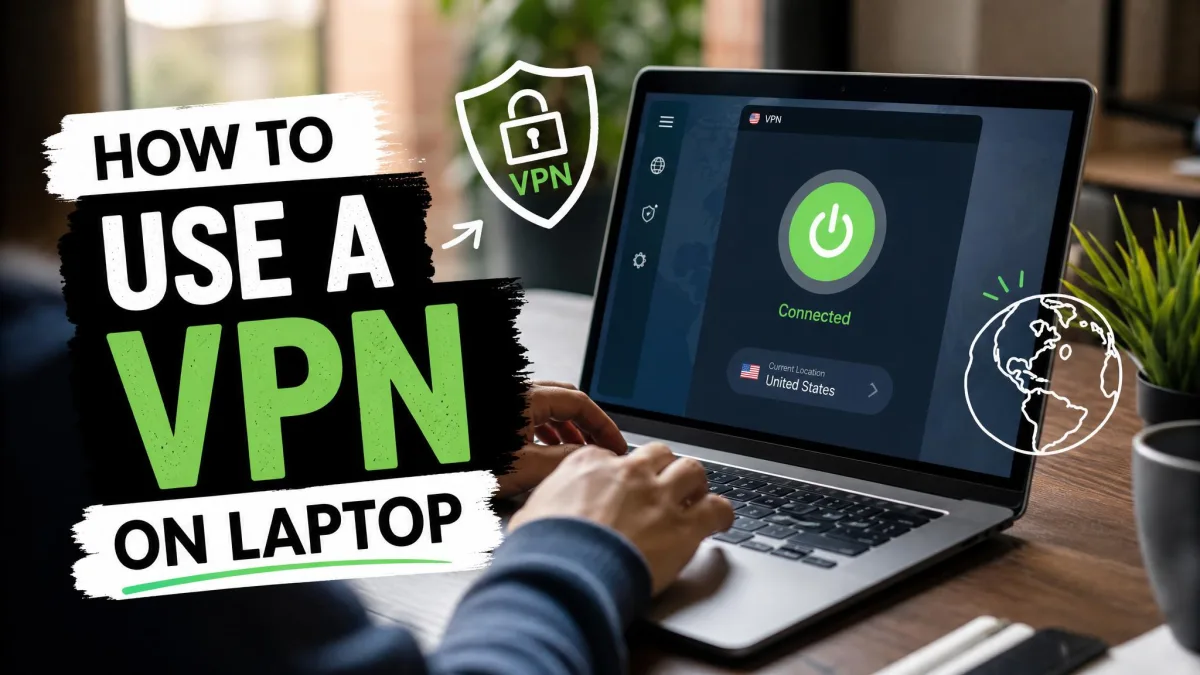
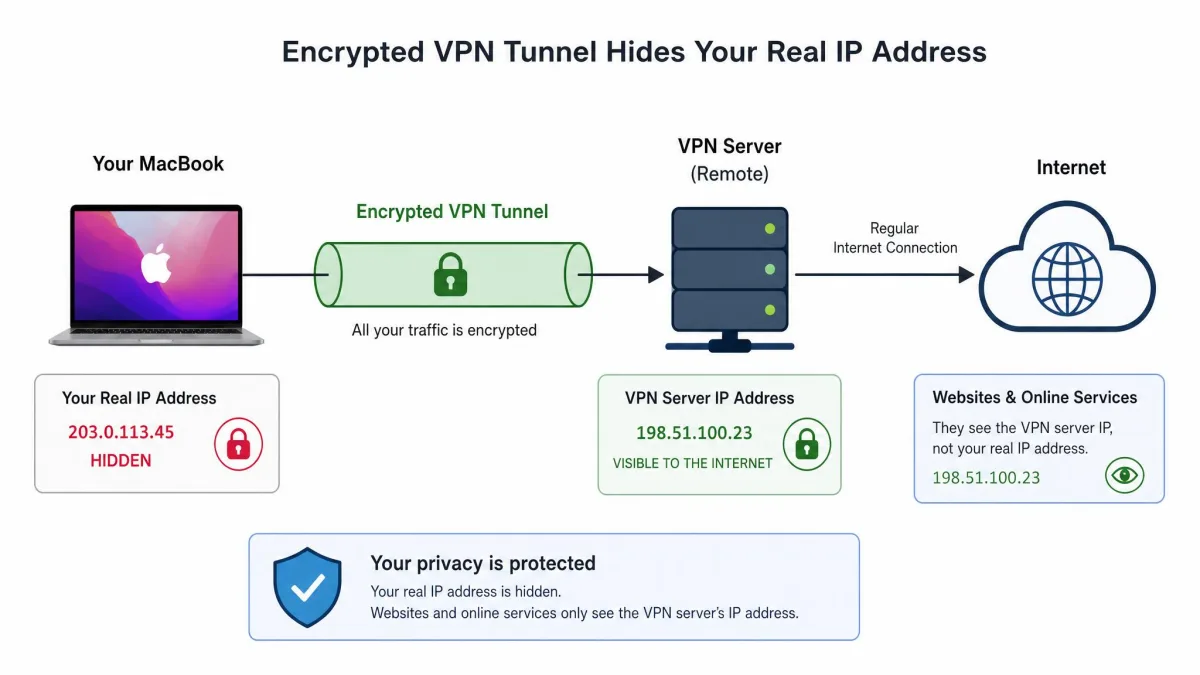
A VPN, or virtual private network, routes your Mac's internet traffic through an encrypted tunnel to a remote server. That hides your real IP address, scrambles what your network can see, and lets you pick the location you appear to browse from. On a Mac, you can set one up two ways: install a provider's app, or add a configuration by hand in System Settings.
This guide covers both routes step by step. The app method is the fastest way to get protected and the one most people should use. The manual method is useful when a workplace or school hands you specific server settings to enter yourself. We have set up VPNs on Macs both ways many times, and we will flag the gotchas that trip people up on each path.
By the end, you will know how to choose a service, connect from the menu bar, switch on a kill switch and DNS leak protection, and confirm the whole thing is actually working before you trust it.
How to choose a VPN for your Mac
Before you install anything, it helps to know what separates a service worth paying for from one that will slow your Mac to a crawl. The right choice depends on how you browse, whether you stream, and how much privacy you actually need.
Free vs. paid VPNs for Mac
Free VPNs are tempting, and a few reputable providers offer limited free tiers. The catch is usually a data cap, a short list of server locations, and slower speeds during busy hours. Some free services also fund themselves by logging and selling browsing data, which defeats the point of using a VPN at all.
A paid service removes the caps, opens up hundreds of server locations, and typically adds the features that matter on a Mac: a kill switch, DNS leak protection, and reliable streaming access. You do not need to overspend, though. There is little reason to pay more than about $15 a month for a consumer VPN, and long-term plans usually land far below that.
Avoid free VPNs that ask you to download the installer from a random mirror site or a pop-up ad. Always get the app from the provider's official website or the Mac App Store. Third-party download mirrors are a common way to end up with a tampered installer.
Features to look for
A good Mac VPN app bundles the same core set of controls. Look for one-click connect, a menu-bar quick-connect option, a searchable server-location picker, a kill switch, DNS leak protection, split tunneling, and auto-reconnect. Those features are what make the app route so much smoother than a hand-built profile.
Compatibility matters too. Confirm the app supports your version of macOS before you buy. As one example, NordVPN's native macOS app currently supports macOS 11 Big Sur and later, though minimum versions can shift as apps update, so check the vendor's current requirements. Speed is the other thing worth weighing, since every VPN adds some overhead to your connection.
Method 1: Set up a VPN using an app (easiest)
For most people, the provider's own app is the right choice. In our testing the whole process takes seconds: you download, sign in, approve one system prompt, and connect. Compare that with the roughly 14 steps a manual configuration takes, and the app wins on convenience alone.

Download and install the VPN app
Start on the provider's official website or the Mac App Store, then download the macOS installer. Open the downloaded file and drag the app into your Applications folder, or follow the on-screen installer if the provider uses one.
Download the app only from the provider's official site or the Mac App Store. That single habit rules out the tampered installers and fake VPN apps that circulate on search ads and mirror sites.
Sign in and allow the configuration
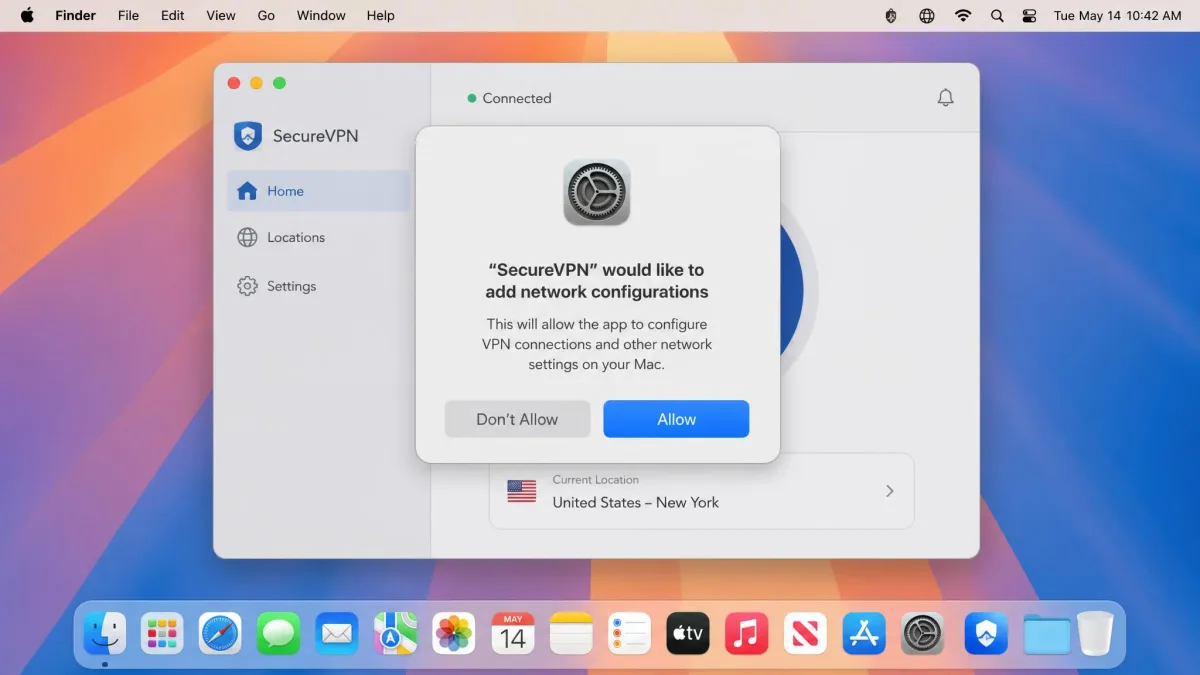
Open the app and sign in with the account you created when you subscribed. The first time you connect, macOS interrupts with a prompt asking you to approve a system extension or network filter. This is normal, and the tunnel cannot run until you allow it.
If you miss the prompt, the connection quietly fails. When that happens, go to System Settings, look for the permission request under Privacy and Security or Network, and approve it there. In our experience this one permission step is the single most common reason a freshly installed app refuses to connect.
Choose a server location and connect
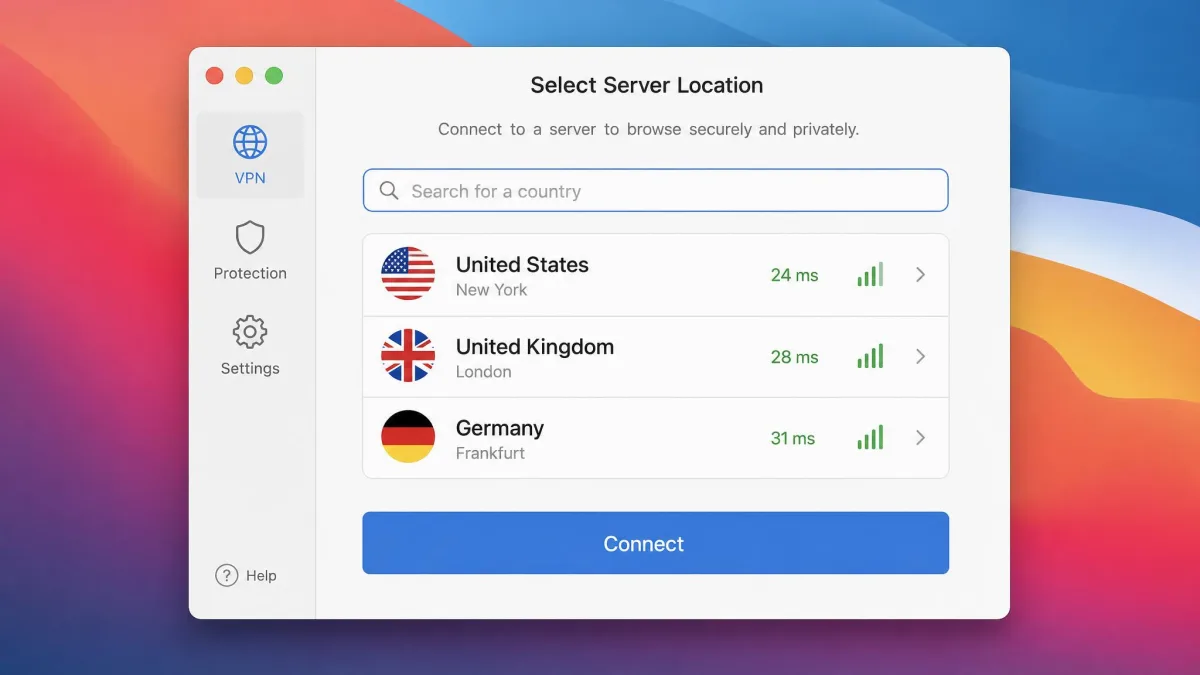
Once you are signed in, pick a server. Most apps show a map or a country list, and you can search for a specific location. Choose a server near you for the fastest speeds, or pick a country abroad if you want to appear to browse from there. Then click Connect, and the app builds the tunnel for you.
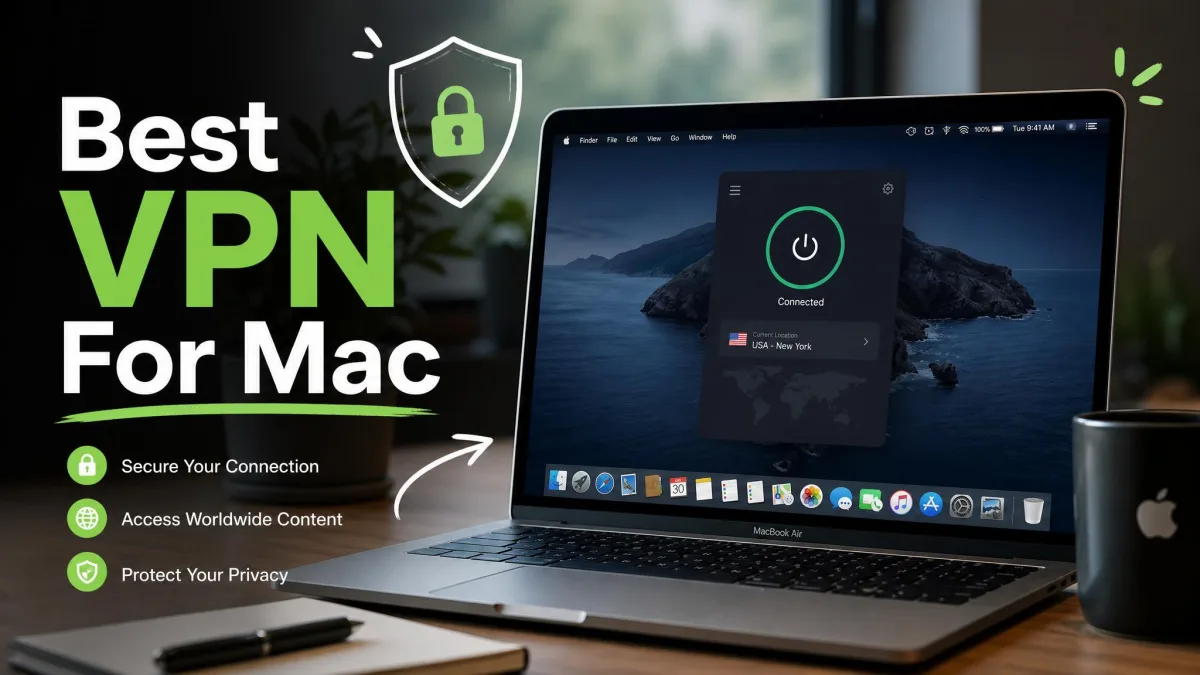
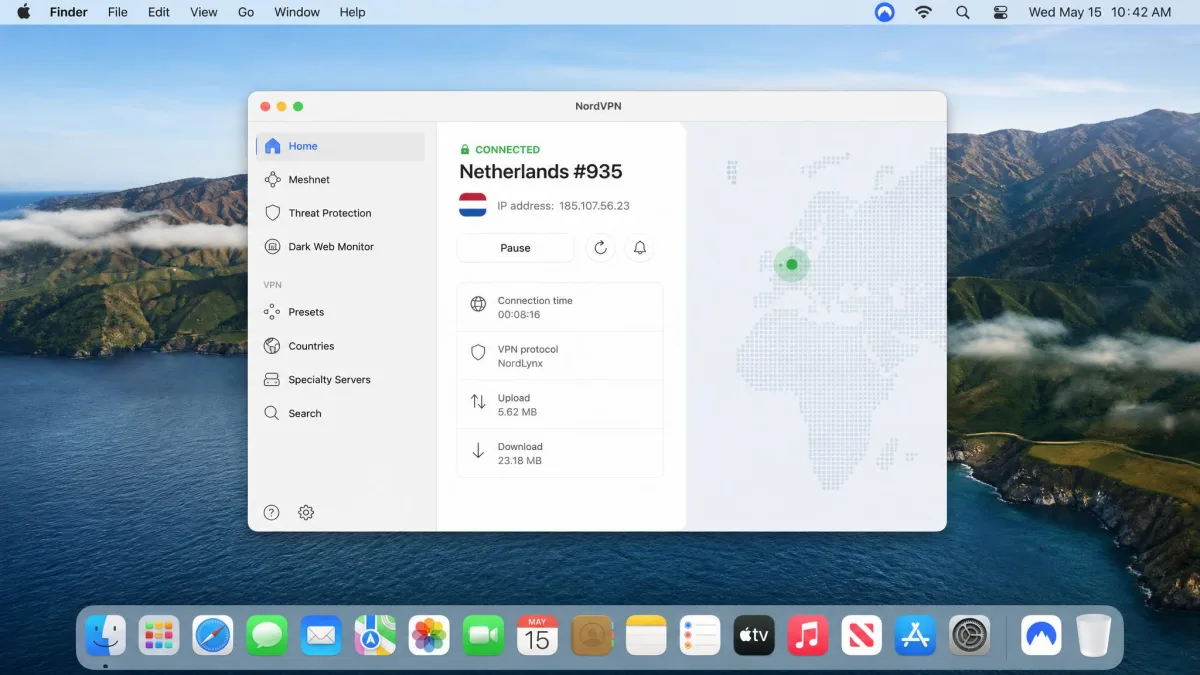
You will see the app's status change to connected, and a VPN indicator appears in the menu bar. From then on you can connect or switch locations straight from that menu-bar icon without opening the full window.
Turn on the kill switch and DNS leak protection
Before you rely on the connection, open the app's settings and switch on two features. The kill switch blocks all internet traffic if the VPN drops, so your real IP never leaks during a reconnect. DNS leak protection forces your DNS lookups through the encrypted tunnel instead of your internet provider's servers.
One quirk to watch for on a Mac: some VPNs stop tunnelling DNS after the machine sleeps and wakes. If you notice trouble after your Mac wakes up, disconnect and reconnect the VPN once to restore clean DNS routing.
Method 2: Set up a VPN manually in System Settings
The manual route skips the app entirely and uses the VPN client built into macOS. It makes sense when a workplace, school, or self-hosted server gives you specific settings to enter. Where the app method hides the details, this one puts every field in front of you, which means more control and more ways to make a small mistake.
Be aware of the trade-offs before you start. A hand-built profile has no kill switch, because macOS offers no native kill-switch toggle. If the tunnel drops, your Mac silently falls back to the open network without warning you. A manual profile also uses one fixed server, so if a streaming service blocks that address, the profile simply stops working while an app would rotate to a new one.
A manually configured profile has no kill switch and no automatic DNS leak protection. If fail-closed privacy matters to you, use a provider app instead. Manual setup is best for connecting to a specific server, not for everyday privacy.
Add a VPN configuration (IKEv2 / L2TP / IPSec)
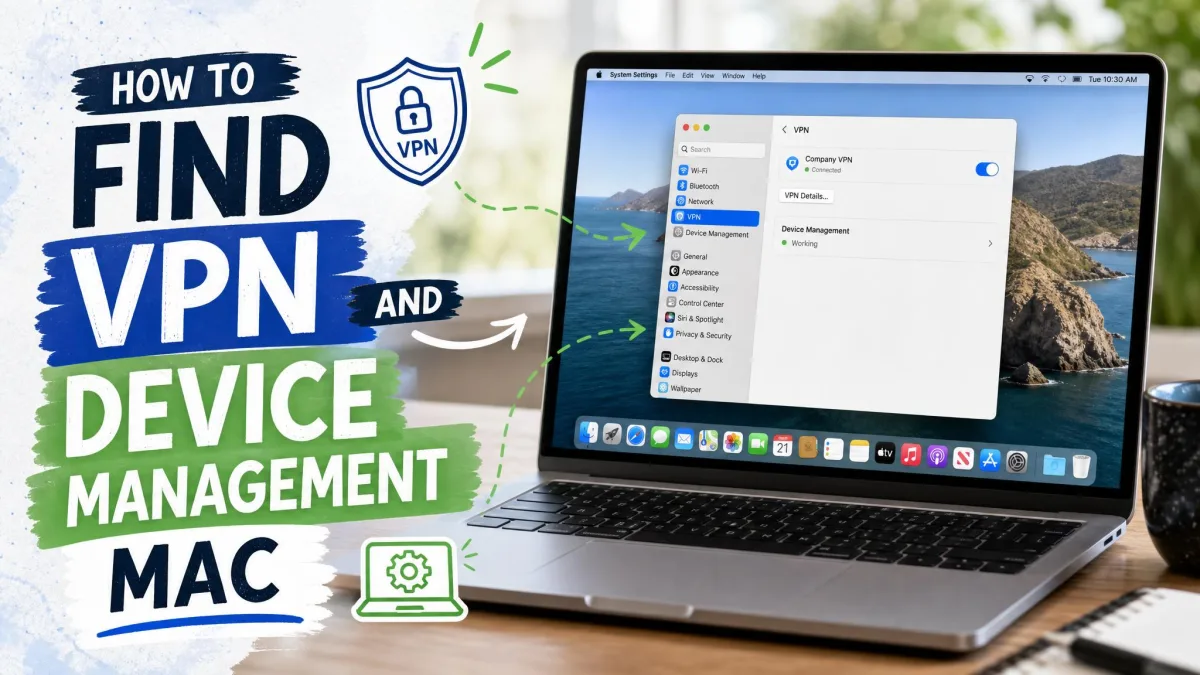
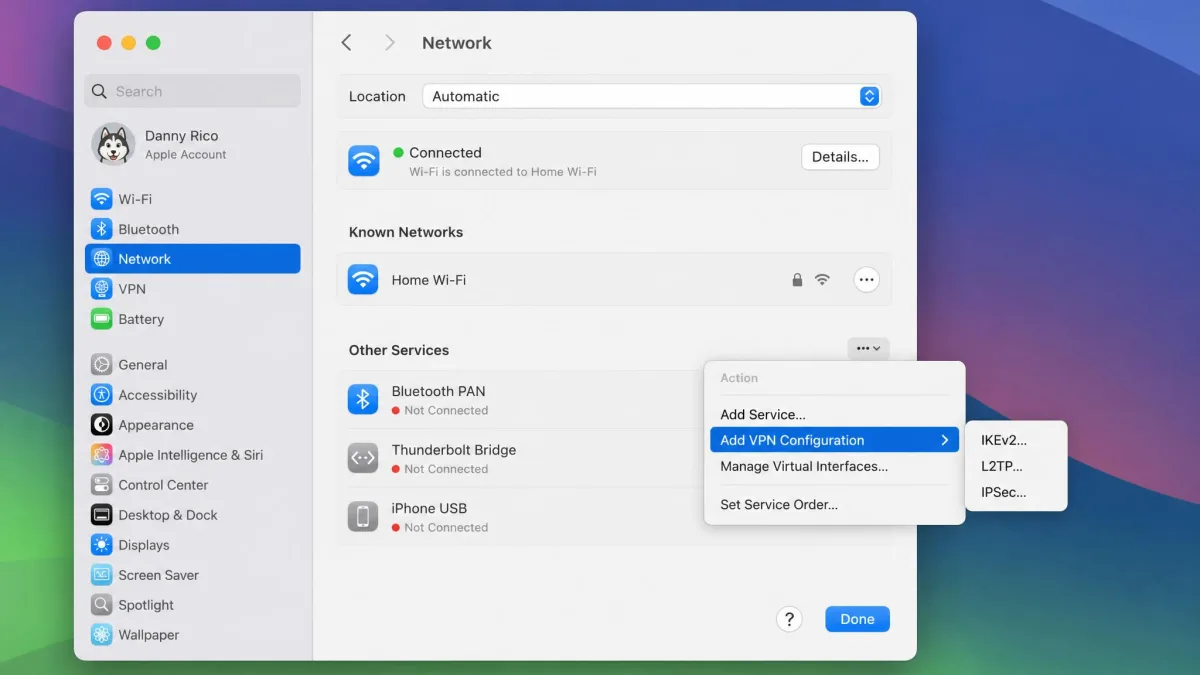
Open the Apple menu and choose System Settings, then click Network in the sidebar. Click the Action pop-up menu, the three dots near the network list, and choose Add VPN Configuration. macOS then asks which protocol type you want.
macOS natively supports three manual VPN types: IKEv2, L2TP over IPSec, and IPSec (Cisco). Pick the type your provider or network admin specifies, then click Create to open the configuration screen.
Enter server address, account, and authentication
Now fill in the details your provider gave you. A manual profile needs a display name so you can find it later, the server address, your account name, and your authentication, which is usually a password and sometimes a shared secret or certificate. You can also set TCP/IP, DNS, and Proxies options under the same screen if your admin requires them.
Accuracy matters more here than anywhere else in this guide. Manual setup fails silently on small mistakes: a mistyped server address, a Remote ID that does not match the provider's spec exactly, or a system-extension permission you skipped. Double-check every field against the spec sheet before you save.
Save and connect from the menu bar
When the fields are correct, click Create or Save. Your new VPN appears in the Network list and, if you enable the option to show VPN status in the menu bar, as an icon at the top of the screen. Toggle the connection on from either place.
Once connected, the menu-bar icon shows the active session and the time connected. This is the same menu-bar control the app method uses, so day to day the two setups feel similar once they are running. The difference is everything that happens when something goes wrong.
What a VPN does on a Mac (and why use one)
A VPN wraps your Mac's traffic in encryption and sends it through a server you choose. That does three practical things: it hides your IP address and rough location, it stops your internet provider and network from reading your traffic, and it lets you access content as if you were somewhere else.
The most common reason to use one is public wi-fi. On an airport or cafe network, anyone on the same connection can potentially snoop on unencrypted traffic, and a VPN closes that window. It also helps if you want to reach your usual streaming library while travelling, or simply keep your browsing private from your provider.
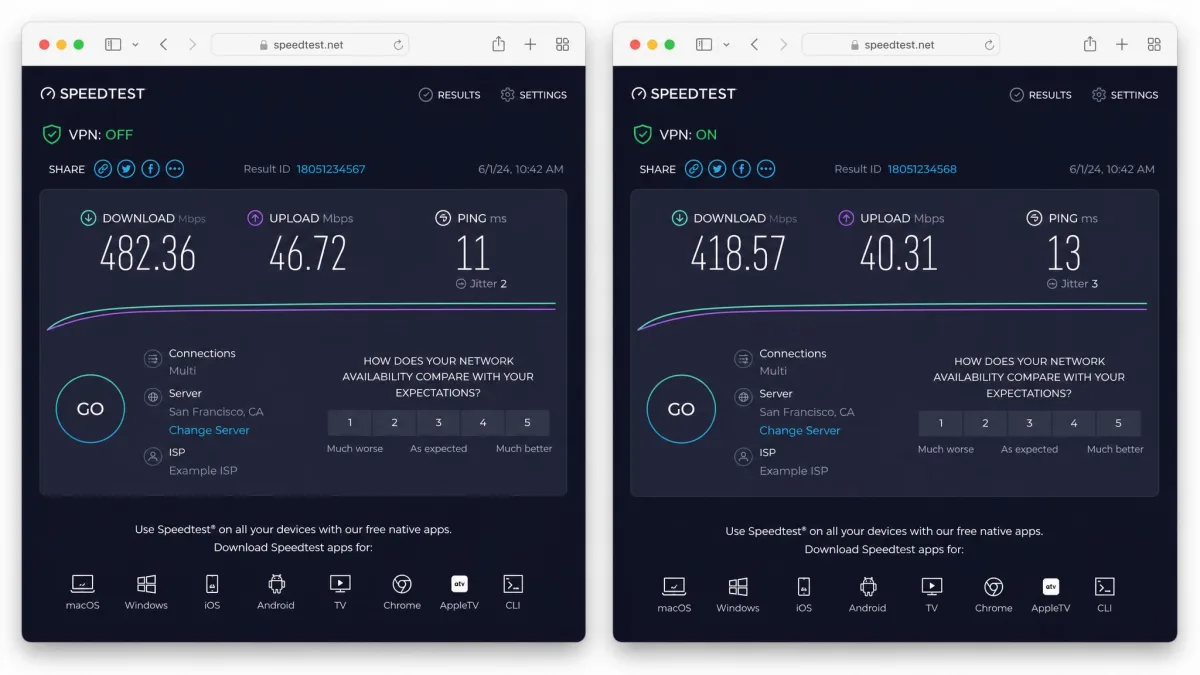
There is a cost, though, and it is worth being honest about it. Connecting to a VPN reduces your connection speed, and the drop varies by server and distance. It can also drain a MacBook's battery a little faster and add latency that matters if you game online. None of this is a dealbreaker for everyday use, but it is real overhead.
How to test that your VPN is working (IP and DNS leak check)
Never assume a VPN is protecting you just because it says connected. Two quick checks confirm it. First, connect the VPN, then search for "what is my IP" or visit an IP-check page. The address and location shown should match your chosen server, not your real one.
Second, run a DNS leak test. With the VPN on, open browserleaks.com and run the standard test, or use ipleak.net for a combined IP and DNS view. The servers it reports should belong to your VPN or its DNS partner, not your internet provider. If your own provider's name shows up, DNS is leaking and you need to switch on the app's DNS leak protection.
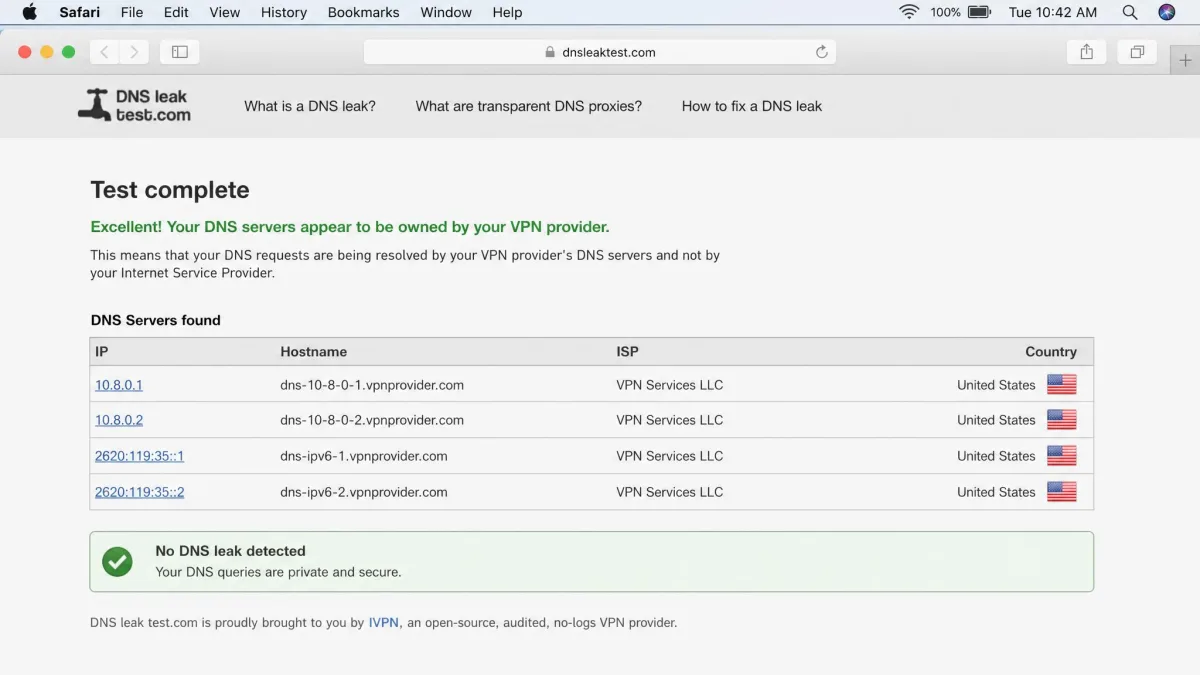
Run the leak test again after your Mac has been asleep. Because some VPNs stop tunnelling DNS across a sleep-wake cycle, a setup that passed at connect time can quietly start leaking later. A quick reconnect fixes it.
Does macOS have a built-in VPN?
This trips up a lot of people, so it is worth being precise. macOS does not include its own VPN service. What it includes is a built-in VPN client, which is the software that connects to a VPN. You still have to supply the actual configuration and server from a provider or your network admin.
In other words, the manual setup in Method 2 is not Apple giving you a VPN. It is Apple giving you the dialer, while someone else provides the number to call. That is why even the manual route needs details from a third party before it will connect to anything.
Troubleshooting common Mac VPN problems
Most Mac VPN issues come down to a handful of causes, and they are quick to work through.
If the app will not connect at all, the usual culprit is the missing system-extension permission. Head to System Settings under Privacy and Security or Network, approve the pending request, and try again. If your connection keeps dropping, switch servers, and make sure auto-reconnect and the kill switch are both on so a drop does not expose you.
If a streaming site suddenly stops working on a manual profile, remember that it uses one fixed server. Once that address is blocked there is no fallback, so this is a case where the app method's rotating servers earn their keep. And if speeds feel slow, run a speed test with and without the VPN to see the real hit, then try a server closer to you.
Prefer OpenVPN or another advanced protocol on your Mac? It requires separate third-party software and a longer, multi-step install. It works, but it is noticeably harder to set up than a provider app, so only take that route if you specifically need it.