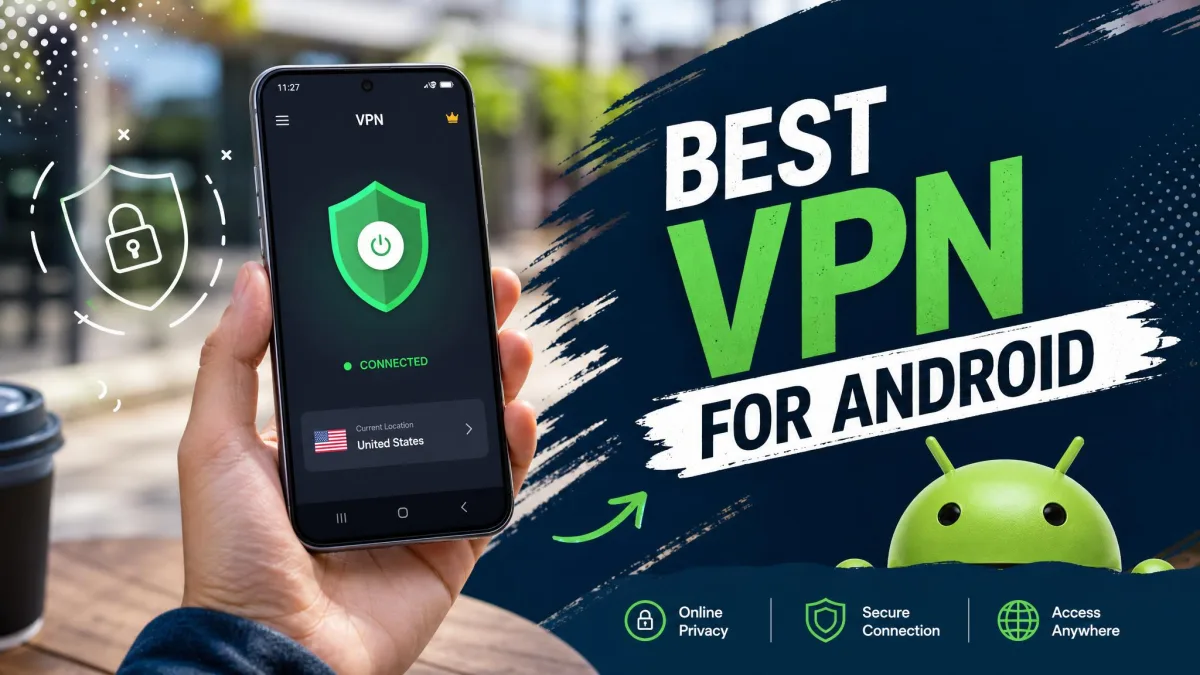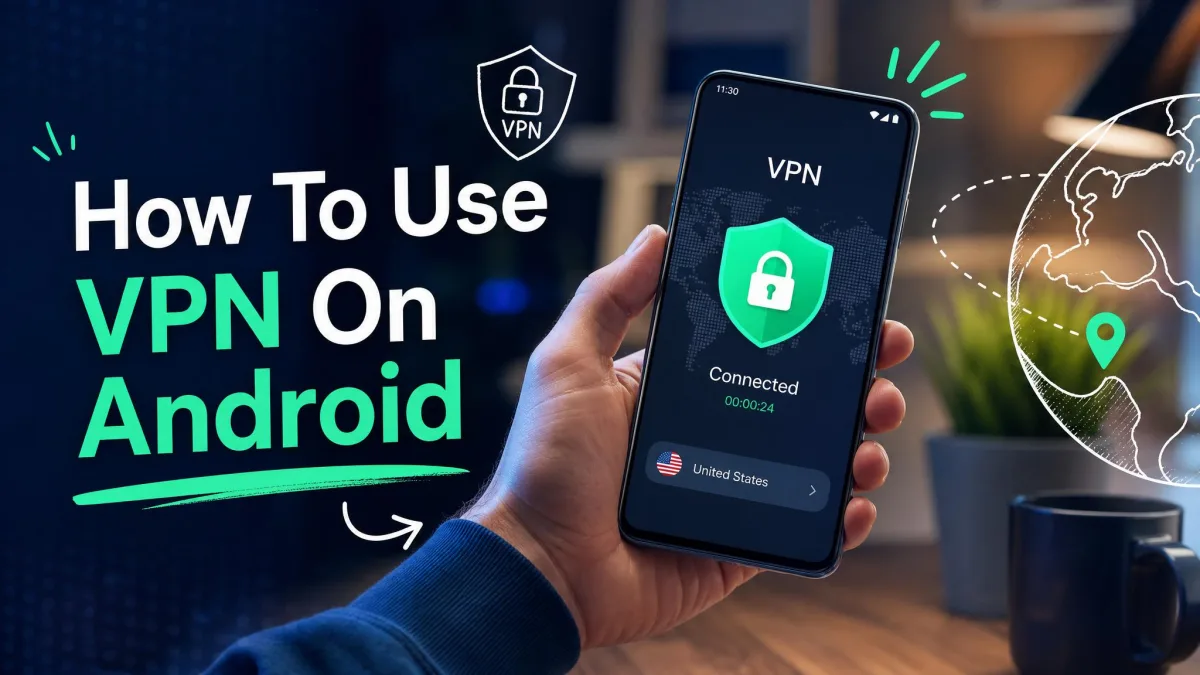
Hotel, airport and café Wi-Fi puts your Android phone on a network run by someone else, and you might want your browsing kept private from that network and from your internet provider. Fixing that takes only a couple of minutes. Install a trusted VPN app from the Google Play Store, sign in and tap Connect, or add a VPN profile yourself by opening Settings > Network & internet > VPN.
Below, we cover all three setup methods, the settings worth turning on, and how to confirm the tunnel is actually working. If you also want to protect a laptop or TV, our guide on how to use a VPN on any device covers the rest.
3 Ways to Set Up a VPN on Android
Most people should use a provider's app. Manual setup suits a work or self-hosted server, and a WireGuard or OpenVPN client fits when you're handed a configuration file.
Method 1: Install a VPN App From the Google Play Store (Easiest)
We'd point almost anyone to this method first, because the app handles the server details and extras for you. It takes just a few taps.
- Open the Google Play Store and search for your VPN provider by name.
- Check that the developer name matches the provider, then tap Install.
- Open the app and sign in, or create an account if you don't have one.
- Pick a server location, or let the app choose the fastest one.
- Tap Connect.
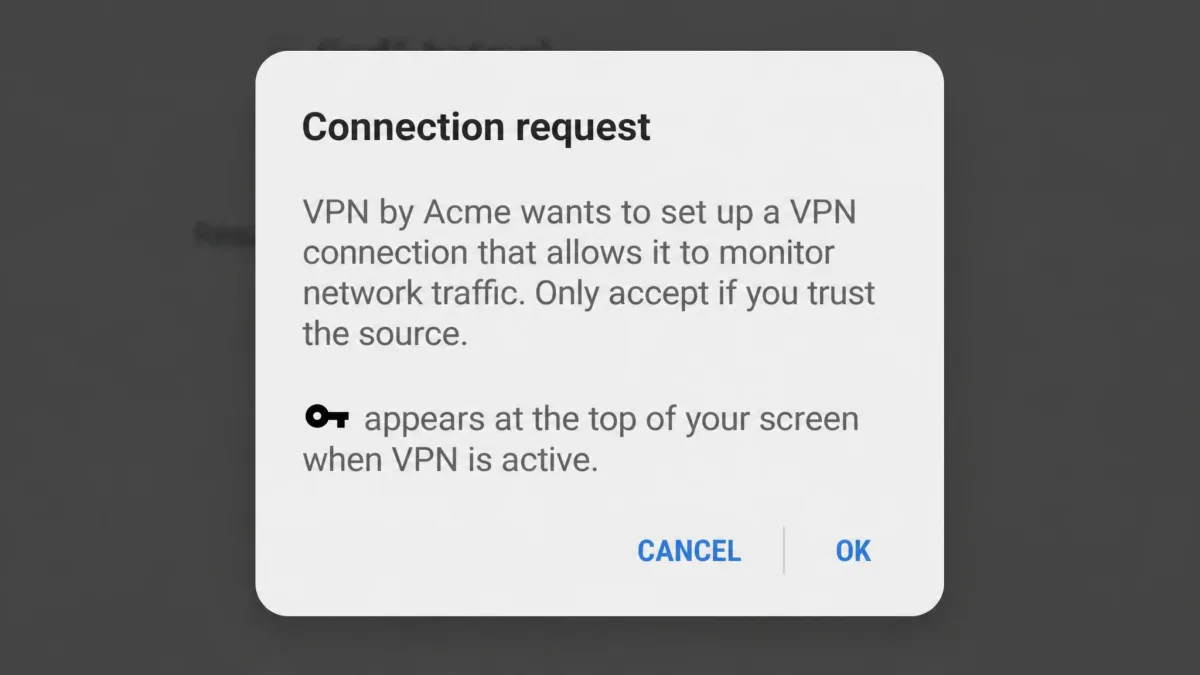
- When Android shows its connection request, tap OK.
- If the app asks to keep running in the background, allow it.
The first time we connected with any VPN app, Android showed a warning that the app wanted to set up a VPN connection that can monitor network traffic. The tunnel didn't come up until we tapped OK. That prompt is a standard system dialog Android shows for every VPN app, so it isn't a sign the provider is logging your traffic.
If you don't have a provider yet, this is the one we'd start with.

Method 2: Add a VPN Manually in Android Settings
Android has its own VPN menu, so you can connect without installing anything. The catch is that you need the connection details from your VPN provider or network admin. According to Google's Android VPN help page, the steps look like this on a Pixel or stock Android phone:
- Open Settings > Network & internet > VPN.
- Tap Add (the + icon at the top).
- Enter a name, choose the VPN type and fill in the server address and login details.
- Tap Save.
- Tap the new profile, enter your username and password if asked, then tap Connect.
Menu names vary by brand. On Samsung phones the path may read Connections > More connection settings > VPN, and OnePlus phones may show Connection & sharing > VPN instead. Google's page also notes that some of its steps only work on Android 14 and up.
On Android 12 and later, the built-in menu offers only three IKEv2/IPSec types: IKEv2/IPSec MSCHAPv2, IKEv2/IPSec PSK and IKEv2/IPSec RSA. Older PPTP and L2TP/IPSec types were removed, so guides that still list them were written for older phones.
Before you start, ask your provider or admin for the server address, the IPSec identifier, and either the pre-shared key or the certificate. The built-in menu can't find these for you, and manual setup stalls without them.
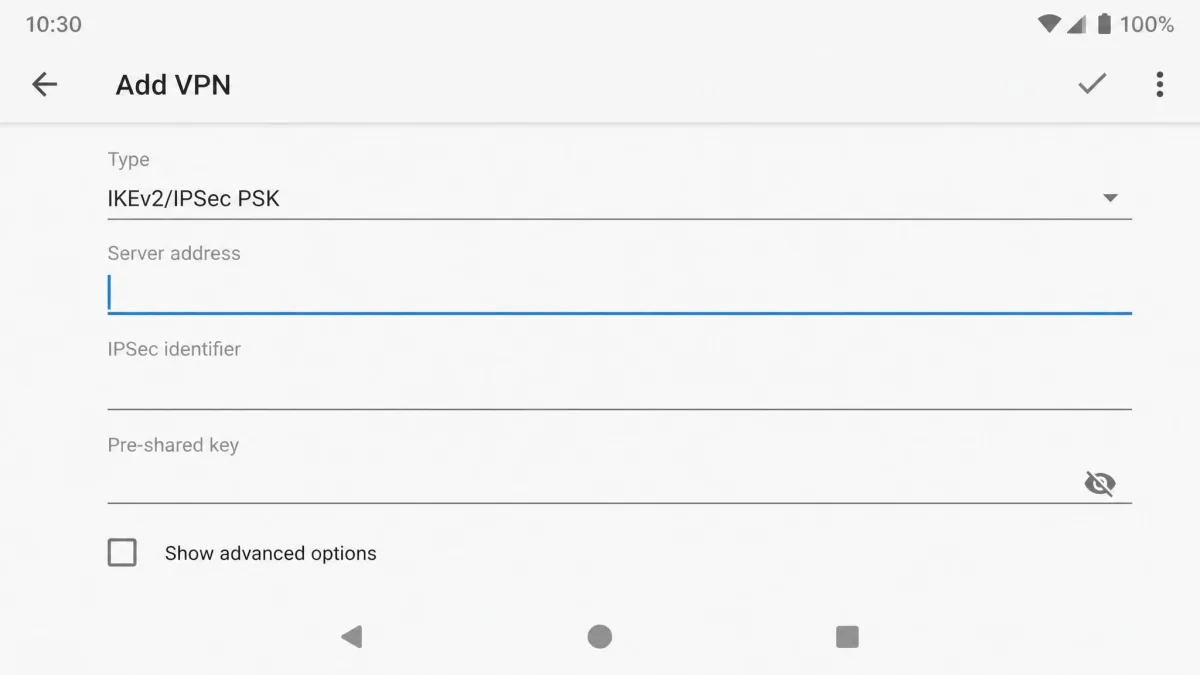
A manual IKEv2 profile has clear advantages: it uses less battery than most apps and needs no extra app permissions. That said, you give up the extras an app adds, such as a kill switch, split tunneling and one-tap server switching.
Method 3: Use an OpenVPN or WireGuard Client
Android's VPN menu has no OpenVPN or WireGuard option, so those protocols need a separate client app.
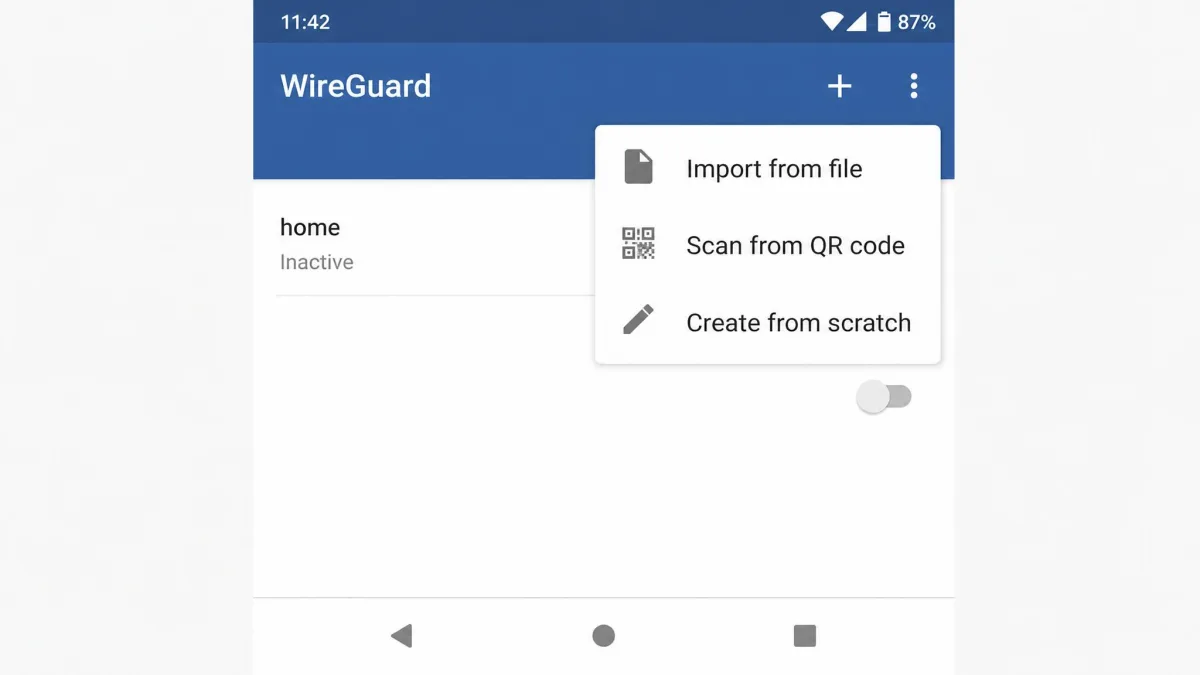
For WireGuard, install the official WireGuard app and tap the + button. You can import a .conf file or archive, scan a QR code, or create a tunnel from scratch. In our experience, scanning your provider's QR code is fastest, since typing keys by hand invites mistakes. Our WireGuard setup guide explains how to generate and read those configs.
For OpenVPN, install OpenVPN Connect from the Play Store. On first launch, the Import Profile screen lets you import a .ovpn file from storage or pull one from your provider's URL. Grant permission to create VPN configurations when asked, then tap the profile to connect.
Keep profile files under 256 KB, and keep any certificate and key files in the same folder as the .ovpn file. OpenVPN Connect can't import a profile when those files are split across folders. For everything beyond the install step, see our guide on how to use OpenVPN.
How to Connect to and Disconnect From a VPN on Android
Turn the VPN On
Once a VPN is set up, you have three ways to connect:
- Open the VPN app and tap Connect.
- Swipe down to Quick Settings and tap the VPN tile, if your app or phone adds one.
- Open Settings > Network & internet > VPN and tap the profile you want.
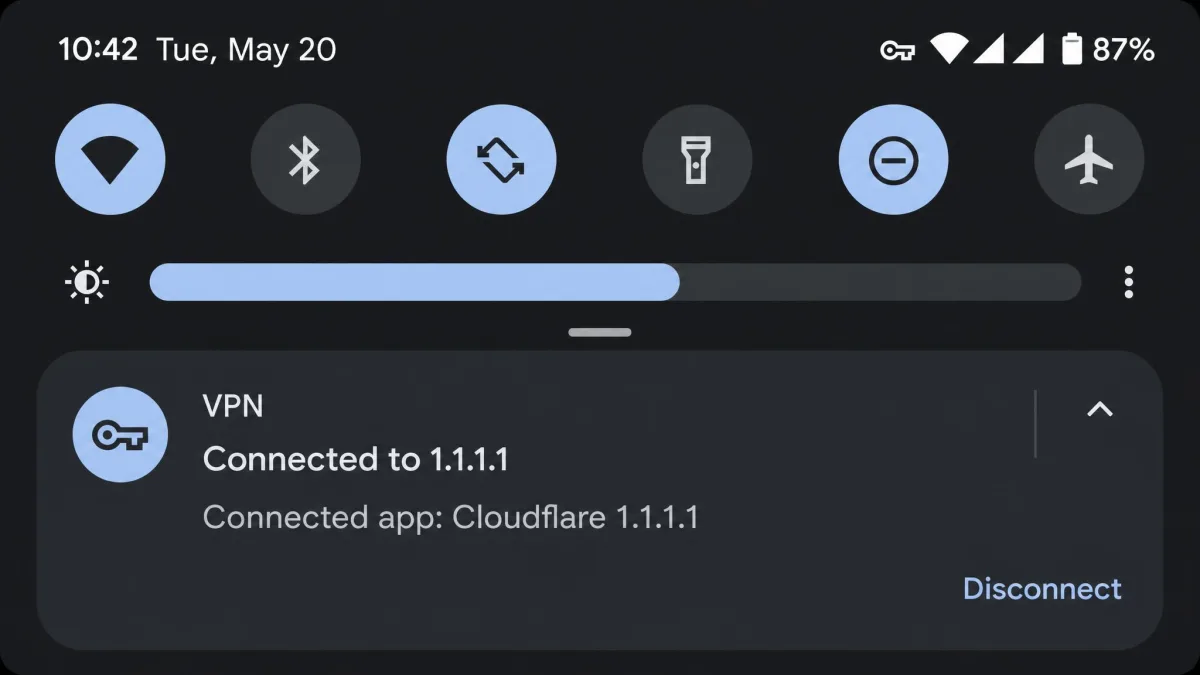
Once you're connected, a small key icon sits in the status bar and a VPN panel appears in Quick Settings. On our phones, the key icon confirmed the tunnel was up without opening anything.
Turn the VPN Off or Remove a VPN Profile
To disconnect, tap Disconnect in the app or the VPN panel in Quick Settings. For a manual profile, open Settings > Network & internet > VPN, tap the gear next to the profile, and turn it off or tap Forget to remove it. Keep in mind that disconnecting yourself doesn't trip an app's kill switch, which only reacts to unexpected drops. Our guide on how to turn off a VPN on Android goes into more detail.
Android VPN Settings Worth Turning On
Getting connected is half the job. The other half is keeping the VPN on when your phone sleeps, switches networks or reboots.
Always-On VPN and Block Connections Without VPN
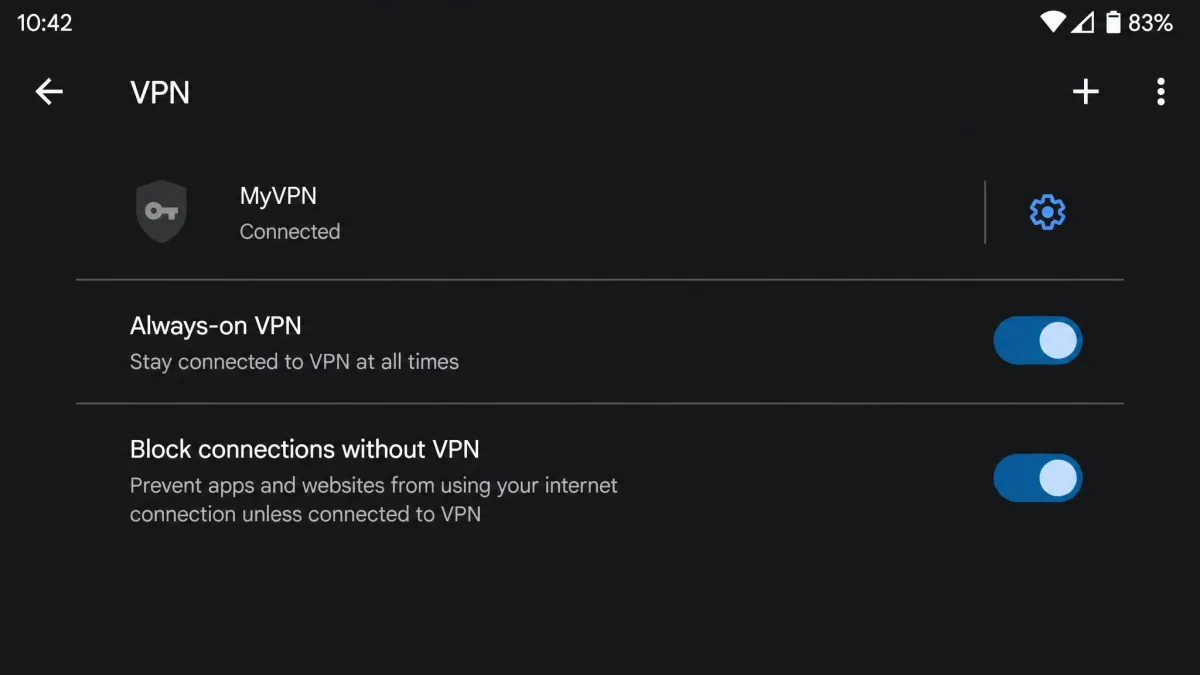
Always-on VPN tells Android to start your chosen VPN automatically and keep it running. It arrived in Android 7.0. The companion switch, Block connections without VPN, came in Android 8.0 and stops any traffic that doesn't go through the VPN.
- Open Settings > Network & internet > VPN.
- Tap the gear next to your VPN app or profile.
- Turn on Always-on VPN.
- Turn on Block connections without VPN.
With Block connections without VPN turned on, every app on our phones lost internet whenever the VPN was down. We'd rather have a dropped tunnel look like a dead connection than a silent leak. Some VPN apps don't expose the Always-on option in Android's settings, so you'll need to open those apps directly to connect.
Turning on Block connections without VPN is a good idea on any phone you take onto public Wi-Fi. If a hotel login page won't load, sign in to the Wi-Fi first, then connect the VPN.
These switches don't close every gap. Mullvad reported on May 3, 2024 that Android can still send some DNS lookups outside the tunnel while a VPN app reconnects or crashes, even with both settings on. A DNS leak means your phone asks the network, rather than the VPN, to look up website addresses.
Kill Switch
A kill switch is an app feature that cuts your internet if the VPN drops unexpectedly, so nothing slips out unprotected. Block connections without VPN does a similar job at the system level, so turn on both where you can. Here's how a VPN kill switch works in more depth.
Split Tunneling
Split tunneling lets you choose which apps use the VPN and which go straight to the internet. On Android, a VPN can use an allowed list, where only the listed apps use the tunnel, or a disallowed list, where the listed apps bypass it, but not both at once. If you also have Block connections without VPN on, apps left outside the tunnel lose internet whenever the VPN is down. Read more about what split tunneling does.
Choosing a VPN Protocol
A protocol is the set of rules your phone and the VPN server use to build the encrypted tunnel. Most apps let you pick one in their settings.
| WireGuard | IKEv2/IPSec | OpenVPN | |
|---|---|---|---|
| Speed | Fastest | Fast | Slower |
| Wi-Fi to mobile data switch | Good, reconnects quickly | Best | Needs a full reconnect |
| Battery at idle | Lowest | Moderate | Highest |
| Best use | Everyday phone use and streaming | Manual setup without an app, commuting | Restrictive networks, provider .ovpn files |
In short, WireGuard (a lean, modern protocol) is the best default on a phone, and IKEv2 (the standard built into Android) suits manual profiles.
How to Check That Your VPN Is Working (and Fix It If Not)
A Connected status doesn't guarantee your traffic is protected, so run these one-minute checks:
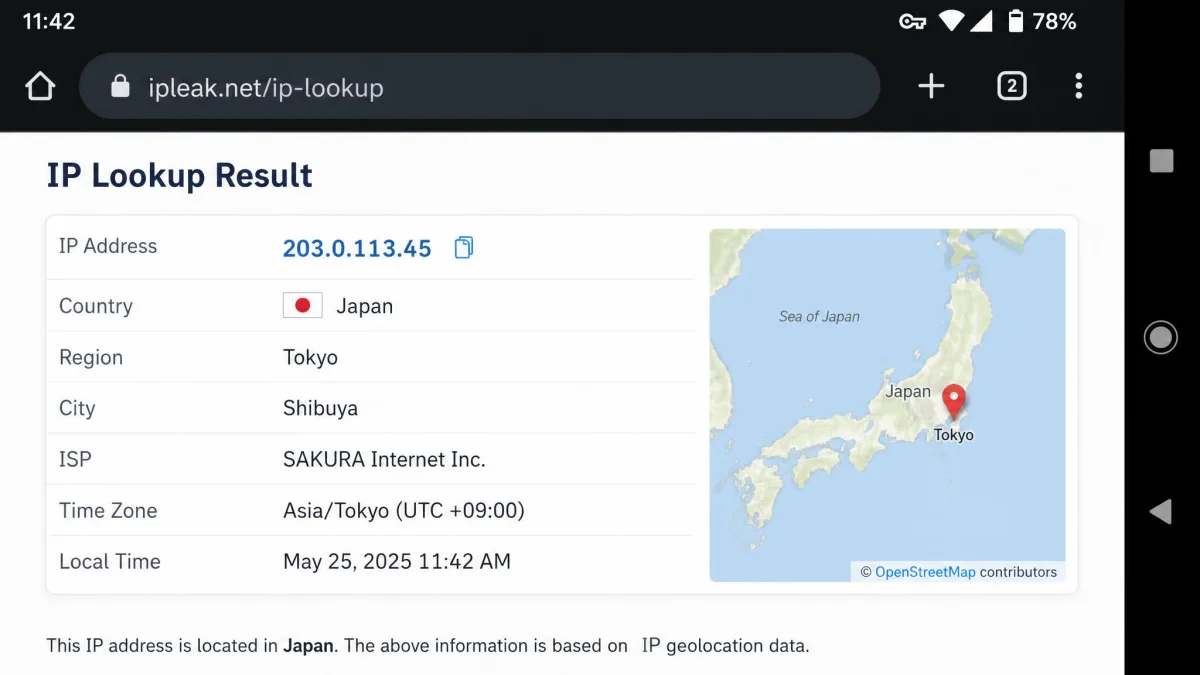
- With the VPN off, open an IP lookup site in your browser and note your IP address and location.
- Connect the VPN and reload the page.
- Check that the IP address and location now match the VPN server you picked.
- Run a DNS leak test and make sure only your VPN provider's servers appear.
If your real IP or your internet provider's name shows up, something is leaking. We cover more ways to check if your VPN is working in a separate guide, including how to test for DNS leaks.
If the VPN drops or won't connect, work through these fixes in order:
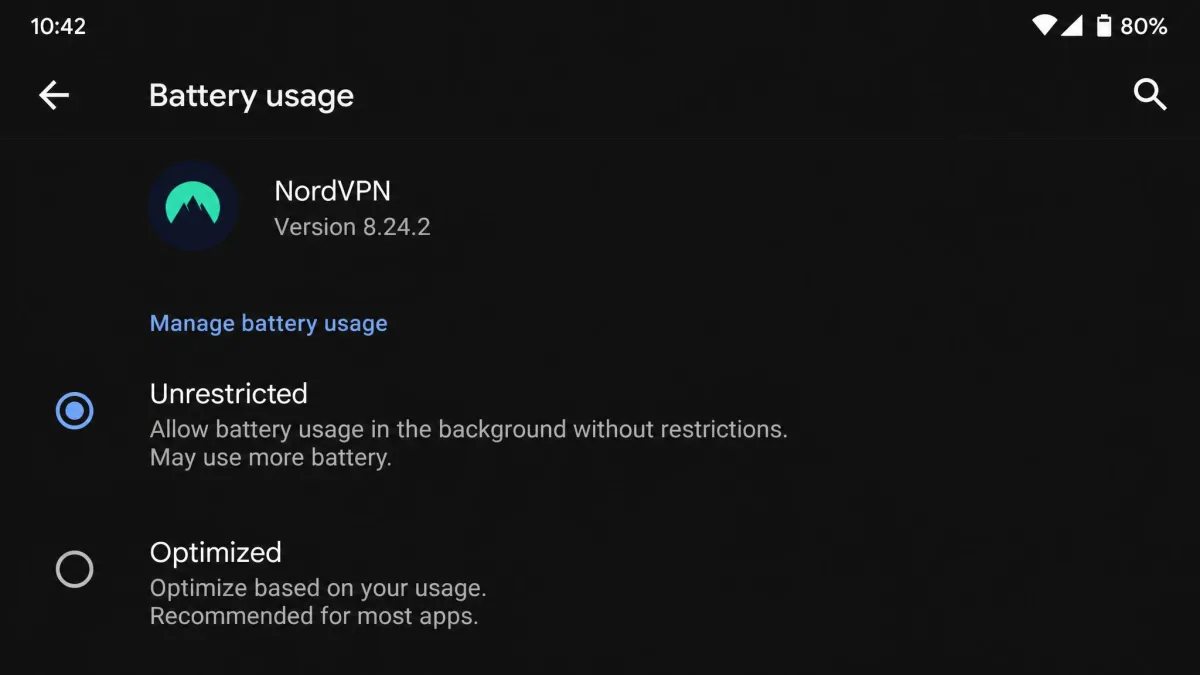
- Set battery use to Unrestricted. Battery optimization is the most common reason an Android VPN drops when the phone sleeps.
- Check Samsung's Device Care. Remove the VPN app from Sleeping apps and Deep sleeping apps, which quietly kill the connection.
- Whitelist the app on Xiaomi, OnePlus and Oppo phones. Their autostart limits can stop a VPN app.
- Switch protocols. Moving from OpenVPN to WireGuard or IKEv2 inside the app often clears up repeated disconnects.
- Turn off Private DNS while testing. Android's Private DNS setting can clash with the VPN's own DNS.
- Test on Wi-Fi and mobile data separately. This shows whether the network or the app is the problem.
If the VPN says Connected but an app still shows your real location, try another server and clear that app's cache. A VPN doesn't hide your phone's GPS location.
What a VPN Does on Your Android Phone
Once connected, your phone sends its traffic through an encrypted tunnel to the VPN server. The Wi-Fi owner and your mobile carrier can see that you're connected to a VPN, but not which sites you visit. Websites see the VPN server's IP address instead of yours, which also lets you access content available in other server locations.
A VPN has limits, though. It doesn't stop malware, it doesn't sign you out of your Google account, and apps can still use your GPS location. Think of it as a privacy layer for your connection, not a complete security tool.
How to Choose a VPN for Android
There are hundreds of Android VPNs out there. Look for these:
- WireGuard support for speed and battery life.
- A kill switch and split tunneling inside the app.
- A clear no-logs policy, ideally backed by an independent audit.
- Server locations in the countries you actually need.
- A money-back guarantee so you can try the app on your own phone risk-free.
If you want a shortlist, we rank the best VPNs for Android in a separate roundup.
Android VPNs to Avoid
Be careful with unknown free apps. In a CSIRO study of 283 Android VPN apps, published in 2016, researchers found that over 38% showed some malware presence and 75% used third-party tracking libraries. They also found that 82% asked for sensitive permissions such as access to user accounts and text messages, and 18% tunneled traffic without encryption.
Leaks were common too. About 84% didn't tunnel IPv6 traffic, and about 66% didn't tunnel DNS traffic. Popularity was no guarantee: 25% of the apps had at least a 4-star rating, and 37% had more than 500K installs.
Before installing a VPN app, check who makes it, read its privacy policy, and look at the permissions it asks for. A VPN has no reason to read your contacts or text messages.
If you'd rather not pay, stick to safer free VPNs for Android, which we've vetted separately.