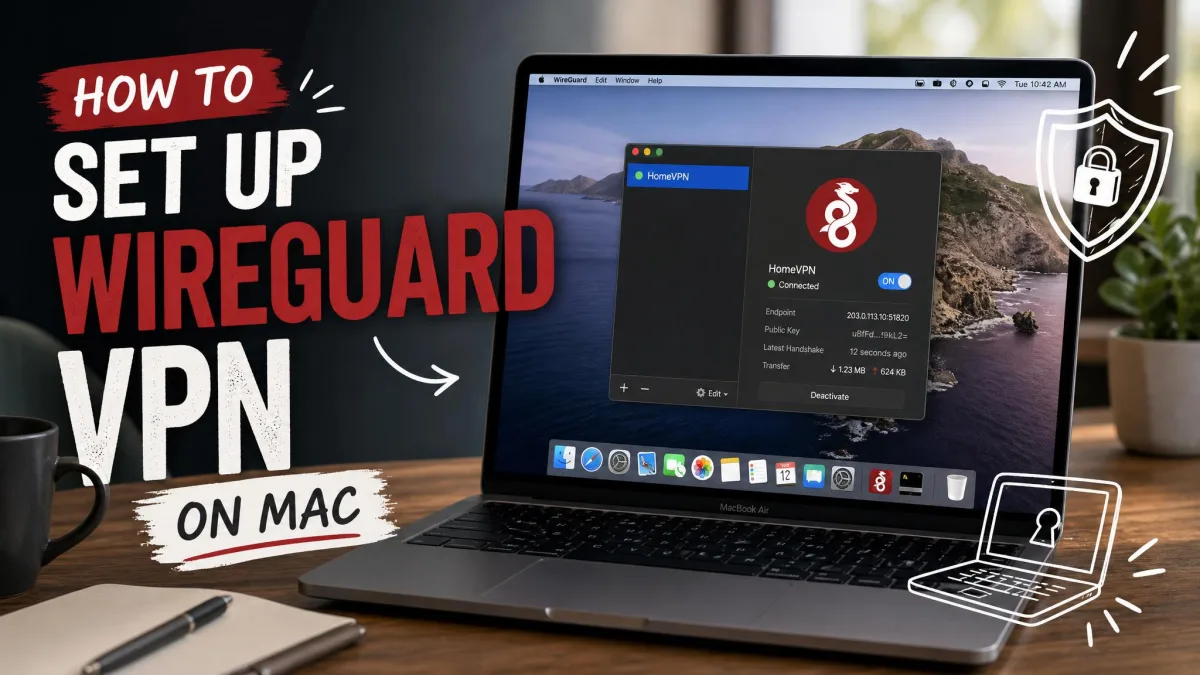
If you need a fast, private tunnel between your devices and a remote server, WireGuard is the modern way to build one. It replaces the sprawling configuration of older VPNs with a lean model: a couple of config sections, one key pair per machine, and a single command to bring the tunnel up. The trade-off is that the defaults are deliberately bare, so a few steps that other VPNs handle for you are left in your hands.
This guide walks through the whole path end to end. We set up a WireGuard server on Ubuntu and connected clients on Windows, Android, and a second Linux box, then verified every hop with wg show. Along the way we hit the same quiet failures most people do, so we call each one out where it bites.
Everything below is grounded in a working setup we built and broke on purpose. Where a step fails silently, that is exactly where we spent our debugging hours.
What Is WireGuard (and Why Use It)?
WireGuard is a modern VPN protocol built around state-of-the-art cryptography and a very small codebase. It runs entirely over UDP, which keeps the handshake quick and the overhead low. Instead of the certificate machinery of older tools, it identifies every peer by a single public key, the same way SSH identifies a host. If you want the background before diving in, our primer on what WireGuard is and the deeper look at how WireGuard works both set the scene, and the WireGuard quickstart covers this minimal model well.
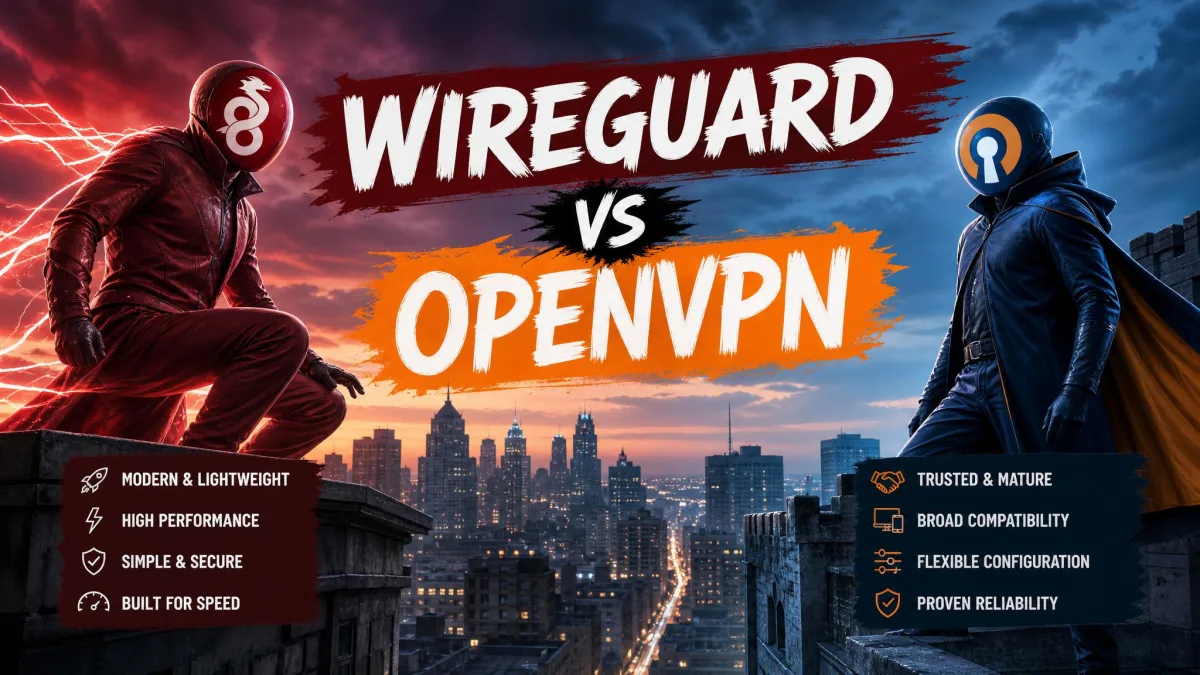
The appeal is speed and simplicity. WireGuard lives in the Linux kernel and is designed to be considerably more performant than OpenVPN, a gap we dig into in our WireGuard versus OpenVPN breakdown, though the official project publishes no fixed benchmark figure.
It is also genuinely cross-platform. The same protocol runs on the Linux kernel, Windows, macOS, BSD, iOS, and Android, so one server can serve a laptop, a phone, and a home router without special cases.
Pros
- Very fast, with low latency and minimal handshake overhead
- Simple config: two sections, one key pair per device
- Modern cryptography using the Noise framework, Curve25519, and ChaCha20
- Runs everywhere, from the Linux kernel to iOS and Android
Cons
- Bare defaults: IP forwarding, NAT, and DNS are your job
- Static peer model means you edit config to add or remove devices
- Silent failures (wrong port protocol, missing keepalive) can be hard to spot
How WireGuard Works: Interfaces, Peers, and Keys
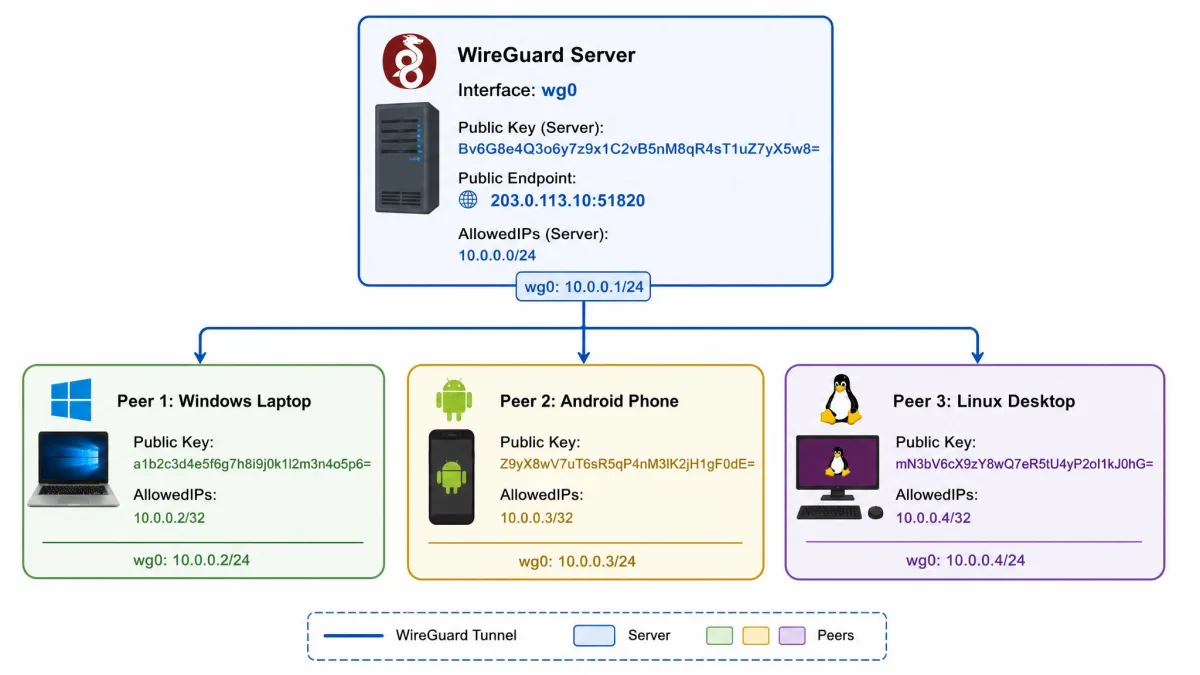
WireGuard models a VPN as a set of network interfaces that talk to each other. Each machine has one virtual interface, usually named wg0, described by an [Interface] section in its config. Every other machine it talks to is a [Peer].
Keys tie it together. Each interface holds its own private key and is known to others by the matching public key. When two peers share each other's public keys and agree on the routes, the tunnel forms. There is no central server role baked into the protocol: the machine with a public endpoint simply acts as one.
The core cryptography uses the Noise protocol framework with Curve25519 for key exchange, ChaCha20 and Poly1305 for encryption, and BLAKE2 for hashing. You never touch these directly, but they are why the config stays so short.
Before You Start: Prerequisites
You need a server with a public IP address or a hostname that resolves to one. A cheap cloud VPS works, as does a home machine if you can forward a port on the router. Root or sudo access is required to write to /etc/wireguard and change kernel networking settings.
Note your public IP now. If your home connection uses a dynamic IP, plan on a dynamic-DNS updater, because the address will change after an ISP reboot and break every client's endpoint until you fix it.
Finally, pick a UDP port. WireGuard's default is 51820, and we suggest keeping it unless you have a reason not to.
Step 1: Install WireGuard
WireGuard ships in most modern operating systems, so installation is usually one command or one download. Full instructions for every platform live on the official install page.
Linux (Ubuntu / Debian)
On Ubuntu or Debian, install the package and its tools in one line:
sudo apt update
sudo apt install wireguard
This pulls in both the wg command and the wg-quick helper that manages interfaces. On current kernels the WireGuard module is already built in, so there is nothing else to load.
Windows, macOS, Android, and iOS
For desktop clients, download the installer from the official website. The Windows build supports Windows 10, 11, and Server editions from 2016 through 2025. On macOS and iOS, install the app from the App Store; on Android, use the Play Store. Each of these gives you a graphical client that imports a config file or a QR code rather than editing text by hand.
Verify the Installation
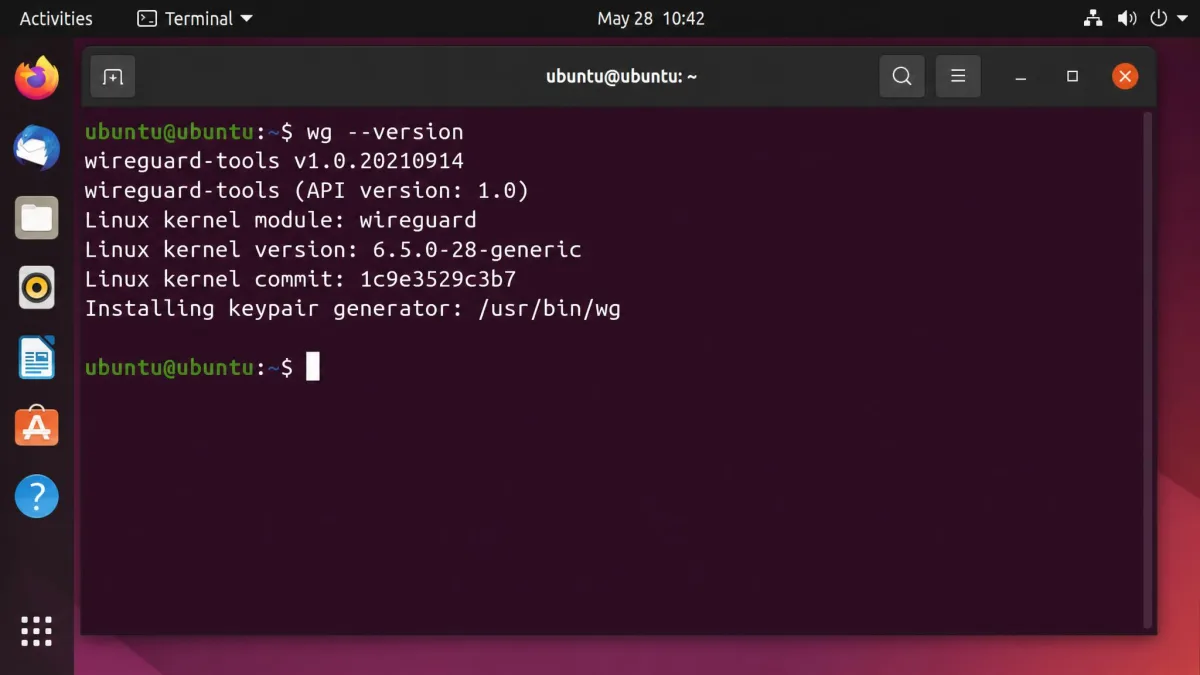
Confirm the tools are present before you go further:
wg --versionIf that prints a version string, the userspace tools are ready. On our Ubuntu server it returned the WireGuard tools version and confirmed the kernel module was available.
Step 2: Generate Your Key Pair (Public and Private Keys)
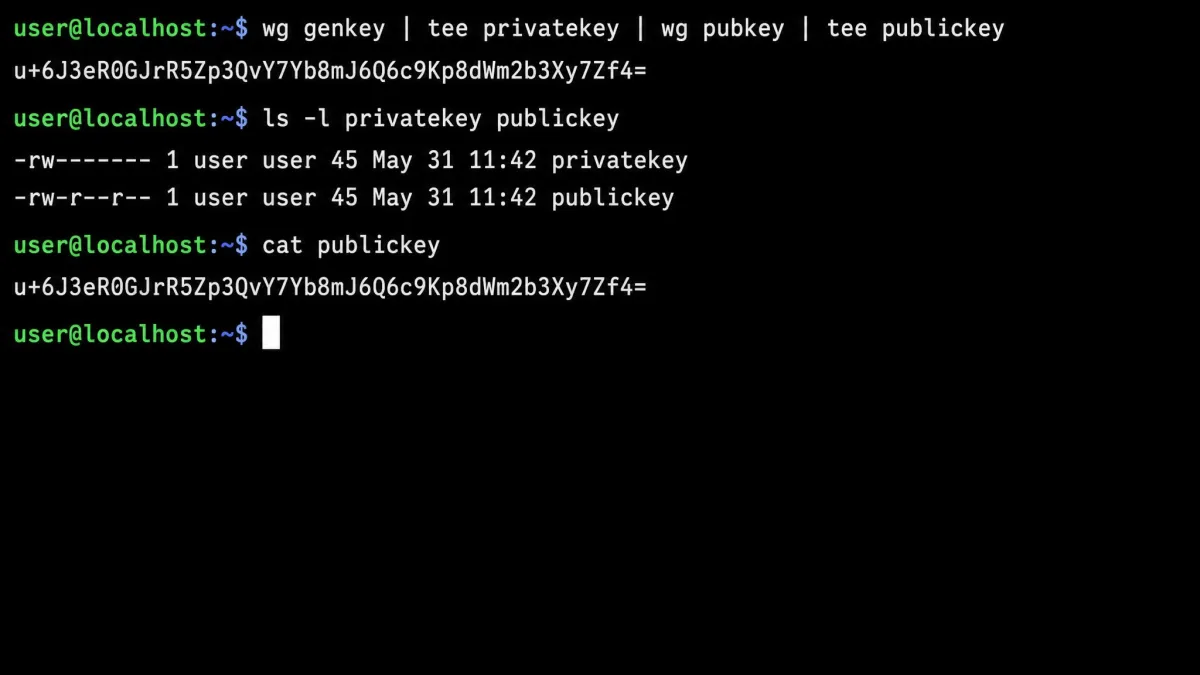
Every machine needs its own key pair. Generate the private key, then derive the public key from it:
wg genkey | tee privatekey | wg pubkey > publickeyThe wg genkey command creates the private key and writes it to a file named privatekey. Piping it through wg pubkey produces the matching public key in publickey. Run this once on the server and once on each client.
Keep the two straight: the private key stays on its own machine and is never shared, while the public key is the only value you copy into another peer's config. Repeat this step for every device you plan to connect, since reusing a key across machines defeats the point.
Your private key is the whole of your security. Never paste it into another device's config, never commit it to a repo, and set the config file to chmod 600 so non-root users cannot read it.
Step 3: Configure the WireGuard Server
The server config conventionally lives at /etc/wireguard/wg0.conf. The filename sets the interface name, so wg0.conf becomes interface wg0. Create it with your editor of choice.
The [Interface] Section (Address, ListenPort, PrivateKey)
The [Interface] section describes the server's own end of the tunnel:
[Interface]
Address = 10.0.0.1/24
ListenPort = 51820
PrivateKey = <server-private-key>
Address is the server's IP inside the VPN subnet. ListenPort is the UDP port clients connect to. PrivateKey is the contents of the server's privatekey file. Do not omit ListenPort: leave it out and the server binds a random ephemeral port instead of 51820, which quietly breaks every client.
Enable IP Forwarding and NAT
Here is the step most tutorials skip, and it cost us the most time. By default a Linux server will not forward packets between interfaces, so clients connect to the tunnel but cannot reach the internet or the wider network behind it. Turn forwarding on:
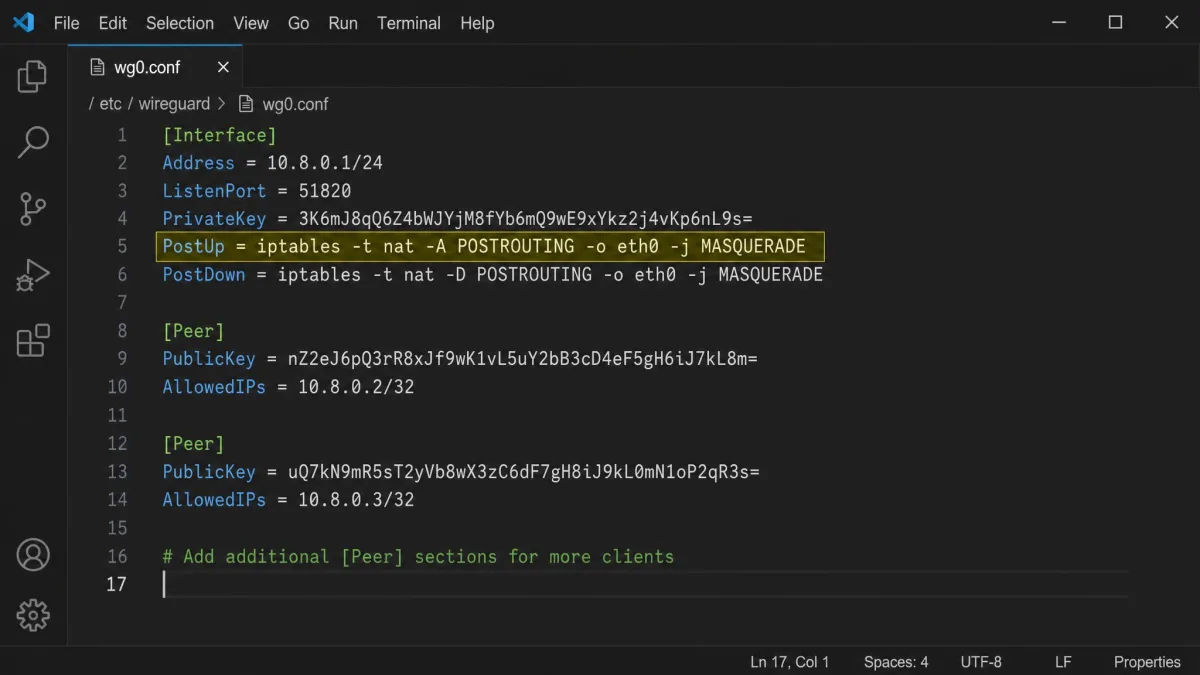
sudo sysctl -w net.ipv4.ip_forward=1Make it permanent by setting net.ipv4.ip_forward=1 in /etc/sysctl.conf and applying it with sudo sysctl -p. Forwarding alone still is not enough. Traffic will not leave the server without a NAT masquerade rule, which you add as PostUp and PostDown hooks in the [Interface] section:
PostUp = iptables -t nat -A POSTROUTING -o eth0 -j MASQUERADE
PostDown = iptables -t nat -D POSTROUTING -o eth0 -j MASQUERADE
Swap eth0 for your server's real outbound interface. With forwarding on and masquerade in place, packets from a client finally reach the internet with the server's public IP.
If you forward the port on a home router, set the forward to UDP, not TCP. A TCP forward fails silently: the handshake never completes and there is no obvious error to point you at the cause.
Step 4: Configure the Client
The client config mirrors the server's, with its own [Interface] section and a [Peer] block pointing back at the server.
The [Peer] Section (PublicKey, Endpoint, AllowedIPs)
A minimal client config looks like this:
[Interface]
Address = 10.0.0.2/24
PrivateKey = <client-private-key>

[Peer]
PublicKey = <server-public-key>
Endpoint = your-server-ip:51820
AllowedIPs = 0.0.0.0/0, ::/0
PersistentKeepalive = 25
PublicKey is the server's public key. Endpoint is the server's public IP or hostname plus the listen port. AllowedIPs decides what routes into the tunnel; 0.0.0.0/0, ::/0 sends all traffic through it.
Watch AllowedIPs closely, because it does two jobs at once. On the client it selects which destinations route through the tunnel. On the server's matching peer entry it filters which source IPs are accepted inbound. To reach a whole remote subnet you must list its CIDR, for example 192.168.2.0/24; listing only the peer's /32 leaves the rest of that LAN unreachable. This dual role trips up nearly every newcomer, including us on the first pass.
Add the client's public key to the server's config as its own [Peer] block, with AllowedIPs set to that client's tunnel address (for example 10.0.0.2/32). The keys must match across both ends or no handshake forms.
PersistentKeepalive = 25 matters on any client behind NAT. Without it the connection drops after 30 to 60 seconds of silence, because the router forgets the port mapping. The server side does not need it.
Import the Config (File or QR Code)
On desktop, open the WireGuard app, choose to add a tunnel, and point it at the .conf file. On Linux, save the file to /etc/wireguard/ and use wg-quick directly.
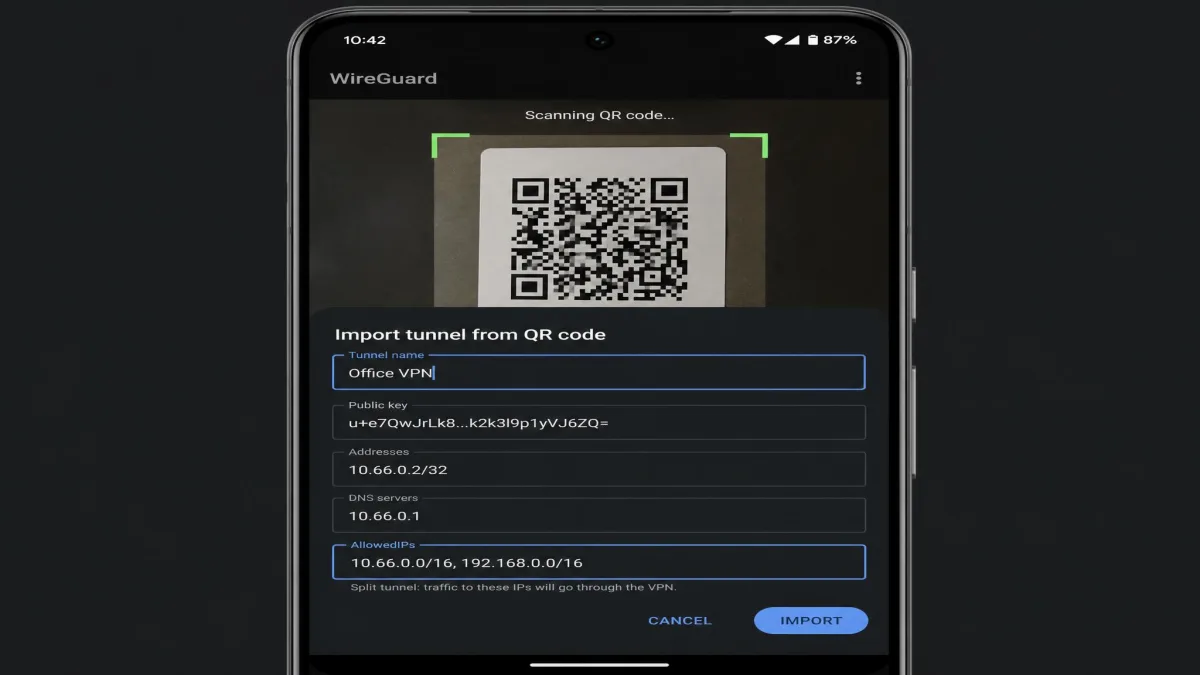
For phones, skip typing. Generate a QR code from the client config with qrencode -t ansiutf8 < client.conf, then scan it from the WireGuard app on Android or iOS. The whole tunnel imports in one scan, keys included.
Step 5: Start the Tunnel and Connect
With both configs in place, bring the interface up on the server:
sudo wg-quick up wg0This reads wg0.conf, creates the interface, applies the address and routes, and runs your PostUp hooks. To take it down, run sudo wg-quick down wg0. The full set of options is documented in the wg-quick manpage.
On the client, toggle the tunnel on in the app or run the same wg-quick up command against the client config. Do the server first, then the client, so the server is listening when the client's first packet arrives.
Step 6: Verify the Connection (wg show / Handshake)
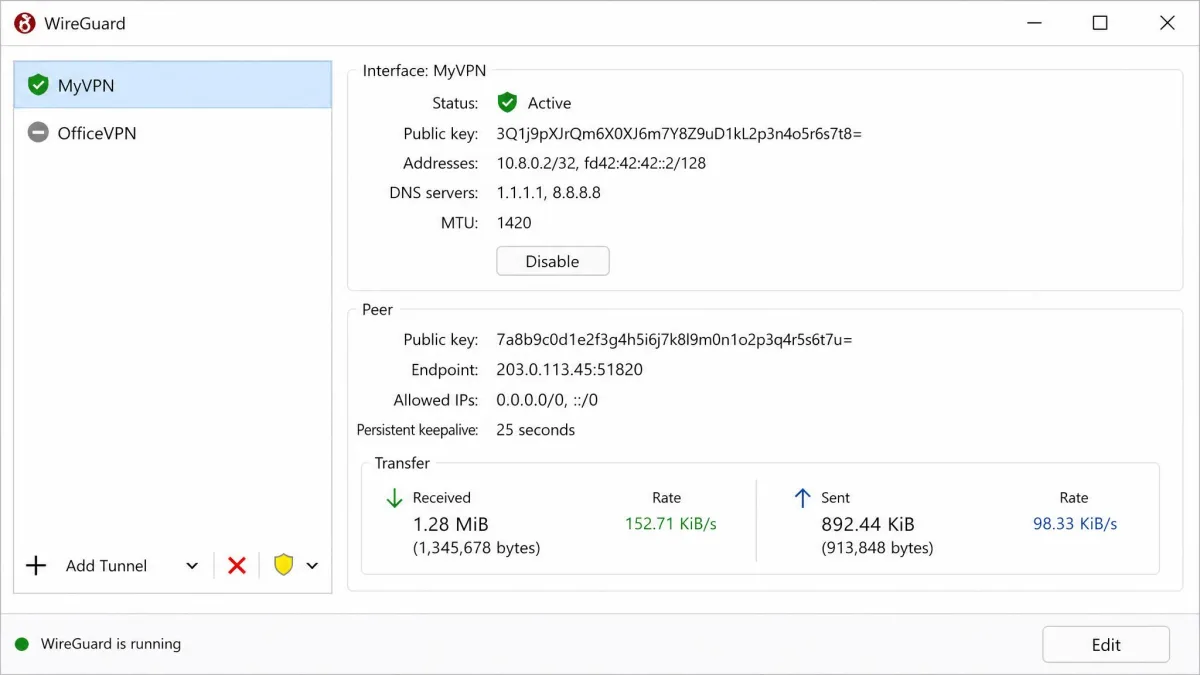
The single most useful command is wg show, documented in the wg manpage:
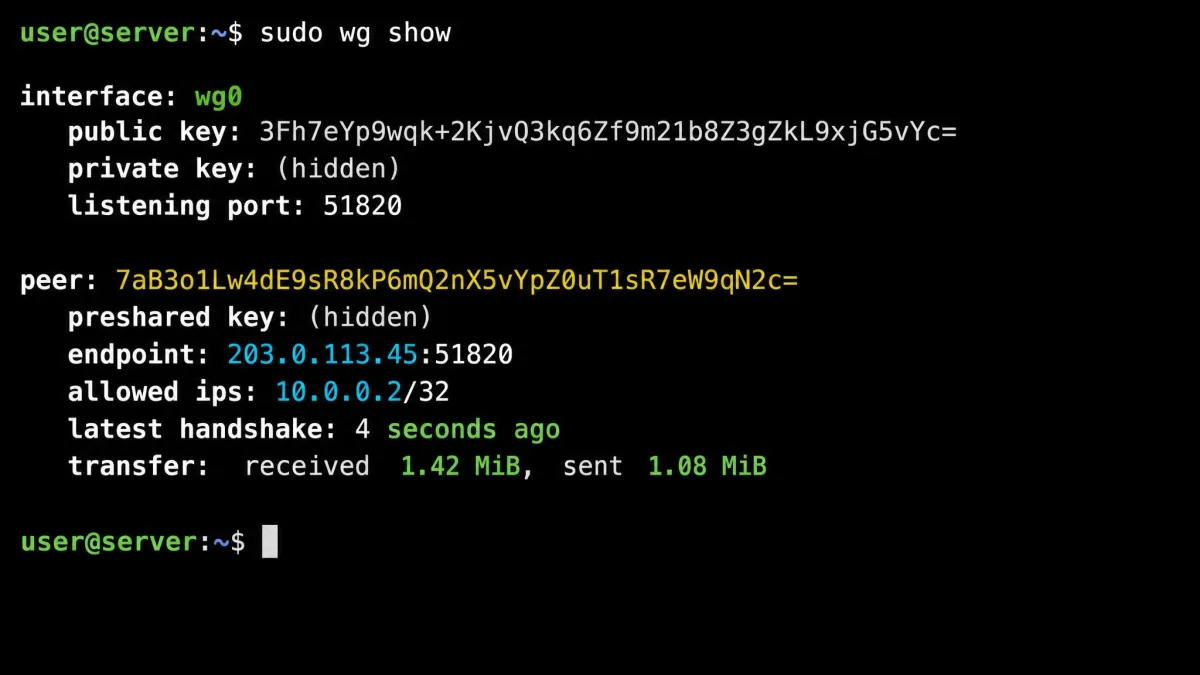
sudo wg showIt lists each peer, the last handshake time, and bytes transferred in each direction. A recent handshake and rising transfer counters mean the tunnel is live. When we brought our first client up, wg show reported a handshake seconds old and the receive counter climbing, which confirmed real traffic was moving.
If you want certainty before you even configure clients, watch the wire directly. Running tcpdump on the server's UDP port while pinging from the client shows whether packets actually arrive. Checking with tcpdump and netcat that packets reach the server early saved us hours of chasing a setup that looked correct but passed no traffic.
Now confirm you can reach across the tunnel with a simple ping to the server's VPN address:
ping 10.0.0.1Routing and DNS Options
Once the tunnel connects, you choose how much of your traffic it carries and how names get resolved.
Split Tunneling vs. Routing All Traffic
The choice lives entirely in AllowedIPs. Set it to 0.0.0.0/0, ::/0 and every packet leaves through the tunnel, which is what you want for a privacy VPN. Set it to a specific subnet like 10.0.0.0/24 and only that traffic tunnels while everything else uses your normal connection. That narrower form is split tunneling, and it is ideal for reaching a home lab or office network without routing your whole internet through the server.
Setting DNS
If you route all traffic, add a DNS line to the client's [Interface] section, or your DNS lookups will leak outside the tunnel:
DNS = 10.0.0.1On most platforms wg-quick configures the system resolver automatically from this directive. Some Linux systems still need the resolvconf package installed for it to take effect, so if lookups fail after connecting, install that first.
Adding and Removing Peers
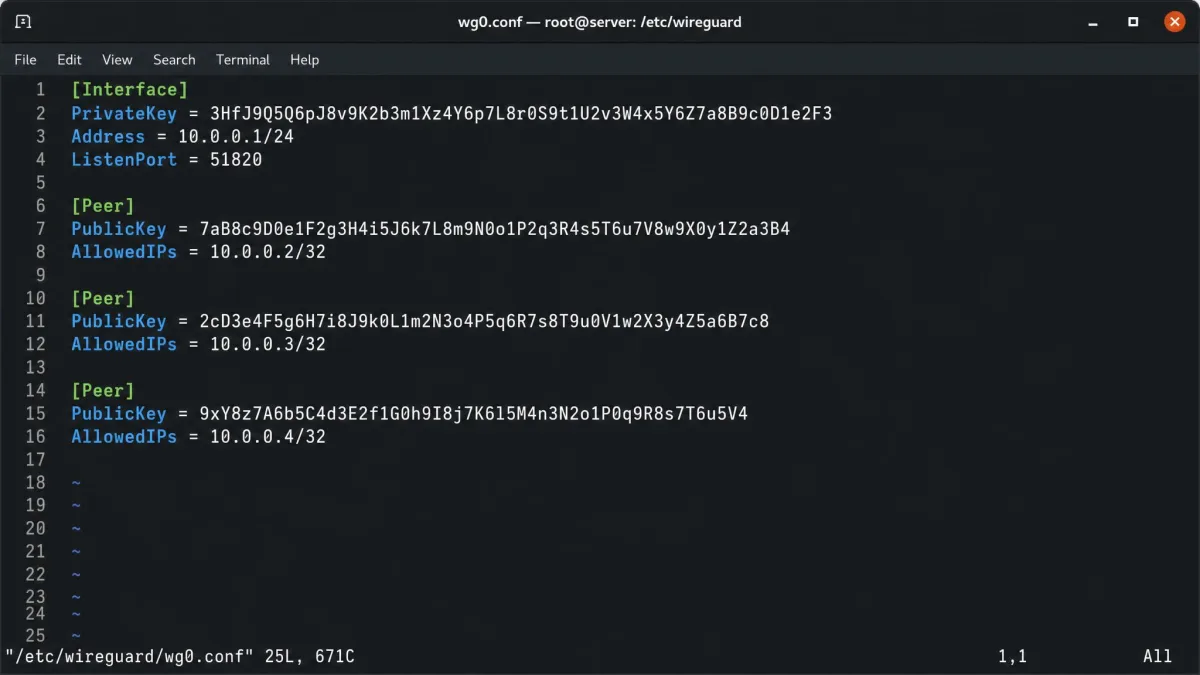
WireGuard uses a static peer model, so devices are added by editing config rather than through an enrollment flow. To add a client, generate a new key pair on that device, then append a fresh [Peer] block to the server's config with the new public key and a unique tunnel address such as 10.0.0.3/32.
To remove a peer, delete its [Peer] block from the server config. Either restart the interface with wg-quick down wg0 && wg-quick up wg0, or apply the change live with wg set. Because access is tied to the public key, removing the block instantly revokes that device.
For larger fleets, a management layer helps. Tools like wg-easy wrap this editing in a web UI that generates client configs and QR codes for you, which is worth a look once you are past a handful of peers. If you would rather let a provider handle the plumbing, our roundup of the best WireGuard VPNs covers services that ship the protocol preconfigured.
Security Best Practices
A short config does not mean security is automatic. A few habits keep a WireGuard deployment safe.
Protect the private keys above all. Set every config file that holds one to chmod 600 so only root can read it, and never move a private key off the machine that generated it. If a device is lost, remove its peer block on the server to cut it off.
Keep the attack surface small. WireGuard is silent by design: it does not respond to unauthenticated packets, so a scanner sees a closed port. Do not undo that by exposing extra services on the server. Keep the system patched, and prefer a non-default UDP port only if it fits your firewall policy, not as a security measure on its own.
The WireGuard kernel components are released under GPLv2, and the project is open source and audited, which is part of why we trust it for long-running tunnels.
Troubleshooting Common Issues (No Handshake, No Ping)
Most problems fall into a couple of buckets, and wg show points at both.
A missing handshake almost always traces to one of three causes: a firewall blocking UDP 51820, a wrong Endpoint IP on the client, or a mismatched public key between the two peers. Check that the server's listen port is open, that the endpoint address is current, and that each side holds the other's correct public key.
A handshake that succeeds but no ping usually means the routing or NAT layer. Confirm net.ipv4.ip_forward=1 is actually applied, that the PostUp masquerade rule is present, and that AllowedIPs on both ends covers the addresses you are trying to reach. If a home connection worked yesterday and fails today, suspect a changed dynamic IP and update your endpoint or dynamic-DNS record.
If the tunnel connects then dies about a minute later, the client is behind NAT and missing PersistentKeepalive = 25. Add it and the drop stops.
Frequently Asked Questions
Do I need a static IP to run a WireGuard server?
Endpoint, so clients follow the address when it changes after a reboot.Can one client hold several server peers at once?
[Peer] blocks, each with its own AllowedIPs range. WireGuard routes to whichever peer's allowed range matches the destination, which lets one device reach several separate networks through different servers.Why does my transfer counter show sent bytes but no received bytes?
AllowedIPs.Is WireGuard safe to leave running all the time?
chmod 600 and the host patched, and a persistent tunnel is a reasonable default.Conclusion
WireGuard trades the heavy machinery of older VPNs for a handful of clear steps: install the tools, generate a key pair per device, write two config sections, and bring the interface up with wg-quick. The parts that trip people are not the cryptography but the plumbing around it, namely IP forwarding, the NAT masquerade rule, a UDP port forward, and PersistentKeepalive behind NAT.
Get those four right and the rest falls into place. In our testing the tunnel was fast, stable, and quiet, and once the routing was correct it simply stayed up. Start with a single client, verify it with wg show, then add peers one at a time as you need them.