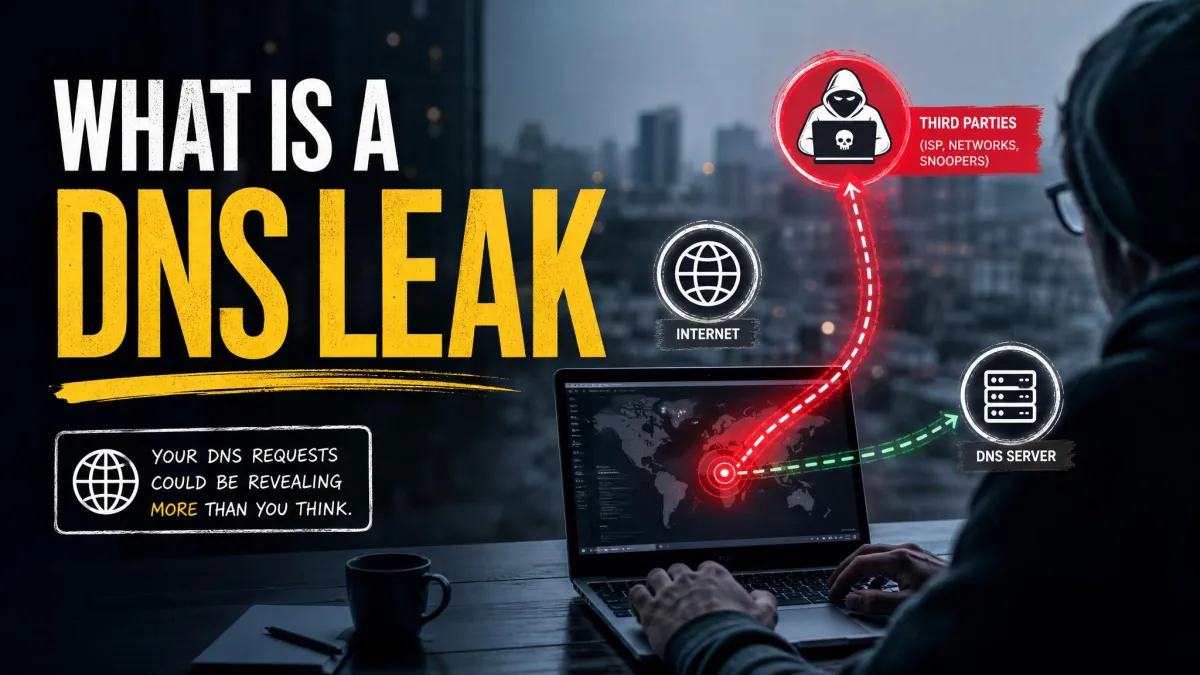
You connect a VPN, assume your browsing is private, and keep working. But the VPN can hide your IP address while your DNS requests still travel to your ISP's resolver. That gap is a DNS leak, and it quietly exposes every site you visit even when the connection looks secure. The good news is that you can test for it in about two minutes with free tools, and most fixes take only a few settings changes.
This guide covers what a DNS leak is, why it matters, what causes it, and how to test for and fix one. We ran each test ourselves on a standard Windows laptop with and without a VPN connected, so the steps match what you will see on screen.
What Is a DNS Leak?
DNS is the system that turns a domain name like example.com into the numeric IP address your device connects to. Every time you load a page, open an app, or click a link, your device sends a DNS request to a resolver that answers with the right address. That resolver sees the full list of domains you look up.
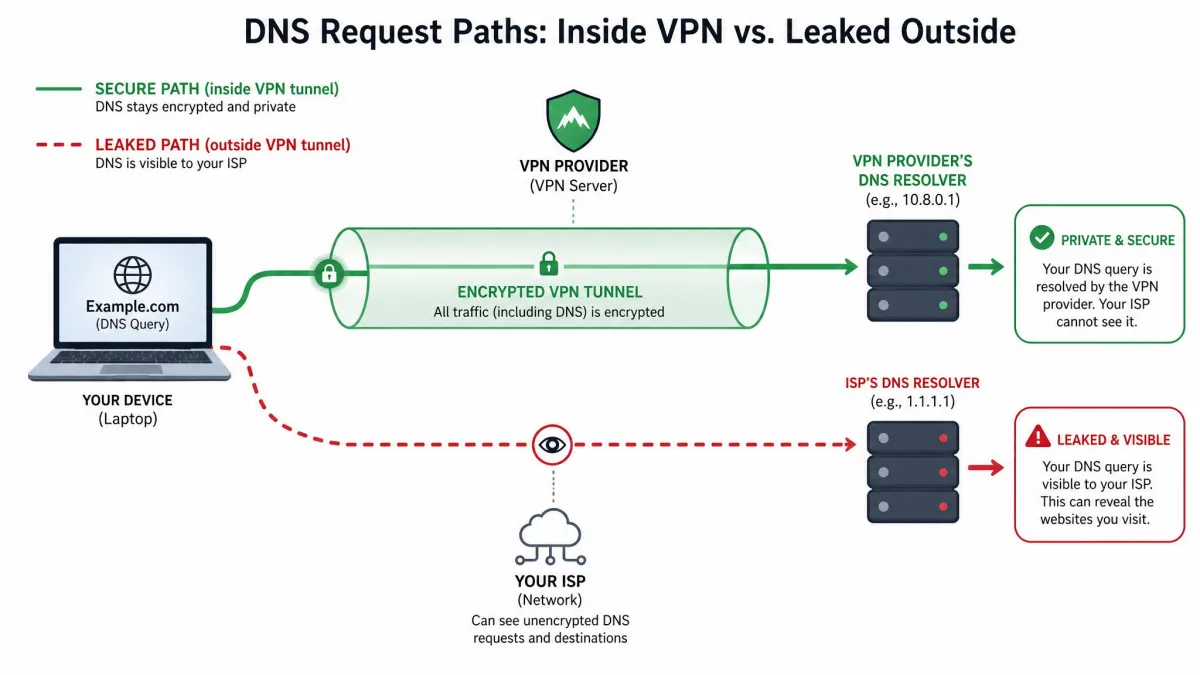
A DNS leak happens when those requests travel outside your encrypted VPN tunnel and reach your ISP's resolver instead of your VPN provider's. The VPN still encrypts your traffic, but the DNS lookups escape through a separate path. The result is that your browsing activity is visible to your ISP even while the VPN shows as connected.
Why DNS Leaks Matter for Your Privacy
The whole point of a VPN is to keep your network activity away from your ISP and anyone watching the connection. A DNS leak breaks that promise in a way most people never notice, because the VPN app still reports a normal, connected status.
Your ISP can log every domain in those leaked requests. That record can reveal the sites you read, the services you use, and your general location, which defeats the privacy you are paying for. In our testing, a VPN can look completely clean on a standard IP address check while DNS requests take a different route. Checking the IP alone is not enough, because DNS, IPv6, and WebRTC each escape through a different path.
Common Causes of DNS Leaks
Leaks rarely mean your VPN is broken. In our testing, they most often trace back to the operating system, the browser, and the VPN client disagreeing over who should resolve DNS. Here are the usual causes.
Misconfigured VPN or Incomplete Tunnel
If the VPN does not route DNS requests through its own tunnel, your device falls back to the resolver it used before you connected. A partial or misconfigured tunnel sends traffic through the VPN while DNS quietly stays on the old path.
IPv6 Leaks
Many VPNs only handle IPv4 traffic. On a dual-stack connection that carries both IPv4 and IPv6, the IPv6 requests can slip past the tunnel entirely. We have seen the standard DNS test pass while IPv6 quietly exposes the real location, which is why IPv6 deserves its own check.
Transparent DNS Proxies (ISP interception)
Some ISPs run transparent DNS proxies that intercept and answer DNS requests no matter which resolver you set. Because the ISP hijacks the request in transit, manually changing your DNS servers alone may not stop the leak on these networks.
OS-Level Default DNS Assignments
Your operating system assigns a default resolver, usually from your router or ISP. If the VPN does not override that assignment, the system keeps using the default DNS server even after you connect.
WebRTC and Split-Tunneling Issues
WebRTC is a browser feature that can reveal network details outside the tunnel. Split tunneling, which routes only some apps through the VPN, can also leave DNS requests from excluded apps on your normal connection.
A VPN that passes an IP address check can still leak DNS, IPv6, or WebRTC data. Always test each path separately rather than trusting the VPN's connected status.
How to Test for a DNS Leak: Step by Step
Testing takes a few minutes and needs no software beyond a browser. The method is simple: record your baseline, connect the VPN, run a test, and compare the two results.
Step 1: Note Your Baseline (VPN Off)
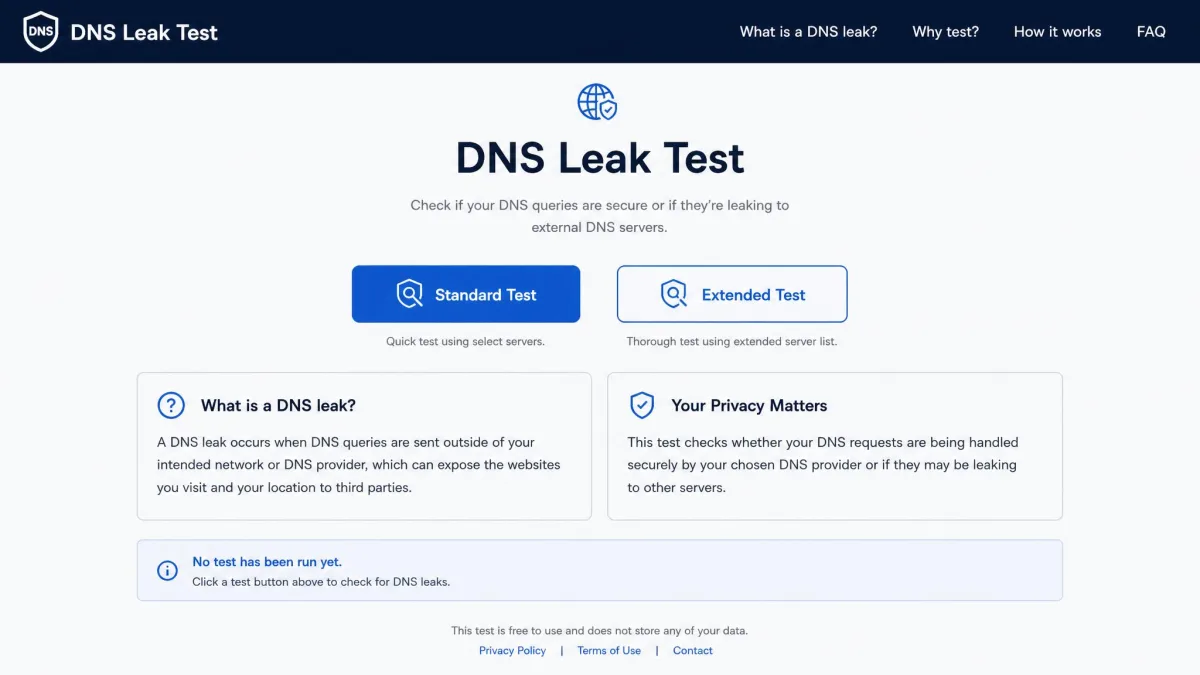
Start with the VPN disconnected. Open a DNS leak test site such as dnsleaktest.com or browserleaks.com/dns and run the standard test. Write down the DNS server IP, the ISP or operator name, and the location it reports. This is your baseline, and it should show your real ISP.
Step 2: Connect Your VPN
Connect to any VPN server, ideally one in a different country from your own. Wait for the app to confirm the connection. If your VPN has DNS leak protection or a kill switch, leave those features on for this test.
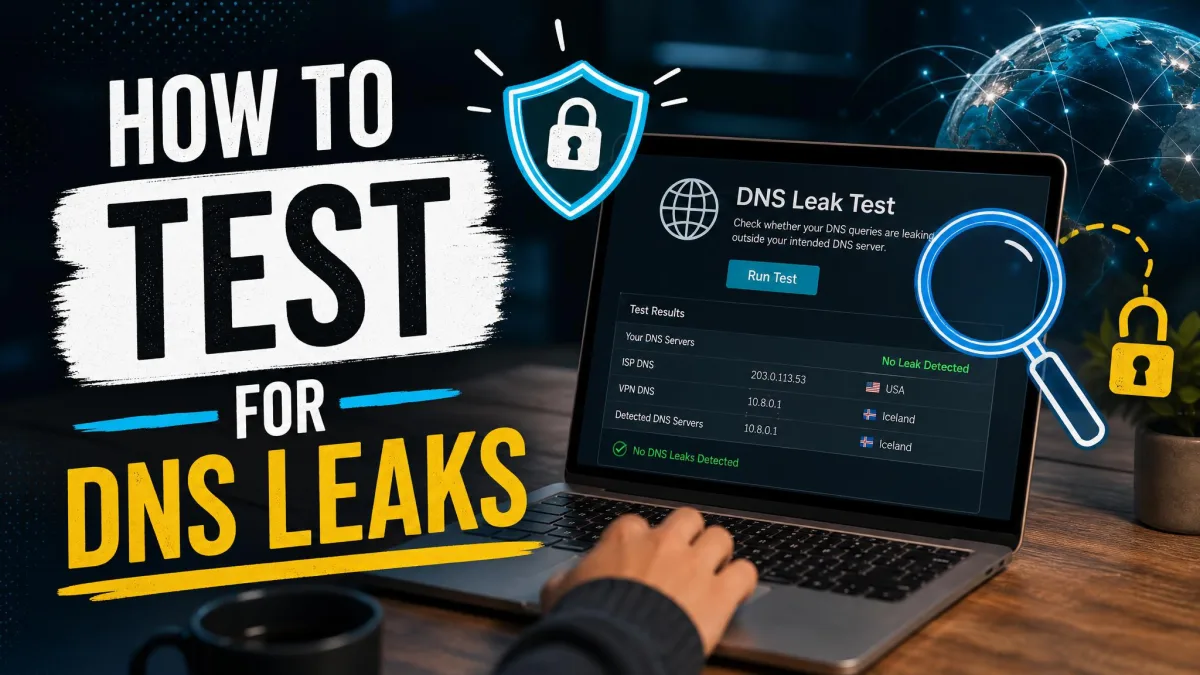
Step 3: Run a DNS Leak Test Tool
Reload the test site and run the standard test again. The standard test on dnsleaktest.com runs one round of 6 queries, which is enough to catch most obvious leaks. For a closer look, run the extended test, which sends 36 queries across six rounds and takes roughly 10 to 30 seconds longer.
Run the test with the VPN off and then on, and compare the two results. A single reading has no baseline to compare against, so running it twice is the only reliable way to tell a real leak from normal behavior.
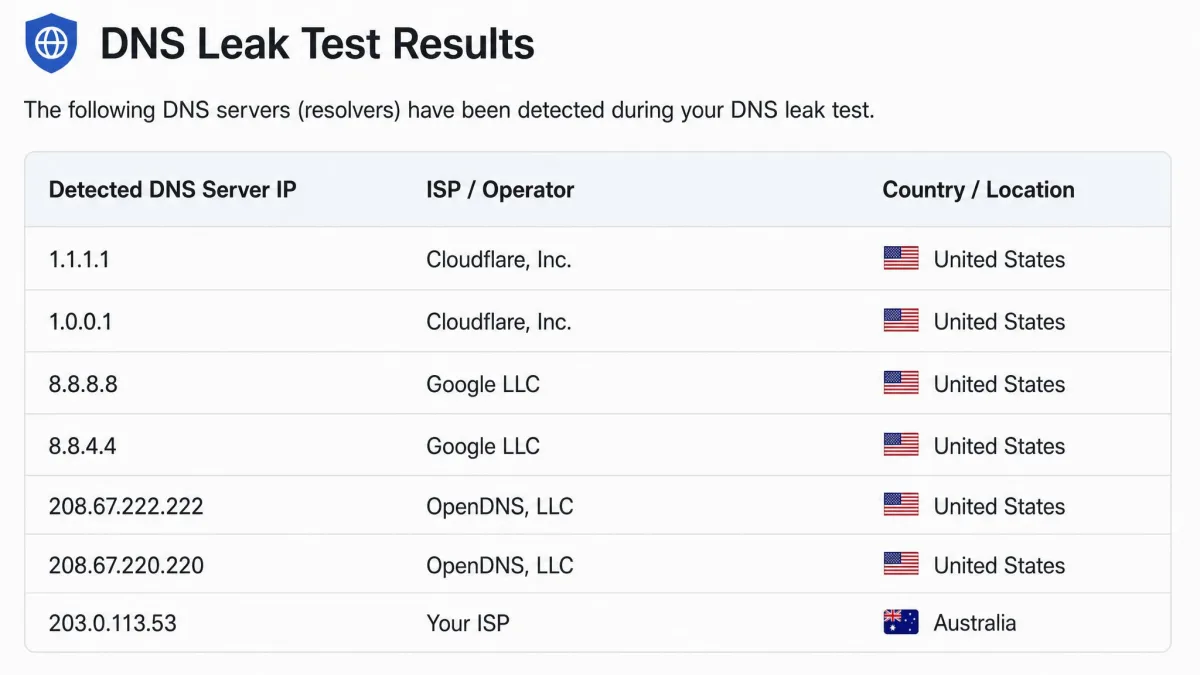
Step 4: Read the Results (DNS server IP, ISP, location)
A clean result lists only DNS servers that belong to your VPN provider, with a location matching the server you chose. If the results still show your ISP's name, your real location, or the DNS server IP from your baseline, DNS requests are leaking outside the tunnel.
Method: Manual Command-Line Testing (optional advanced)
If you prefer the command line, you can resolve a domain directly and check which server answers. On Windows, nslookup example.com reports the resolver in use. On macOS or Linux, dig example.com does the same. This confirms which DNS server your system is actually querying, independent of any browser test.
How to Interpret Your Results
Compare the VPN-on result against your baseline. If the DNS server IP, ISP name, and location all changed to match your VPN provider, there is no leak. If any of those still match your baseline, DNS is escaping the tunnel.
Watch for partial results too. We have found that the extended test surfaces additional DNS servers the quick standard test can miss, so a clean standard result is not always the full picture. If you see a mix of VPN and ISP servers, that is still a leak. Run both tests before you conclude the connection is safe.
How to Fix a DNS Leak
Most leaks resolve with one of the fixes below, and our guide on how to fix a DNS leak adds steps for Windows, macOS and Linux. Work through them in order and rerun the test after each change.
Enable Your VPN's DNS Leak Protection
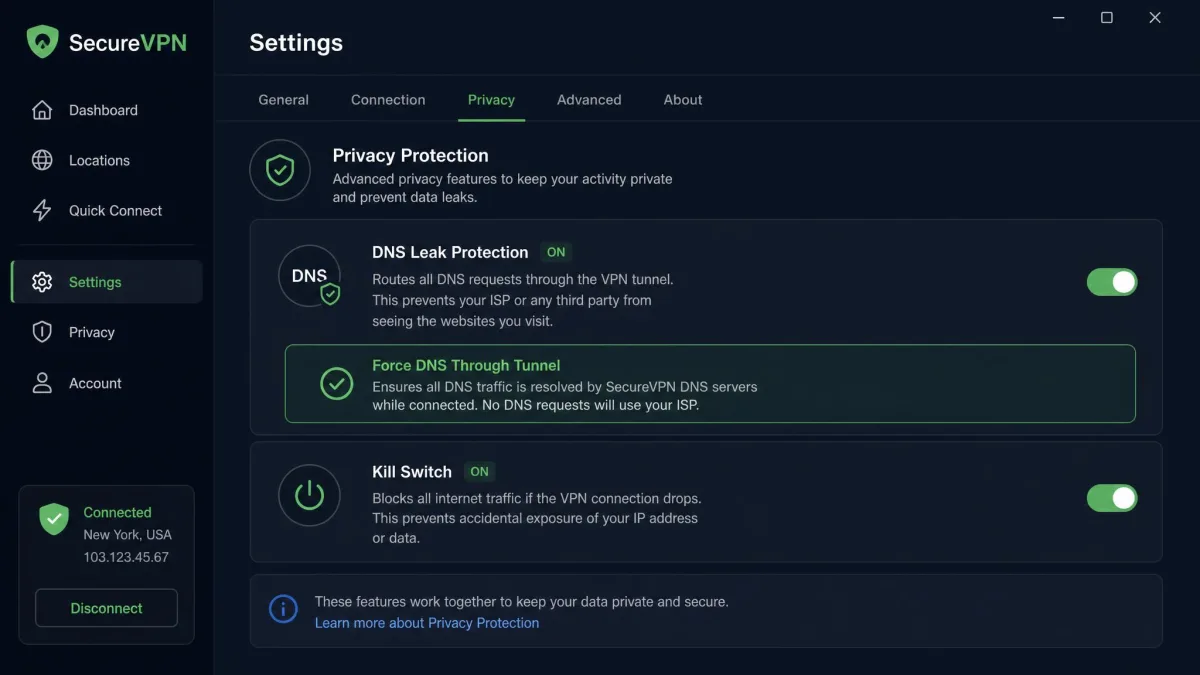
Most reputable VPNs include DNS leak protection and a kill switch in their settings. Turn both on. The leak protection forces DNS through the tunnel, and a kill switch catches the brief window during reconnection when requests would otherwise fall back to your ISP.
Set DNS Servers Manually (Cloudflare, Google, Quad9)
You can point your system at a trusted public resolver instead of your ISP's. Cloudflare uses 1.1.1.1 and 1.0.0.1, Google Public DNS uses 8.8.8.8 and 8.8.4.4, and Quad9 uses 9.9.9.9 and 149.112.112.112. Set these in your network adapter or router settings. On networks with a transparent DNS proxy, the ISP may still intercept requests, so this fix alone does not always work.
Disable IPv6
If your VPN does not tunnel IPv6, disabling IPv6 on your network adapter closes that escape route. This is one of the most common fixes, because IPv6 requests slip past many VPNs on dual-stack connections while the IPv4 DNS test still looks clean.
Use Encrypted DNS (DoH / DoT)
Encrypted DNS stops anyone on the path, including your ISP, from reading your requests. DNS over HTTPS (DoH) is specified in RFC 8484 and runs over HTTPS on port 443, which makes it indistinguishable from normal web traffic. DNS over TLS (DoT) uses a dedicated TCP port, 853, so it is always identifiable as DNS on the wire. For background on the process these protocols protect, Cloudflare explains how DNS resolution works.
How to Verify the Fix
After any change, rerun both the standard and extended tests with the VPN connected. A fixed connection shows only your VPN provider's DNS servers, with no trace of your ISP or real location. Check IPv6 and WebRTC as well, since closing the DNS path does not automatically close the others.
If the leak persists after enabling leak protection, switching resolvers, and disabling IPv6, the problem may be a transparent proxy or a VPN that does not fully control DNS. In that case, switching to a VPN with proven leak protection is the most reliable path. For help, see our guide on how to check if your VPN is working.
Common Misconceptions About DNS Leaks
The biggest misconception is that a hidden IP address means DNS is safe. It does not. The IP check and the DNS check test different things, and one can pass while the other fails.
Another common belief is that changing your DNS server always stops a leak. On most networks it helps, but a transparent DNS proxy can override your choice. People also assume private browsing prevents leaks, but those modes only clear local history and have no effect on where DNS requests travel.
DNS Leak Checklist
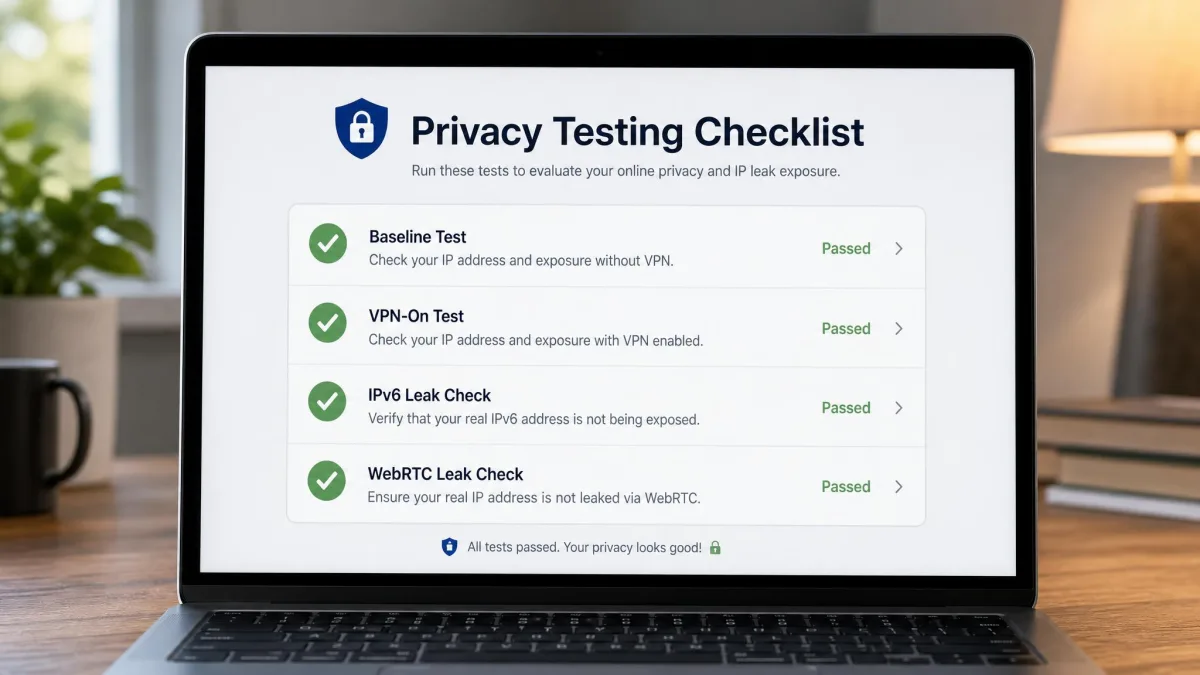
Use this quick checklist each time you set up or audit a VPN connection.
- Run the test with the VPN off and record your baseline DNS server, ISP, and location.
- Connect the VPN and rerun the standard test, then the extended test.
- Confirm the results show only your VPN provider's DNS servers and location.
- Enable DNS leak protection and a kill switch in your VPN settings.
- Set a trusted public resolver if you manage DNS manually.
- Disable IPv6 if your VPN does not tunnel it.
- Recheck IPv6 and WebRTC, not just the IPv4 DNS path.