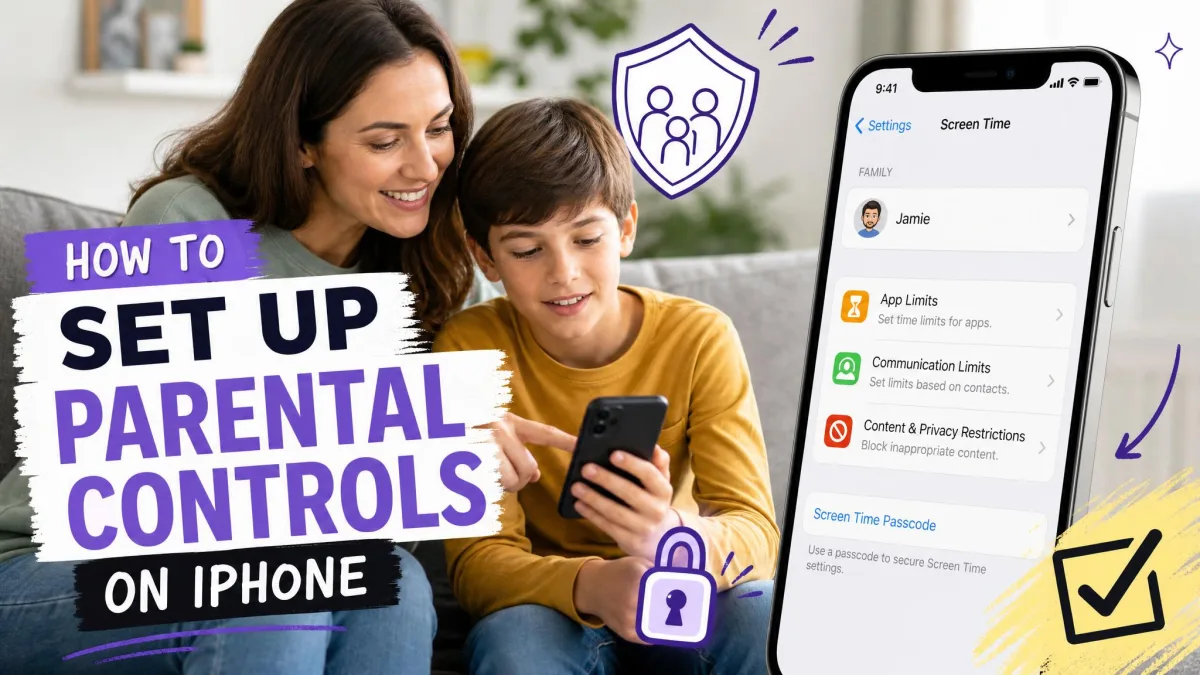
If your child just got their first iPhone, the built-in parental controls can feel overwhelming at first. There are switches buried across a dozen different screens, and it is hard to tell which ones actually matter. This step-by-step guide walks you through the settings in the order we set them up, so the important protections are in place on day one.
Everything here is free and built into iOS. Screen Time, App Limits, Downtime, content filters, and purchase controls all live in Settings. We checked each step against current iOS releases and flagged where Apple's defaults can trip parents up.
What iPhone Parental Controls Can Do
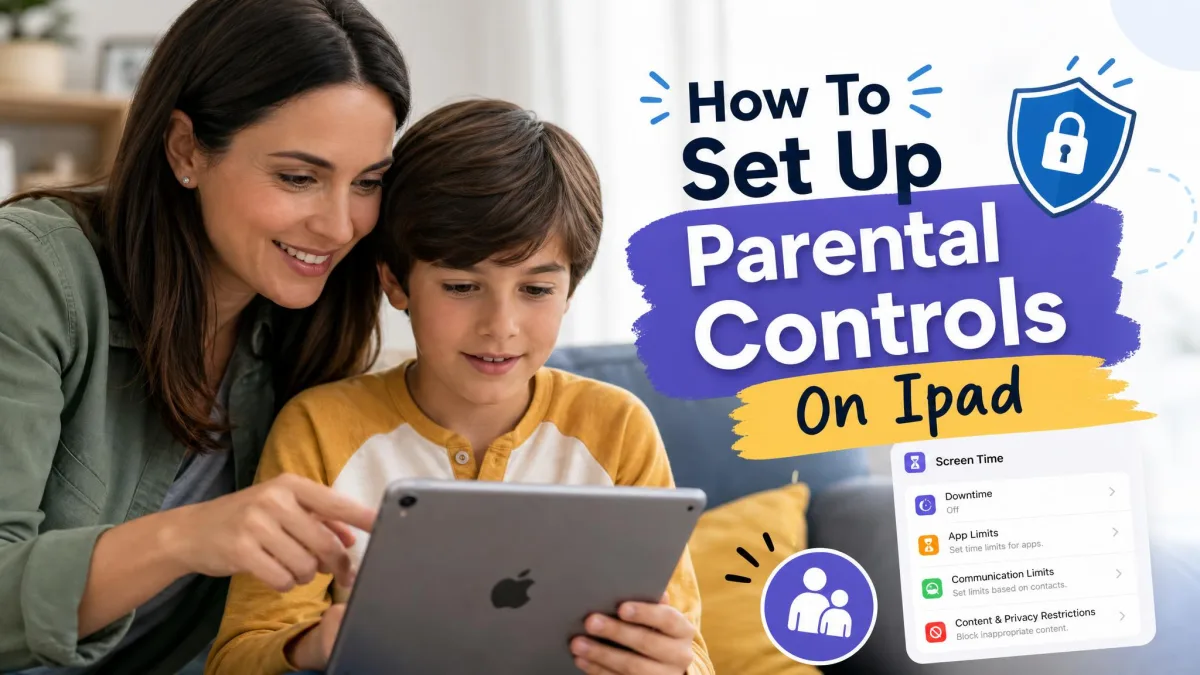
Apple's parental controls all live under one umbrella: Screen Time. Open it and you will find the tools for setting time limits, filtering content, controlling purchases, and managing who your child can talk to.
Screen Time has been part of iOS since the iOS 12 release announcement. Communication Limits joined in iOS 13.3, and Communication Safety, which blurs nudity detected on-device in Messages, launched with iOS 15.2. Screen Distance followed in iOS 17. On the current major release, iOS 26, all of these tools ship in Settings at no cost.
Two features matter before you start. Communication Safety scans photos and videos in Messages and shows safety resources; Apple says the media never leaves the device. Screen Distance blocks the screen when the phone is held closer than 12 inches, per Apple's Screen Distance documentation.
Before You Begin: Set Up Family Sharing
Before any parental control works, your child needs their own Apple Account inside a Family Sharing group that you organize. Apple's official parental controls guide makes the requirement clear: parental controls for a child's device only function when the child's account is part of your family.
Here is how to set it up.
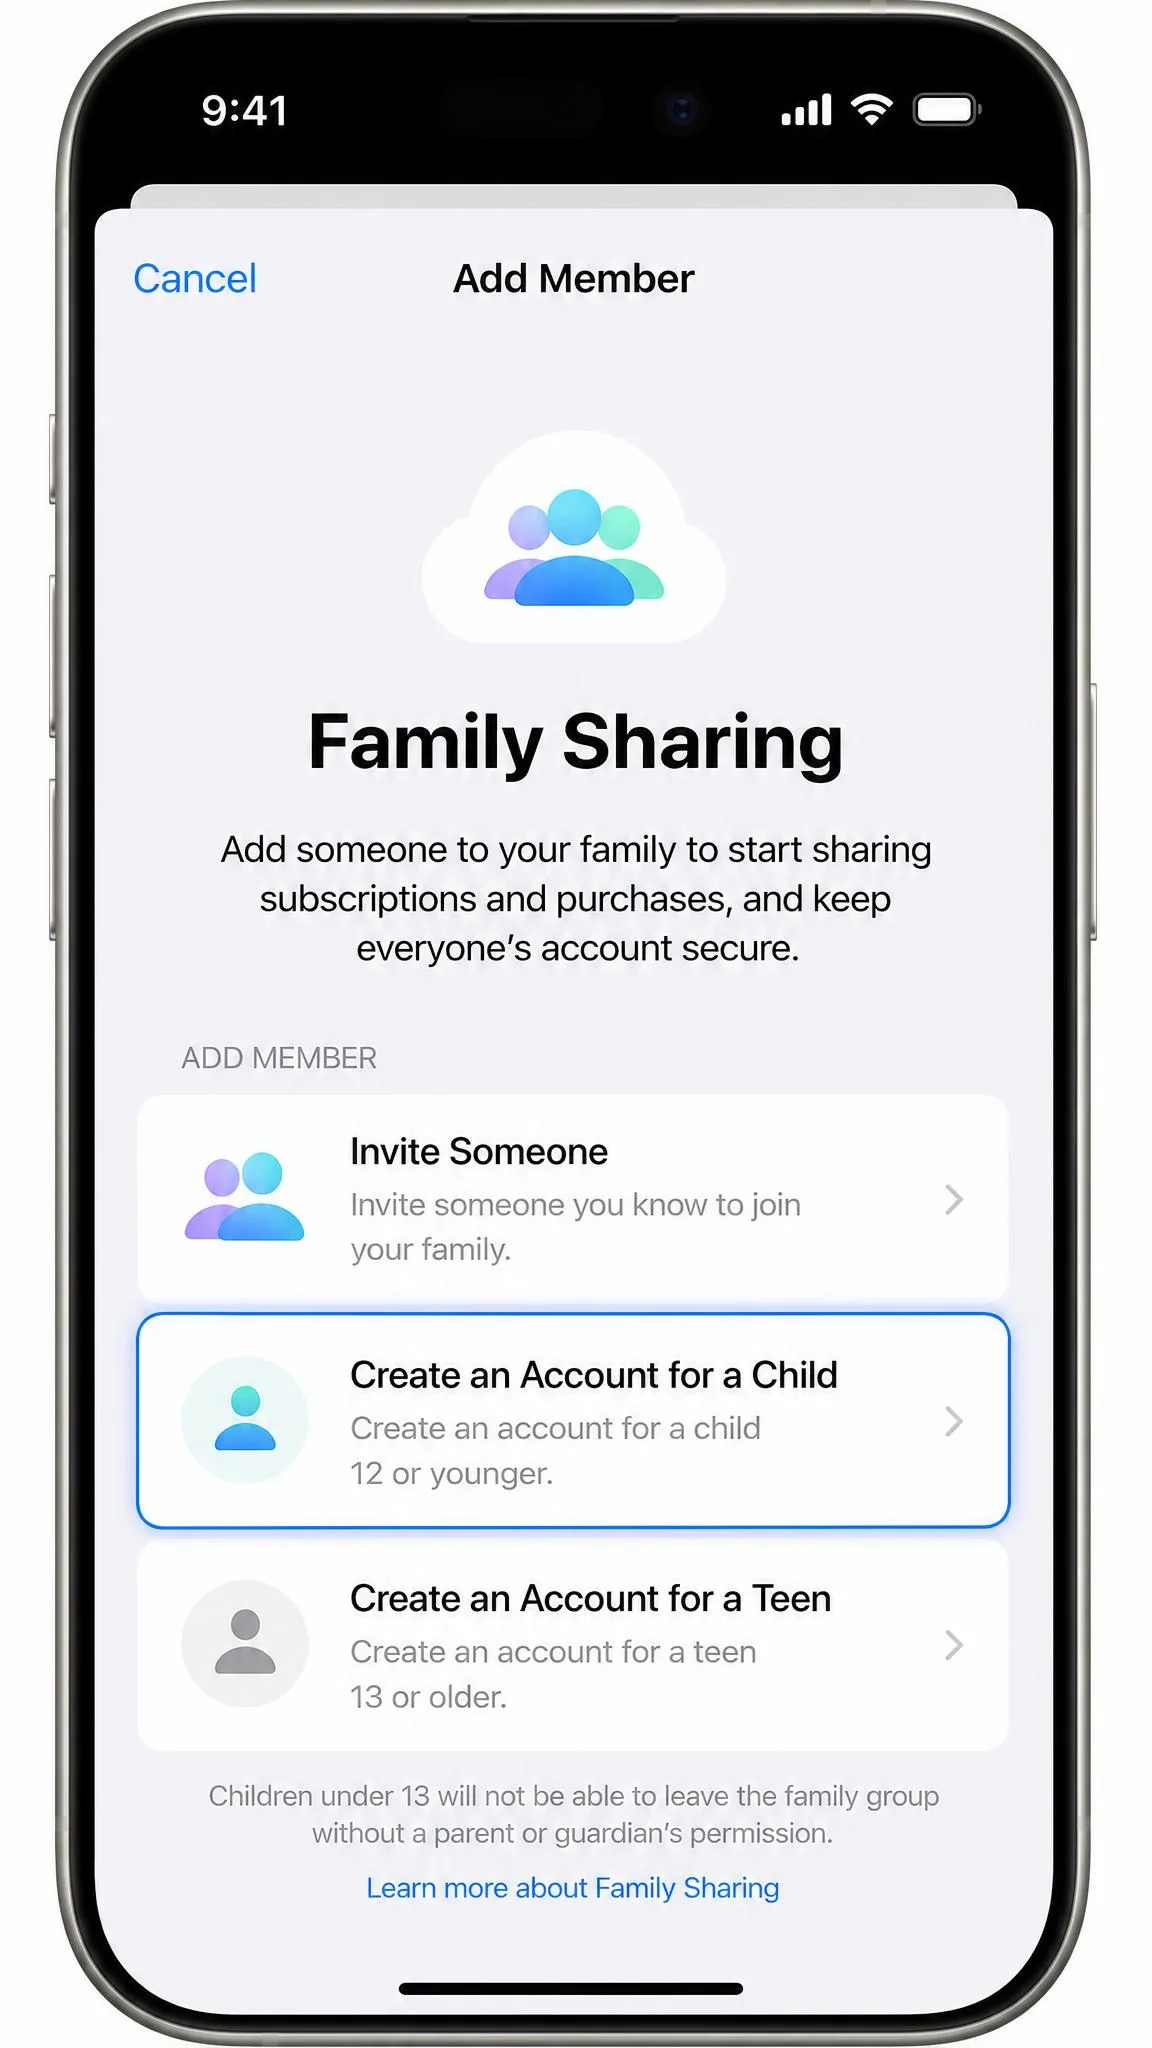
- Open Settings on your iPhone and tap your name at the top.
- Tap Family Sharing, then tap Add Member.
- Choose Create an Account for a Child and follow the prompts.
A family group holds one organizer and up to five additional members. One detail matters: the birthdate cannot be changed after the account is created. Every age-based suggestion Apple makes flows from that date, so confirm it before you finish.
Turn On Screen Time for Your Child's iPhone
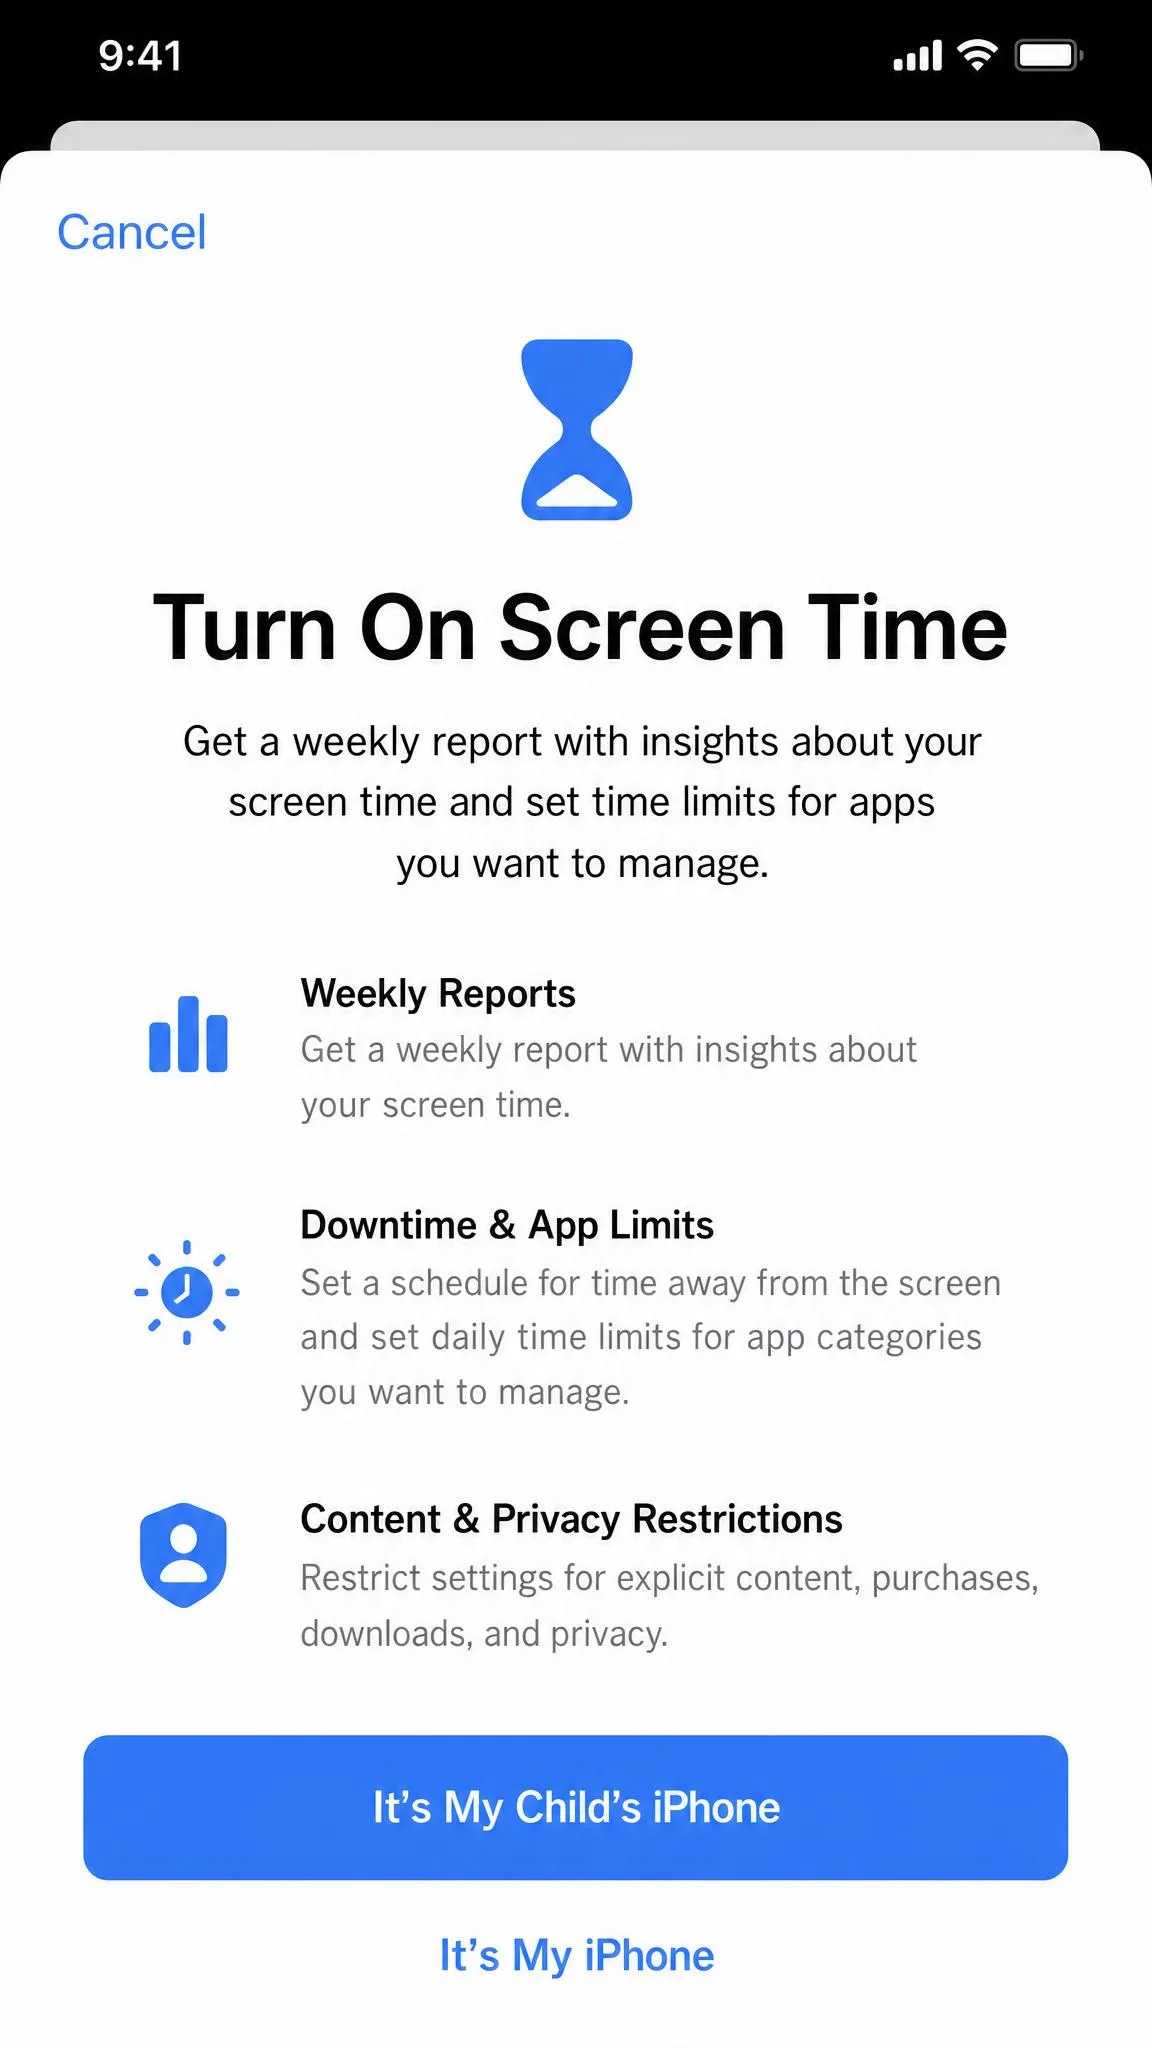
You can turn on Screen Time two ways. If your child is in your Family Sharing group, the easiest route is your own phone: open Settings, tap Screen Time, tap your child's name, and tap Turn On Screen Time. Apple walks you through age-based content suggestions, and you never touch the child's device.
To work directly on the child's iPhone, follow these steps.
- Open Settings on the child's iPhone and tap Screen Time.
- Tap Turn On Screen Time.
- Tap Continue, choose It's My Child's iPhone, and follow the age-based setup.
- Create a Screen Time passcode when prompted.
Once Screen Time is on, you can adjust every setting from your own device if the child is in your family group. The remote route only works from another Apple device; a parent with an Android phone cannot manage Screen Time at all.
Create a Screen Time Passcode
Screen Time uses a separate 4-digit passcode that is not the device unlock code. Your child cannot change Screen Time settings or approve extra time without it, so it is the most important protection in the guide.
When you create the passcode, take a minute to set your own Apple Account as the Screen Time passcode recovery account. The family organizer can then reset the child's passcode from their own device if it is forgotten. Without a recovery account, the passcode cannot be reset on the child's device.
Set Content & Privacy Restrictions
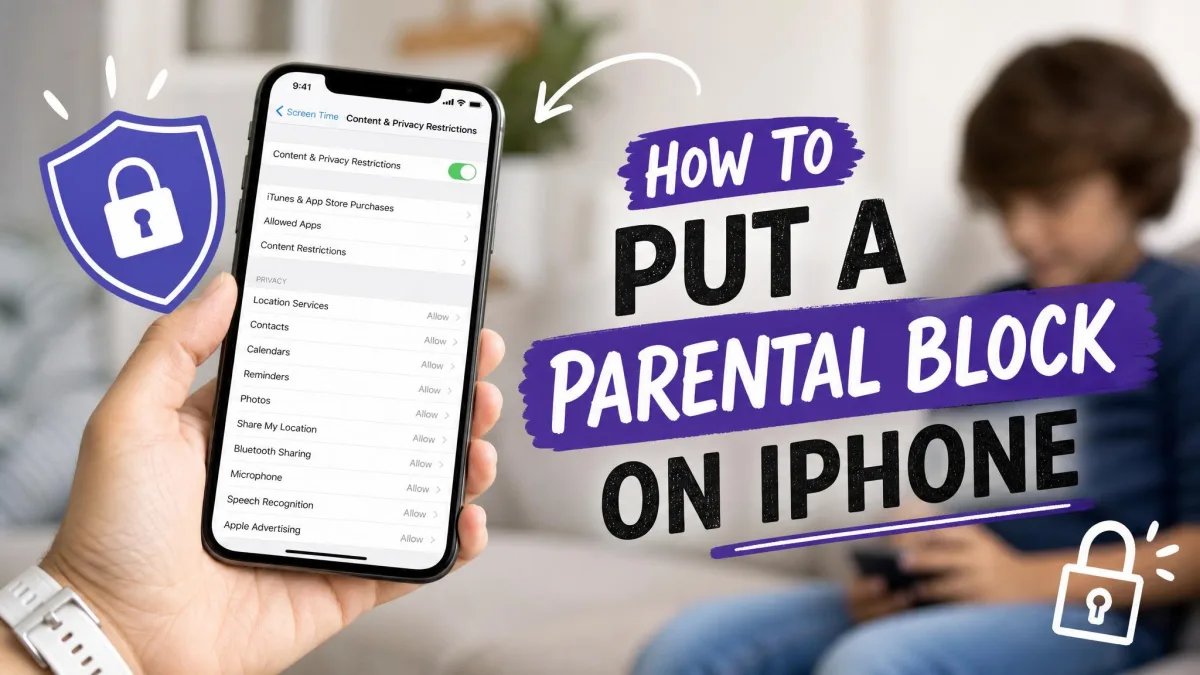
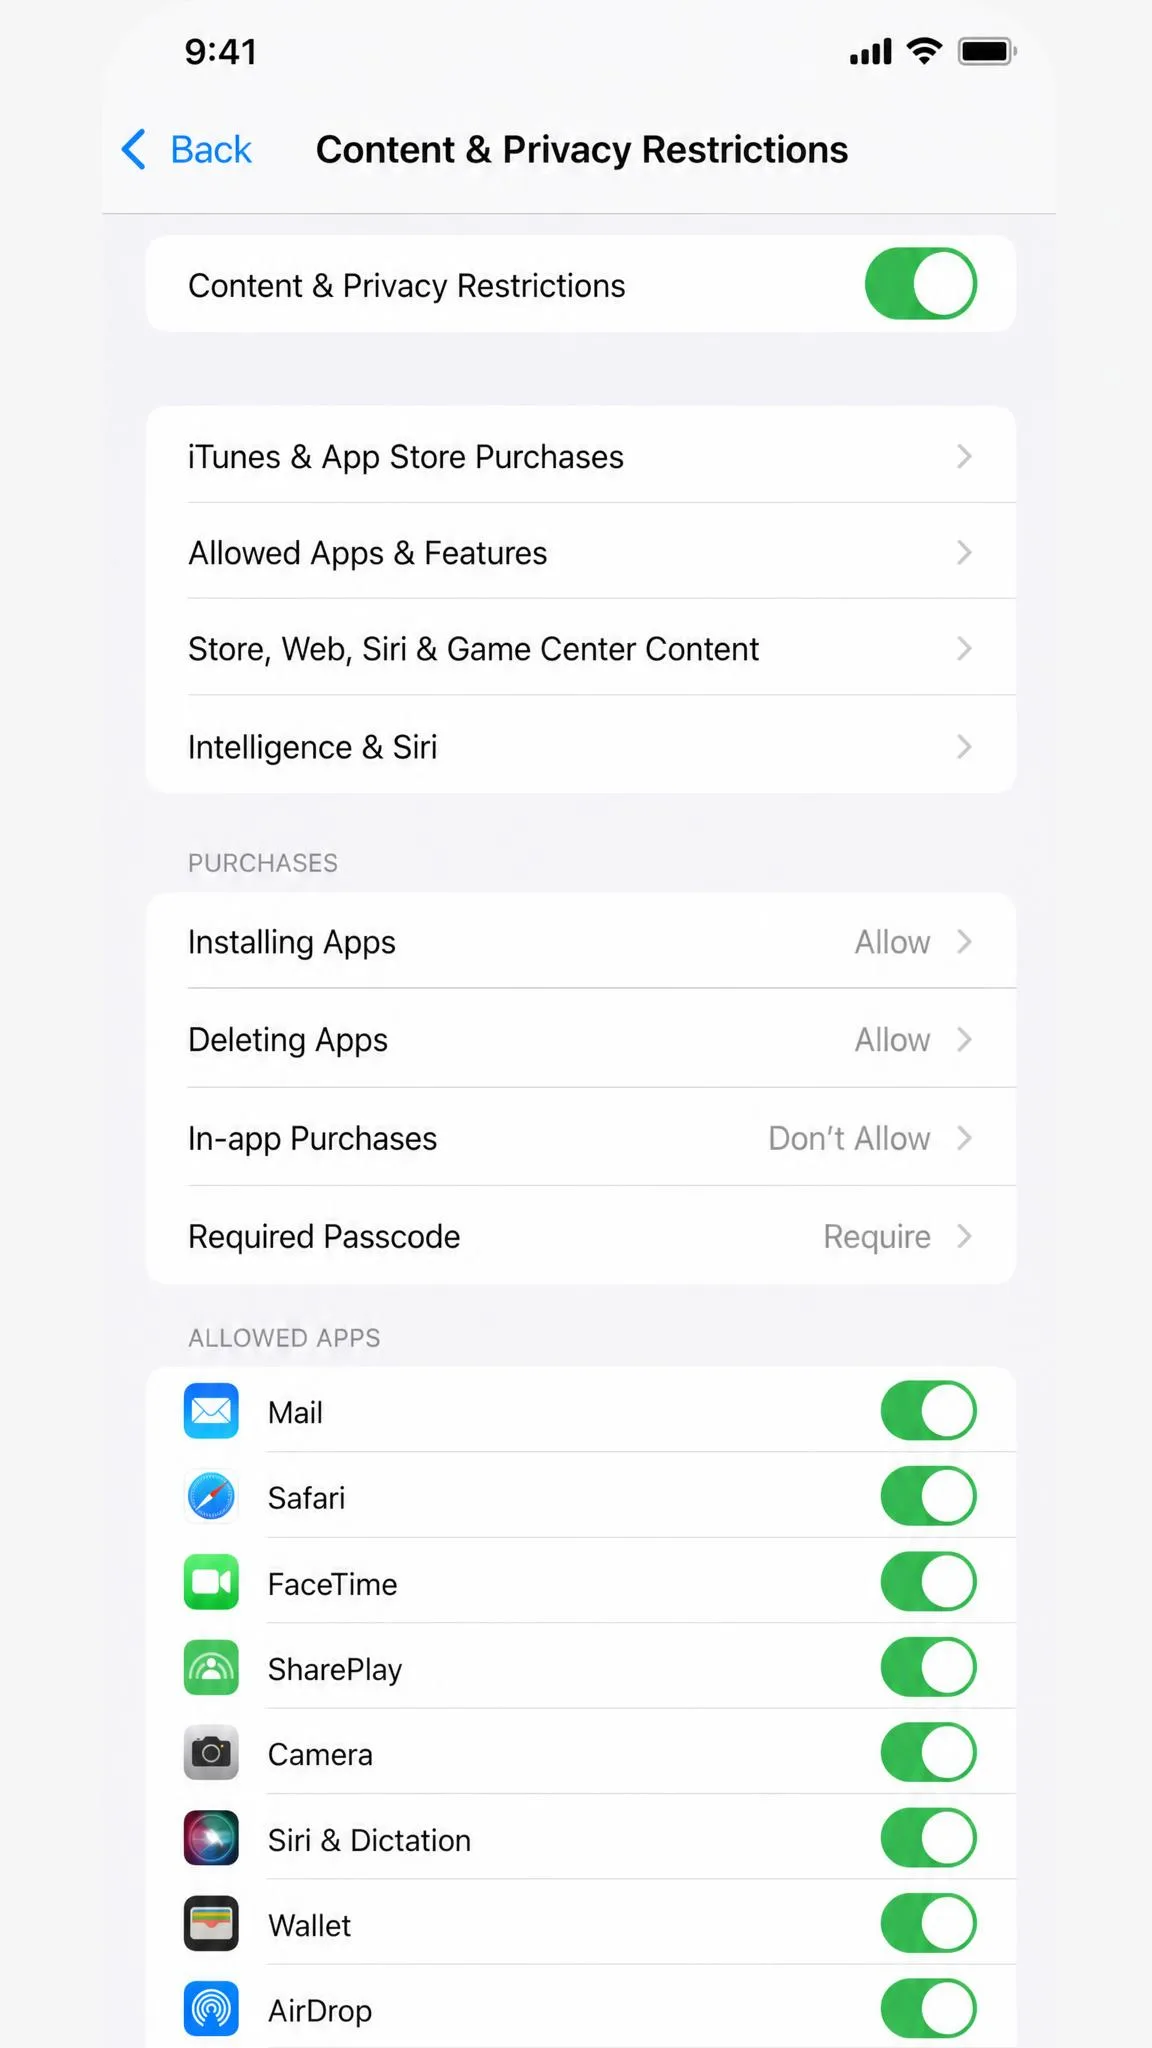
The controls that filter what your child can see and buy live in Content & Privacy Restrictions. You may need the Screen Time passcode to open it.
- Open Settings on the child's iPhone and tap Screen Time.
- Tap Content & Privacy Restrictions.
- Turn on Content & Privacy Restrictions at the top.
Block Explicit Content and Manage Content Ratings
Content & Privacy Restrictions applies age-based content ratings across apps, music, podcasts, movies, TV, and books. Apple uses the child's birthdate to suggest limits, and you can adjust each category individually, with an Explicit toggle for music and podcasts.
If a rating is ever too strict or too loose, change that one category rather than switching the whole restriction off.
Restrict Websites and Web Content
Web Content gives you three levels: Unrestricted, Limit Adult Websites, and Allowed Websites Only. Limit Adult Websites blocks known adult domains automatically and lets you add your own sites to the Never Allow list. Allowed Websites Only restricts Safari to a list you approve, which suits younger children.
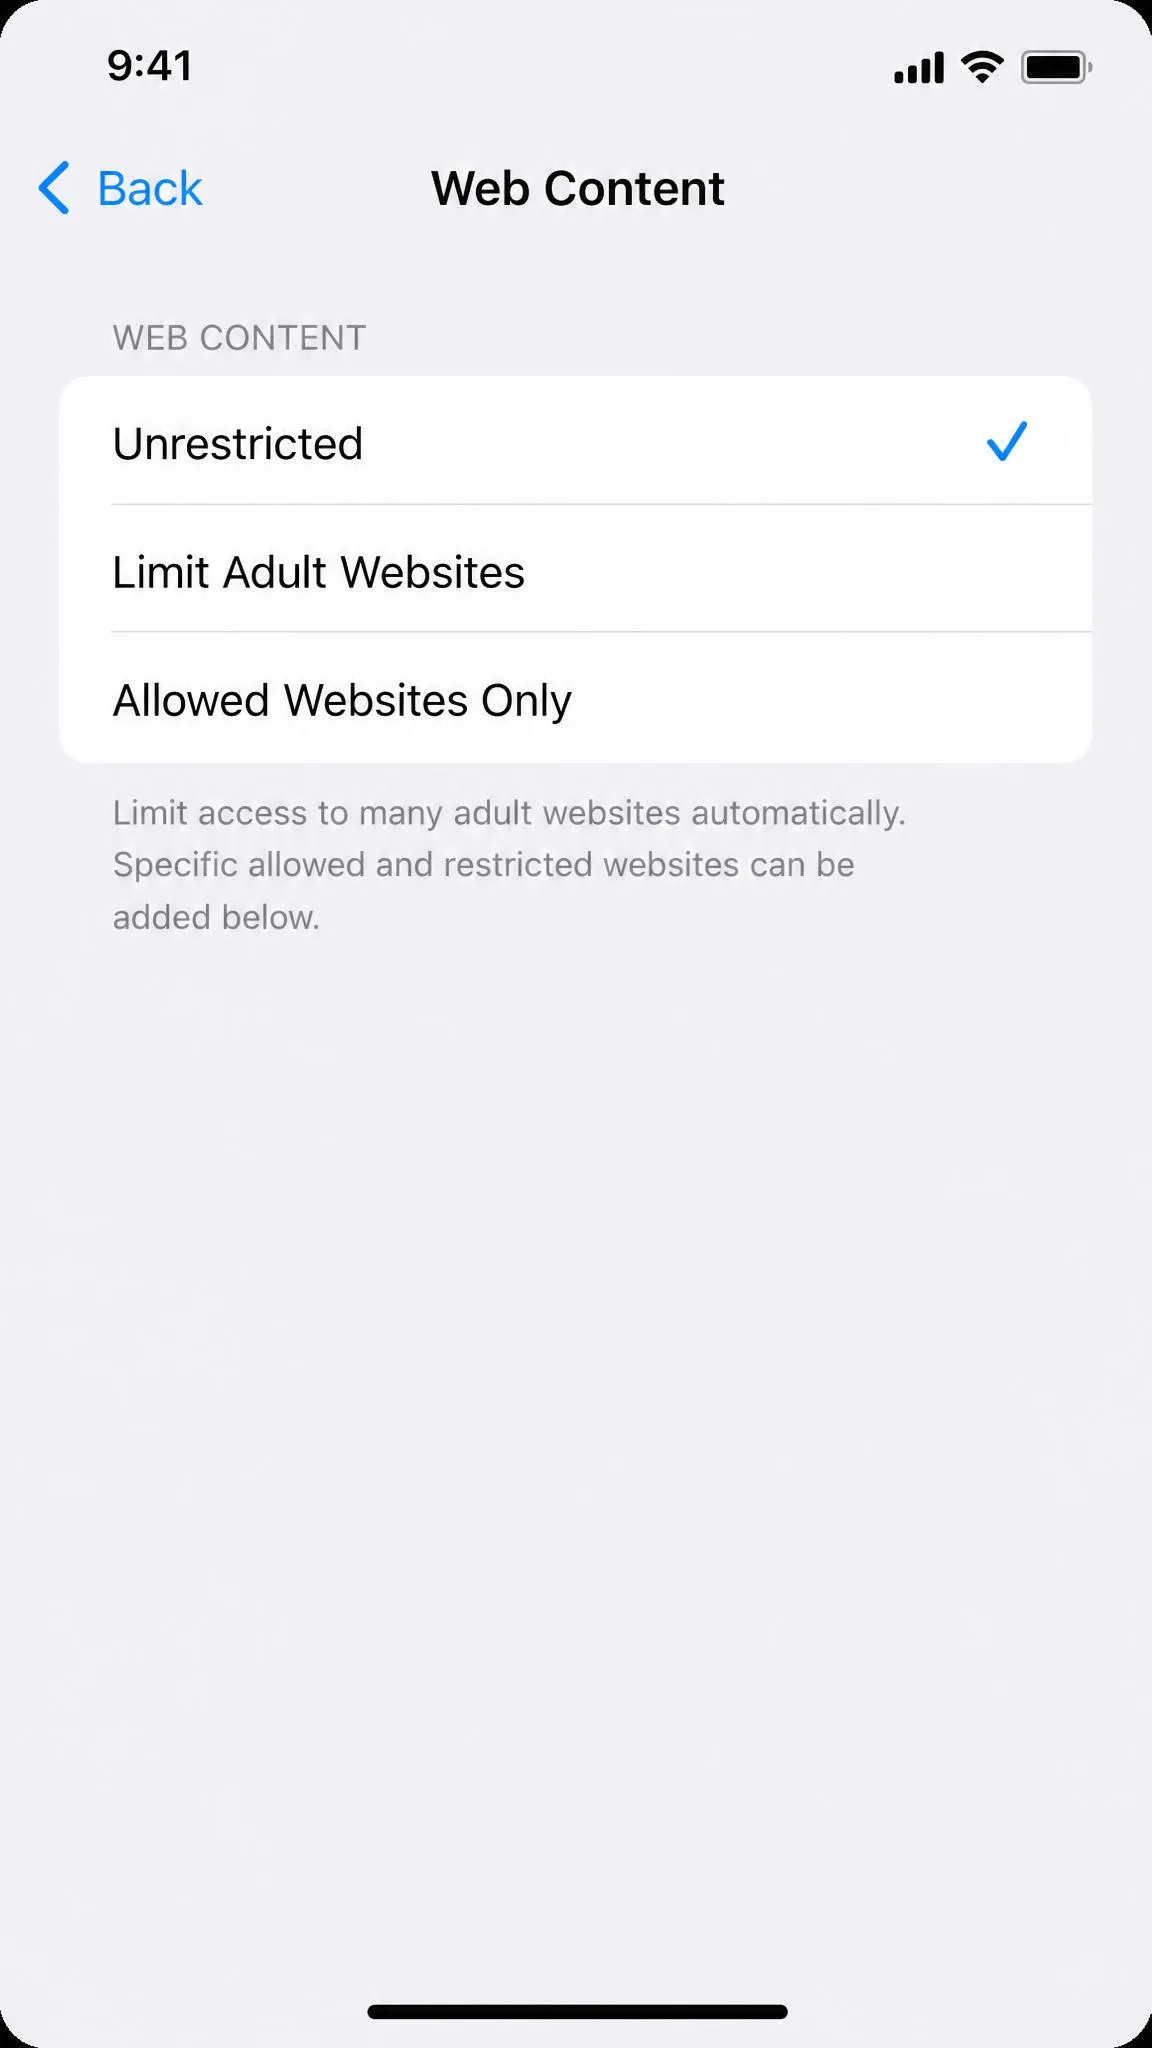
Two limits are worth knowing. Web filtering covers Safari but not third-party browsers, and teens commonly install those to get around it. Content filters also only apply to Apple's own services, so they do not restrict content inside apps such as Chrome, Netflix, or YouTube Kids.
Prevent App Store Purchases and Downloads
Inside Content & Privacy Restrictions, the iTunes & App Store Purchases section controls installing and deleting apps, in-app purchases, and password prompts. To keep surprises off the bill, set In-App Purchases to Don't Allow and gate app installs with Ask to Buy.
Ask to Buy sends an approval request to the family organizer for any download or purchase, per Apple's Ask to Buy overview. It is on automatically for children under 13 in most regions, and in some US states it is now mandatory for everyone under 18. Ask to Buy only routes through you for approval; it does not block purchases outright. To truly block in-app purchases, the restriction has to be set to Don't Allow.
Apple learned this the hard way. In 2014 it agreed to the FTC's $32.5 million settlement with Apple over kids' in-app purchases, after children bought items during a password grace window without parental consent.
Limit Who Your Child Can Communicate With
Communication Limits controls who your child can reach during Screen Time and Downtime. Choose Everyone, Contacts Only, or a specific list across Phone, FaceTime, Messages, and iCloud Contacts. Emergency calls are always allowed, and placing one disables the limits for 24 hours.
The caveat is that Communication Limits only works inside Apple's own apps. A child who installs a third-party messaging app can still reach people outside the approved contacts.
Restrict Game Center and Siri Features
Game Center restrictions cover multiplayer games, adding friends, and screen recording. Siri settings filter web search and explicit language, and the Siri in Apps toggle limits what Siri pulls up inside other apps.
You can also hide built-in apps without deleting them. Under Allowed Apps & Features, uncheck Safari, Camera, or anything else you would rather the child not use. The apps stay on the device and reappear when you allow them again.
Manage Screen Time With App Limits and Downtime
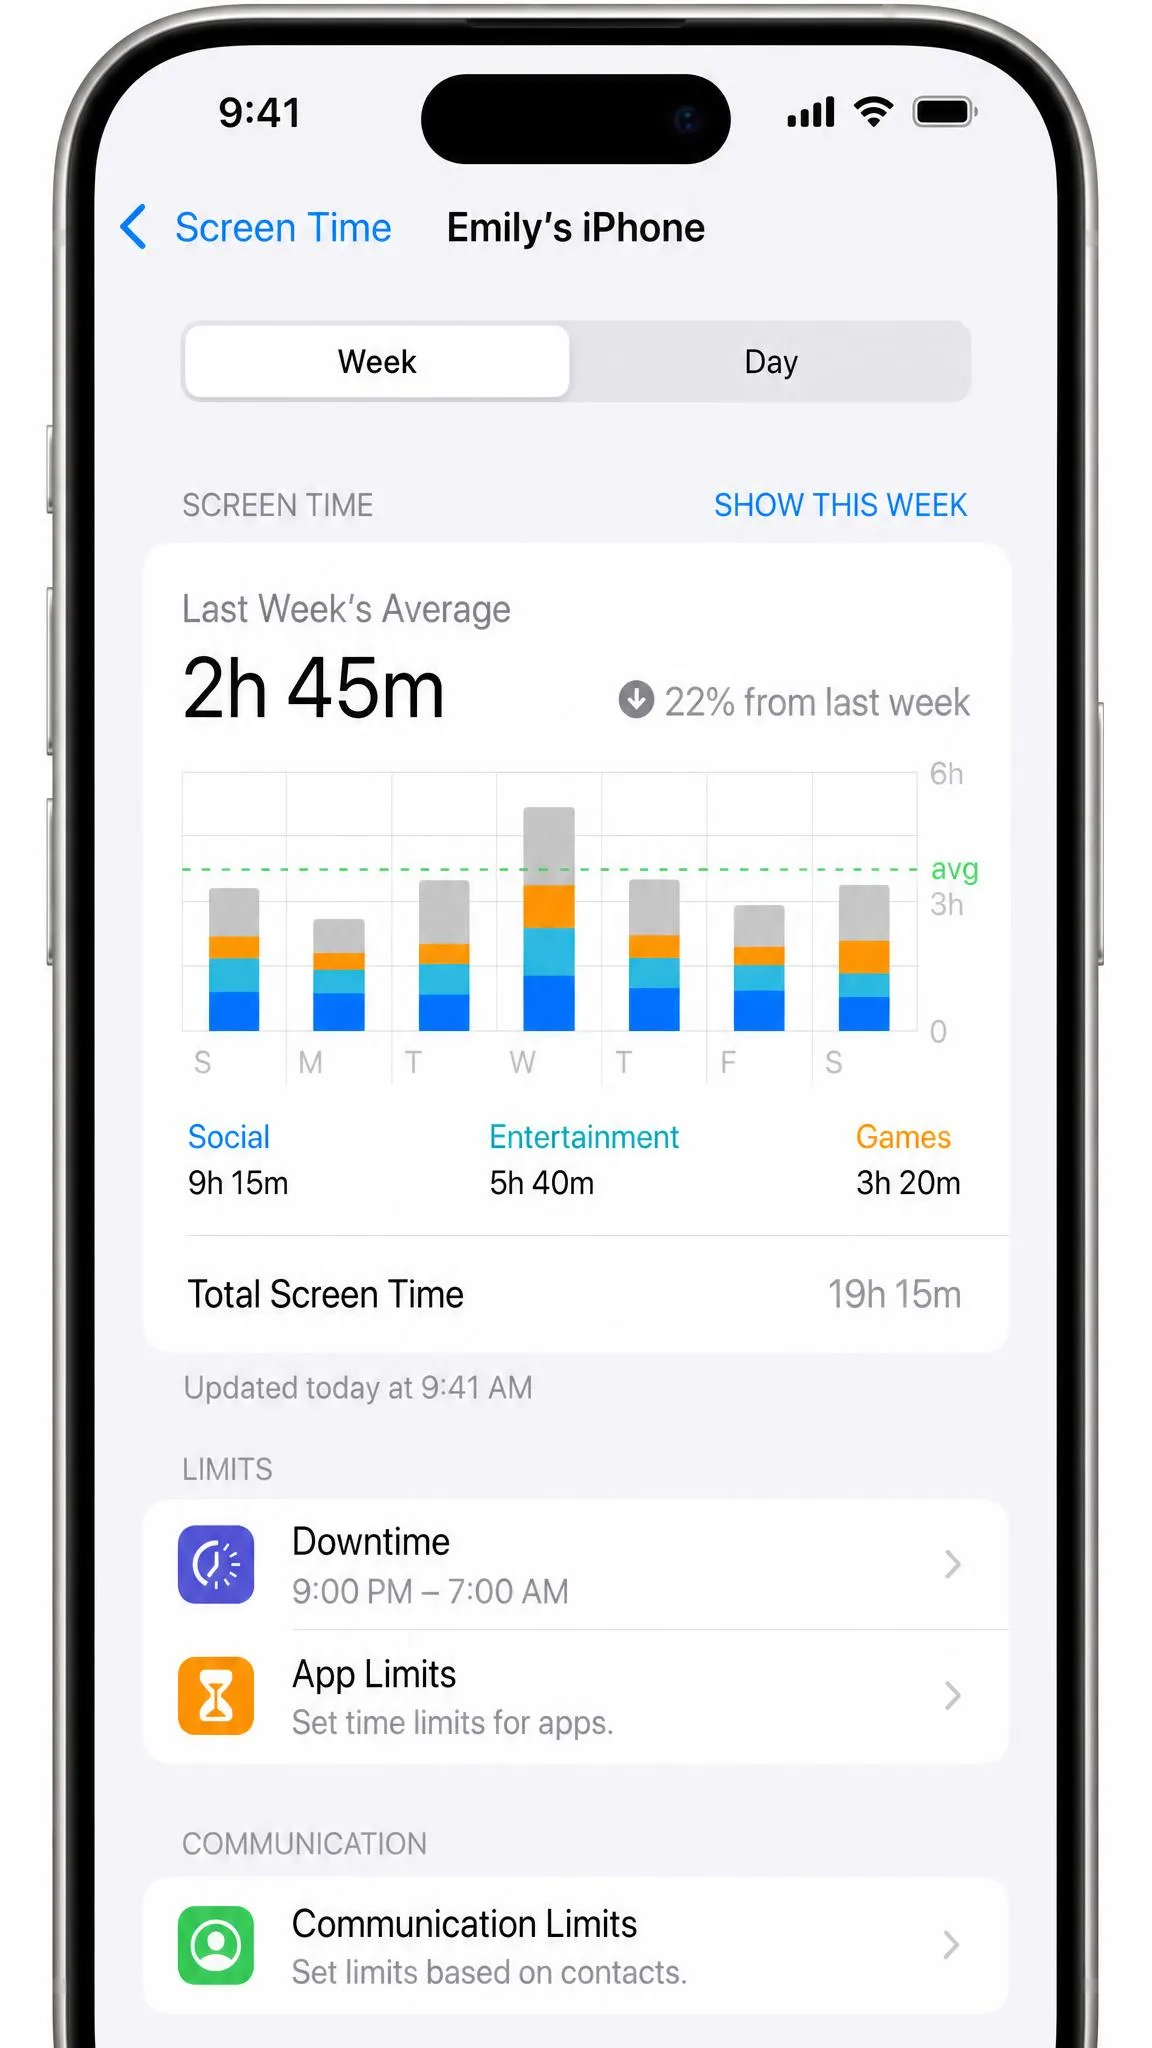
Time controls are where most parents start. The two tools work together: Downtime sets a whole window when the phone is off limits, and App Limits set daily budgets for specific apps or categories.
Schedule Downtime
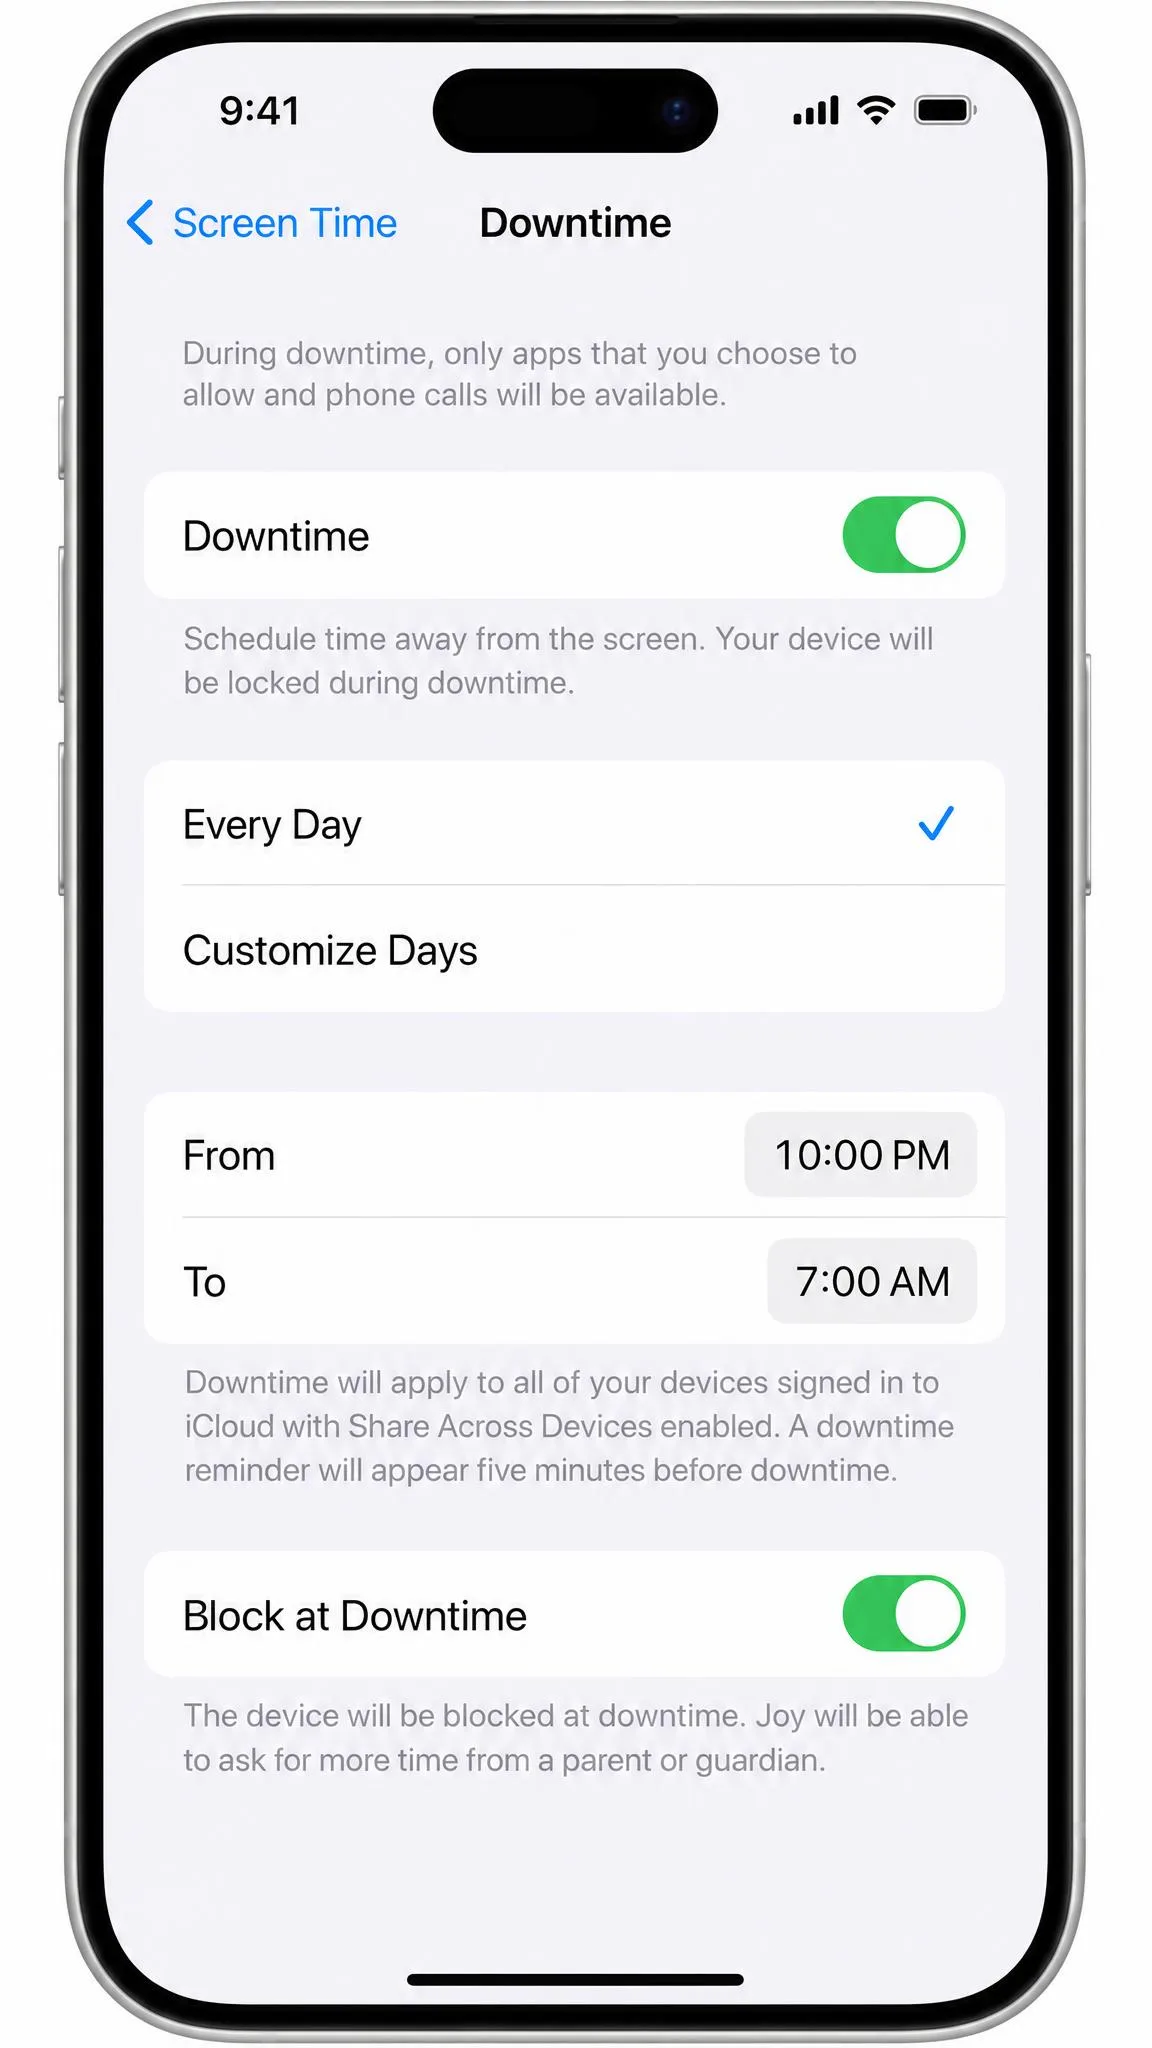
Downtime sets a window, typically overnight, when only calls and your Always Allowed apps are available. Open Screen Time, tap Downtime, and choose a schedule. The default covers every app except Phone, FaceTime, and Messages.
Here is the setting that surprises most parents: Downtime does not block apps unless Block at Downtime is on. Without it, your child sees a warning and can keep going. We confirmed this in our own testing, and it is the first thing we check when Downtime seems broken. With Block at Downtime on, the child gets one 1-minute extension prompt before the passcode is required.
Set App Time Limits
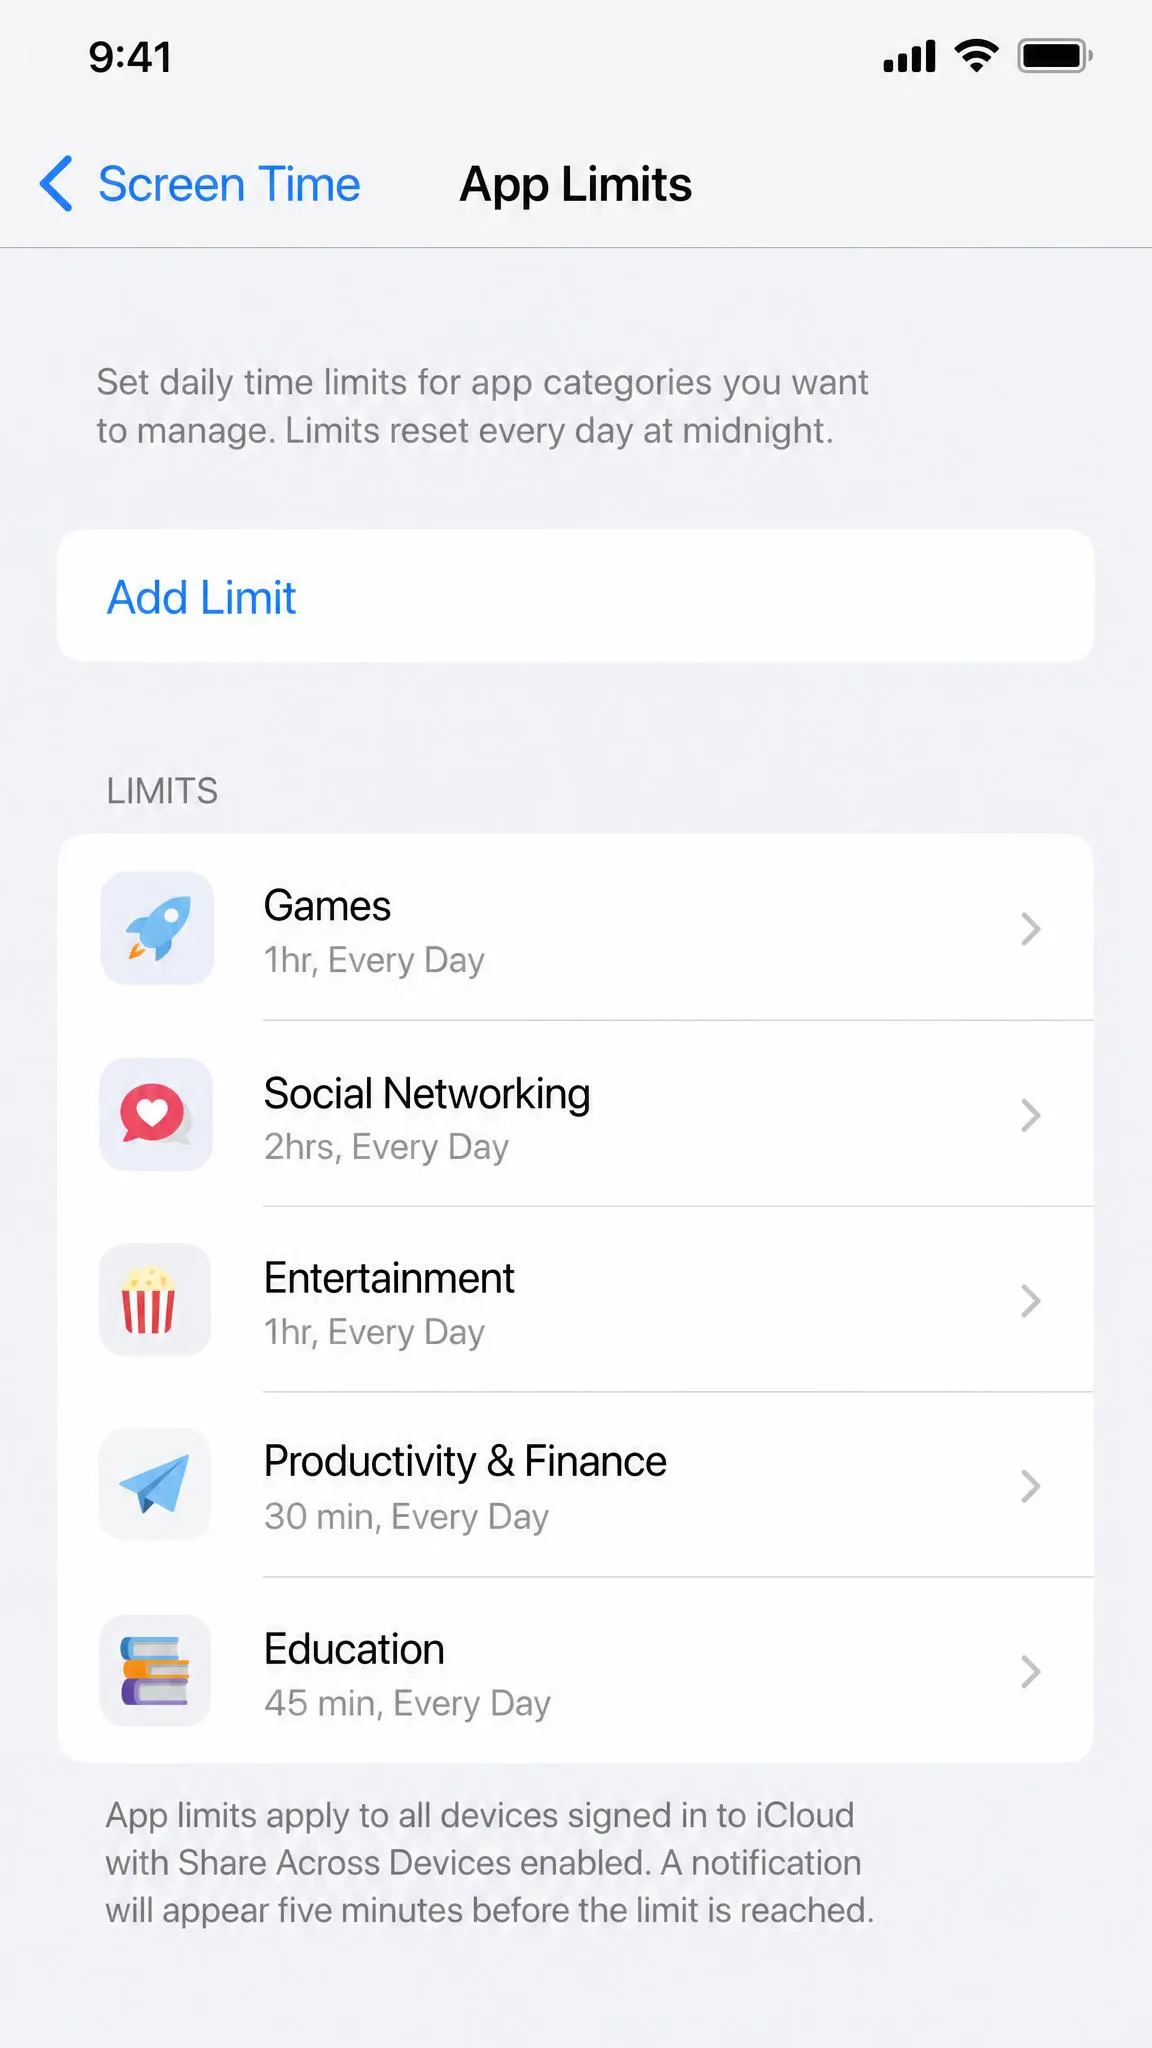
App Limits set a daily budget for a specific app or a whole category, like Games or Social Networking. Open Screen Time, tap App Limits, then tap Add Limit and pick the apps to cover.
One behavior matters: if you bundle several apps into one limit, they draw from a single allowance. A 60-minute limit covering YouTube and TikTok is 60 combined minutes, not 60 per app.
When a limit runs out, the child can request more time and the approval lands on your device. You can grant 15 minutes, one hour, or all day, or decline. If limits stop enforcing after an iOS update, install the newest update; we have seen a fresh release restore them.
Choose Always Allowed Apps
Always Allowed lists the apps and contacts that stay available during Downtime and restrictions. Phone, FaceTime, and Messages are there by default, and you can add important apps like a homework tool. Think of it as the apps that never disappear at bedtime.
Recommended Settings for Tweens vs. Teens
There is no single correct configuration, but these starting points work for most families.
For tweens, roughly ages 8 to 12: set Downtime from about 9 p.m. to 7 a.m. on school nights, keep App Limits around one to two hours a day for games and social apps, and leave Web Content on Limit Adult Websites. Keep Ask to Buy on, set In-App Purchases to Don't Allow, and set Communication Limits to Contacts Only.
For teens, the conversation matters more than the numbers. Set Downtime later, around 11 p.m., and agree on app budgets together. Keep Communication Limits on Contacts Only or Everyone depending on trust, and revisit the web filter because an older teen may need school research that a strict list blocks. A limit a teen helped set survives better than one imposed on them.
Start stricter and loosen as trust builds, not the other way around. Relaxing a limit feels like a reward, while adding one after the fact starts an argument. Change settings together and explain the reason behind the rule.
Keep Your Child Safe Beyond Screen Time
Screen Time is a strong base, and it is genuinely good. It is not complete, and honest parents should know where the gaps are.
The built-in tools have real gaps. A child can reinstall almost any app a parent has ever downloaded, including social apps, from the family purchase history with no Ask to Buy prompt. Accessibility features like Assistive Access have also been used to override Screen Time limits, so test that nothing on your child's phone can be bypassed.
For deeper protection, look beyond Screen Time. Families that want monitoring across messaging apps, social networks, and even Android devices usually pair Screen Time with a dedicated tool. Our roundup of the iPhone parental control apps covers the ones we have tested on family devices.
Two extras are worth adding. Turn on location sharing in Find My so you can see where the child's device is, and review per-app Location Services permissions. And keep in mind how common these devices are: Census data on how common tablets are in households with children shows 80% of US households with children owned tablets in 2021, while 26% of children spent four or more hours a day on screens outside schoolwork.
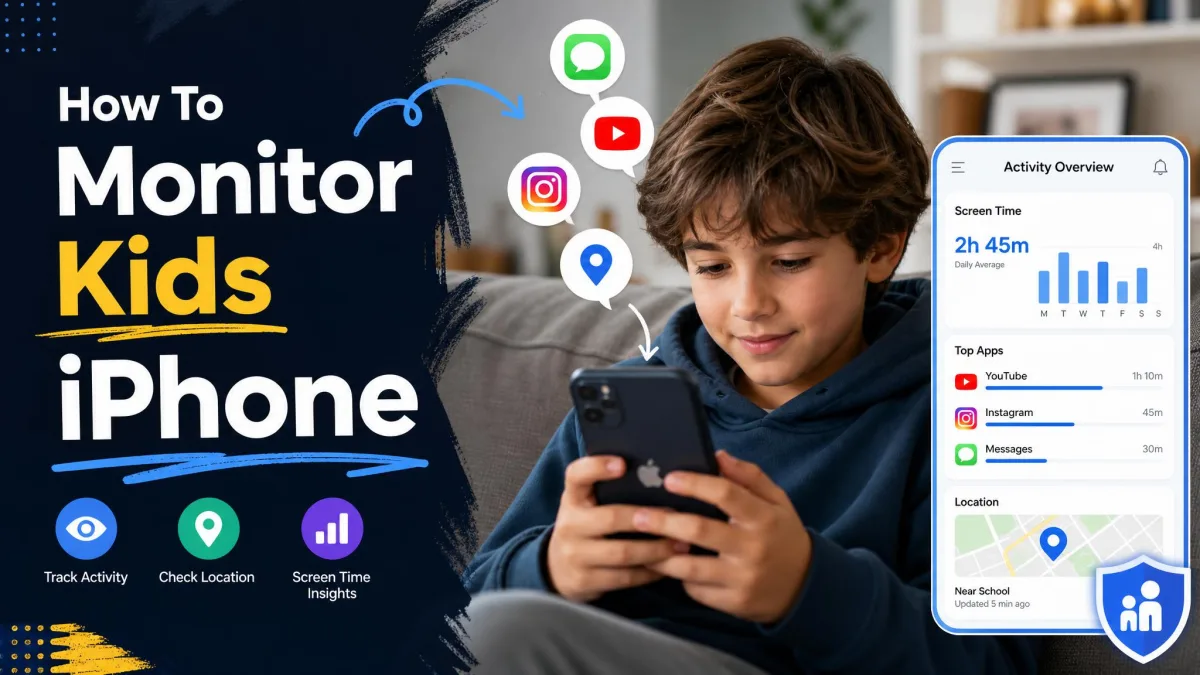
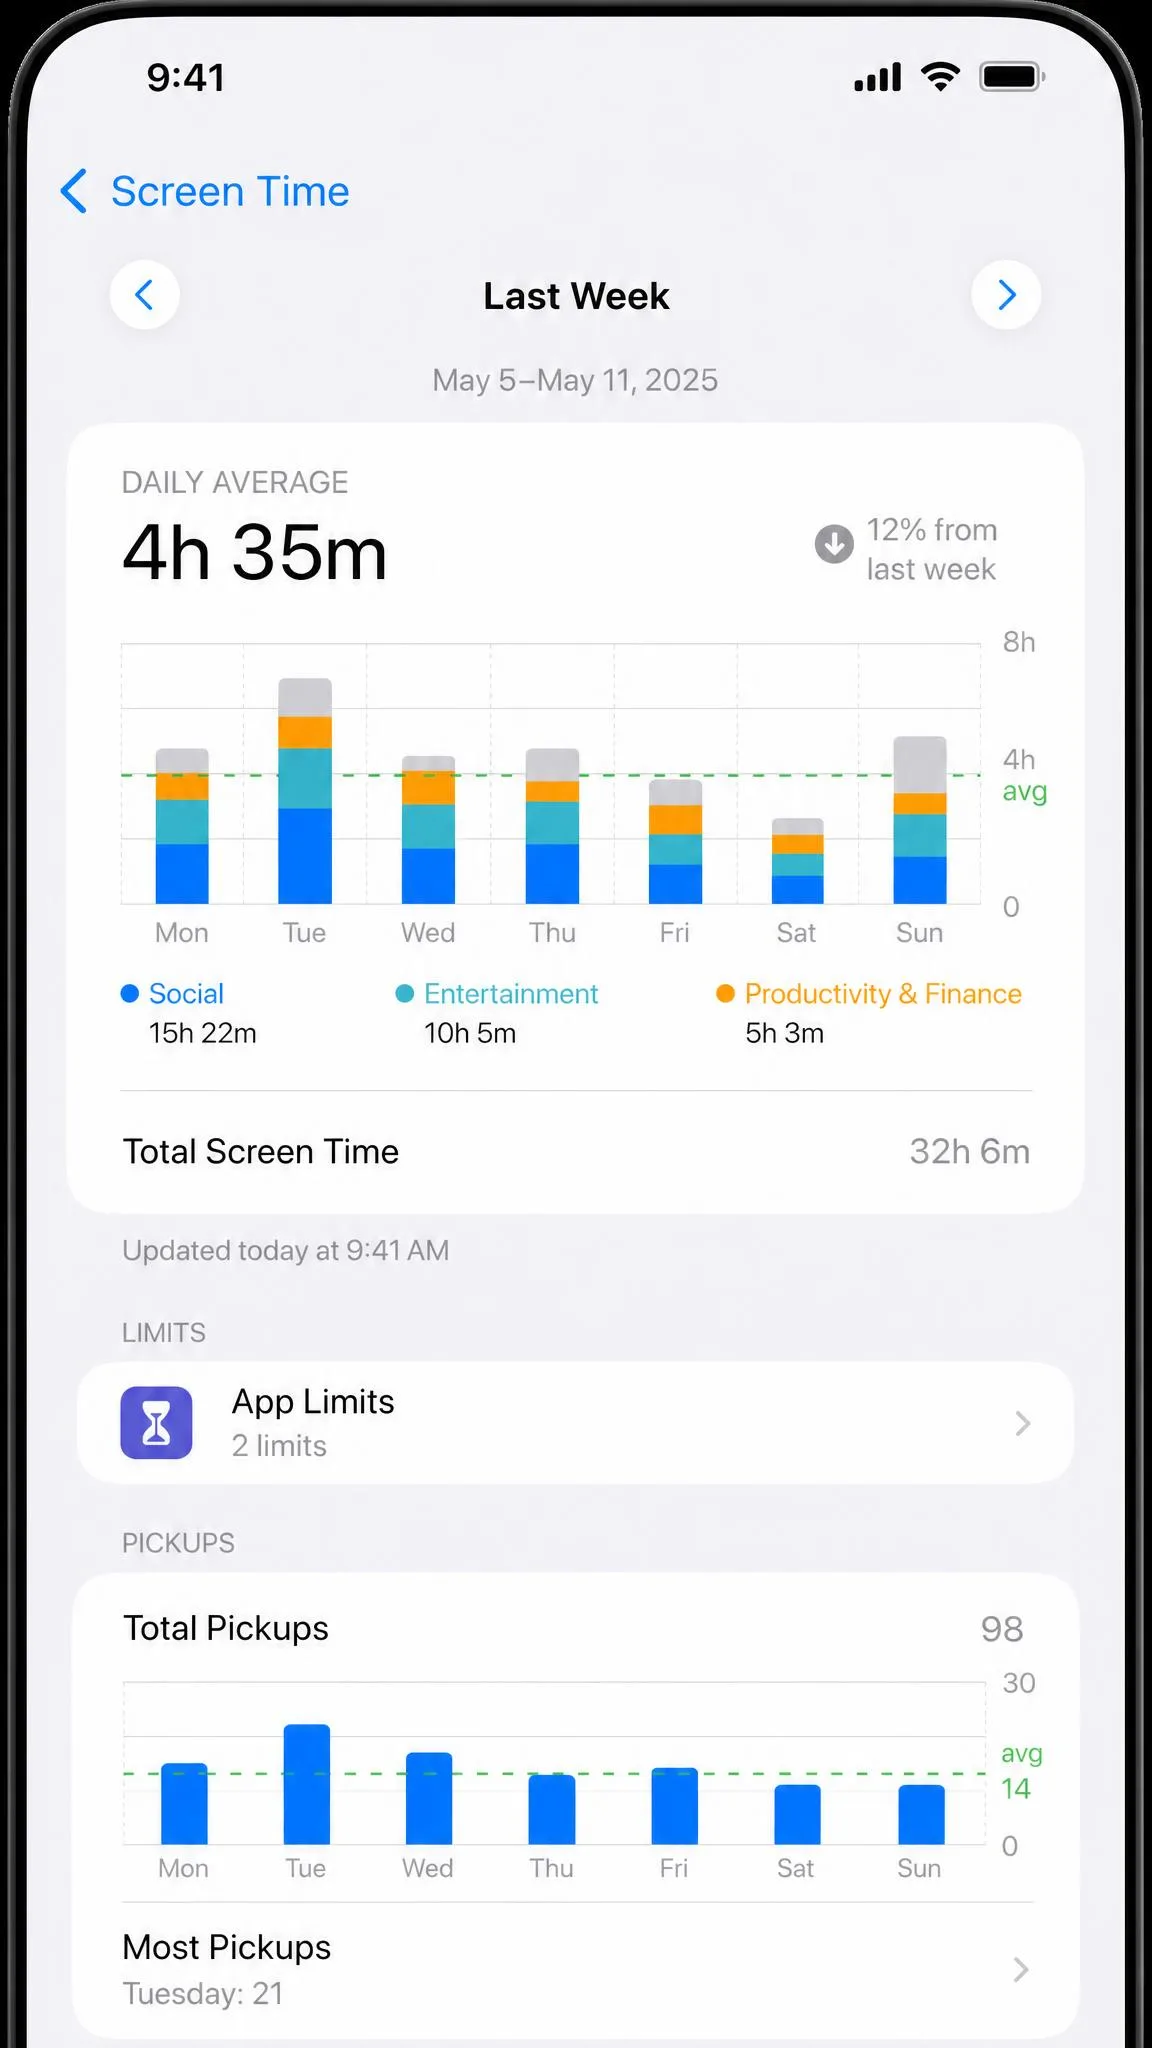
Set the foundation once, review the weekly activity report, and adjust together as your child grows. That is the peace of mind the built-in tools are built to give you.
A child who knows the device passcode has a documented path around Screen Time: through the Apple ID Forgot Password flow, they can reset the account password and then change or disable the Screen Time passcode. Keep the device passcode private, set a recovery account, and never share the Apple ID password.