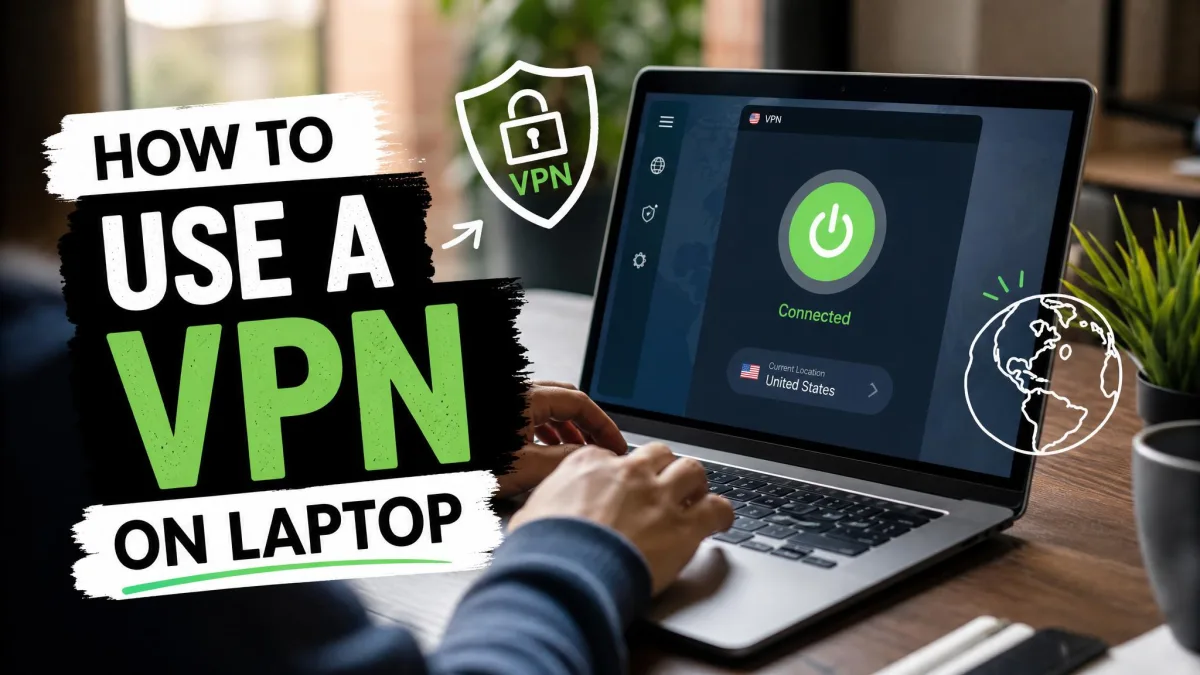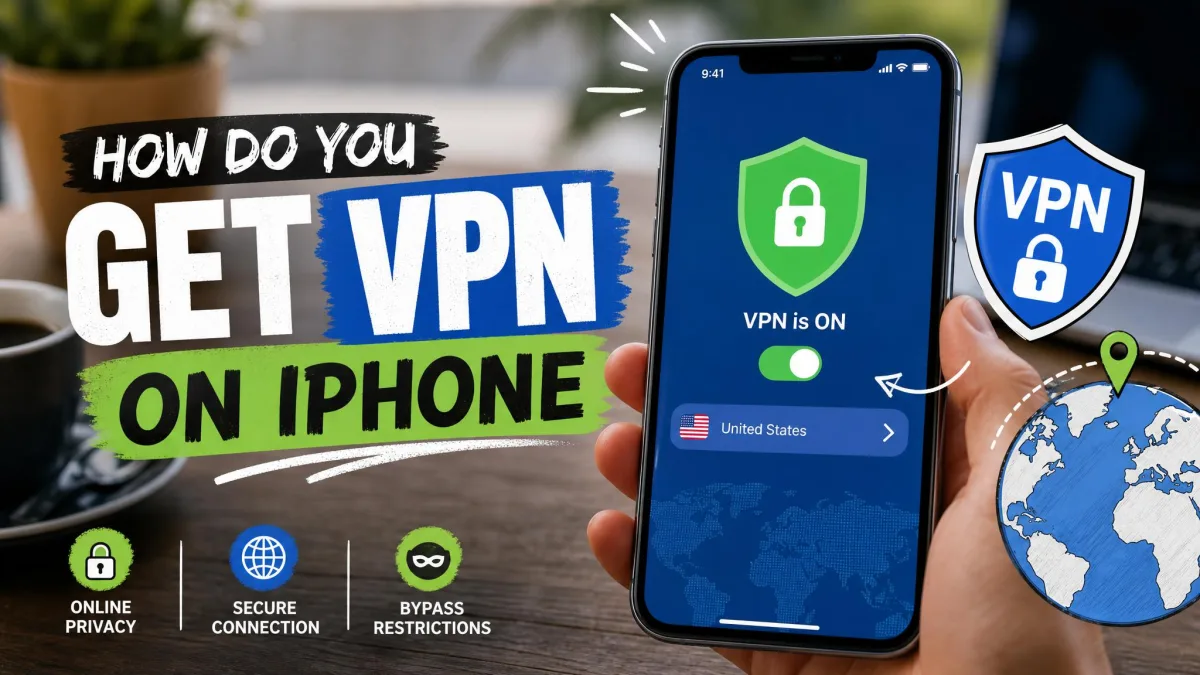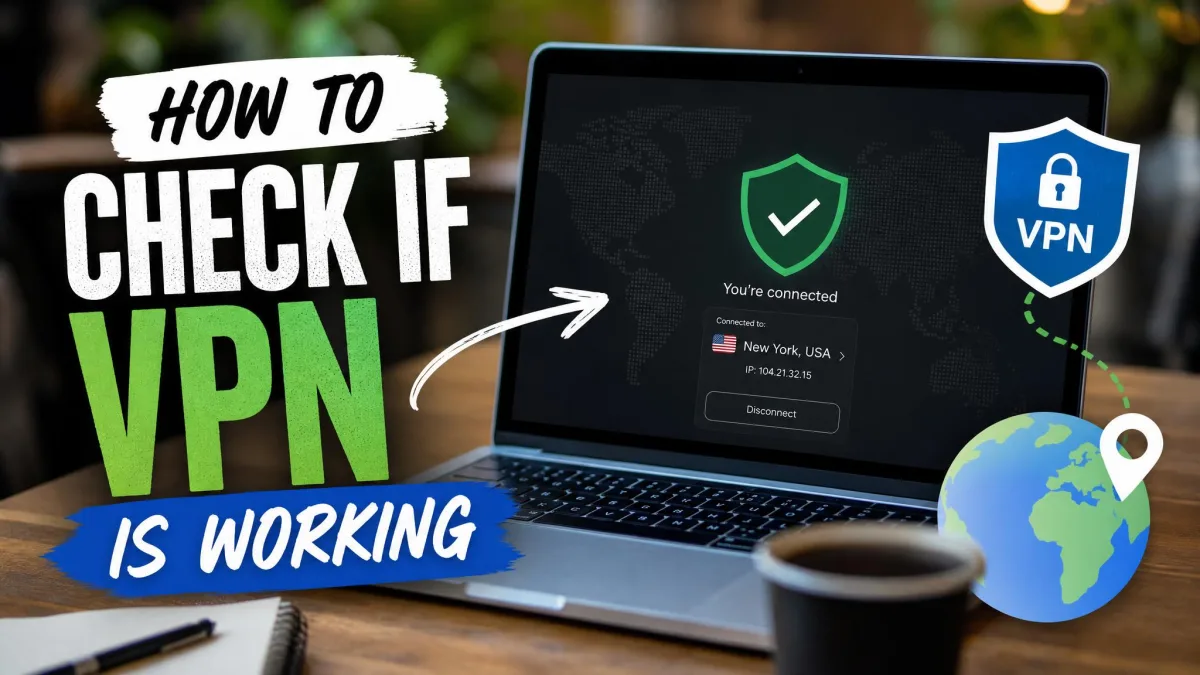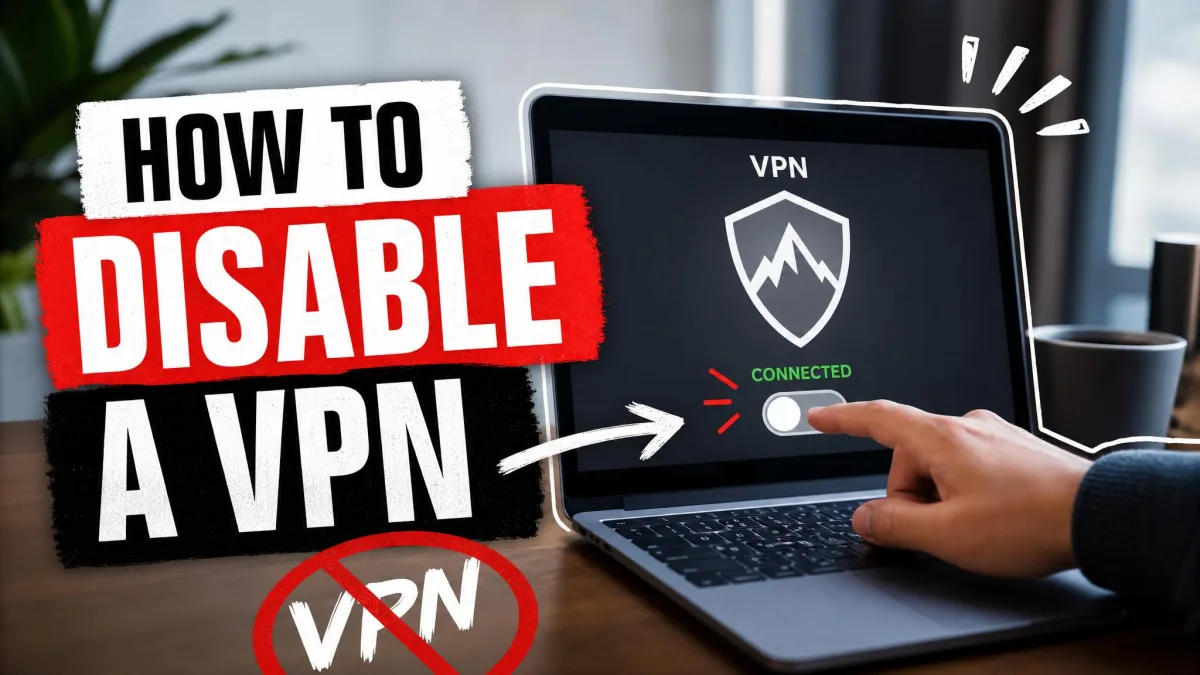
A VPN is a service that routes your internet traffic through an encrypted tunnel to a remote server. Connecting to one hides your real IP address and shields your data from anyone watching the network, including the operator of the public Wi-Fi you just joined.
The good news is that connecting is fast once you know where the controls live. Most people finish in under a minute using their provider's app, and the manual route is only a few extra fields. This guide walks through both methods on Windows, macOS, iPhone, iPad, and Android, then covers how to confirm the tunnel is live and what to do when it won't connect.
We test VPNs against real speed, leak, and connection benchmarks, so the steps below reflect the paths and fixes we actually use on our own machines.
What a VPN Connection Does (and Why It Matters)
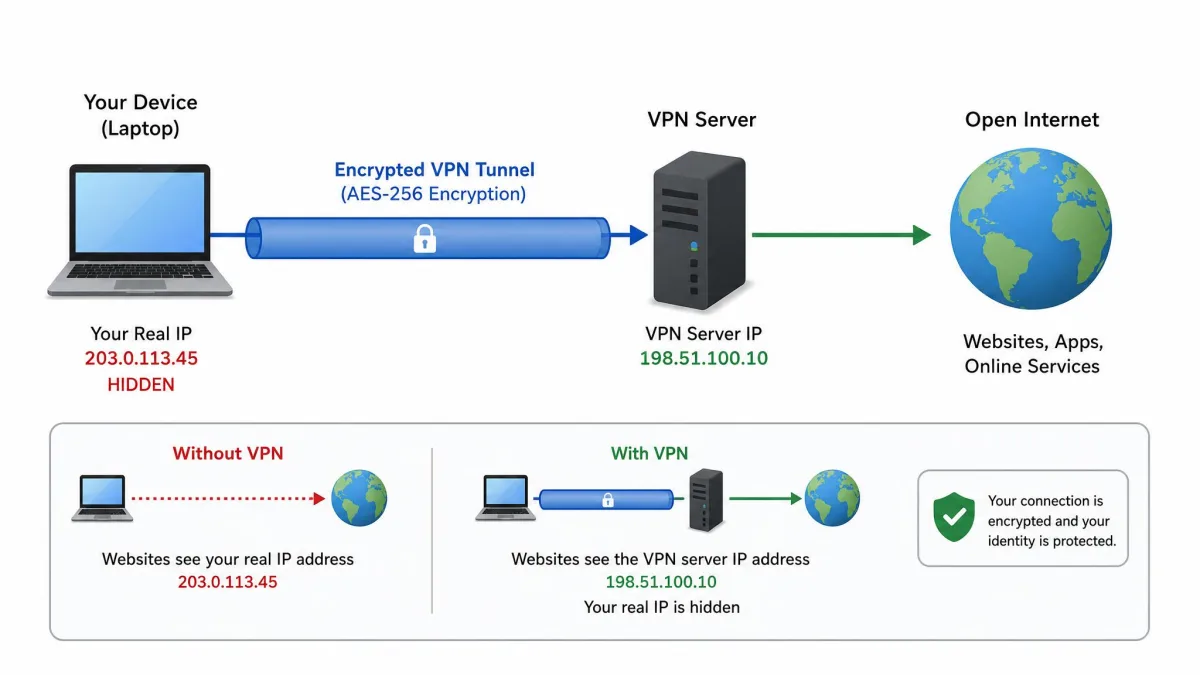
When you connect to a VPN, your device builds an encrypted tunnel to a server run by your provider. Everything you send travels inside that tunnel, so your internet provider and the local network only see scrambled traffic, not the sites you visit.
The server also stands in for you. Websites see the server's IP address and location instead of your own, which masks where you are and who you are. That combination matters most on shared connections, where other users or the network owner could otherwise snoop on unencrypted data.
There are two ways to make that connection. You either install your provider's app and tap a button, or you enter the server details by hand into your operating system's built-in VPN client. The app is easier; the manual profile is the reliable fallback when a provider ships no app.
Before You Start: What You Need
For the app method, you need an active account with a VPN provider and their app installed from the official site or your device's app store. That is genuinely all it takes on most platforms.
For the manual method, gather three things first: the server name or address, the VPN type or protocol, and your sign-in details. The manual path won't connect without the server address and credentials entered up front, so keep them handy before you open Settings.
If your provider offers an app for your device, use it. The app handles protocols, server selection, and the kill switch for you, and it reconnects automatically after a dropout. Save the manual profile for platforms or routers where no app exists.
| Method | Where you set it up | What you need |
|---|---|---|
| Provider app | Windows, macOS, iOS, Android | Account login, one-tap connect |
| Manual profile | Built-in OS settings | Server address, VPN type, sign-in credentials |
How to Connect to a VPN on Windows
Windows gives you three ways in: the provider's app, a manual profile, and a quick taskbar toggle once a connection exists.
Connect using a VPN provider's app
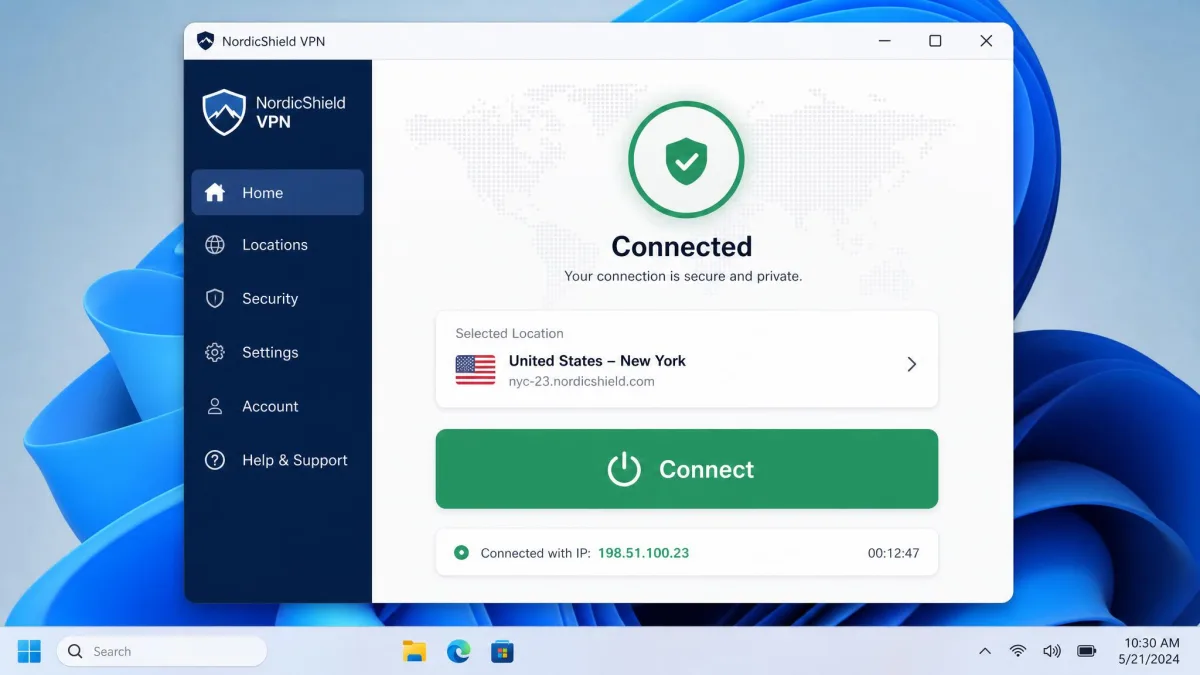
Download the app from your provider's website, sign in, and pick a server or let the app choose the fastest one. Click Connect, and the app builds the tunnel for you. This is the route we recommend for most Windows users because it manages protocol choice and reconnection automatically.
Create a VPN profile and connect manually (Windows Settings)
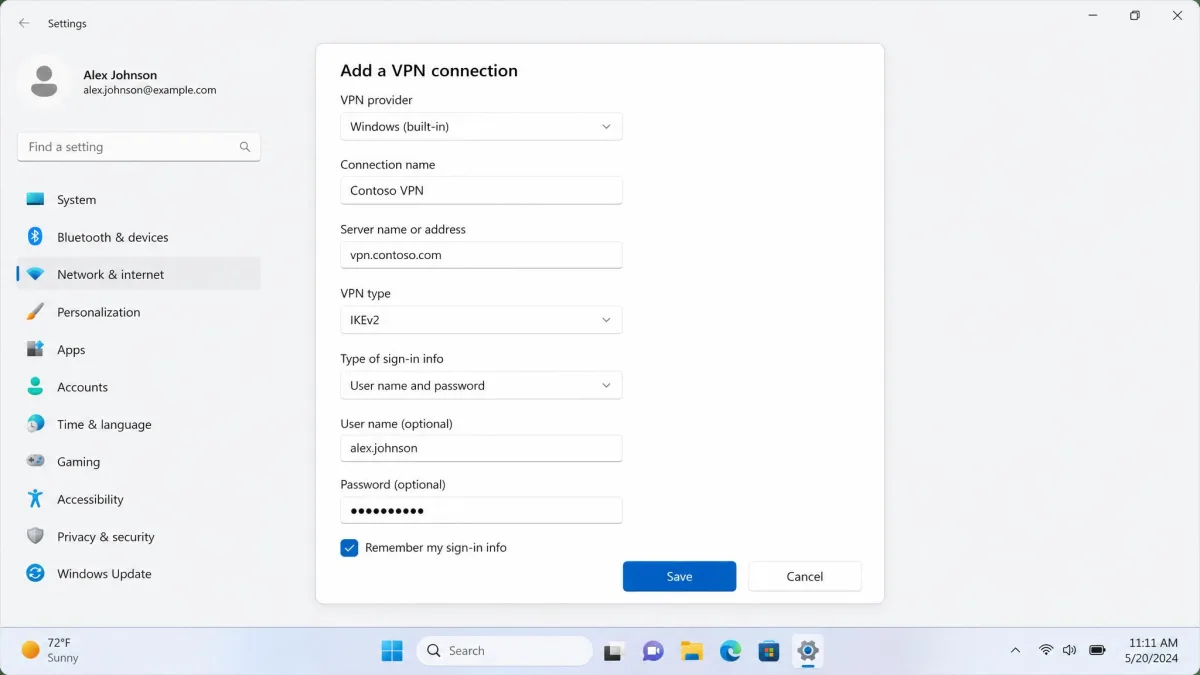
Use this when your provider has no app, or you prefer the built-in client. On Windows 11, open Settings, then Network & internet, then VPN, and choose Add VPN. On Windows 10, go to Start, Settings, Network & Internet, VPN, then Add a VPN connection.
In the dialog, set the VPN provider to "Windows (built-in)." Enter a connection name you'll recognize, the server name or address, the VPN type, and the type of sign-in info. Windows supports username and password, certificate, smart card, or a one-time password. Click Save, then select the profile and choose Connect.
Connect quickly from the taskbar
Once a profile exists, you don't need to reopen Settings. Select the Network, Volume, or Battery icon on the taskbar, choose VPN, and toggle your connection on. You can also open Manage VPN connections and click Connect there. Enter your sign-in info if Windows prompts for it.
How to Connect to a VPN on macOS
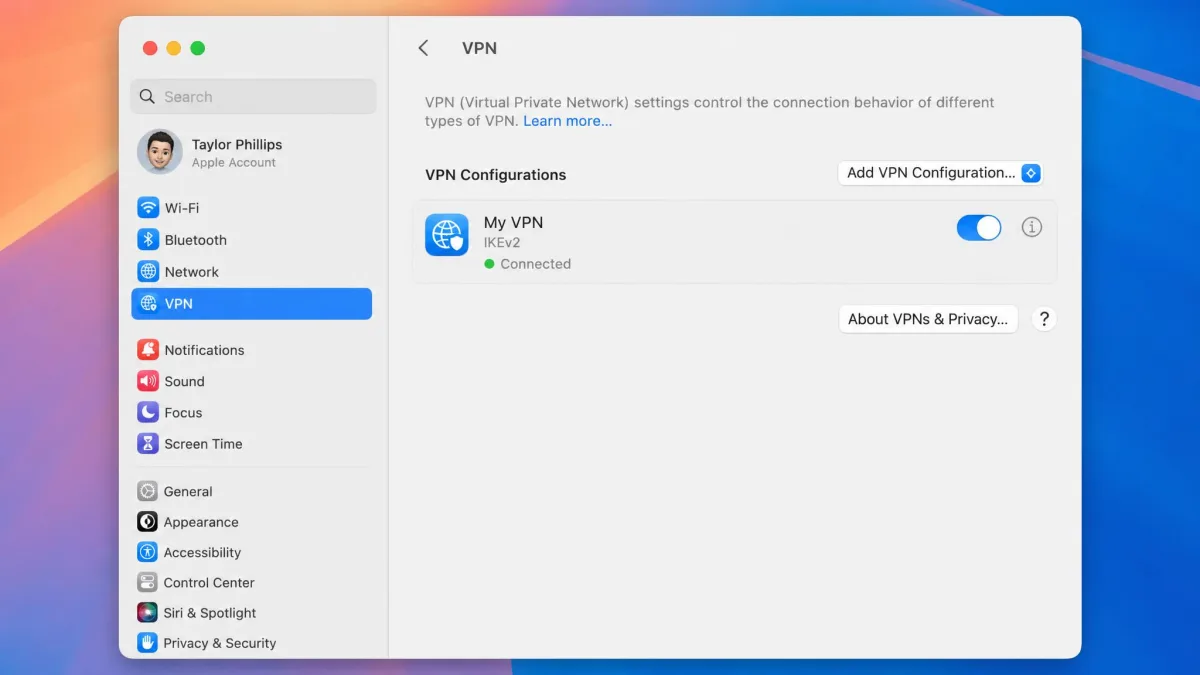
On a recent macOS version, open the Apple menu, then System Settings, and select VPN in the sidebar. Click Add VPN Configuration, choose the VPN type, then click Create.
Fill in the server address and your authentication details, save the configuration, then toggle the VPN on to connect. The sidebar path applies to macOS Ventura and later. On older Macs the controls live under System Preferences, then Network, where you add a VPN service with the plus button instead.
How to Connect to a VPN on iPhone and iPad
The provider app is the easy path on iOS. Install it from the App Store, sign in, allow the VPN configuration when iOS prompts, and tap Connect.
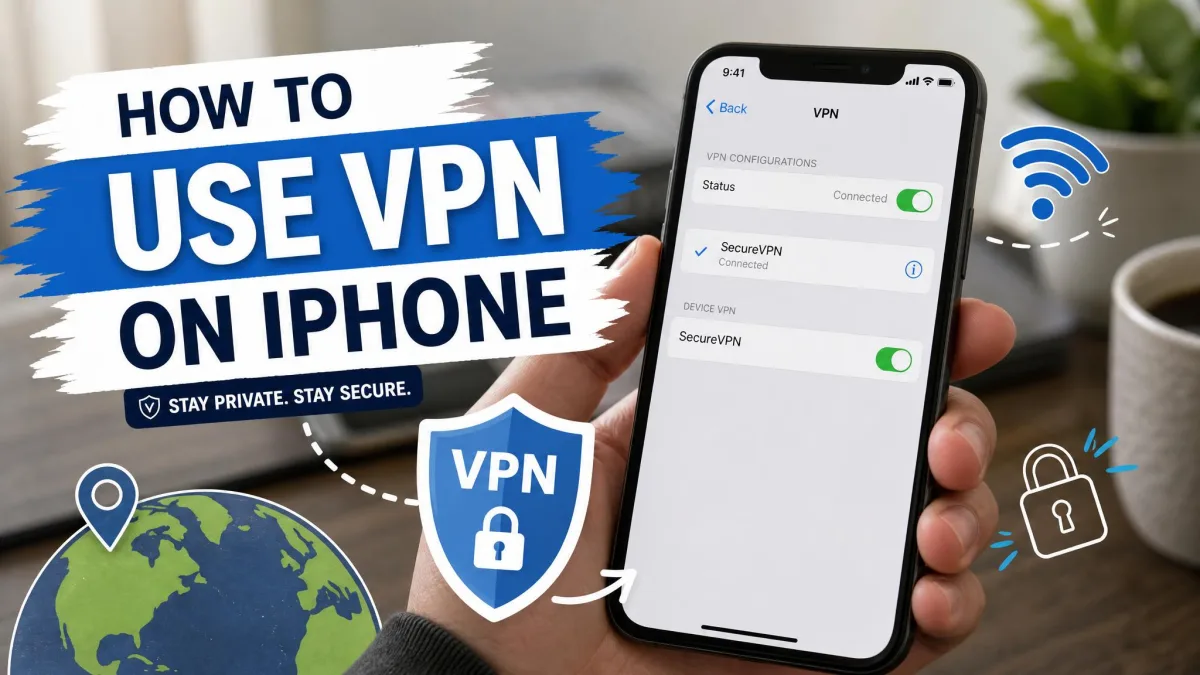
To set one up manually, open Settings, then General, then VPN & Device Management, then VPN, and tap Add VPN Configuration. Enter the connection name, server address, and username, then save it. Flip the VPN toggle at the top of Settings to connect. A small VPN badge appears in the status bar when the tunnel is live.
How to Connect to a VPN on Android
Android also favors the app. Install your provider's app from the Play Store, sign in, grant the connection request, and tap to connect.
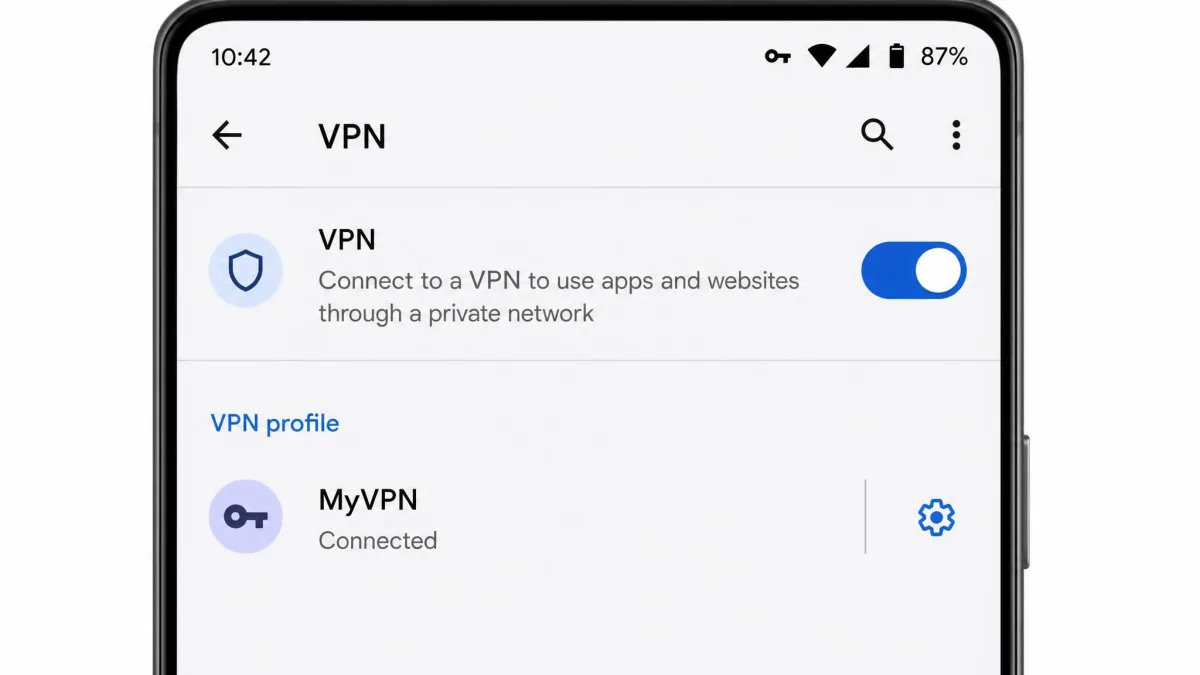
For a manual setup, open Settings, then Network & internet, then VPN, and choose Add VPN. Enter the username and password registered with your VPN provider, along with the server details, then save and connect. One thing to watch on mobile: some apps keep separate toggles for Wi-Fi and cellular, which can leave the VPN off on mobile data even though it's on over Wi-Fi.
How to Verify Your VPN Is Connected
Never assume the tunnel formed just because you tapped Connect. Check three signals. First, look for the status indicator: a VPN badge in the iOS or Android status bar, or a Connected label in the desktop app or Windows taskbar.
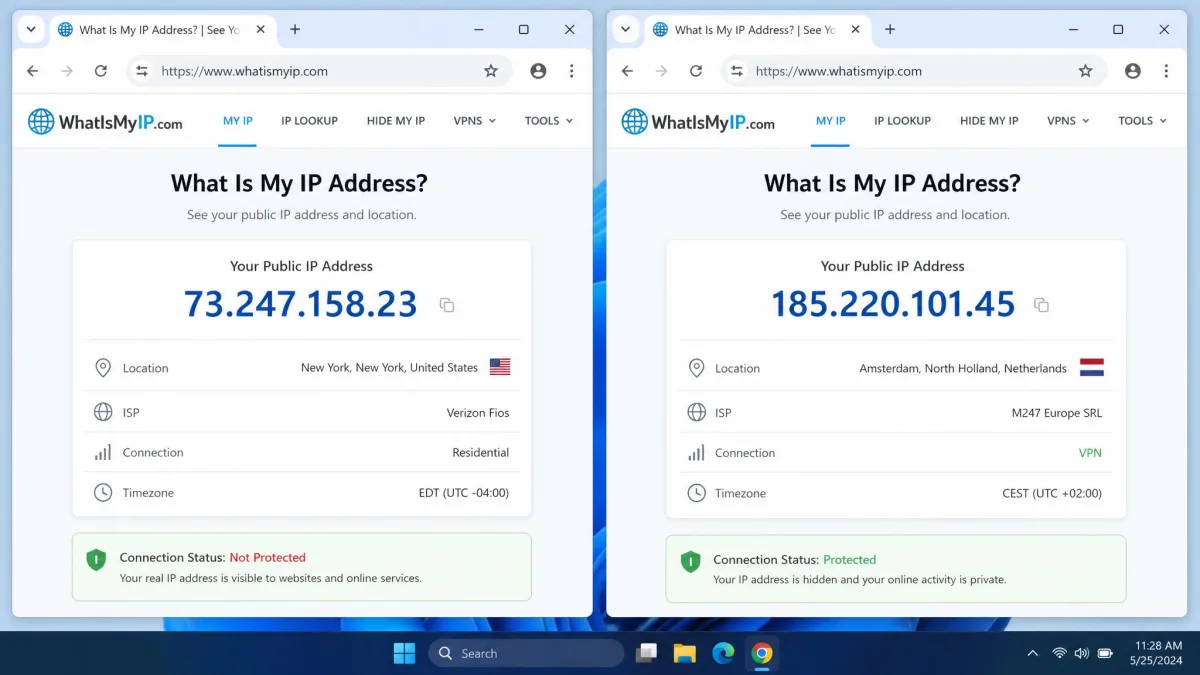
Second, confirm your IP address changed. Open any "what is my IP" page in a browser before and after connecting; the address and location should now match your chosen server, not your home network. Third, run a quick DNS or IP leak test to make sure your real address isn't leaking outside the tunnel. A well-functioning VPN usually connects in about five seconds, so a status that hangs far longer is worth a second look.
Tips for a Faster, More Reliable VPN Connection
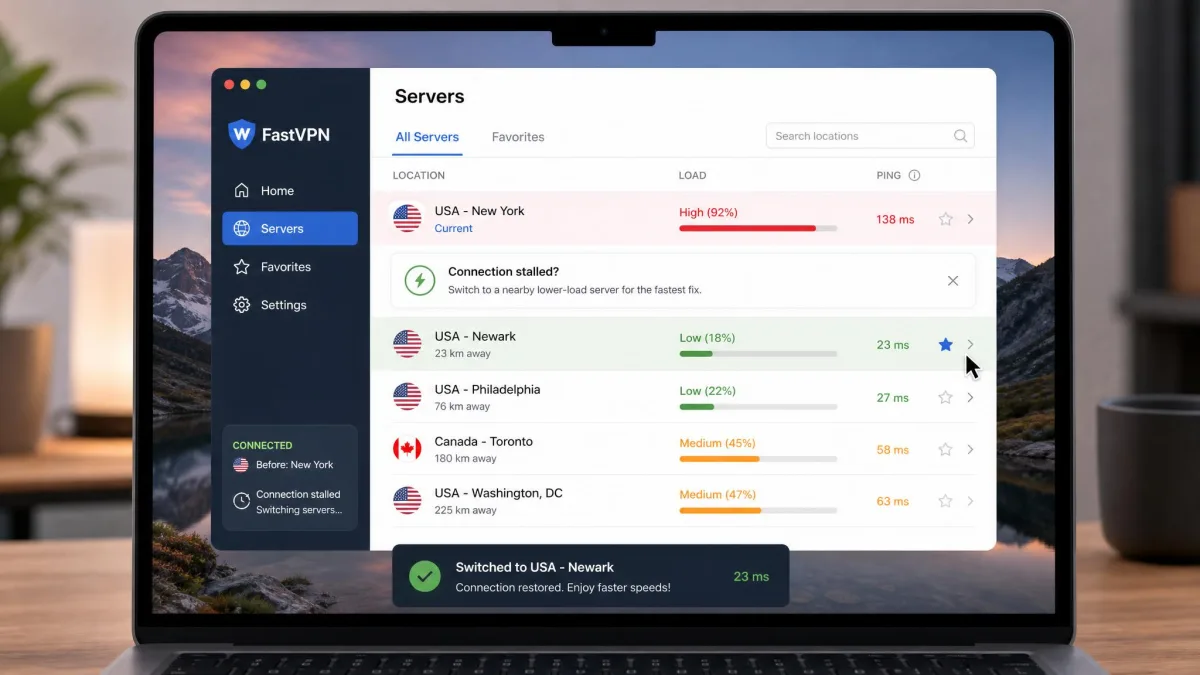
Server choice drives most of your speed. Pick a server geographically close to you when you don't need a specific country, since distance adds latency to every request.
Your protocol matters too. WireGuard and IKEv2 tend to connect faster and hold up better on mobile than older options, so let the app pick Automatic unless you have a reason not to. If a network keeps blocking you, switching between UDP and TCP often clears the blockage. Finally, turn on the kill switch so a dropped tunnel cuts your traffic instead of leaking it in the open.
Troubleshooting Common VPN Connection Problems
Most failed connections come down to a handful of causes, and we work through them in the same order every time.
Start simple. Restarting the device and router resolves more failed VPN connections than any other single fix, so try that before anything fancier. If the app connects but crawls, or won't establish at all, you're probably on an overloaded server; switching to another server in the same location is one of the quickest fixes.
If the connection still won't form, set the protocol to Automatic or switch between UDP and TCP, which clears blockages on restrictive networks. Check that your VPN app is up to date, because an outdated app falls out of step with current security updates and can simply refuse to connect. Confirm your device clock is correct too, since even a slightly wrong clock interferes with the security handshake.
Security software is another common culprit. A firewall or antivirus can flag encrypted VPN traffic on an uncommon port as a threat and cut the connection before it forms; adding the VPN app to the firewall's allowed list fixes it. On corporate, school, or public networks that block VPNs outright, enabling obfuscation or Stealth mode disguises the traffic and restores the connection. When nothing else works, a Restore Defaults reset or a full uninstall and reinstall clears misconfigured settings.
Free VPNs and open public Wi-Fi are a risky pair. Many free apps log or sell the data they promise to protect, and public hotspots are exactly where a leaking or fake VPN does the most damage. Stick to a reputable paid provider, and confirm the tunnel is actually up before you sign into anything sensitive.
Frequently Asked Questions
Is it safe to connect to a free VPN?
Why won't my VPN connect?
Does a VPN slow my connection?
Can I stay connected to a VPN all the time?
How do I connect to a VPN on public Wi-Fi?
Conclusion
Connecting to a VPN is quick once you know the path. On every platform the app method is a sign-in and a single tap, while the manual profile asks only for a server address, a VPN type, and your credentials. Whichever you use, confirm the connection with the status indicator and an IP check before you trust it, and keep the simple troubleshooting order in mind for the rare times a tunnel won't form. With the right provider and the kill switch on, staying protected becomes something you set once and mostly forget.