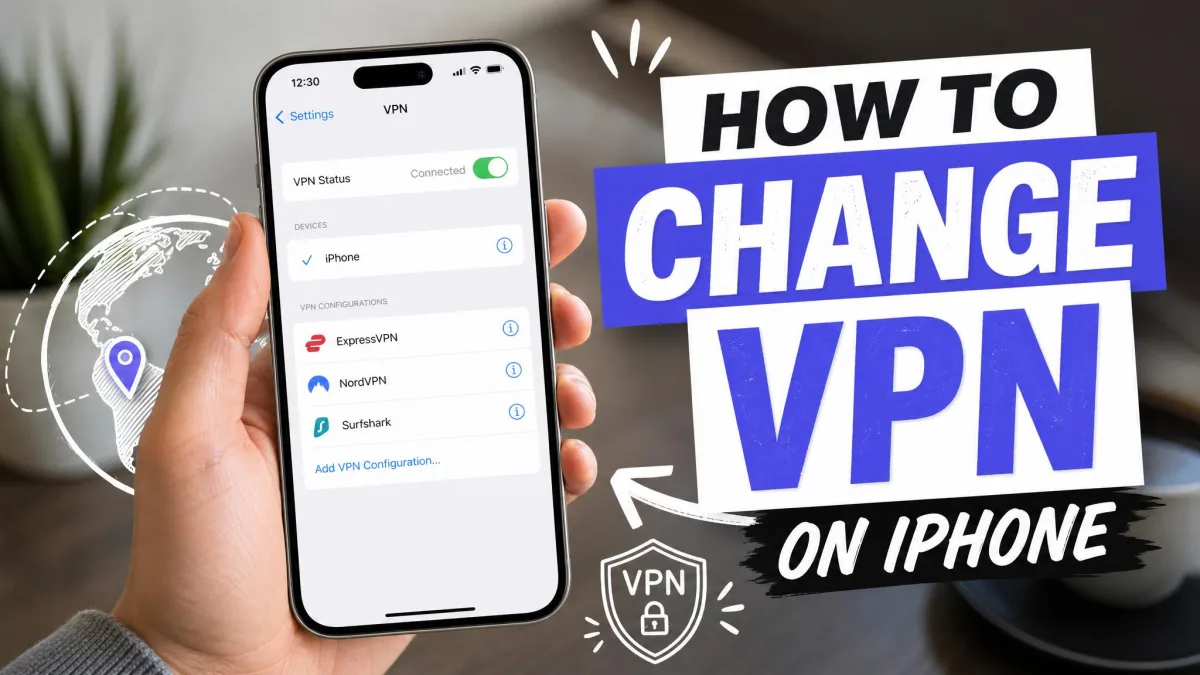
Maybe your VPN keeps switching back on the moment you disconnect it, or search results keep loading in the wrong language because your virtual location is still set abroad. Maybe you just want faster speeds, or a streaming app has started blocking you. Whatever pushed you here, turning a VPN off on an iPhone takes seconds once you know where the controls live.
The tricky part is not the off switch. It is stopping the VPN from quietly reconnecting afterward, which is where most people get stuck. We have tested this on iPhones running current and older versions of iOS, and the reconnect problem almost always traces back to one setting rather than a bug.
Below we walk through every method, from a quick disconnect to fully removing the app and its profile. We also cover why you might turn a VPN off, what changes when you do, and how to switch off iCloud Private Relay, which people often mistake for a VPN.
How to Turn Off a VPN on iPhone in the VPN App
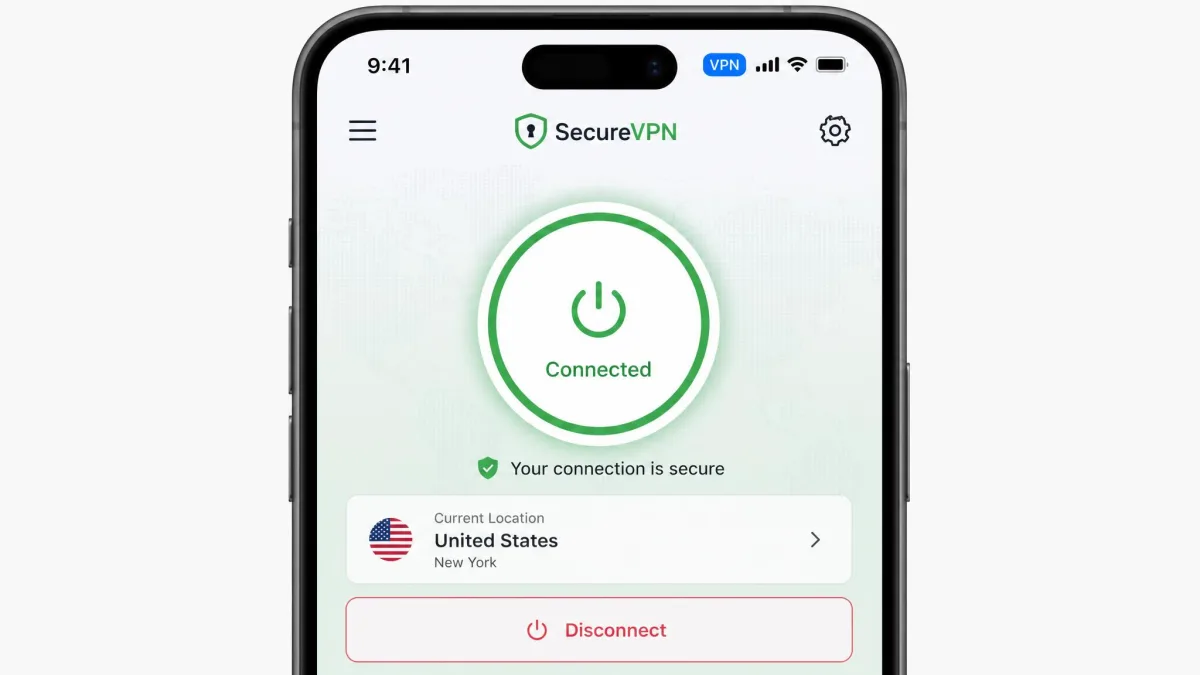
The quickest, most reliable way to disconnect is inside the VPN app you installed, whether that is NordVPN, ExpressVPN, Proton VPN, or another service. Open the app and look for a large connection button on the home screen. Tap the Disconnect button to close the tunnel.
Depending on the app, that control shows up as the word Disconnect or as a green power icon that you tap to switch off. Once the connection drops, the small VPN badge disappears from the status bar at the top of your screen. That vanishing icon is your confirmation that the VPN is genuinely off, not just idle.
We favor this method because it is the one that consistently works on the first try. The app talks directly to its own connection, so you are not fighting any system-level settings that might restart the tunnel behind your back.
How to Turn Off a VPN on iPhone in Settings
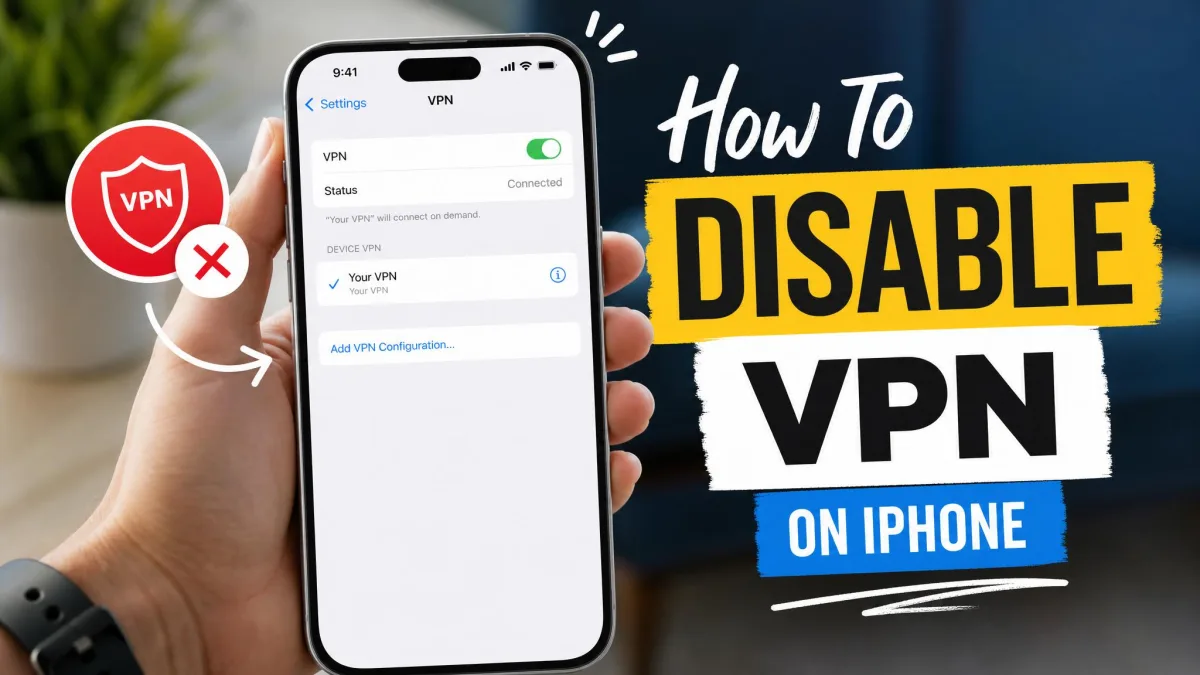
If you cannot find the app, or it is not responding, you can turn the VPN off from iOS itself. The exact path depends on your iOS version, so we cover both layouts here. On current iOS, the control sits under Settings > General > VPN & Device Management. On some older iOS builds, it appears directly at Settings > VPN on the main screen.
Either route lands you at the same VPN status screen, so use whichever your device shows.
Using the VPN toggle (Settings > General > VPN & Device Management)
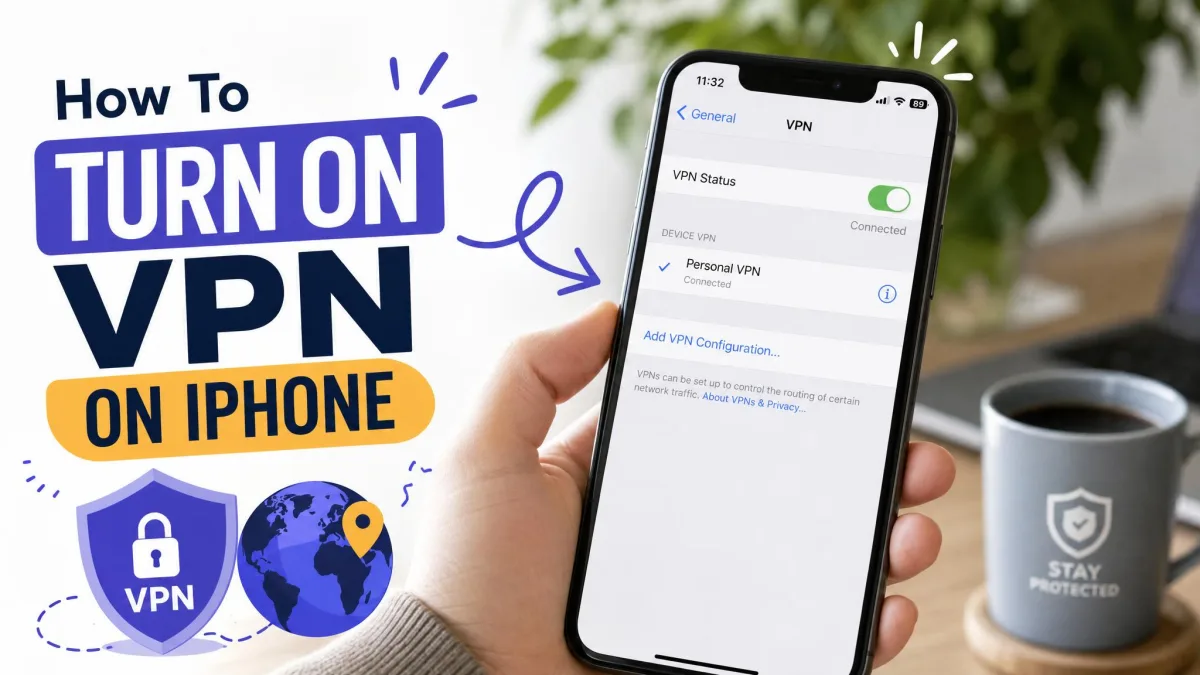
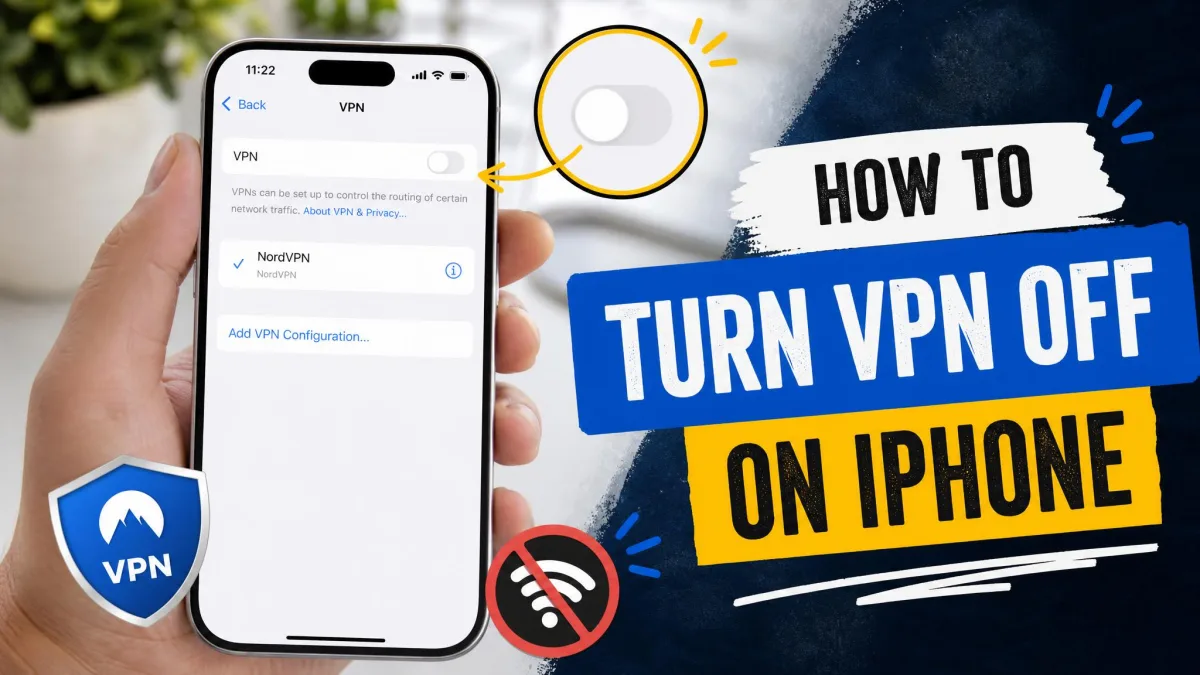
Open Settings, then tap General, then tap VPN & Device Management. Tap VPN to open the status screen. The top row reads VPN Status, and a toggle sits beside it. Tap the toggle to switch it from Connected to Not Connected.
That single switch closes the connection for the active configuration. As with the app method, check that the VPN icon has left your status bar. If it has, the tunnel is closed and your traffic is running over your normal connection again.
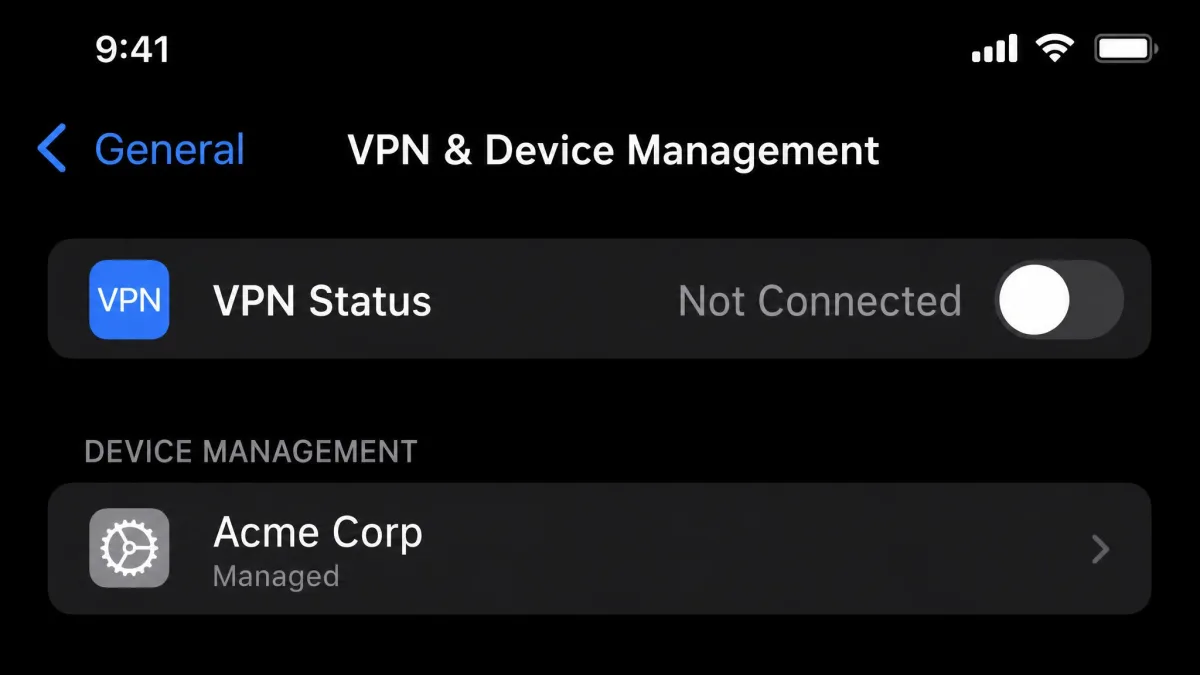
If you have more than one VPN configuration saved, the Settings screen lists them all. The one with a checkmark is active, so make sure you toggle off the correct configuration rather than an unused profile.
How to Fully Remove a VPN App and Profile from iPhone
Toggling a VPN off leaves it installed and ready to reconnect later. If you want it gone for good, you need to remove both the app and its saved profile. The order matters here.
Delete the VPN app first. Press and hold its icon on the Home Screen, tap Remove App, then tap Delete App. Deleting the app usually strips its configuration automatically, which is why we start there.
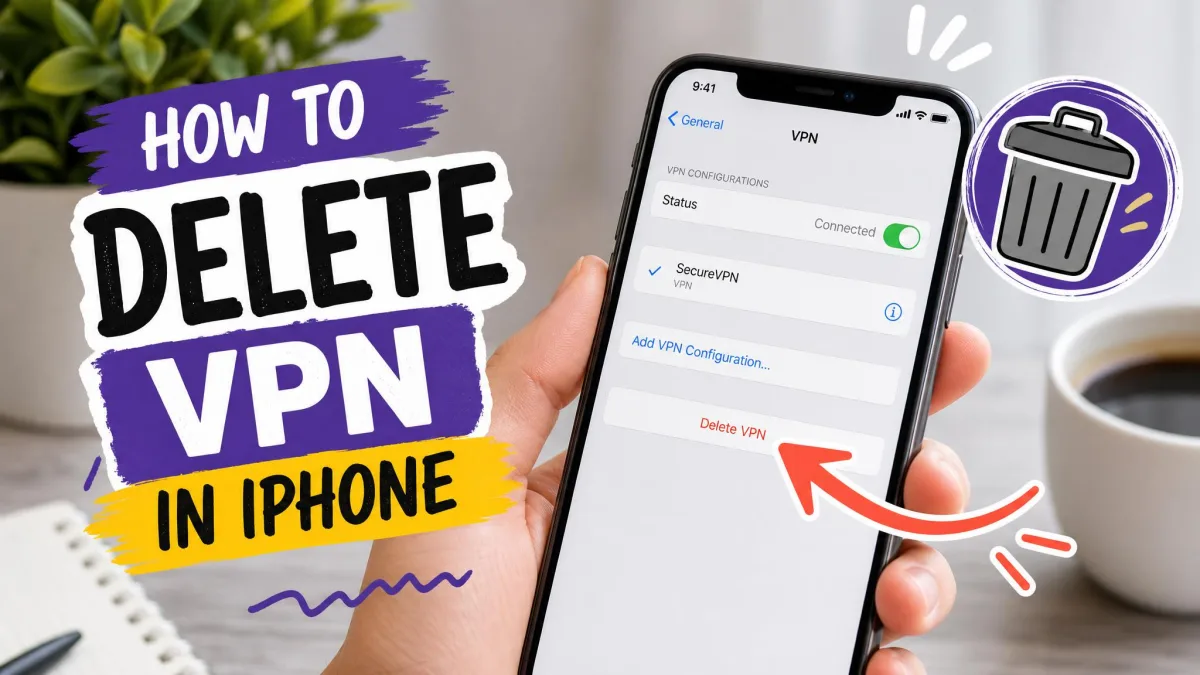
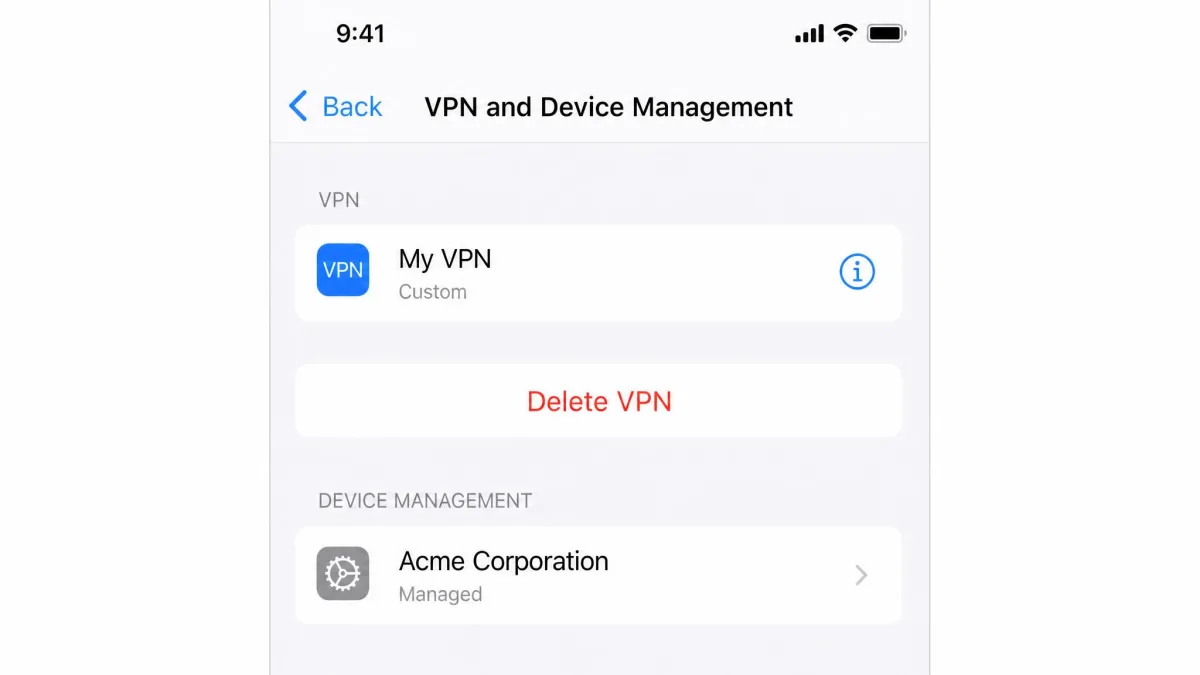
Next, clear any leftover profile. Open Settings, tap General, then tap VPN & Device Management. If a VPN configuration is still listed, tap the info (i) icon next to it and choose Delete VPN. A profile that lingers here can keep a connection alive even after the app is gone, so this final sweep matters.
Removing a VPN profile before you delete the app can briefly drop your connectivity while iOS reshuffles its network settings. Delete the app first, then clear the profile, and you will avoid that hiccup. Keep in mind too that once the VPN is fully removed, your traffic on public Wi-Fi is no longer encrypted.
How to Stop a VPN From Reconnecting (Disable "Connect on Demand")
Here is the setting that solves the most common complaint. If your VPN reactivates within seconds of turning it off, iOS is not glitching. A feature called Connect On Demand is re-triggering the tunnel automatically, and the VPN app itself is not the culprit.
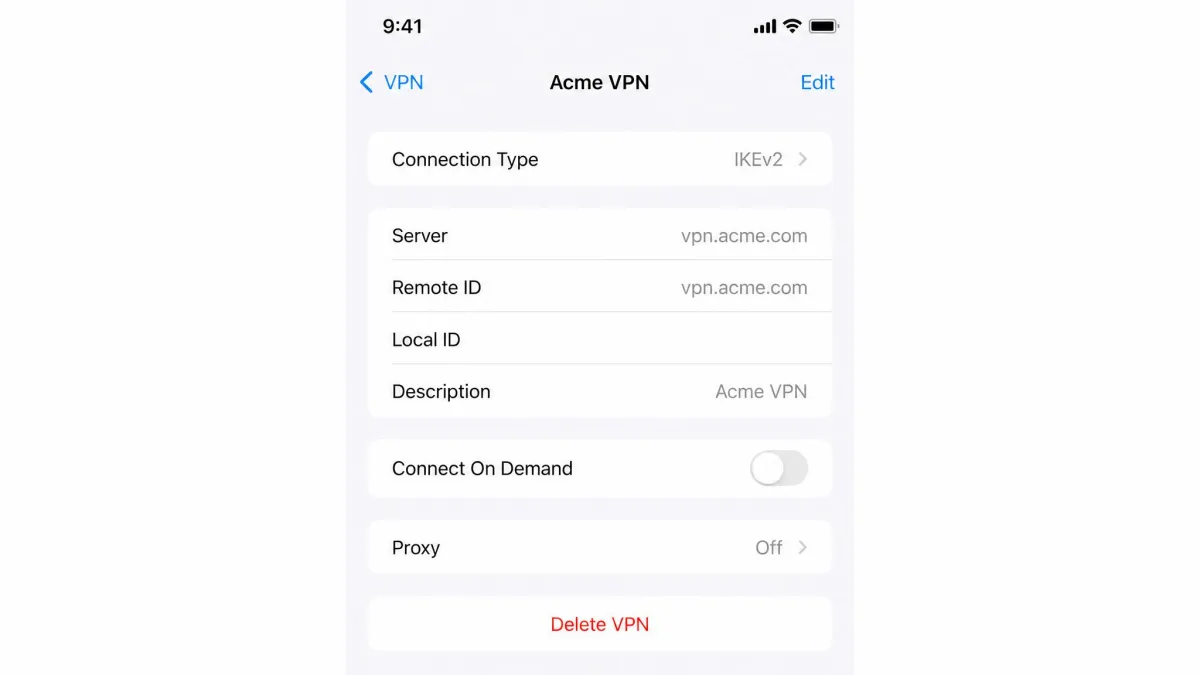
To disable it, open Settings, tap General, then tap VPN & Device Management. Tap VPN, then tap the info (i) icon next to your configuration. On that screen, toggle off Connect On Demand. With it off, the VPN stays down until you deliberately turn it back on.
One caveat we have run into: the Connect On Demand toggle can be grayed out and impossible to change. That happens when the VPN was installed by a third-party app that manages its own rules, or by Mobile Device Management (MDM) on a work or school device. In that case, removing the app and profile, as described above, is the reliable fix.
Troubleshooting: iPhone VPN Won't Turn Off / Keeps Reconnecting
If the VPN still will not stay off after you disable Connect On Demand, work through these steps in order. A stubborn VPN usually clears with the simplest fix first.
Start by restarting your iPhone, which clears the current network state and often ends a lingering connection. If that does not do it, toggle Airplane Mode on for a few seconds and then off, which forces every connection to rebuild. Reinstalling the VPN app can also reset a configuration that got stuck.
When nothing else works, reset your network settings. Open Settings, tap General, tap Transfer or Reset iPhone, then tap Reset and choose Reset Network Settings. This clears saved Wi-Fi passwords along with any tangled VPN state, so keep those passwords handy before you run it.
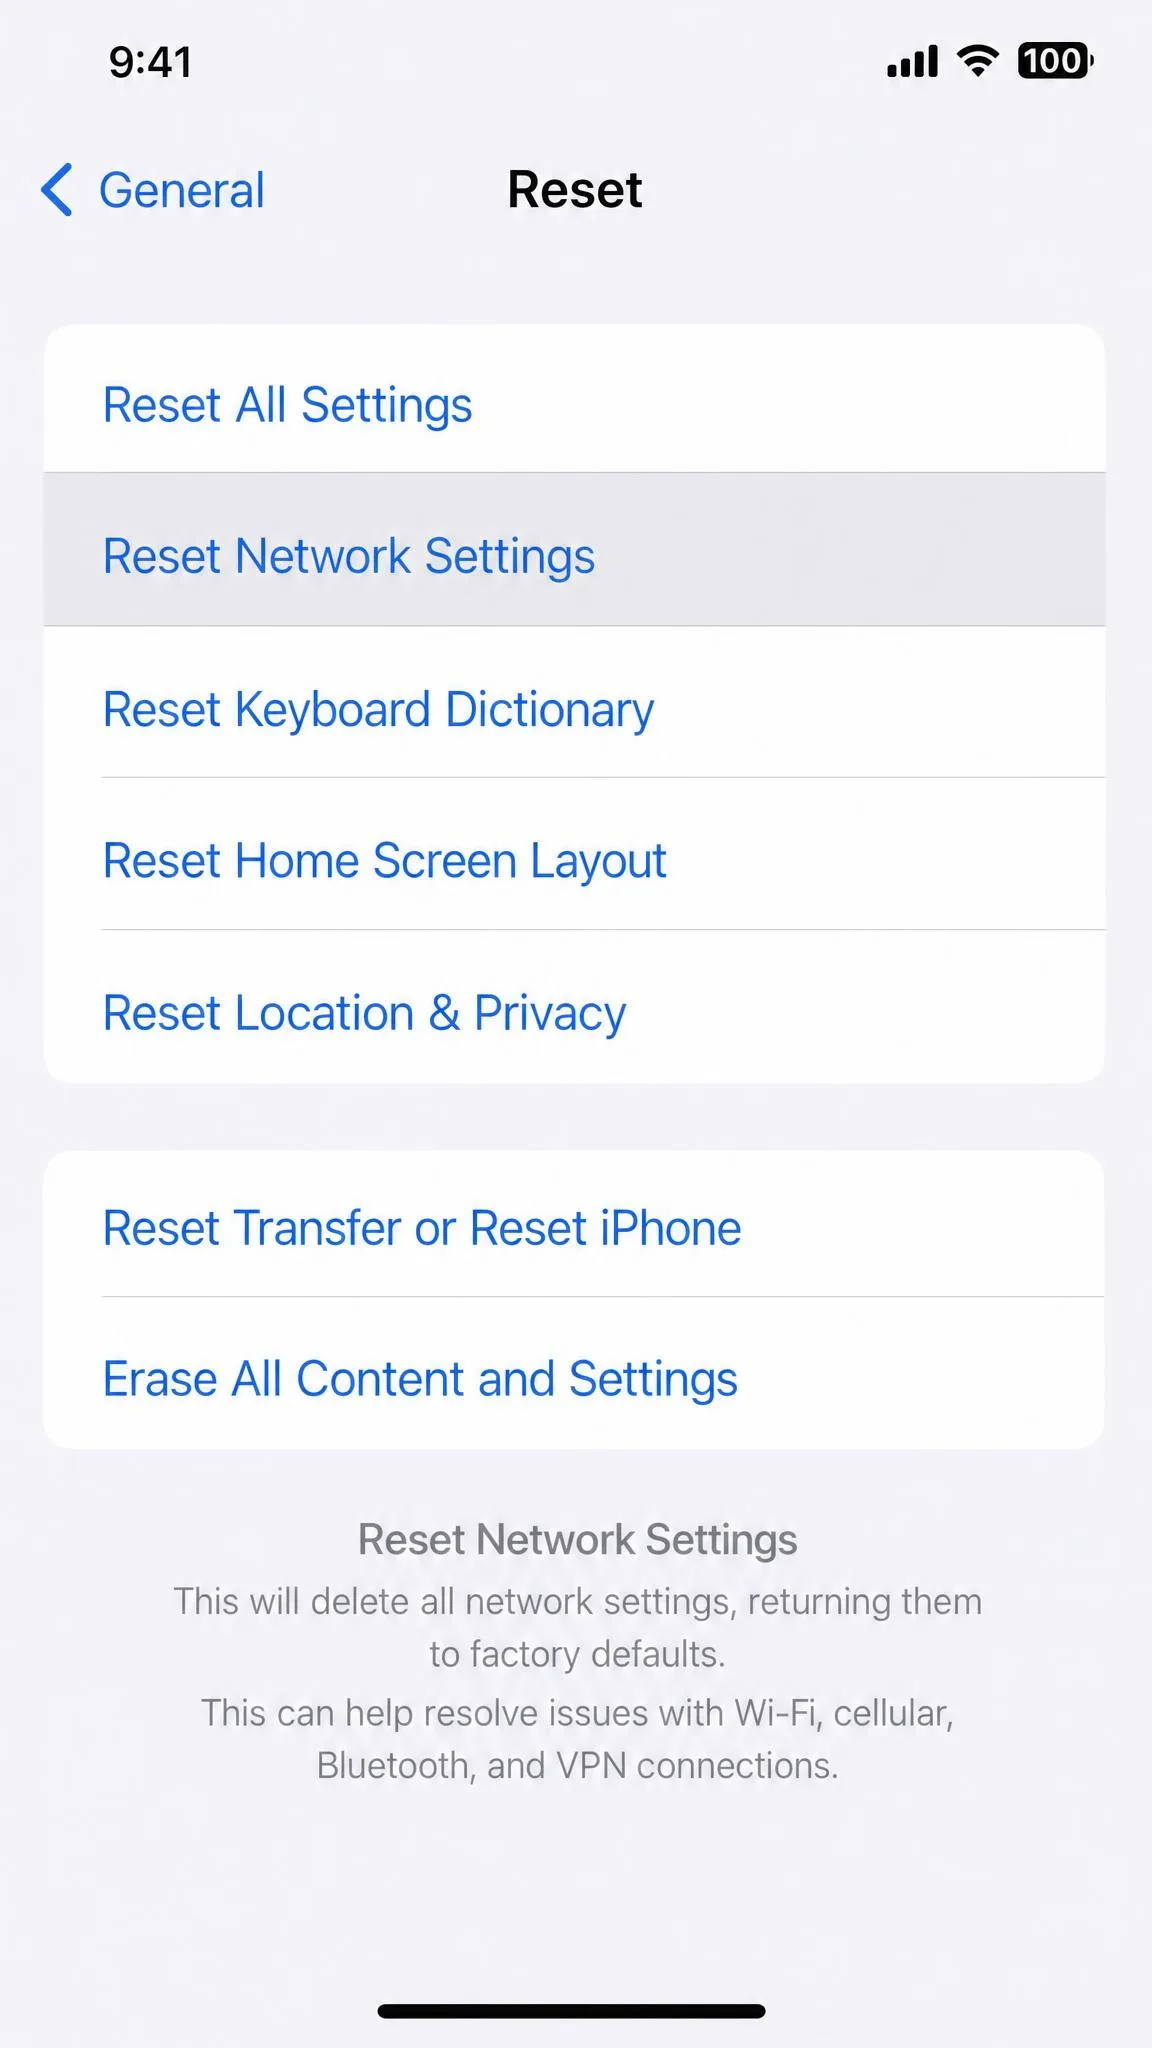
If the toggle keeps flicking back on and the setting is locked, the profile almost certainly came from an MDM or work configuration. On a managed device, contact whoever administers it rather than fighting the settings yourself.
Why (and When) You Might Want to Turn Off Your VPN
People rarely turn a VPN off at random. In most cases there is a specific frustration behind it. The most common one we see is content loading in the wrong language or region because the virtual location is still pointed at another country.
Speed is the other big driver. A VPN adds a hop between you and the internet, so battery drain, streaming-service blocks, and general slowdowns are the everyday annoyances that make people reach for the off switch. Some banking and payment apps also refuse to run while a VPN is active, which forces a temporary disconnect.
Turning it off in these moments is perfectly reasonable. The goal is to switch it off deliberately when you need to, then switch it back on when you are done.
What Happens When You Turn Off Your VPN
Switching a VPN off changes a few things immediately. Your traffic is no longer encrypted through the VPN tunnel, and your real IP address and location become visible to the websites and apps you use.
That visibility is not automatically dangerous on a trusted home network. On public Wi-Fi, though, it matters more, because your traffic stops being protected the moment the tunnel closes. The flip side is that pages often load faster, and any content that was blocked because of your virtual location becomes reachable again.
There is no long-term harm in turning a VPN off. It is a reversible switch, and the moment you reconnect, encryption and IP masking resume.
How to Turn Off iCloud Private Relay
People often confuse iCloud Private Relay with a VPN, so it is worth covering. Private Relay is part of a paid iCloud+ subscription, not a standalone free feature, and it protects your Safari browsing so no single party, not even Apple, sees both who you are and which sites you visit. It is not a full-device VPN, so it will not appear under your VPN settings.
To switch it off, open Settings, tap your name at the top, tap iCloud, then tap Private Relay and turn it off. If your Safari browsing suddenly seems tied to a different-looking location, Private Relay rather than a VPN is often the reason. Apple's own iCloud Private Relay overview explains what the feature does and does not cover.