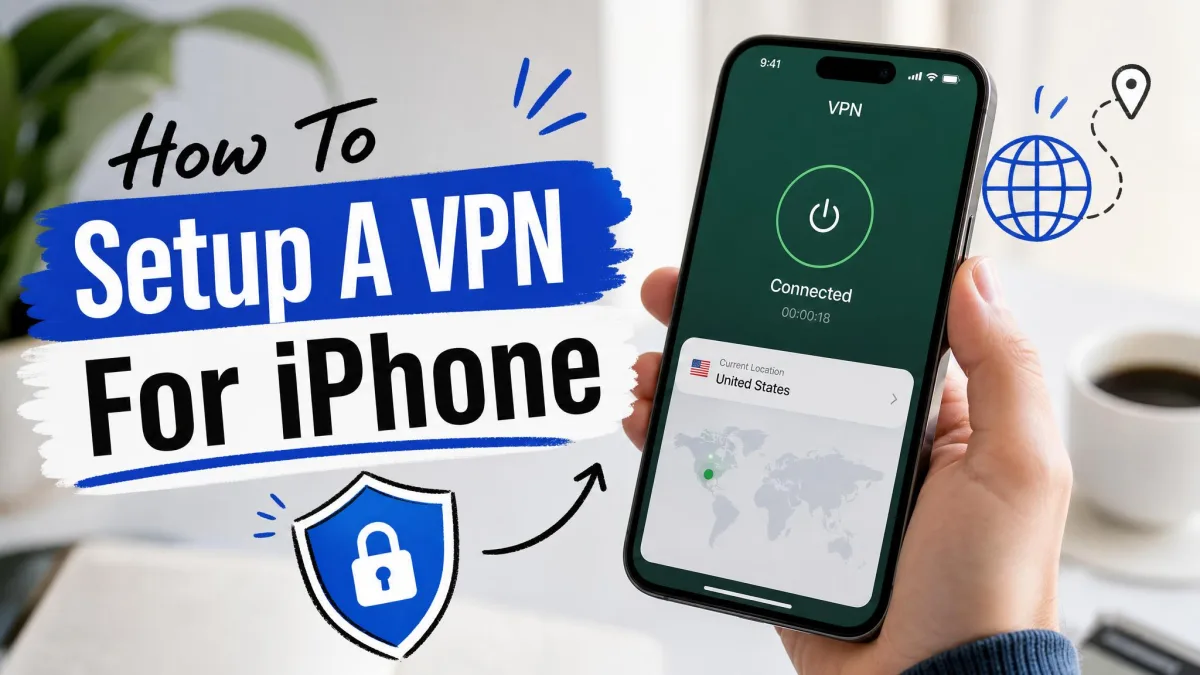
You join the free Wi-Fi at a coffee shop, an airport, or a hotel abroad, and your iPhone connects without a second thought. That open network is convenient, but it is also the easiest place for someone to watch your traffic. A VPN fixes this by wrapping your connection in encryption before it leaves your phone.
The good news is that setting one up is quick. In our testing, an app-based install takes only a few minutes: download, sign in, and tap connect. There is also a manual route built into iOS for the times a provider or an employer hands you server details instead of an app.
We are a hands-on review team, and we set up VPNs on iPhone constantly as part of testing. For this guide we worked through both methods on an iPhone running current iOS, timing each step and confirming the connection with a leak test afterward. Below we walk through the easy app method first, then the manual Settings method, plus how to manage, switch, and switch off your VPN once it is running.
Before You Begin: What You Need
For the app method, you need three things: an iPhone with a current version of iOS, an Apple Account signed in to the App Store, and a VPN subscription or free trial from a provider you trust. The app handles the rest.
For the manual method, you need connection details from your VPN provider or your workplace IT team. That means the server address, your account credentials, and a remote ID or pre-shared key. Without those exact values the connection will not establish.
Avoid unknown free VPN apps. Many free VPNs make their money by logging or selling user data, and some have leaked traffic in independent tests. If an app is free with no clear business model, your data is often the product.
Decide which method fits you before you start. Most people should use an app, because it is faster, more reliable, and easier to manage. Reach for the manual method only when someone gives you server details instead of an app to install.
Method 1: App-Based VPN Setup Using the App Store (Easiest)
The app method is by far the simplest way to get protected. In our testing, downloading a VPN app, creating an account, and tapping connect took roughly a minute from start to finish. Here is the full flow.
Step 1: Choose and Download a VPN App from the App Store
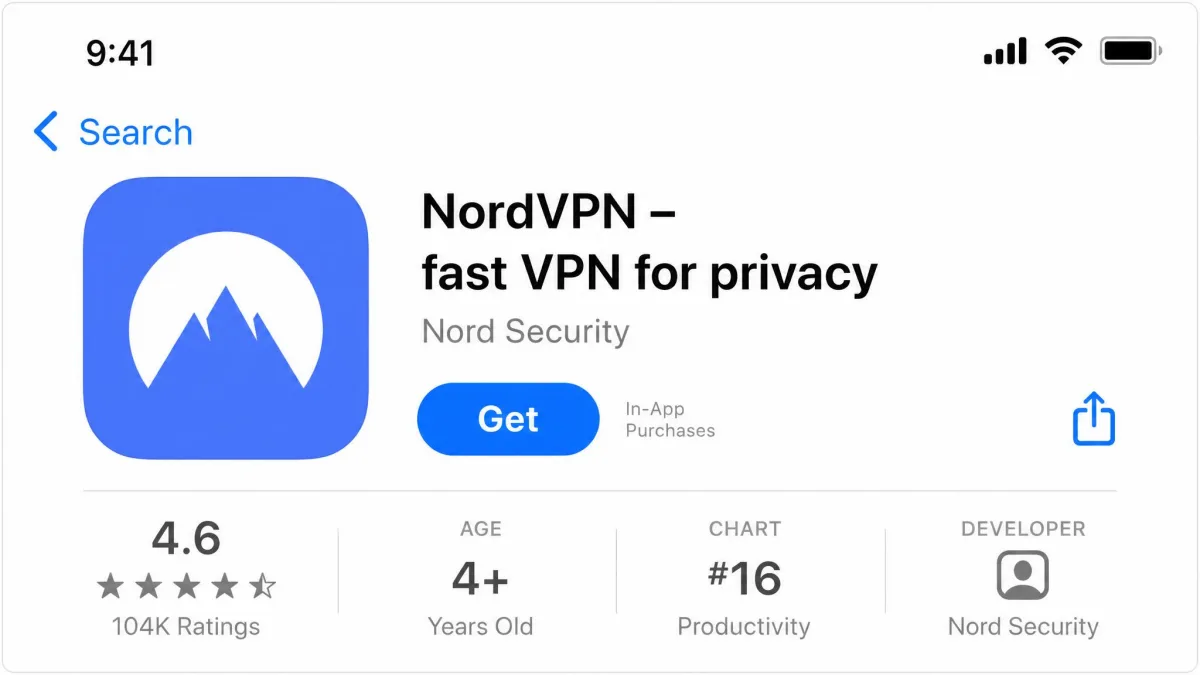
Open the App Store and search for your chosen provider by name. We recommend picking a well-reviewed paid provider first, then downloading its official app. You can start with NordVPN on the App Store, our top pick, or one of the other apps in our Quick Picks below.
Check that the developer name matches the real company before you tap Get. Copycat apps do exist, so the publisher and review count are your first clues. Once the download finishes, the app icon appears on your Home Screen.
Step 2: Create an Account or Sign In
Open the app and either sign in with your existing account or create a new one. If you already bought a plan on the provider's website, sign in with those credentials. If not, most apps let you subscribe directly, and some offer a free trial.
Buying your plan on the provider's website first can be cheaper than subscribing inside the app, because App Store billing sometimes carries a markup.
Step 3: Allow the VPN Configuration
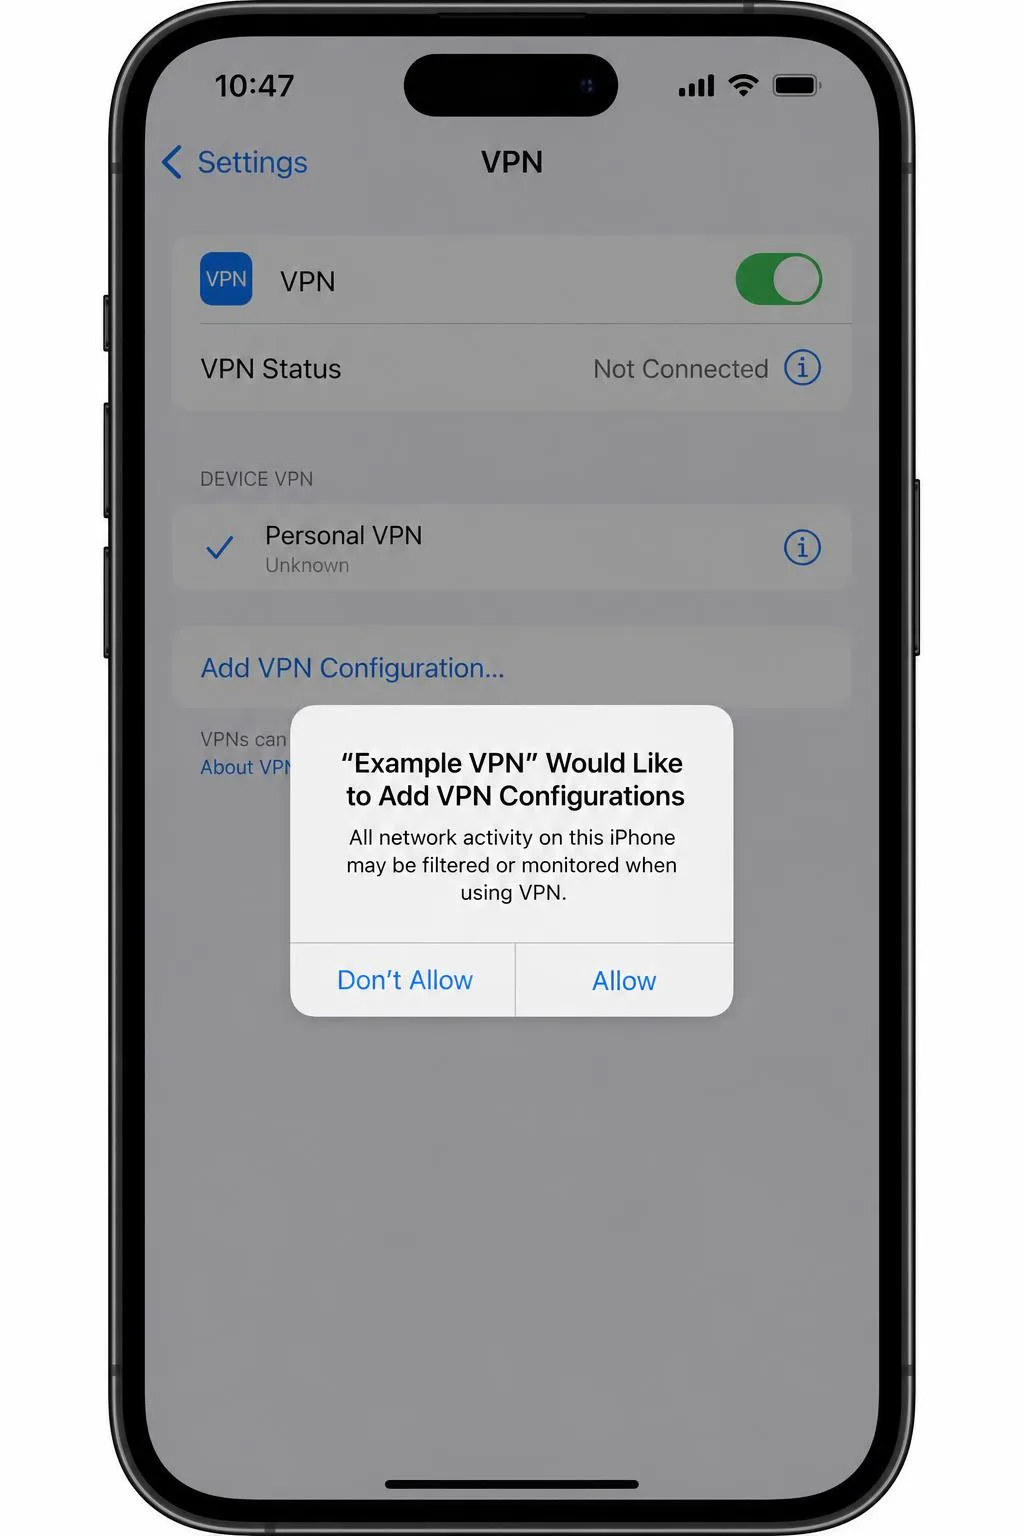
The first time you connect, iOS shows a permission prompt asking you to allow the app to add a VPN configuration. This is a normal, required step. Tap Allow, then confirm with Face ID, Touch ID, or your passcode.
This one-time approval lets the app manage your VPN connection, and you will not see the prompt again. If you skip or deny it, the tunnel will not work.
Step 4: Connect to a Server
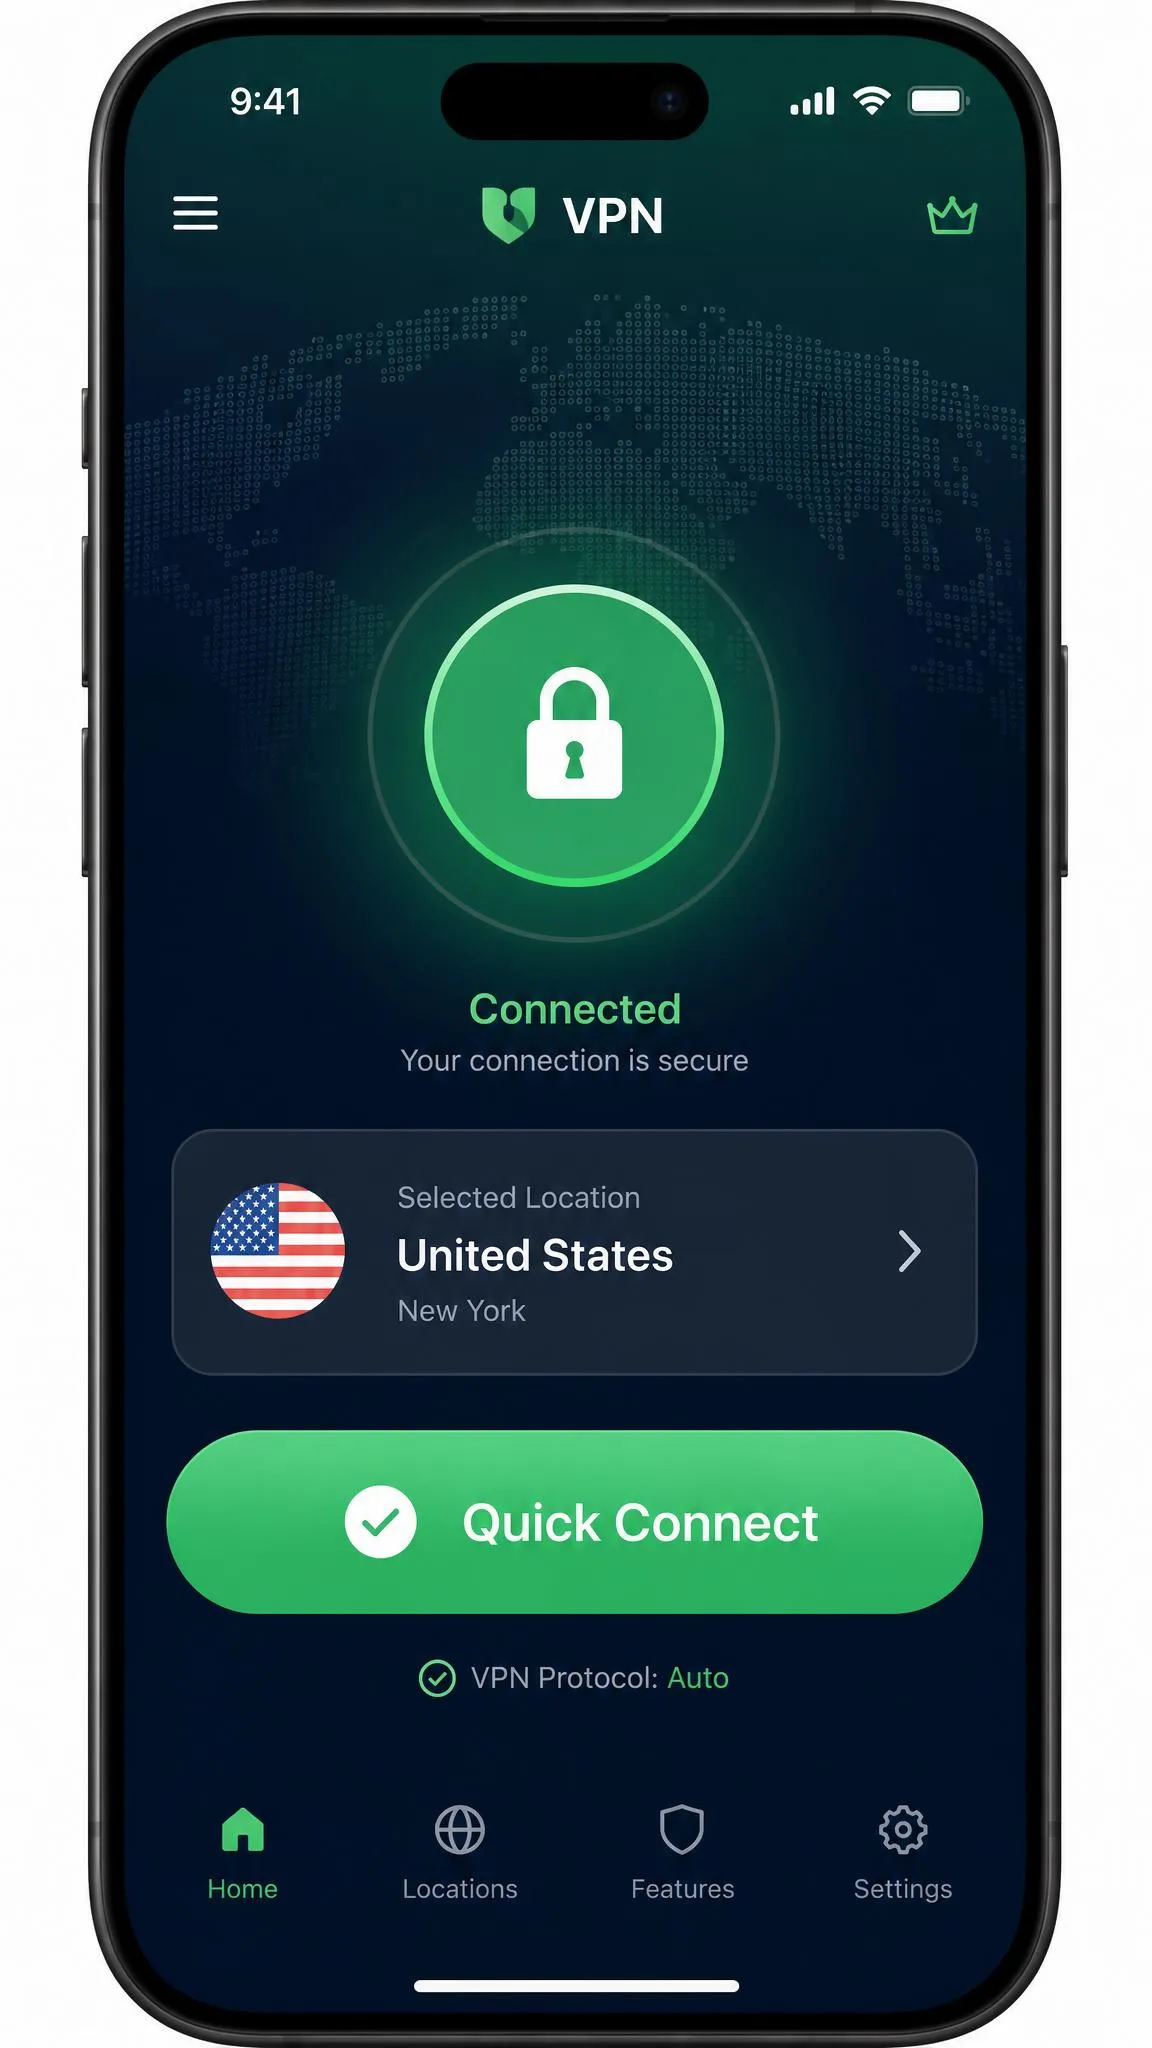
Back in the app, tap the main connect button. Most apps use a single large button, often labelled Quick Connect, that picks the fastest server for you. Within a second or two the button turns to a connected state and a small VPN badge appears in your iPhone status bar.
That badge confirms the tunnel is live. In our testing this one-tap connect was the fastest part of the whole process, and it is the button you will use most.
Step 5: Choose a Server Location (Optional)
If you want a specific country, open the app's server list and choose a location instead of using Quick Connect. This is how you make your traffic appear to come from another place, which is handy for reaching a home service while abroad.
Keep speed in mind here. A VPN slows your connection more when the server is far away, so pick a nearby location for everyday browsing and streaming. Choose a distant server only when you actually need that country's address.
Method 2: Configure a VPN Manually in iPhone Settings
Sometimes you do not get an app. A workplace, a school, or a self-hosted server usually hands you a set of connection details to enter by hand. iOS has this built in, and Apple documents the full process in its guide to set up a VPN for iPhone and iPad.
Manual setup is fiddlier than the app route. You have to gather every field first, and a single wrong value stops the connection from establishing. Work through the steps carefully.
Step 1: Gather Your VPN Details (Server, Protocol, Credentials)
Ask your provider or IT team for the server name or address, your account username and password, and a remote ID or pre-shared key. Also confirm which protocol to use. iOS supports IKEv2, IPSec, and L2TP for manual configuration.
We suggest IKEv2 whenever you have the choice. It reconnects the VPN automatically when the connection drops or when your iPhone switches between Wi-Fi and cellular, which matters a lot in daily use.
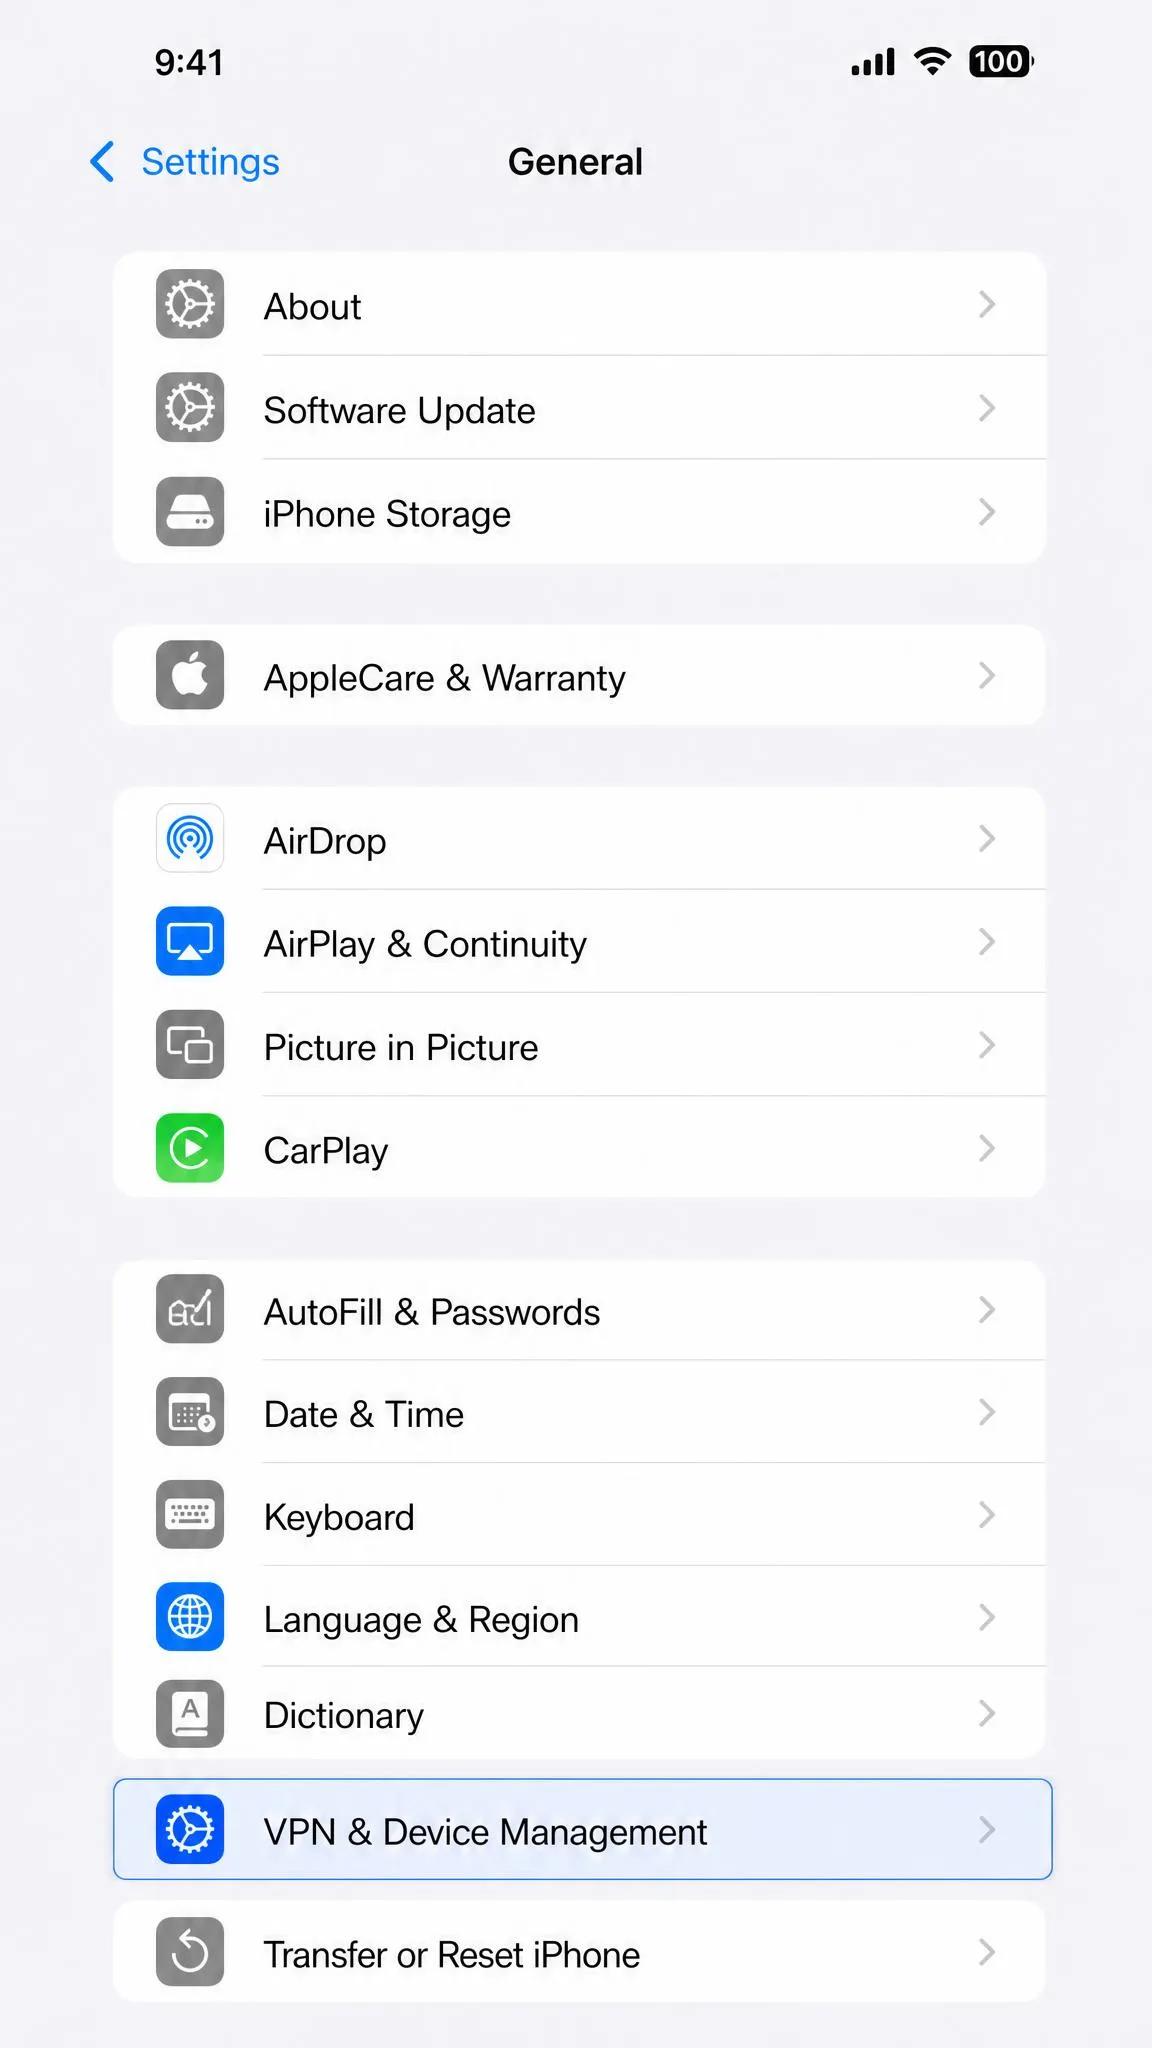
Step 2: Open Settings > General > VPN & Device Management
On your iPhone, open the Settings app, tap General, and scroll to VPN & Device Management. This is where iOS keeps every VPN profile, whether an app added it or you created it by hand.
Tap VPN, then tap Add VPN Configuration to start a new profile. Apple's own iPhone user guide covers this screen in detail if you want to follow along.
Step 3: Add a VPN Configuration (IKEv2 / IPSec)
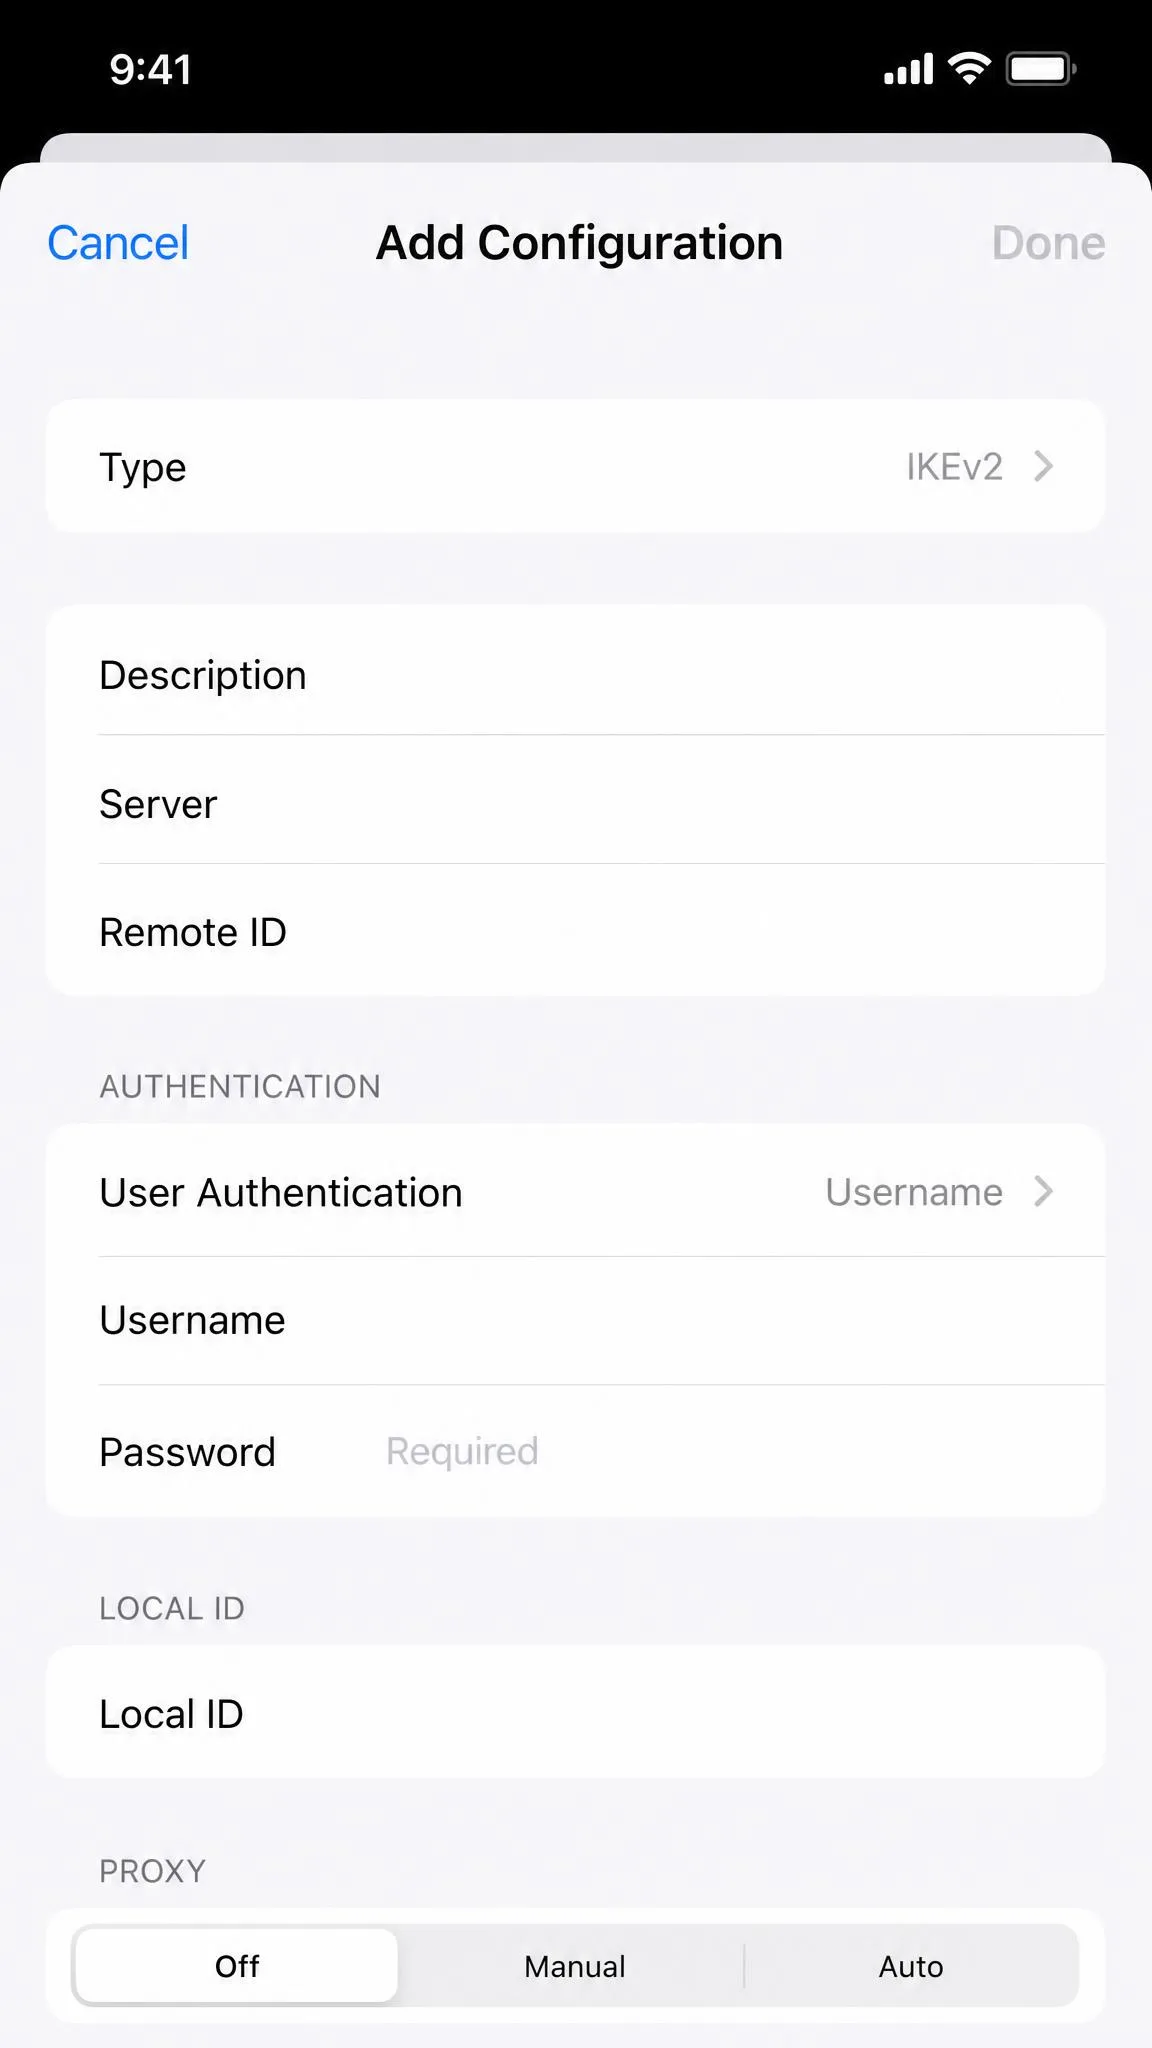
At the top of the configuration screen, tap Type and choose your protocol, such as IKEv2 or IPSec. The fields below change to match the type you select, so set this first.
Give the configuration a clear description, like "Work VPN," so you can recognise it later. This name is only a label and does not affect the connection.
Step 4: Enter Server Details and Save
Now fill in the values you gathered. Enter the server address, the remote ID, and your credentials in their matching fields. For IKEv2 you will typically add a remote ID and either a username and password or a certificate, and for IPSec you may enter a pre-shared key.
Double-check every entry before you continue, because one wrong character will block the connection. When the fields are complete, tap Done in the top corner to save the profile.
Copy and paste the server address and keys where you can, rather than typing them. A single mistyped character is the most common reason a manual VPN fails to connect.
Step 5: Turn the VPN On and Confirm It's Connected
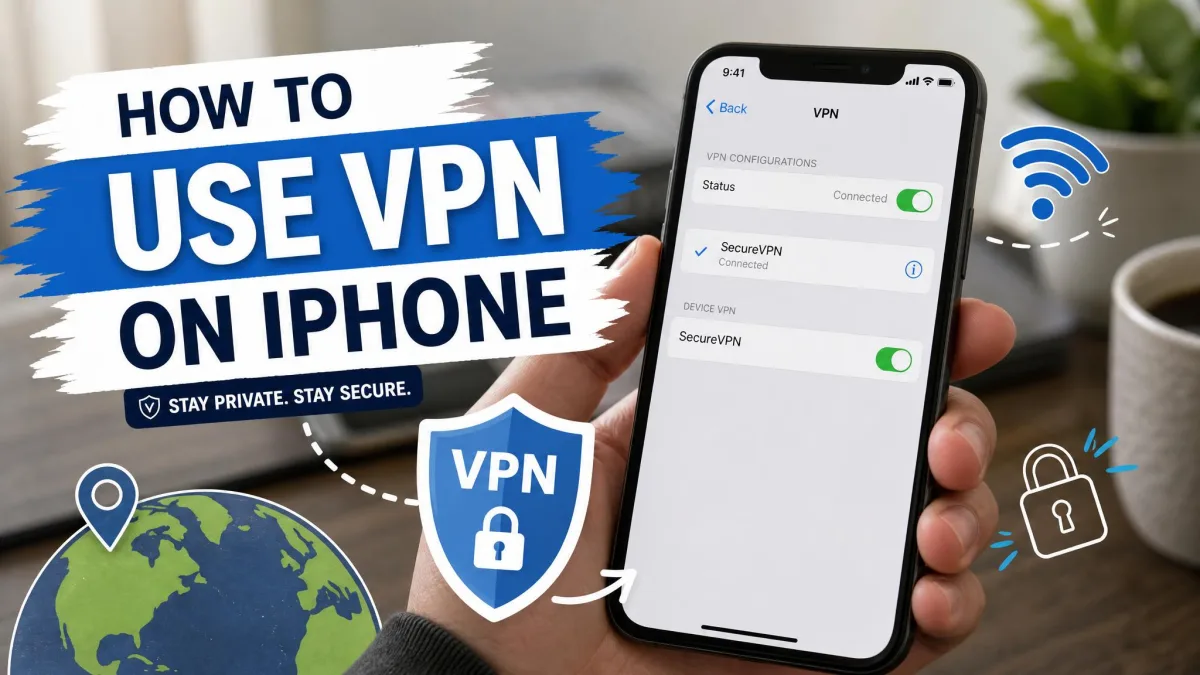
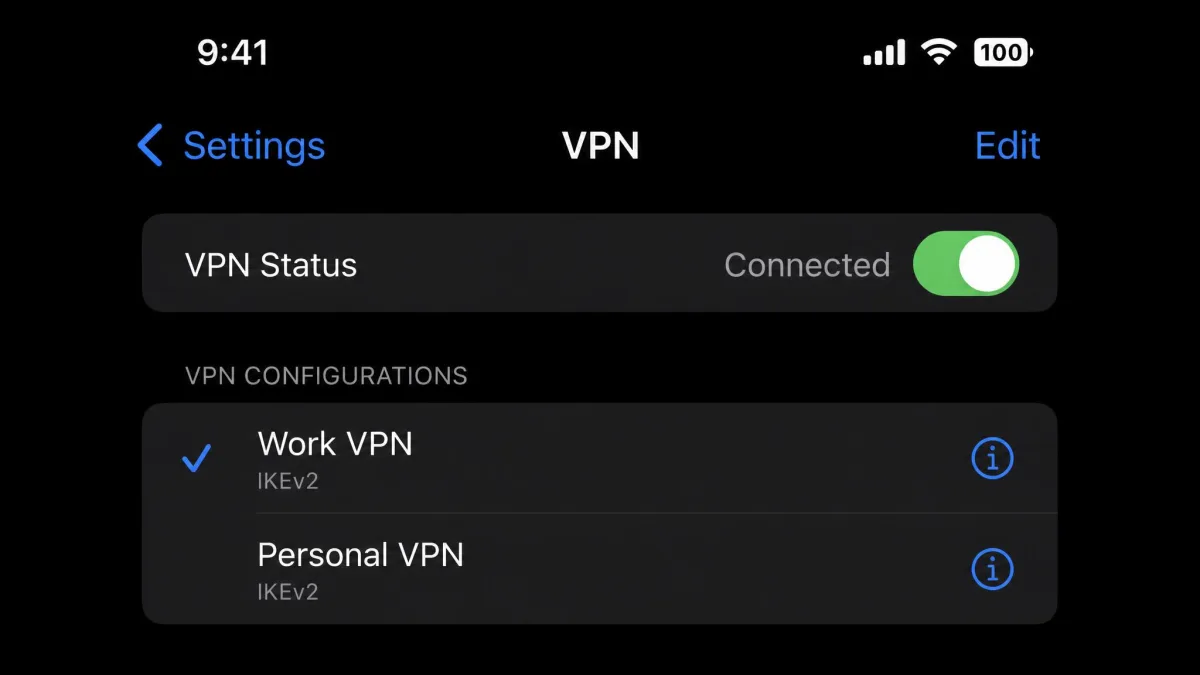
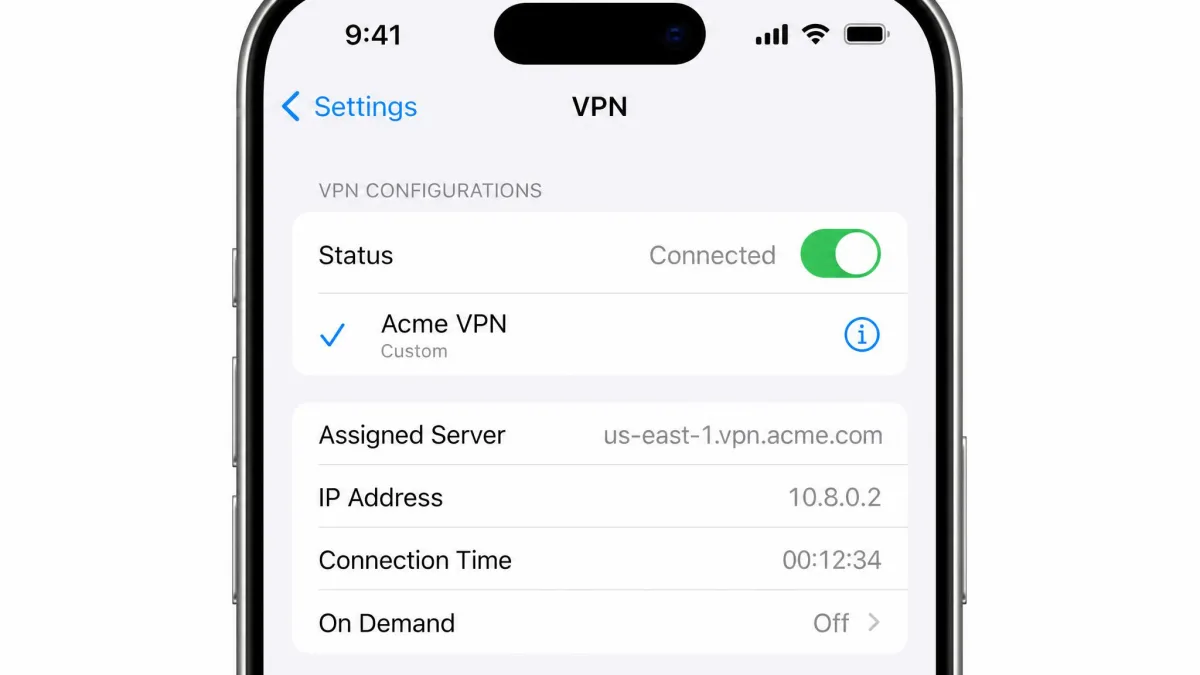
Your new profile now appears under Settings, then VPN. Flip its Status switch to On. After a moment the switch shows Connected and the VPN badge appears in your status bar.
To be sure the tunnel is really working, run a quick DNS or IP leak test in your browser. In our testing this final check is worth the ten seconds it takes, because it confirms your traffic is actually going through the VPN.
How to Manage, Change, and Turn Off Your VPN
Once a VPN is set up, managing it is easy. To turn it off, open the app and tap disconnect, or go to Settings, then VPN, and flip the Status switch to Off. Both do the same job.
If you keep more than one profile, go to Settings, then VPN, tap the information icon next to a configuration, and choose which one is active. This helps when you keep separate work and personal profiles.
You do not need to leave a VPN on all the time. Many people connect it on public Wi-Fi and untrusted networks, then switch it off at home to save a little speed and battery.
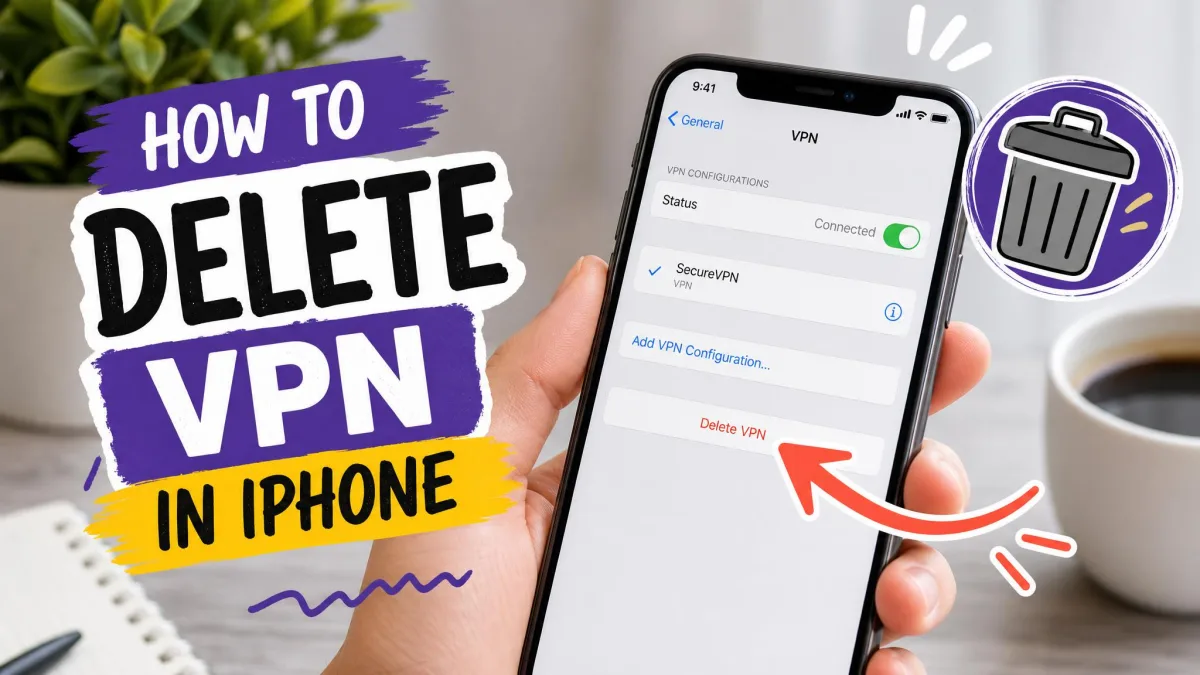
To remove a profile you no longer use, open its details under Settings, then VPN, and choose Delete VPN. Deleting a provider's app also removes the configuration it added. Both keep your list tidy.
Best VPNs for iPhone (Quick Picks)
If you are choosing an app for Method 1, these are the three we recommend for iPhone. All three offer one-tap connect, a no-logs policy, and polished iOS apps. Prices below are the best long-term rates at the time of writing, and monthly billing costs more.
| Product | Buy | Best price | Servers / countries | iOS rating | Best for |
|---|---|---|---|---|---|
 |
Check price → | $3.49/mo(2-yr) | 9,000+ / 137 | ★★★★★ 4.63/5 | All-round speed and features |
 |
Check price → | $1.99/mo(2-yr) | 100+ countries | ★★★★★ 4.6/5 | Unlimited devices, low price |
 |
Check price → | $2.79/mo(long-term) | 3,000+ / 105 | ★★★★★ 4.6/5 | Ease of use and streaming |
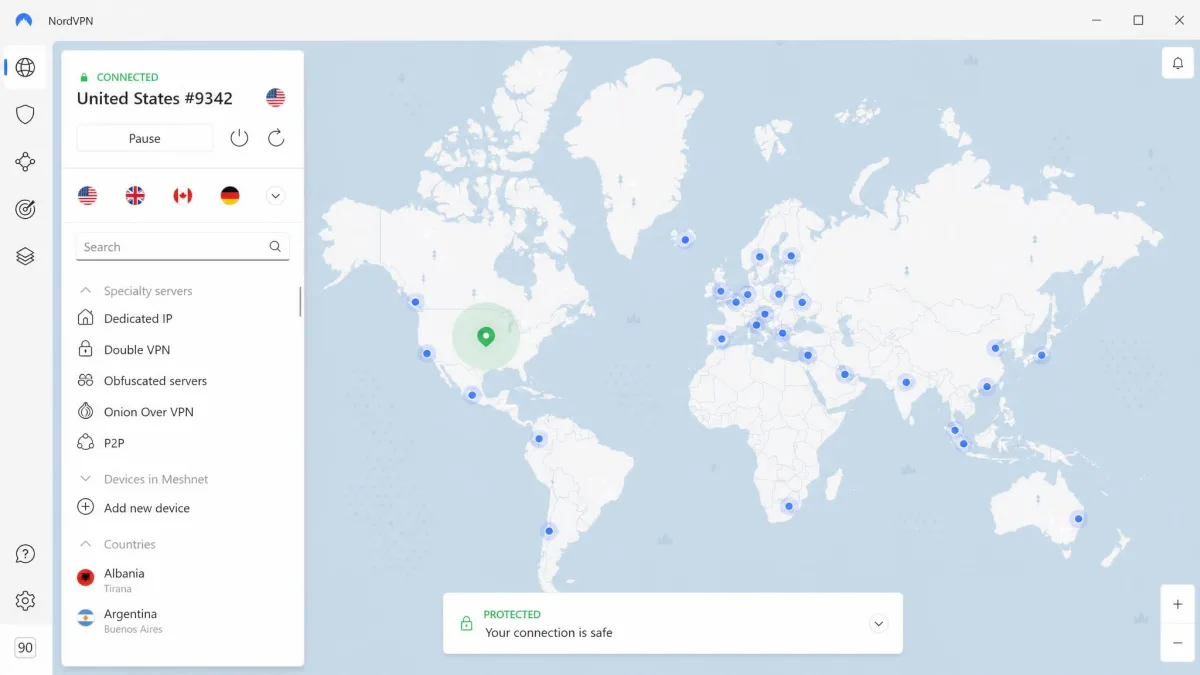
NordVPN is our overall pick for iPhone. It rates 4.63 stars across roughly 1.67 million iOS App Store reviews, and its one-tap connect and Siri integration make daily use fast. In our testing the connection occasionally failed and needed an app restart to recover, but that was rare. It runs around 9,000 or more servers across 137 countries, includes a kill switch and Threat Protection, and comes with a 30-day money-back guarantee.
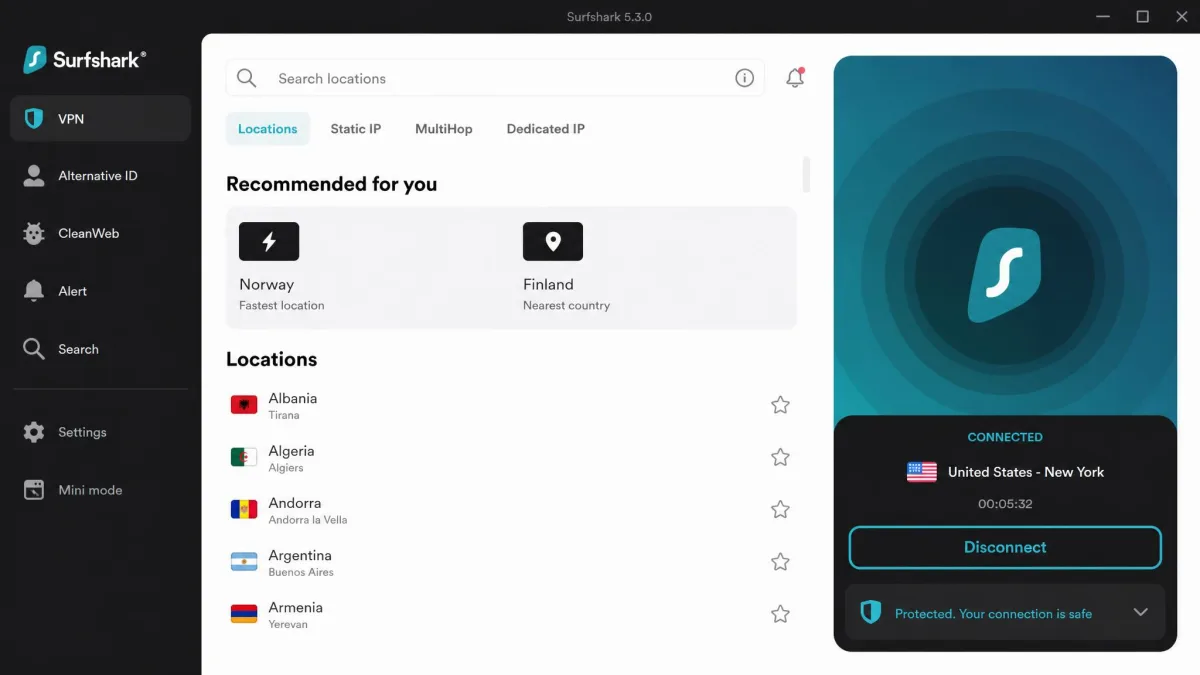
Surfshark is the value pick, with intro pricing around $1.99 a month on the two-year plan and unlimited simultaneous device connections. You can connect straight from a Home Screen widget without opening the app, though we found upload speeds dropped noticeably on distant overseas servers. It covers 100 or more countries, adds CleanWeb ad blocking, and backs a 7-day free trial plus a 30-day money-back guarantee.
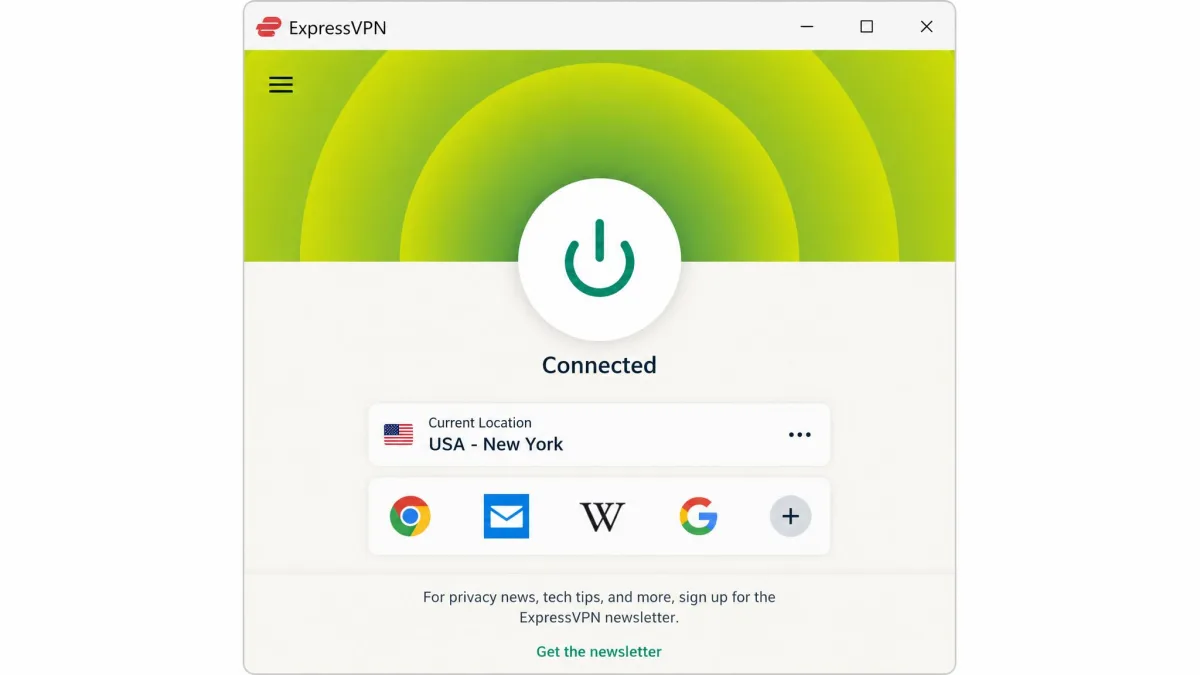
ExpressVPN is the easiest to live with, especially for streaming. It rates 4.6 stars on the App Store, runs 3,000 or more servers across 105 countries, and its Lightway protocol connects quickly. Long-term pricing lands around $2.79 a month, with a 30-day money-back guarantee.
Troubleshooting Common iPhone VPN Problems
Most VPN problems on iPhone come down to a handful of causes. Work through these in order before you assume the app is broken.
The VPN will not connect. First, check that you actually have internet without the VPN on. Then switch to a different server, since a single overloaded or offline server is a common culprit. Apple's guide on what to do if you can't connect to a VPN server is a useful next stop.
The connection keeps dropping. For an app, enable its kill switch and auto-connect features. For a manual profile, use IKEv2 where you can, because it reconnects on its own when you move between Wi-Fi and cellular.
A manual configuration fails. Re-check every field against what your provider gave you. The server address, remote ID, and pre-shared key must match exactly, and one wrong character is enough to block the tunnel.
When an app misbehaves, the quickest fix is often the simplest: disconnect, force-close the app, reopen it, and connect again. That cleared most stalls in our testing.
The internet is slow with the VPN on. Switch to a server closer to you. Distance is the biggest factor in VPN speed, so a nearby server usually restores normal browsing.
You are not sure it is even working. Look for the VPN badge in the status bar, check the Status line under Settings, then VPN, and run a quick IP leak test. If your visible IP address has changed to the server's, the tunnel is live.
Frequently Asked Questions
Should an iPhone VPN be on or off?
Does the iPhone have a built-in VPN?
How do I know if my VPN is connected?
Is a free VPN safe for iPhone?
Does a VPN change my location on iPhone?
Conclusion
Setting up a VPN on iPhone is genuinely quick. For almost everyone, the app method wins: download a trusted provider's app, sign in, tap connect, and you are protected in about a minute. Keep the manual method in your back pocket for when someone hands you server details instead.
Whichever route you take, the habits that matter are the same. Choose a reputable provider, connect on untrusted networks, pick a nearby server for speed, and run a quick leak test to be sure the tunnel is live. Do that and your iPhone stays private on any network you join.