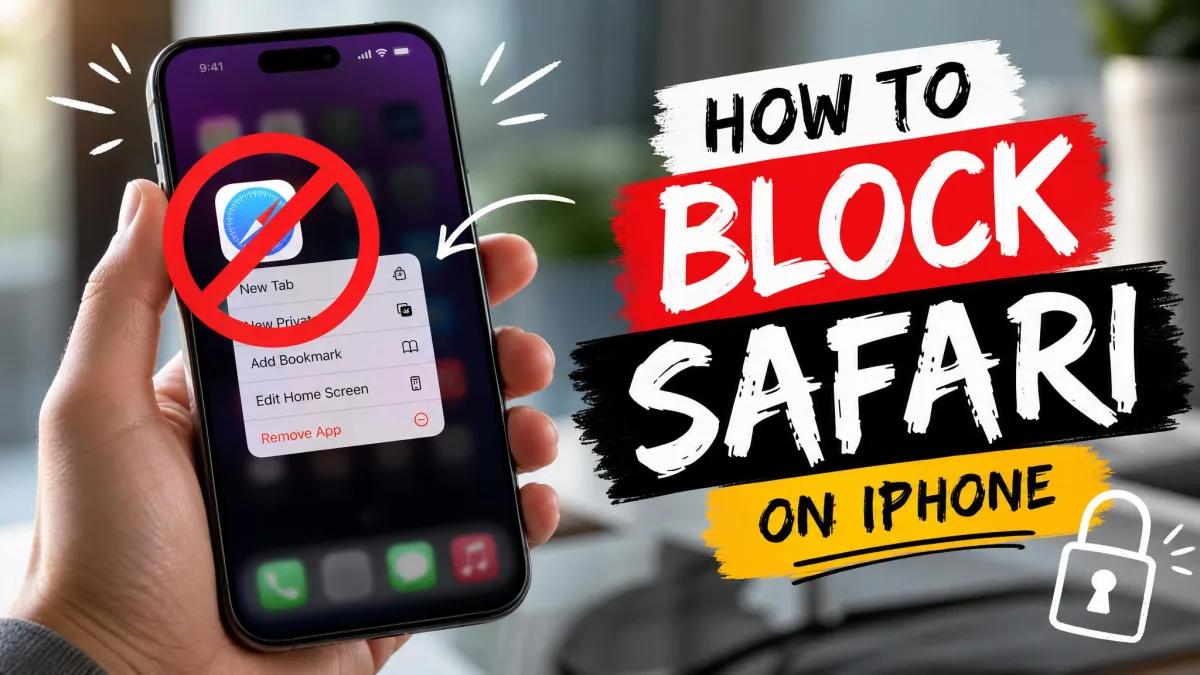
Maybe a site keeps pulling your child in during homework hours. Maybe you want one distracting page off your own iPhone before you open it again tonight.
Either way, the iPhone already has the tools for it, and you do not need to install anything. This guide covers five methods, from a single named site to a filter that covers every app on the phone.
We stay iPhone-only here, and we use Apple's own labels throughout so the taps match what you see on screen.
Quick Answer: Block a Website on iPhone in 6 Taps
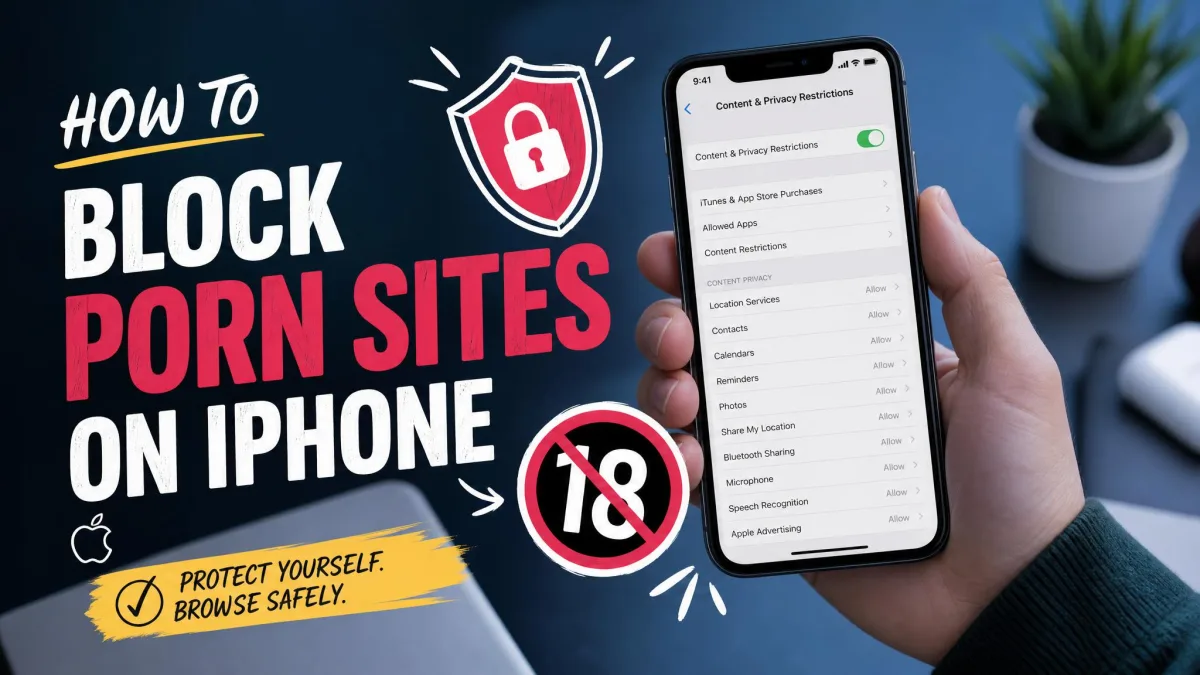
Open Settings, tap Screen Time, then tap Content & Privacy Restrictions and turn the switch on. Tap the content menu, tap Web Content, choose Limit Adult Websites, then tap Add Website under Never Allow and type the address you want gone.
That is the whole path. Everything below is detail: how to keep the block from being undone, how to cover browsers other than Safari, and what to do when a site slips through anyway.
Add both forms of the address, example.com and www.example.com. Apple does not document how far a single Never Allow entry reaches across subdomains, so entering both is the safe approach.
Which Blocking Method Should You Use?
Pick by two questions: does the block need to survive a determined teenager, and does it need to work outside Safari? A named-site block is fast and fine for a mild distraction. A DNS filter is slower to set up and much harder to walk around.
| Method | What it blocks | Works in all browsers? | Difficulty to bypass | Setup time |
|---|---|---|---|---|
| Screen Time blacklist (Never Allow) | Named sites you type in | Mostly, weakest outside Safari and Chrome | Easy without a passcode, moderate with one | About 2 minutes |
| Adult-content filter (Limit Adult Websites) | Apple's adult category, automatically | Best in Safari and Chrome | Moderate with a 4-digit passcode | About 1 minute |
| Whitelist (Allowed Websites Only) | Everything except sites you approve | Safari focused | Hard | 5 to 10 minutes |
| DNS filtering (1.1.1.3 or 208.67.222.123) | Categories, at the network layer | Yes, every app | Hard, unless DNS is changed or a VPN is used | 5 minutes |
| Router blocking | The whole home network | Yes, on Wi-Fi only | Hard on Wi-Fi, none on cellular | 10 to 20 minutes |
| Third-party app or supervised profile | Depends on the tool | Usually yes | Hardest | 15 minutes or more |
Method 1: Block Specific Websites With Screen Time
This is the method most people want. It blocks the exact addresses you name, and nothing else changes on the phone.
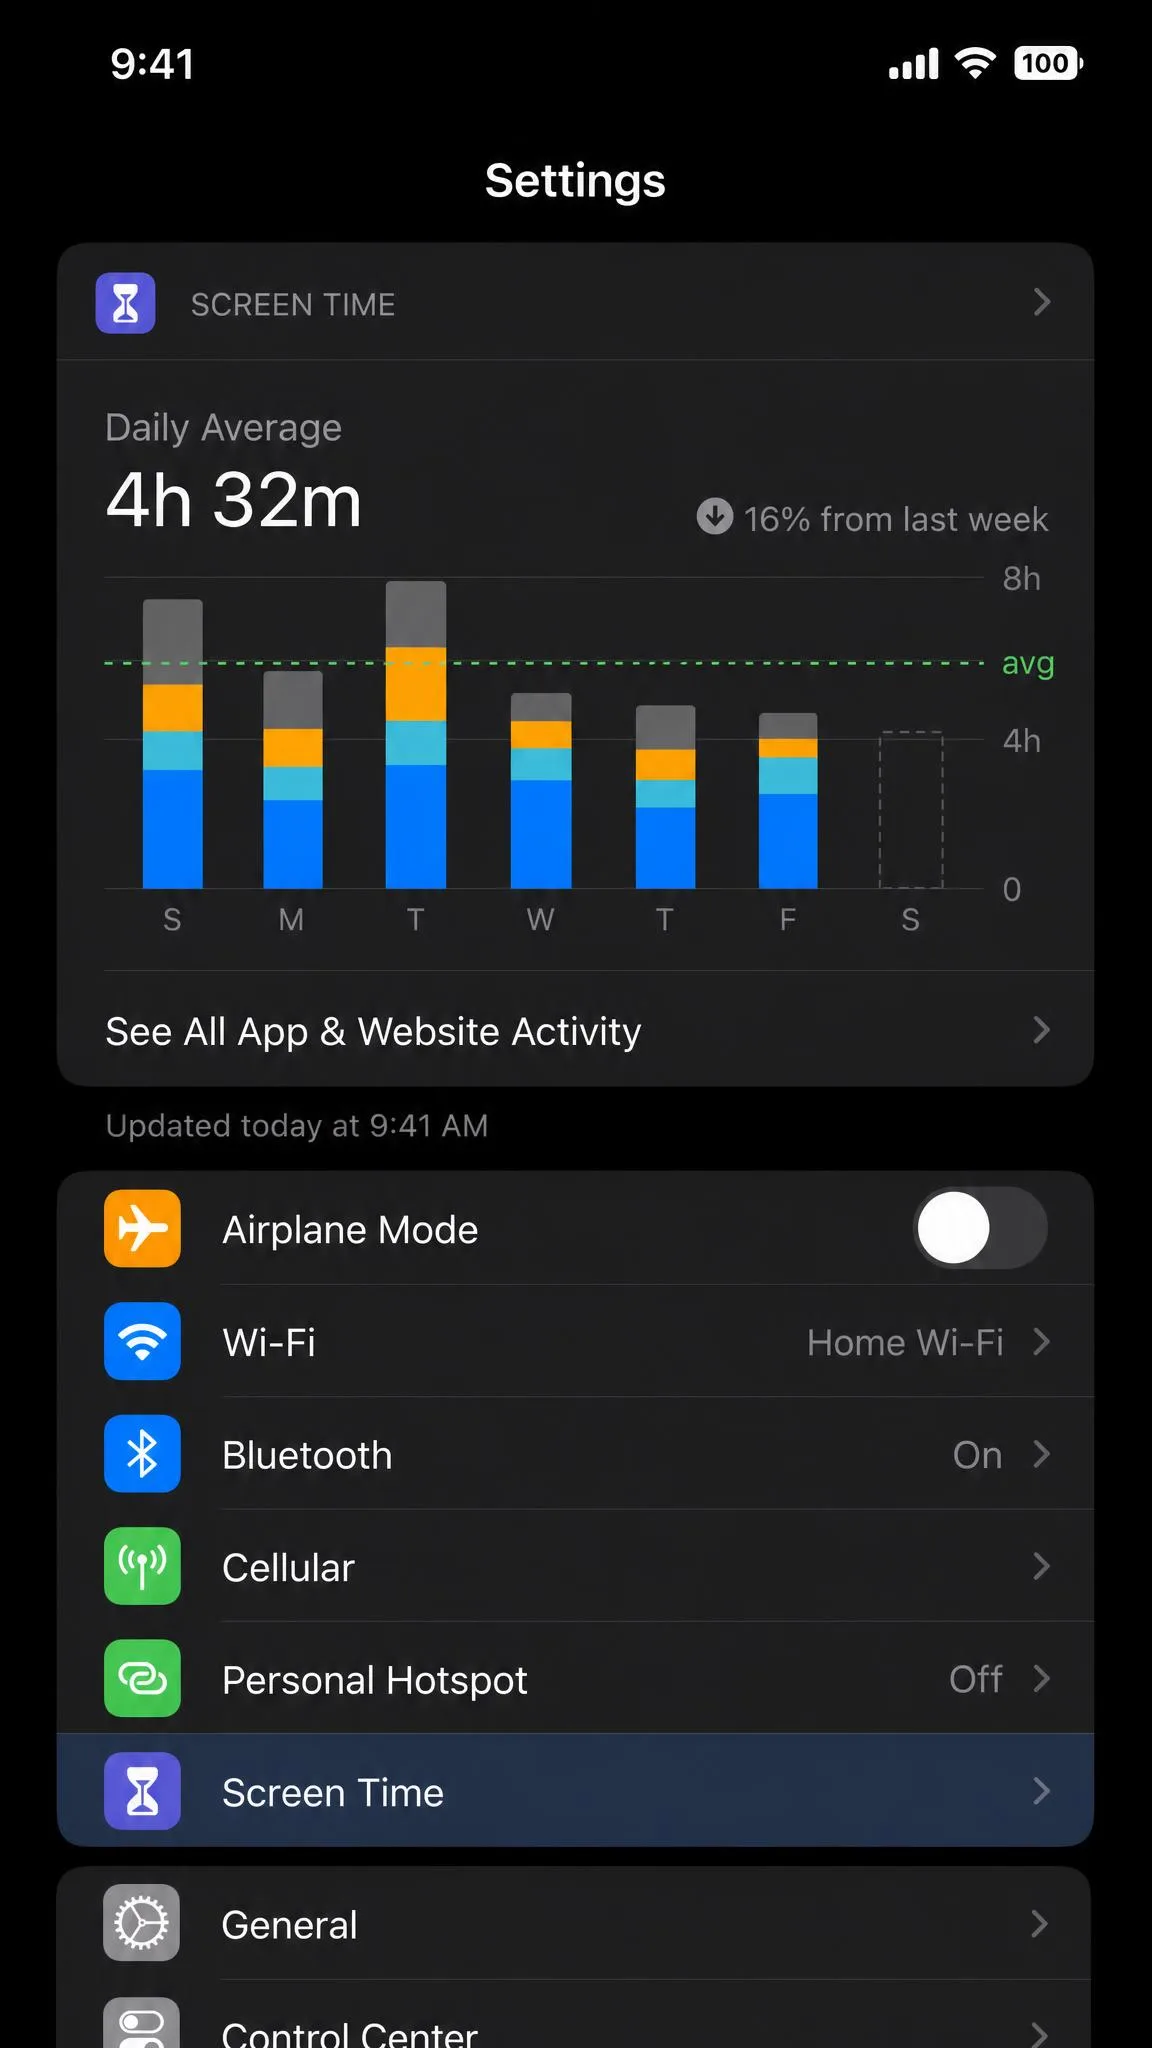
Step 1: Open Screen Time in Settings
Open the Settings app, scroll down, and tap Screen Time. If you have never used the feature, tap Turn On Screen Time first and choose whether this iPhone belongs to you or to a child. Apple walks through the initial setup in its guide on how to set up Screen Time.
Step 2: Turn On Content & Privacy Restrictions
Tap Content & Privacy Restrictions, then turn the switch at the top of that screen on. Until that switch is green, every option underneath it is greyed out and nothing you set will take effect.
Step 3: Tap Content Restrictions, Then Web Content
Tap the content menu on this screen, then tap Web Content. The exact wording of that menu row changes between iOS releases, so it may read differently on your iPhone: recent versions show "App Store, Media, Web, & Games", while older ones show "Store, Web, Siri & Game Center Content" or simply "Content Restrictions". Apple documents the full Web Content settings in its iPhone User Guide page on blocking websites and purchases.
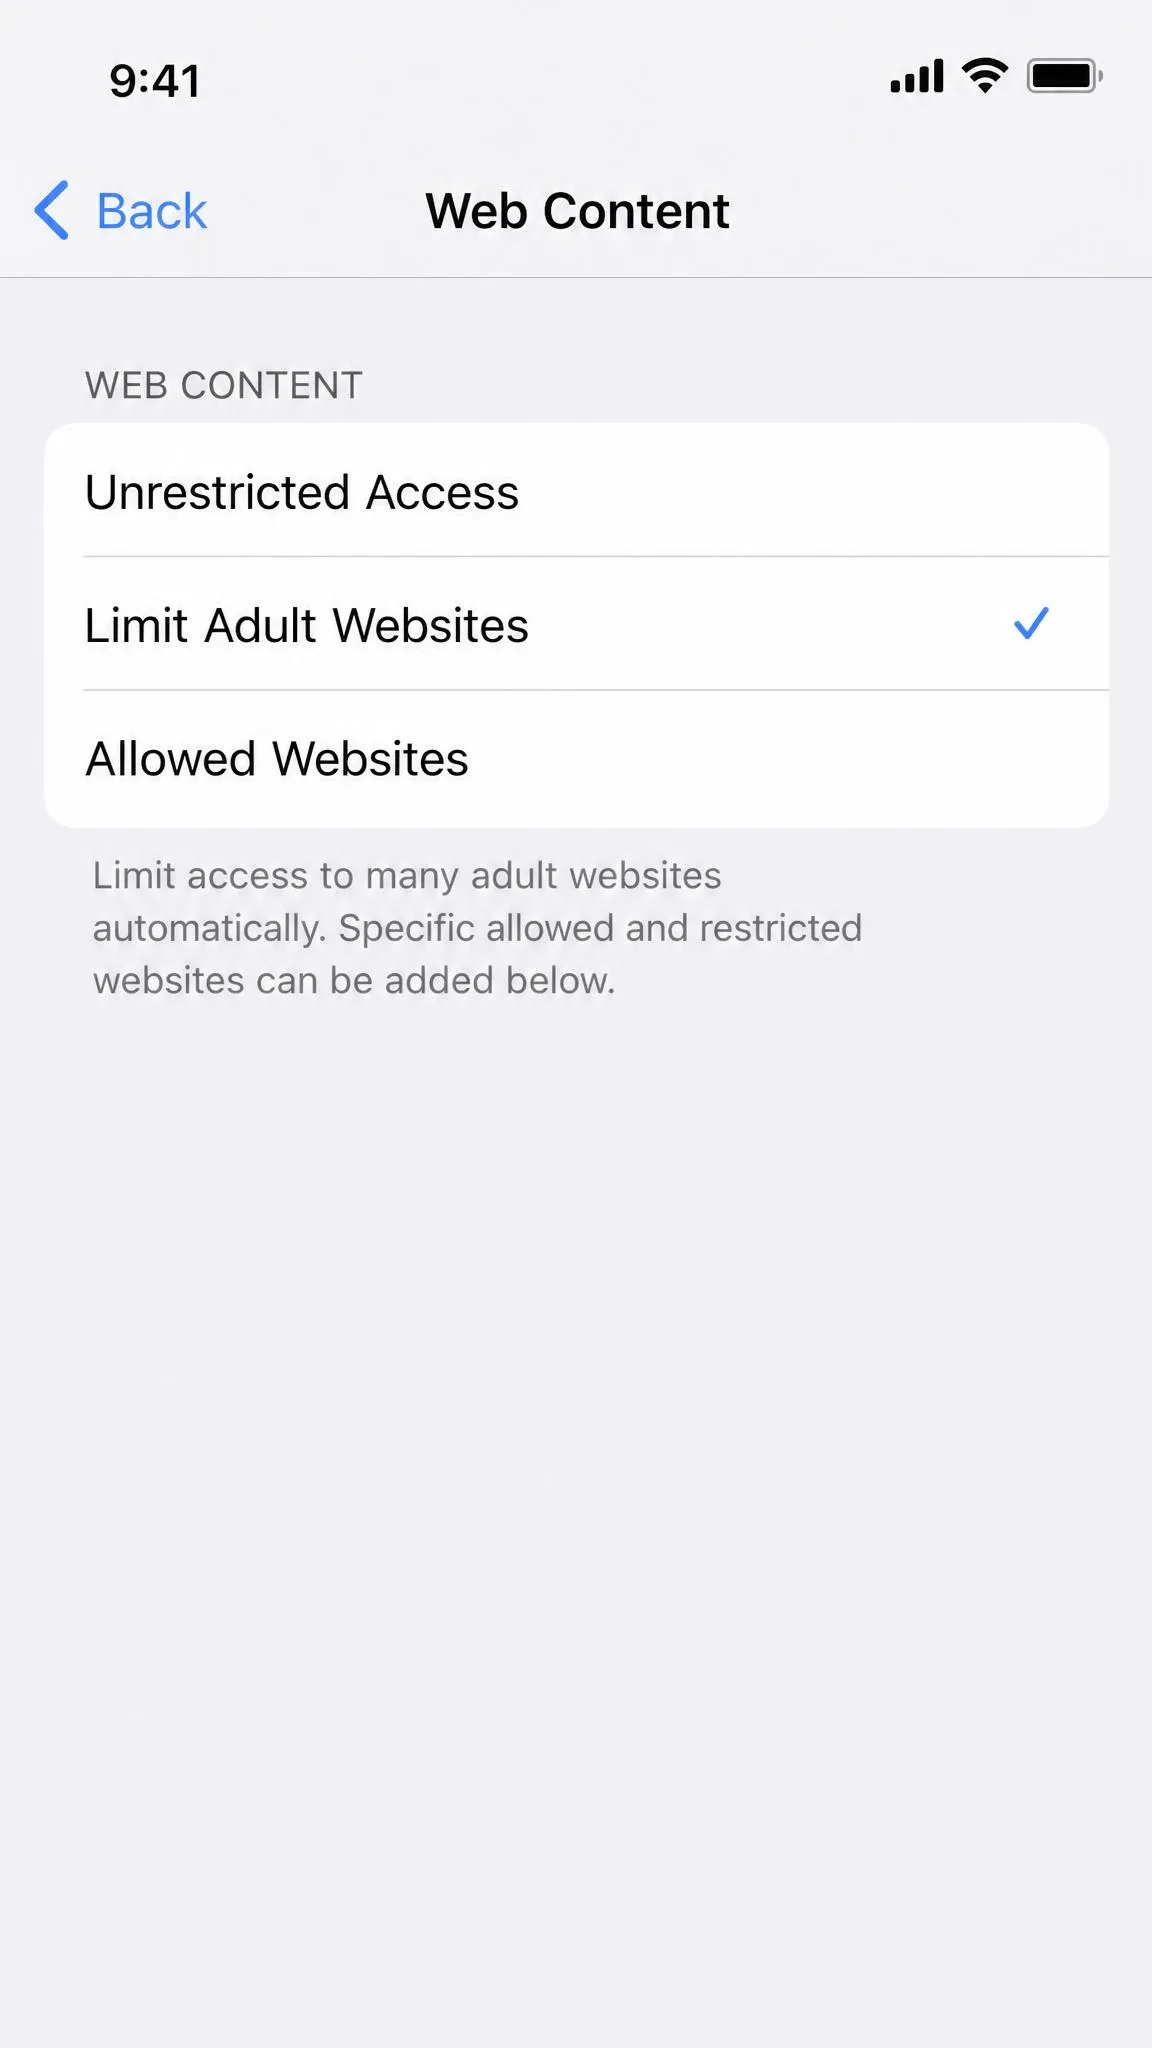
Web Content offers three options: Unrestricted Access, Limit Adult Websites, and Allowed Websites Only, which some iOS versions label "Only Approved Websites".
Step 4: Choose "Limit Adult Websites"
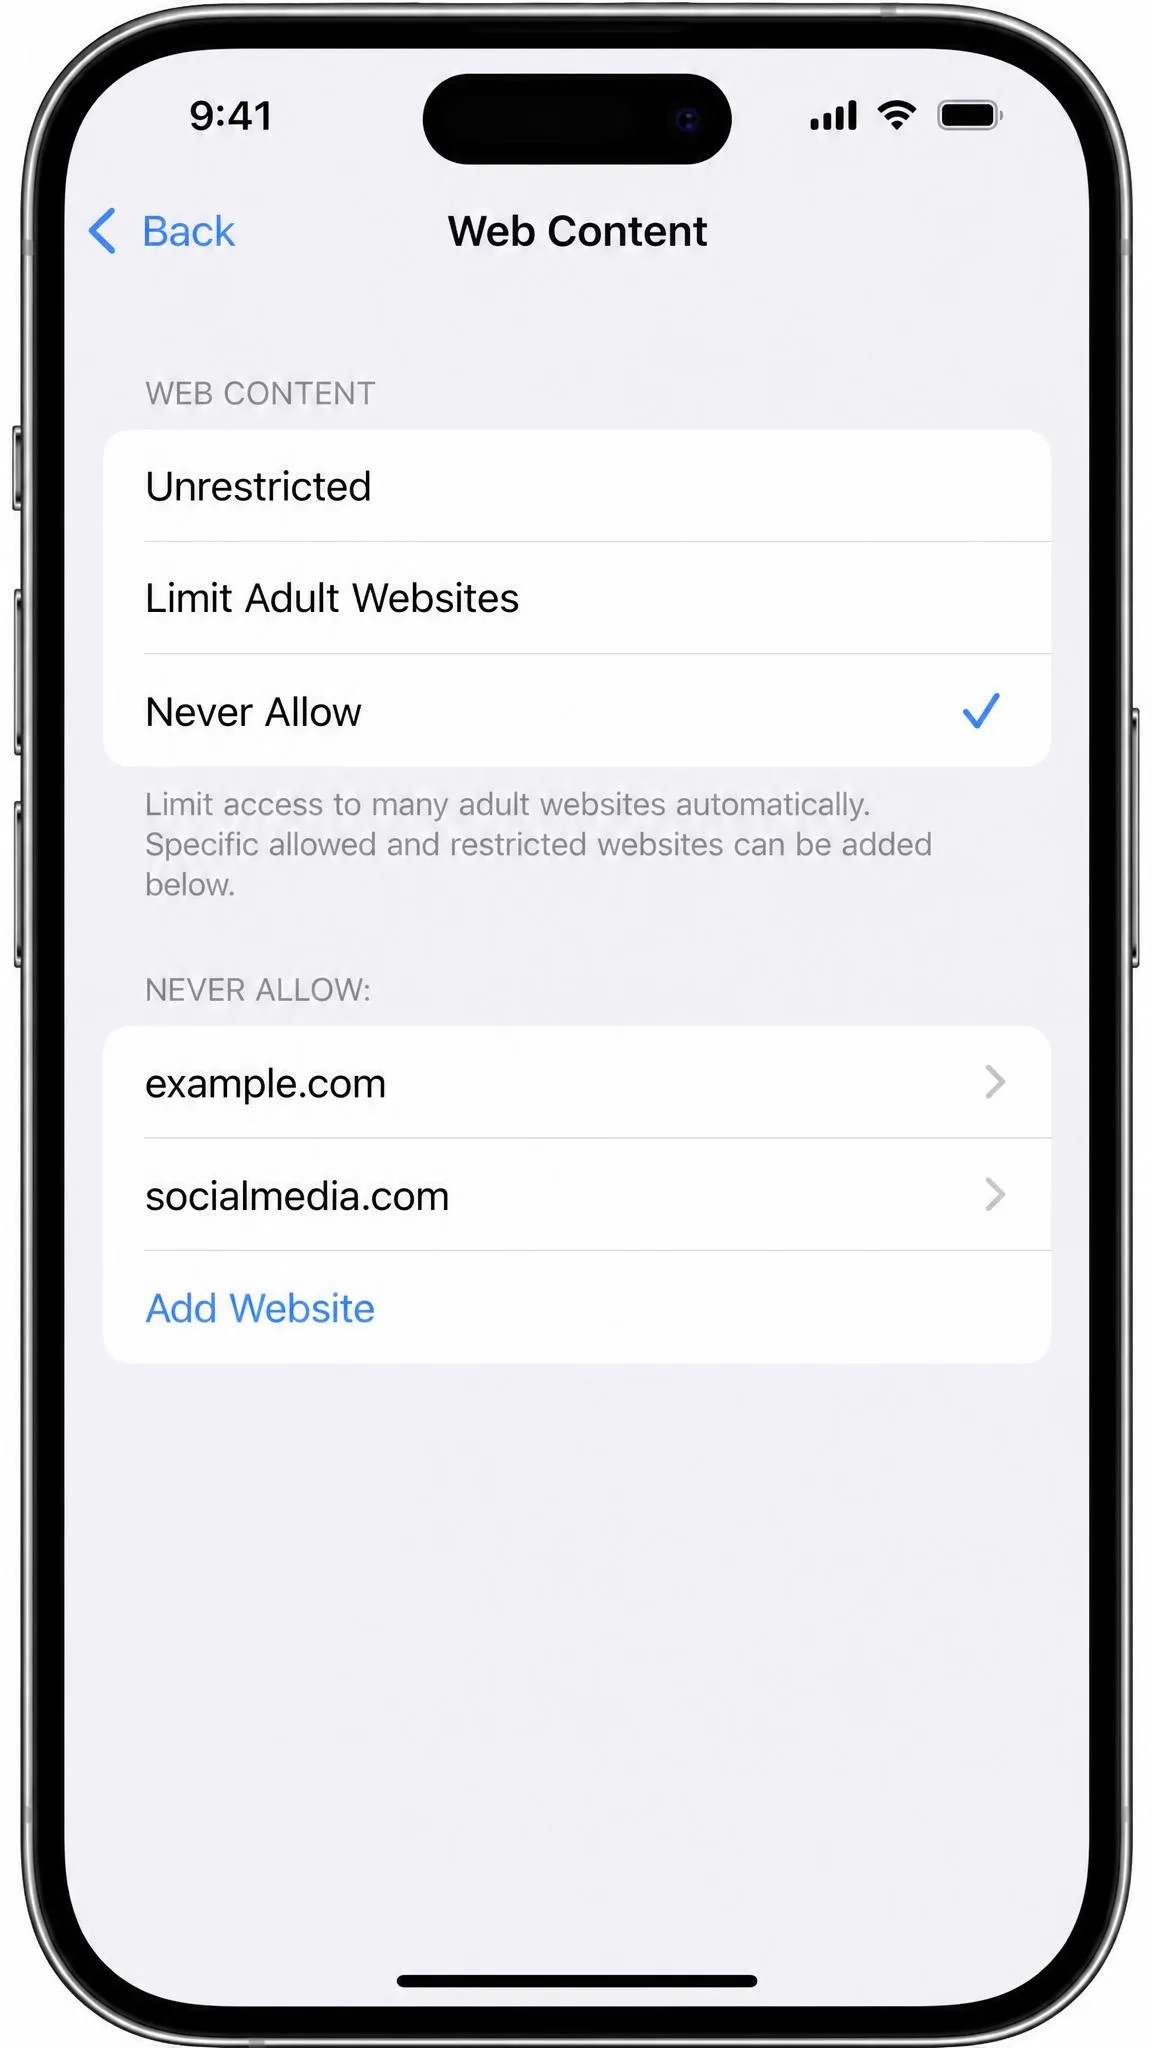
Tap Limit Adult Websites. Two lists appear underneath, Always Allow and Never Allow, and each has an Add Website row. You need this middle setting even if adult content is not your concern, because the Never Allow list only exists here.
Step 5: Add Sites to the Never Allow List
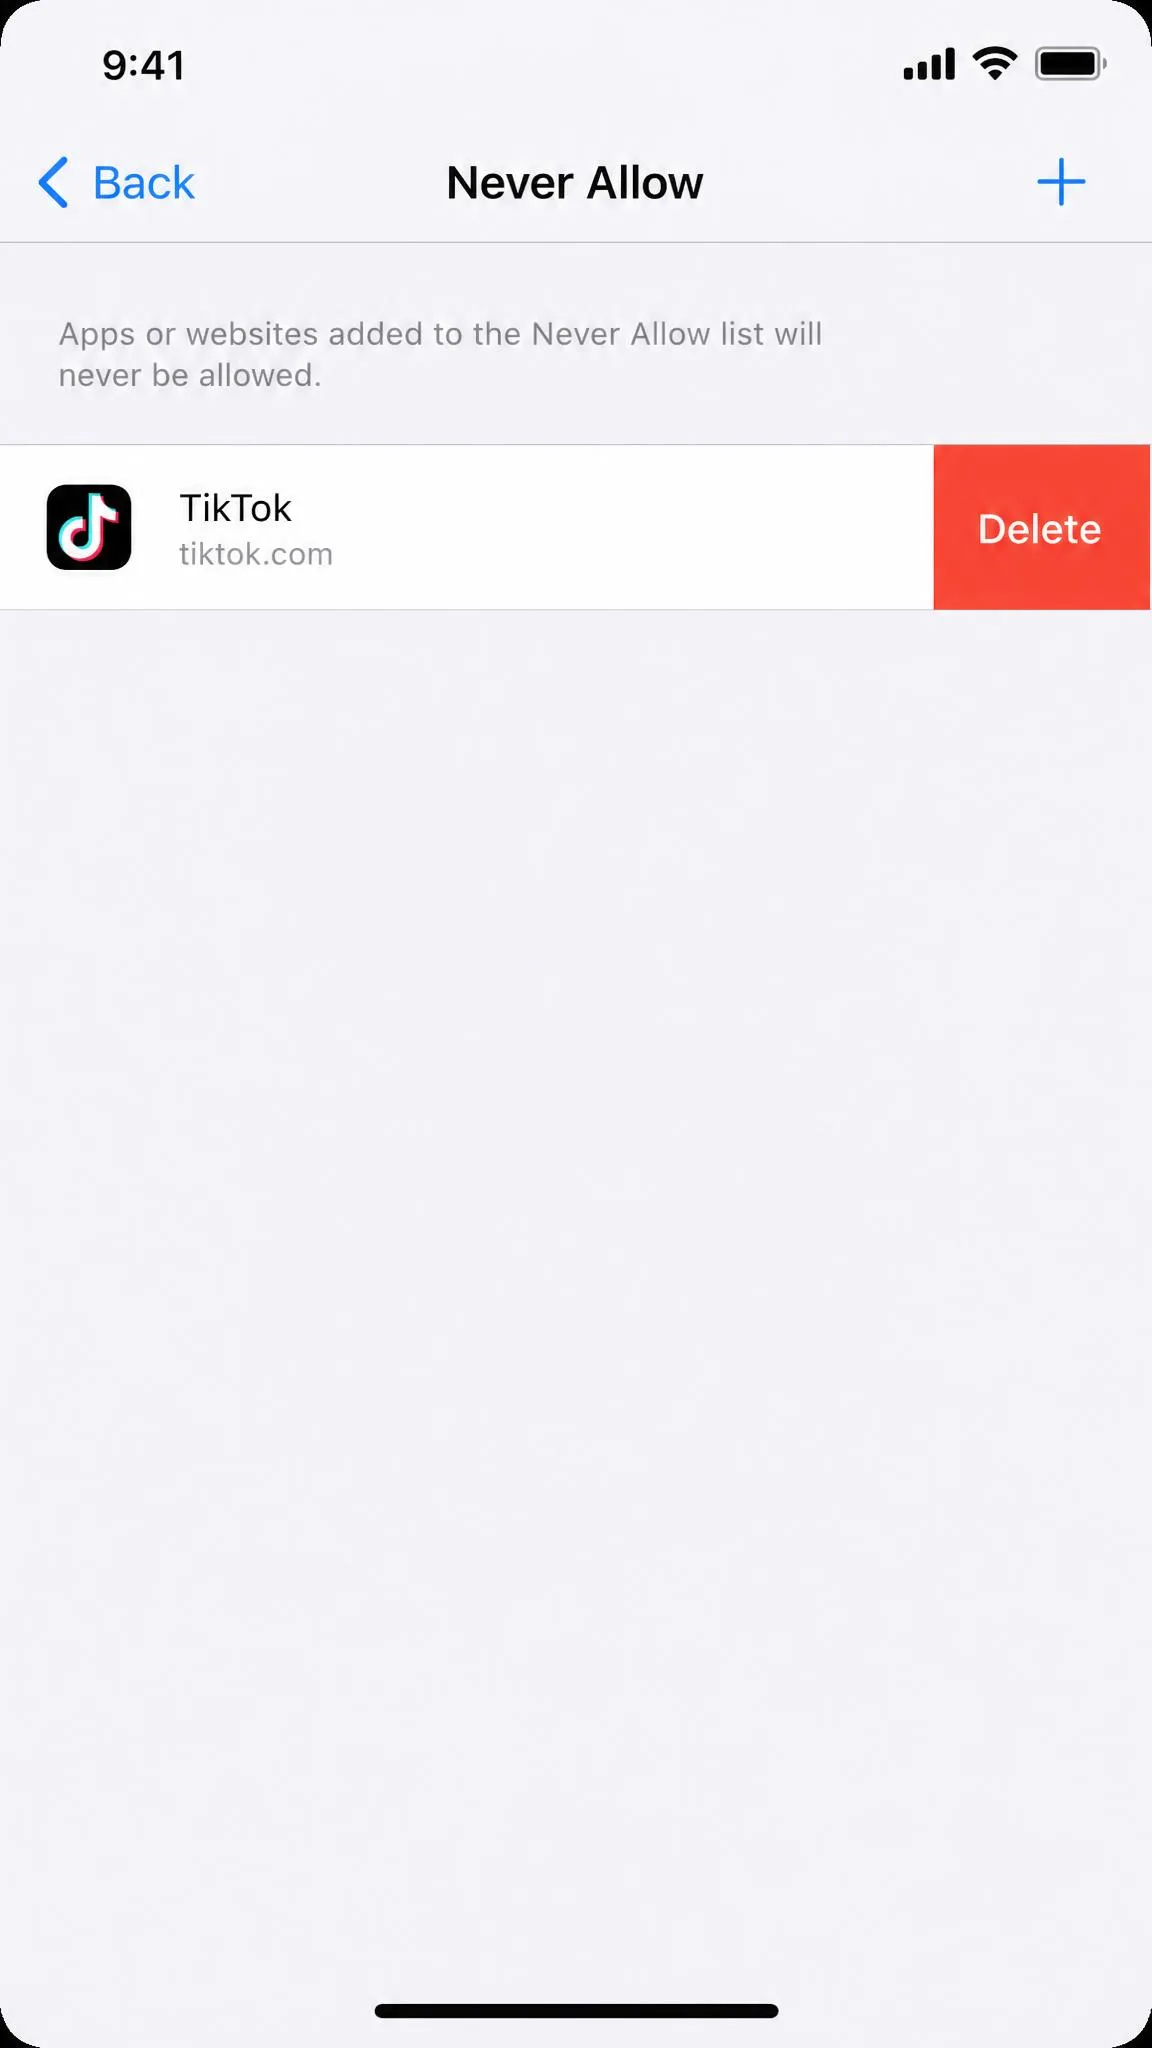
Tap Add Website under Never Allow and type the address. Blocking one site takes two entries in practice, the bare domain and the www version, so repeat the step for both. Tap Done, then add the next site the same way.
Step 6: Test the Block in Safari
Open Safari and type one of the blocked addresses. You should get a "You cannot browse this page" message rather than the site. If the page loads, close the tab, quit Safari from the app switcher, and try again, since a cached tab can keep showing old content for a minute.
Method 2: Block Adult Websites Automatically
If you want broad protection rather than a named list, Limit Adult Websites on its own does most of the work. Apple maintains the category list, so you never have to keep up with new sites.
Set it the same way: open Settings, tap Screen Time, tap Content & Privacy Restrictions, tap the content menu, tap Web Content, then tap Limit Adult Websites. That is the entire setup, and it takes about a minute.
Coverage is not perfect, and we would rather say so plainly. The automatic filter works reliably in Safari and Chrome, and it is inconsistent in other browsers. It also misses some sites and blocks some harmless ones, which is exactly why the Never Allow and Always Allow lists sit underneath it. Use the filter as your base layer, then add the specific sites it lets through.
For the wider picture on what to filter and why, Internet Matters' guidance on inappropriate content is a useful companion to the settings themselves.
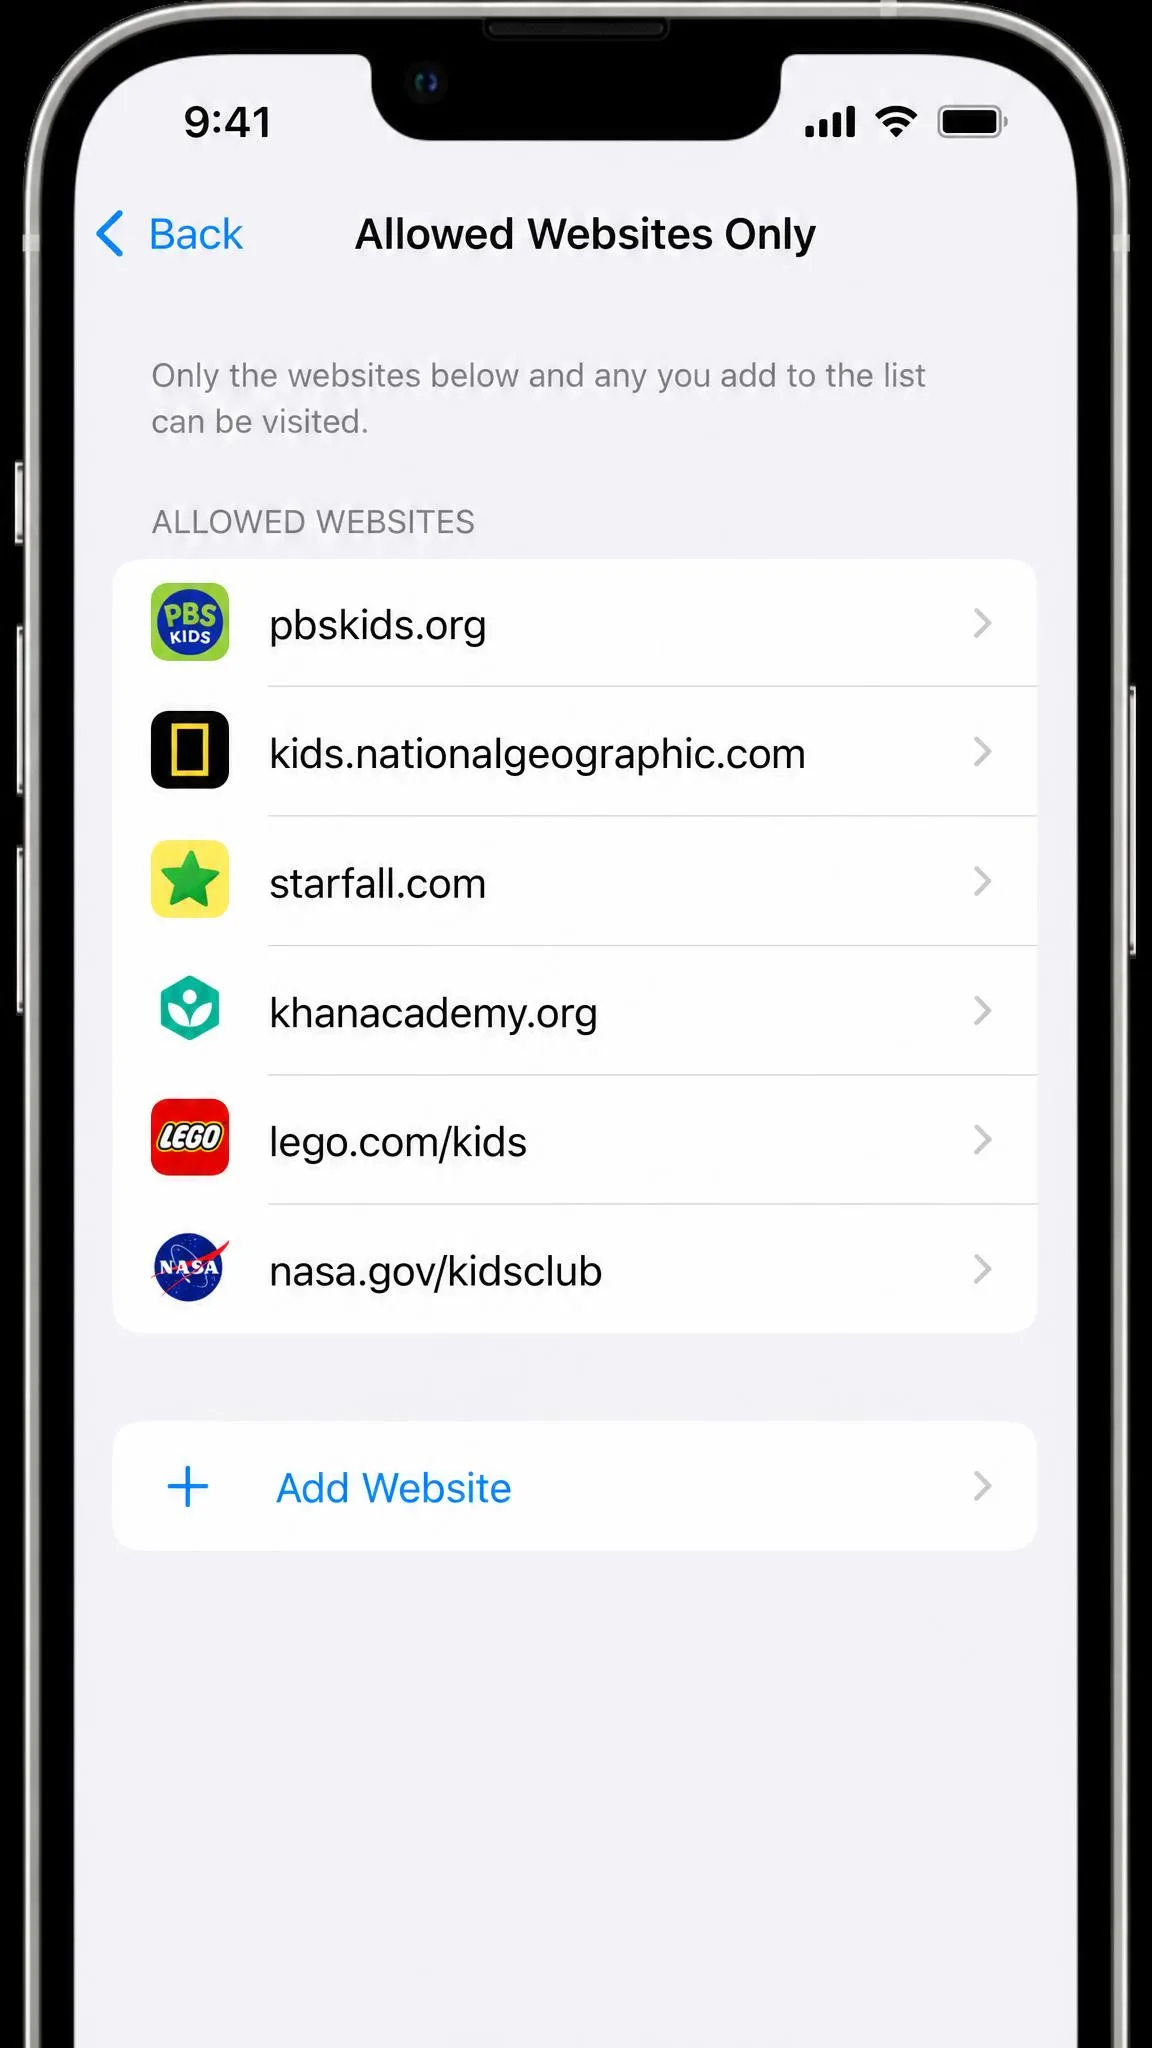
Method 3: Allow Only Specific Websites (Whitelist Mode)
Whitelist mode flips the logic. Instead of naming what to block, you name the handful of sites that are allowed and everything else disappears.
On the Web Content screen, tap Allowed Websites Only. iOS starts you with a short default list of child-friendly sites. Tap Add Website to add each one you want, entering a title and the address, and swipe left on any default entry you do not want to keep.
This is the strongest option for a young child's iPhone and the most annoying one for anybody older. Expect five to ten minutes on the first pass, plus a few requests in the first week as a school site turns out to be missing.
Whitelist mode is Safari focused. If your child has another browser installed, remove that app before you rely on the allow list, because the restriction does not treat every browser the same way.
Method 4: Block Websites in Chrome, Firefox, and Other Browsers
Screen Time's Web Content settings are a system setting, not a Safari setting, so they reach beyond Safari. In practice the coverage is uneven. Chrome behaves close to Safari, and browsers further down the list are less consistent.
Two habits close most of that gap:
- Delete the browsers you do not need, so there is one surface to control instead of four.
- Turn off app installs in Content & Privacy Restrictions, so a new browser cannot arrive later.
That second step has a cost. Screen Time can only block apps that are already installed, so a newly downloaded browser starts out unrestricted, and blocking installs also stops routine app updates. You will need to turn the restriction off and back on whenever you want to update anything.
The other gap is quieter. Apps with their own built-in browser windows can open pages the Web Content filter does not catch, so a link tapped inside a social app may load even when the same address is blocked in Safari.
Method 5: Block Websites Without Screen Time (DNS and Router Filtering)
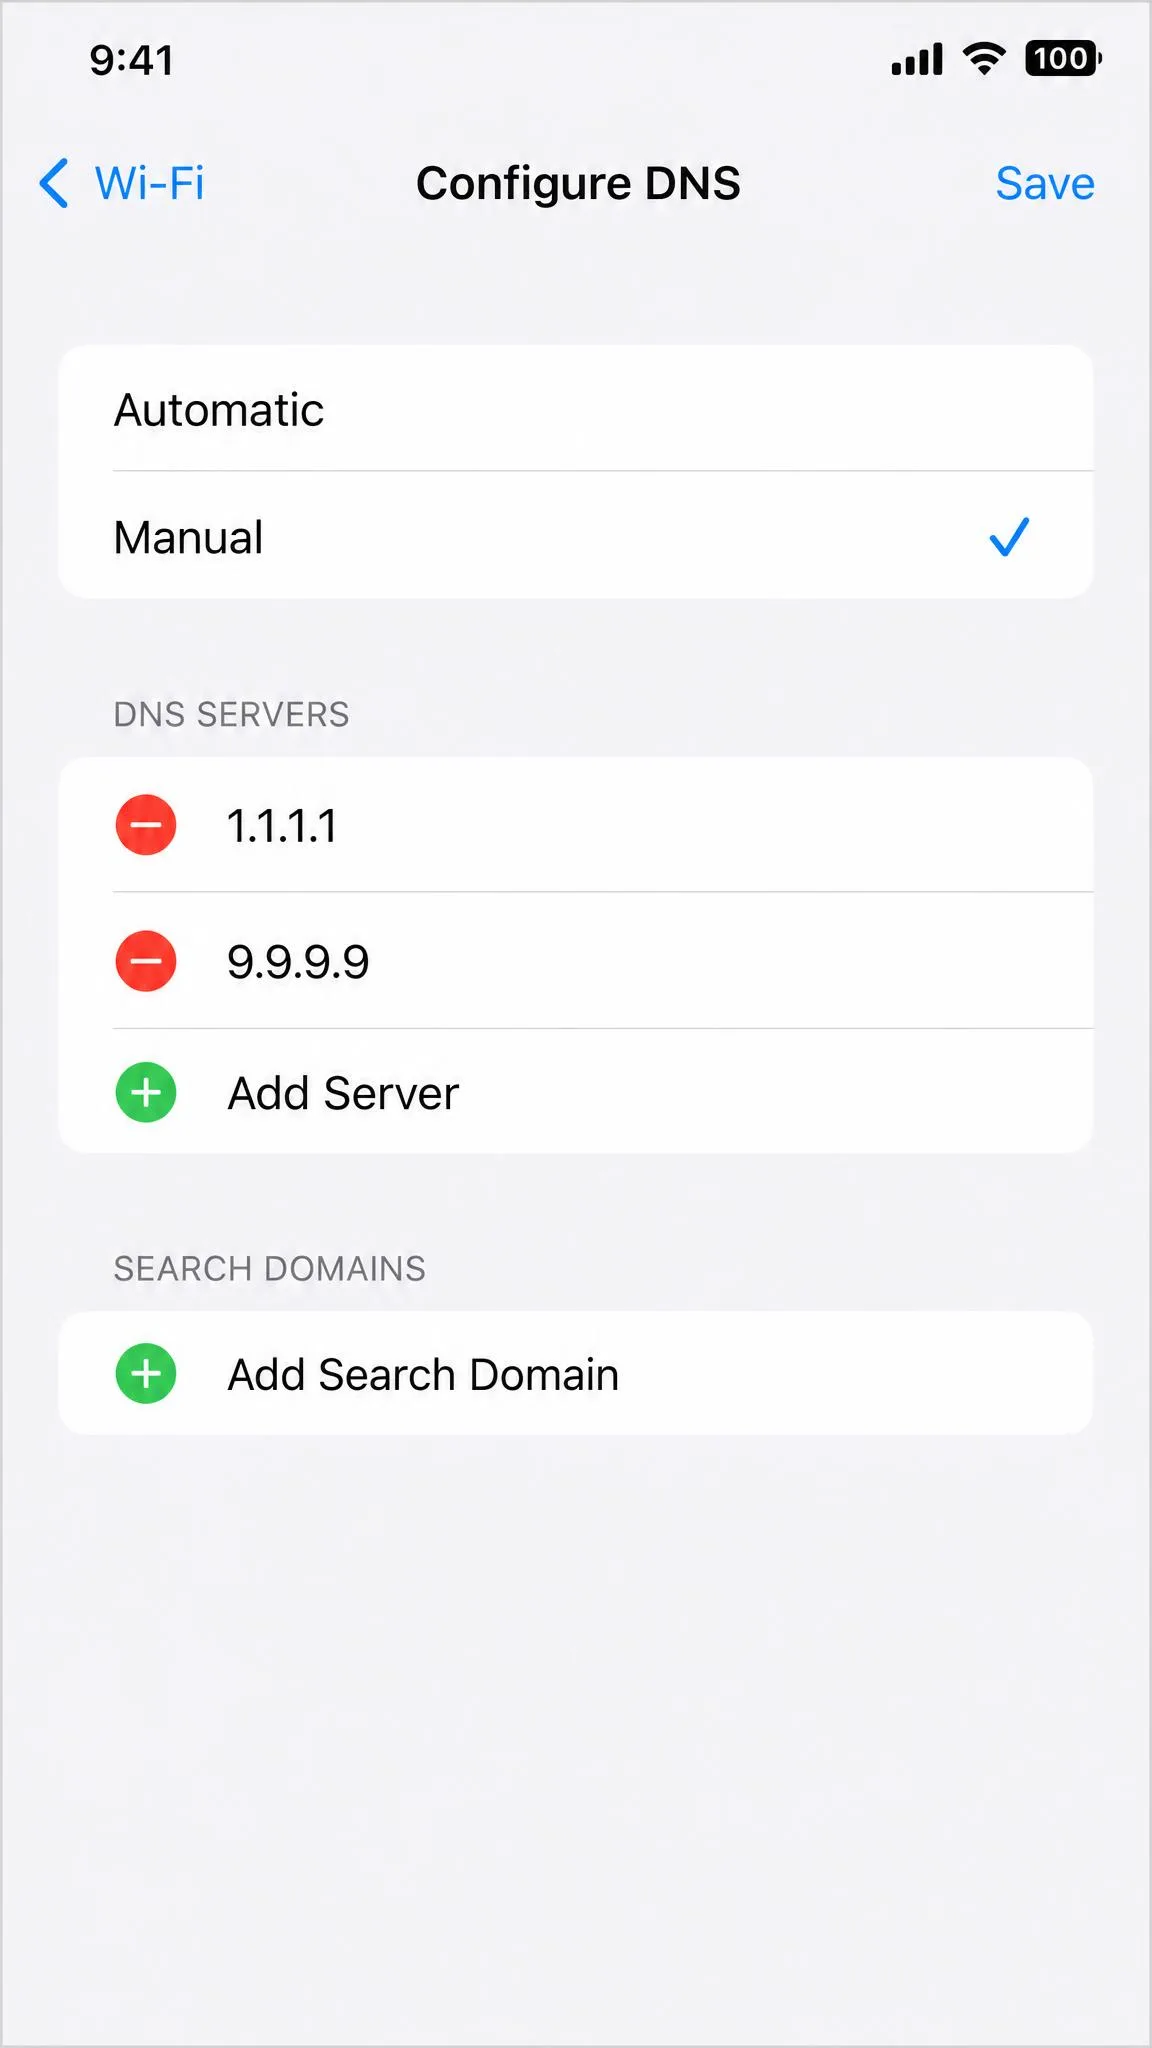
DNS filtering works one layer below the browser, so every app on the iPhone gets the same answer. Cloudflare's family service uses 1.1.1.3 and 1.0.0.3 to block malware and adult content, or 1.1.1.2 and 1.0.0.2 for malware only. A blocked domain simply returns the address 0.0.0.0 instead of the real one, so the page never loads.
OpenDNS FamilyShield is the other easy choice, on 208.67.222.123 and 208.67.220.123. It needs no account and is preset to block adult content, and filtering starts as soon as the addresses are saved. Visiting welcome.opendns.com confirms the change took effect.
To set it on the iPhone, open Settings, tap Wi-Fi, tap the information button beside your network, tap Configure DNS, switch it to Manual, remove the existing servers, and add the pair you chose. For the whole house, enter the same addresses in your router's DNS fields.
DNS filtering keeps working across every browser on the iPhone, but only on the network or profile where you applied it. Set at the router, it lapses the moment the phone leaves the house and falls back to cellular data.
A VPN app overrides DNS filtering completely. If you are relying on DNS, block VPN app installs as well, or the filter becomes decorative.
Blocking Websites on a Child's iPhone Remotely (Family Sharing)
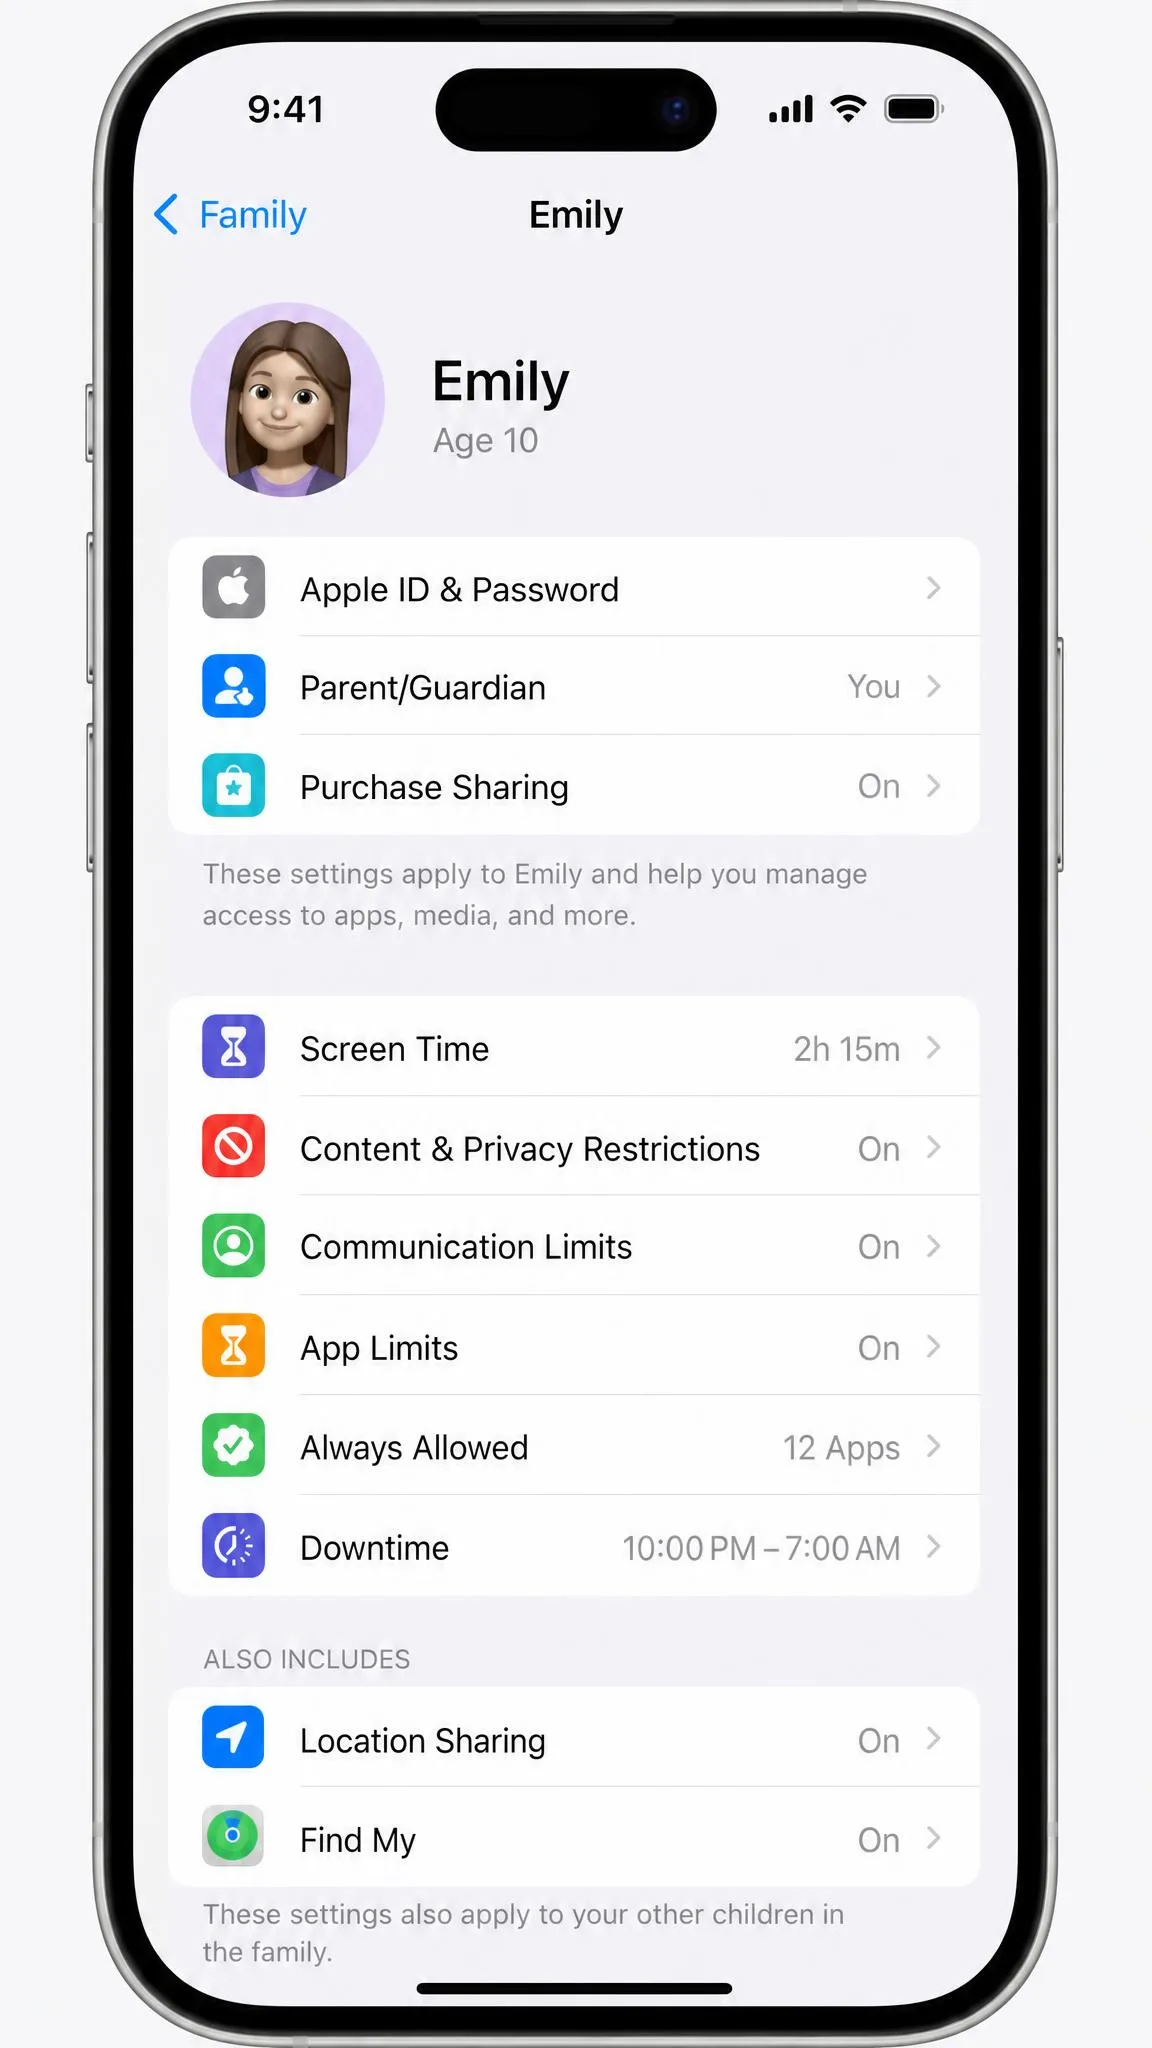
You do not need the child's phone in your hand. On your own iPhone, open Settings, tap Family, tap your child's name, tap Screen Time, tap Content & Privacy Restrictions, then tap Web Content and set it exactly as you would locally.
Changes travel over the internet rather than instantly, so give it a few minutes before you assume a change failed. Devices that are asleep or offline pick the setting up when they reconnect.
Set a Screen Time Passcode So the Block Can't Be Undone
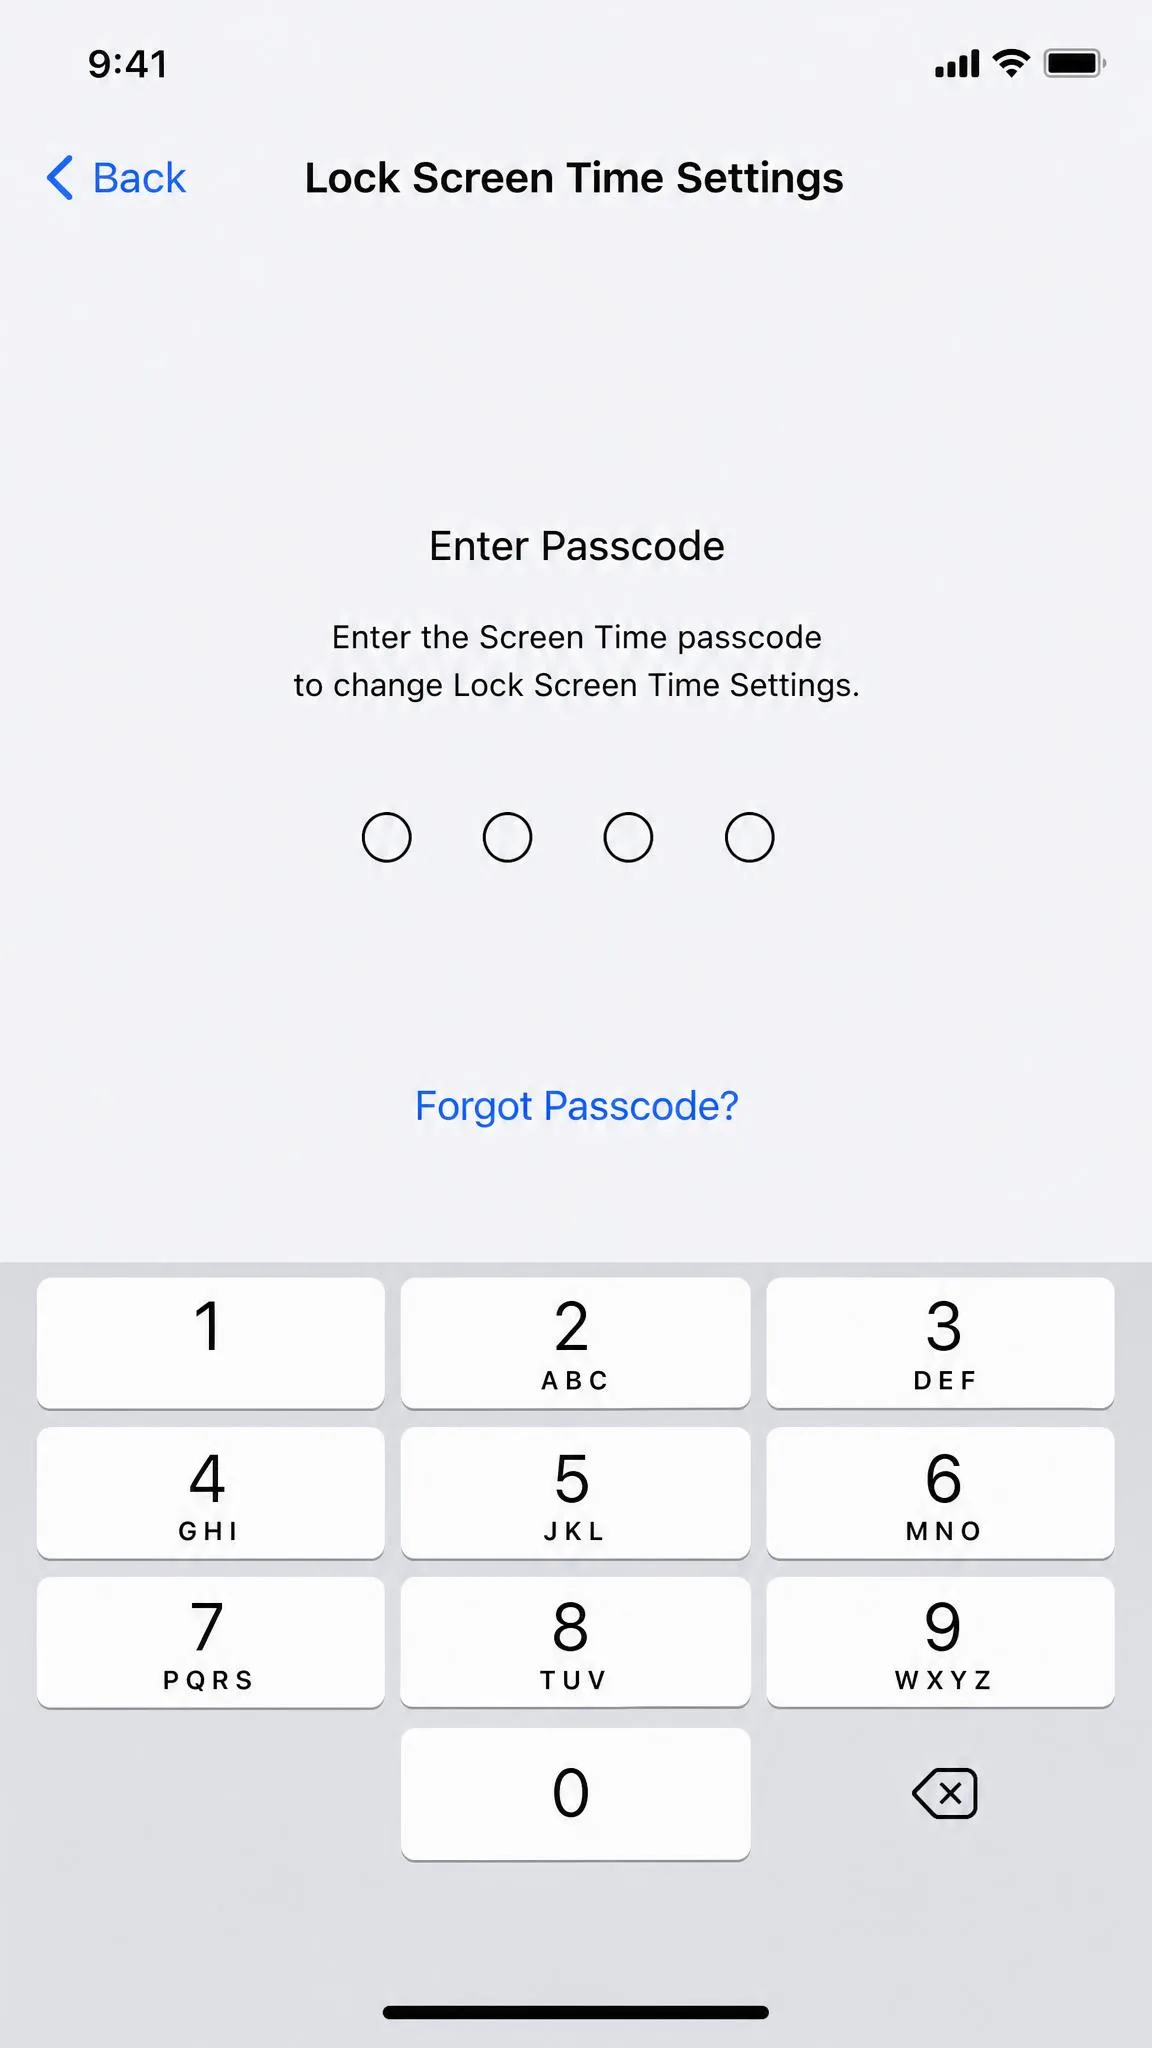
The Screen Time passcode is a 4-digit code, set separately from the code that unlocks the iPhone. Without it, none of the above is really a block. Apple Support's parental controls guide for iPhone and iPad covers the wider set of restrictions the passcode protects.
Set it by opening Settings, tapping Screen Time, tapping Lock Screen Time Settings, and entering a code the other person will not guess. Use something other than a birthday or the device passcode.
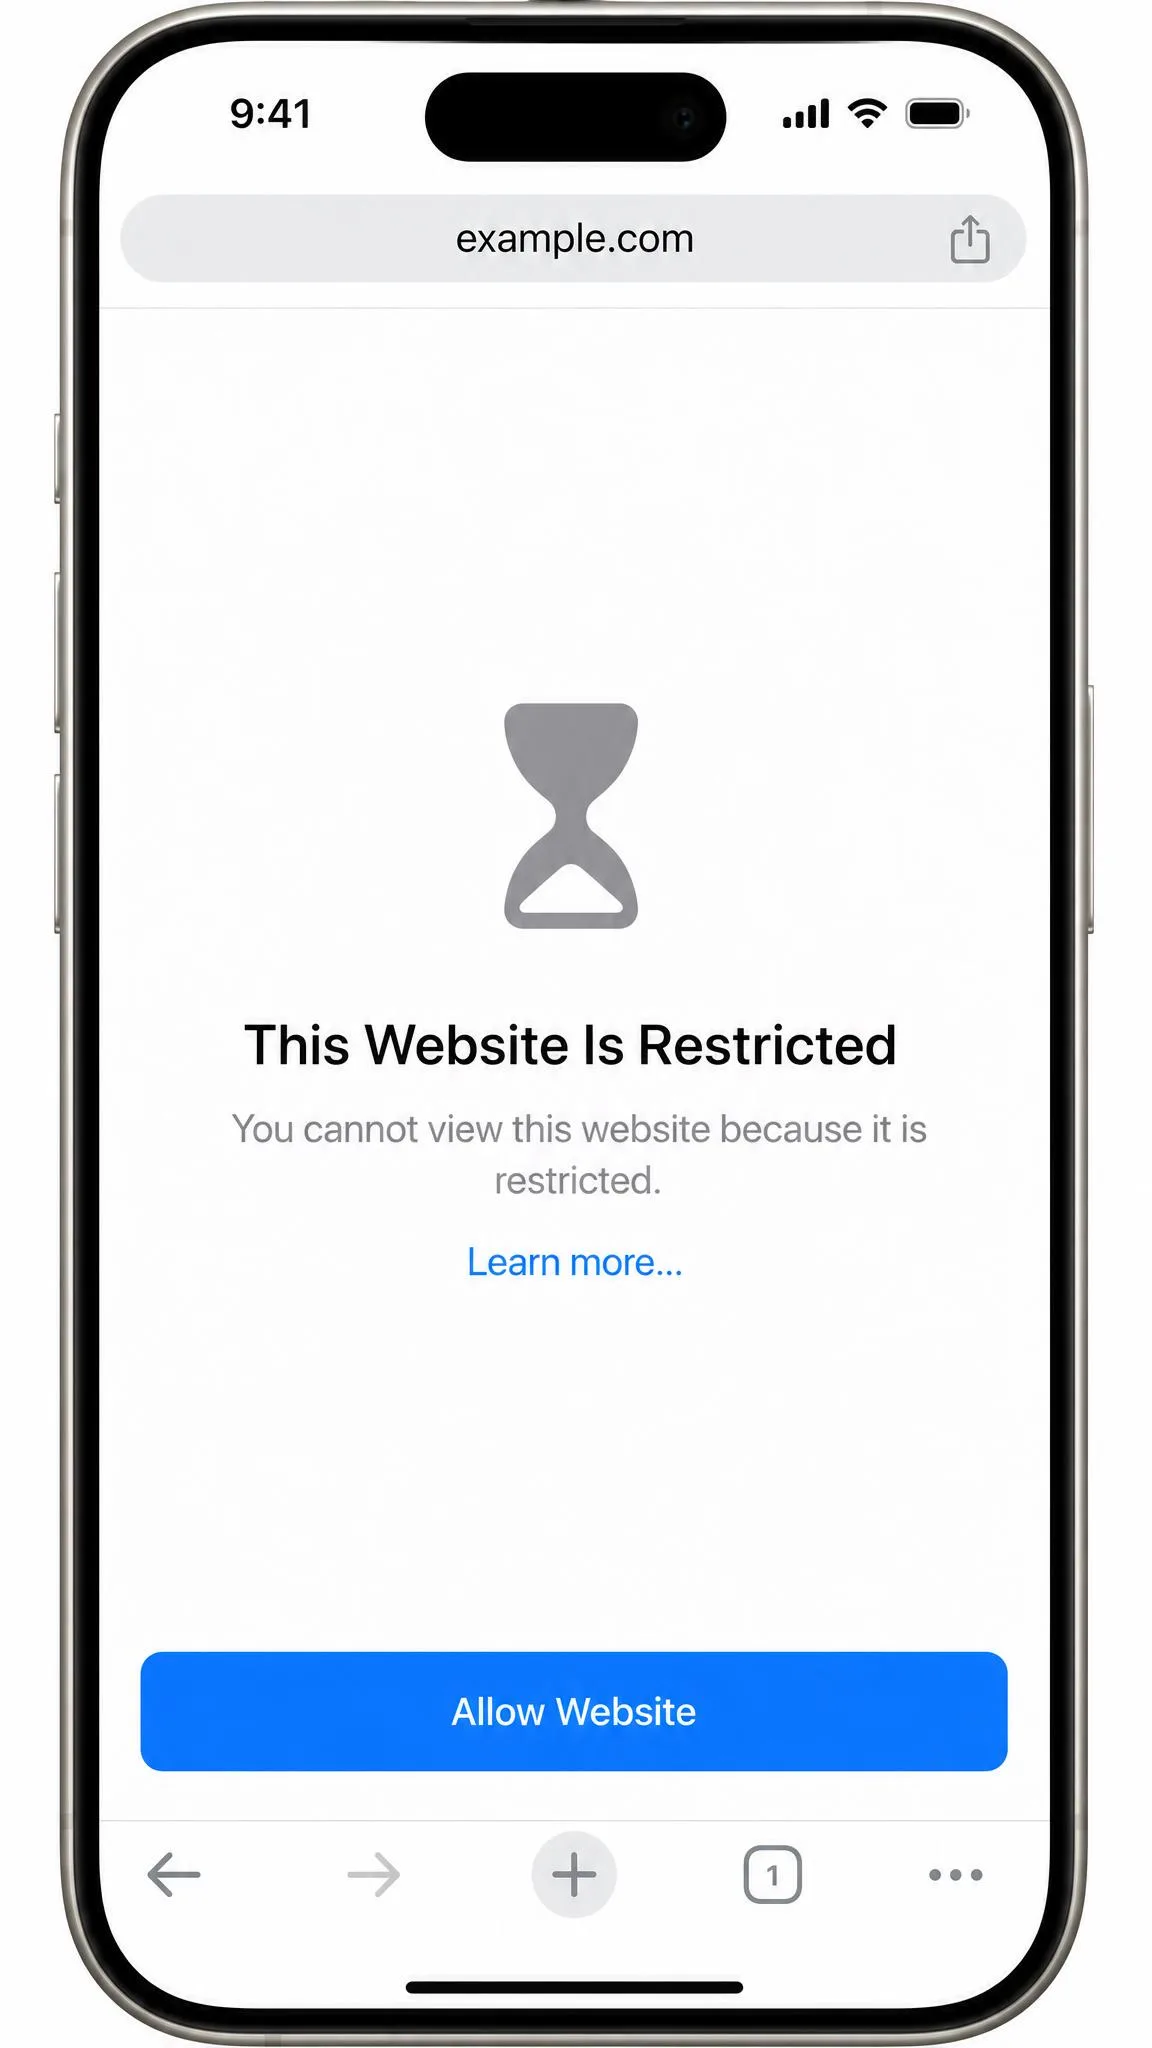
Without a Screen Time passcode set, the Allow Website button on the block screen undoes the block in a single tap. Anyone holding the phone can approve the site they were just stopped from reaching.
Common Ways Kids Bypass a Screen Time Block
Here is the honest picture of what still works on current iOS, based on what we see when a block fails:
- Tapping Allow Website on the block page, when no passcode is set.
- Switching to a different browser app, which is the simplest sidestep of all.
- Downloading a new browser, since Screen Time only governs apps already installed.
- Opening the site inside another app's built-in browser window.
- Typing a service's web address in Safari when only its app is time-limited.
- Resetting the passcode through Forgot Passcode? using the Apple Account on the device.
That last one is why Screen Time is weak as a self-restriction tool. If the Apple Account on the iPhone is yours, you have several routes back to switching the whole thing off.
How to Close Each Loophole
Set the passcode first, because it neutralises routes one and six. Then remove the browsers you do not need and turn off app installs to handle routes two and three.
For route four, a DNS filter is the practical answer, since it applies below the app layer. For route five, block the site by address as well as limiting the app, so both doors are shut.
Then review the Always Allow list. It quietly accumulates entries from approval taps, and a site that was approved once stays approved until you swipe left on it and tap Delete.
Does Blocking Work in Private Browsing?
Web Content restrictions are a system-level setting rather than a per-window one, so a private tab is not a documented way around them. Apple does not spell out the private-browsing case in its Web Content documentation, and third-party coverage disagrees on the fine detail, so treat this as strong but not guaranteed and test it yourself on the phone in question.
One thing is definite: filtering turned on through a configuration profile also disables Private Browsing in Safari outright, which removes the question entirely.
How to Unblock a Website Later
Open Settings, tap Screen Time, tap Content & Privacy Restrictions, tap the content menu, then tap Web Content. Swipe left on the entry in the Never Allow list and tap Delete.
To lift everything at once, set Web Content back to Unrestricted Access, or turn the Content & Privacy Restrictions switch off. You will be asked for the Screen Time passcode either way.
Troubleshooting: Why Your Block Isn't Working
Work through these in order:
- Check that the Content & Privacy Restrictions switch is actually on, not just configured.
- Check that Web Content is set to Limit Adult Websites, since Never Allow entries do nothing under Unrestricted Access.
- Add the www version of the address if you only entered the bare domain.
- Look at the Always Allow list, in case the site was approved by a tap on the block page.
- Close the tab and quit the browser, then retest, because an open tab can keep serving a cached page.
- Check whether another browser is installed, and whether the site is being opened inside another app.
- On a child's device, confirm the change has reached the phone rather than sitting on yours.
One more note on records: individual browser history entries can still be deleted with the adult-content filter on, so history is not a dependable way to verify what happened. Judge the block by testing it, not by reading the log.
Frequently Asked Questions
Can I permanently block a website on iPhone?
How do I block one specific website rather than a whole category?
Can my child get around the block?
How do I block websites in Chrome on iPhone?
Does blocking work in Safari Private Browsing?
How do I unblock a website later?
Do I need a passcode to block websites?
Can I block only adult websites and nothing else?
The Bottom Line
For most people, Method 1 with a Screen Time passcode is the right answer, and it takes about two minutes. Add the automatic adult filter underneath it if the iPhone belongs to a child.
If the person using the phone is motivated enough to switch browsers or reset a passcode, move up a layer to DNS filtering, which applies to every app rather than Safari alone. Set the block, test it the same day, and check the Always Allow list a week later to see what got approved while you were not looking.