Your drive is filling up, Windows keeps warning you about low space, and an update refuses to install.
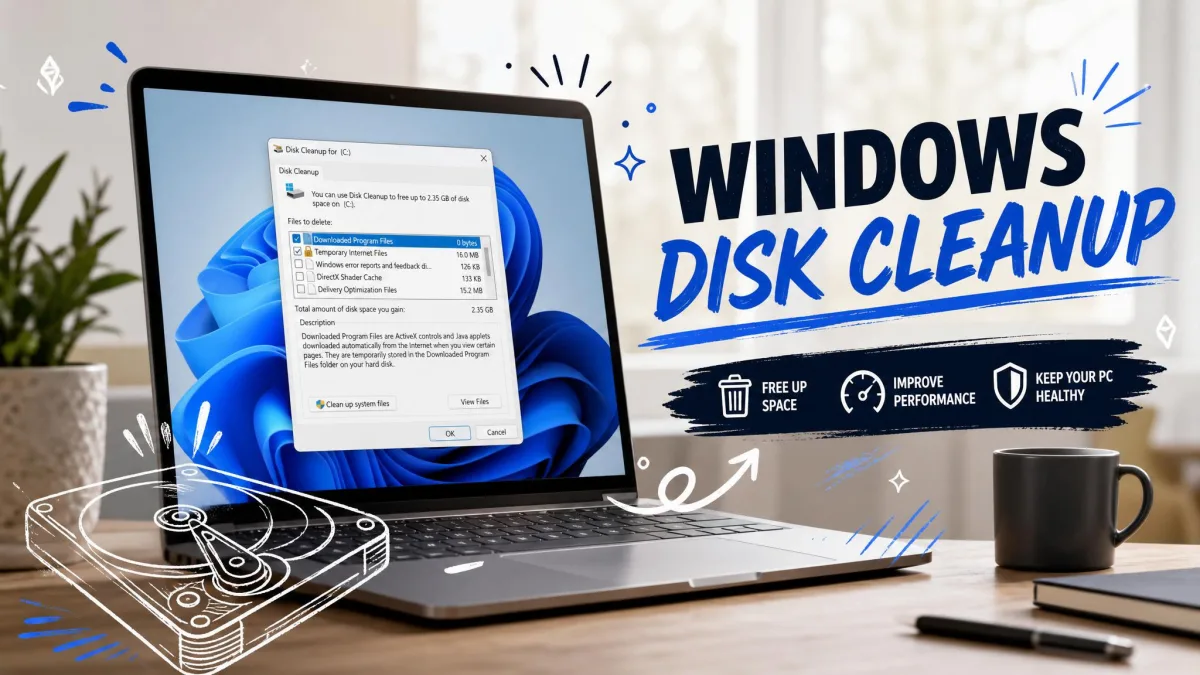
Disk Cleanup is the built-in tool that clears out files Windows no longer needs, and it's still in both Windows 11 and Windows 10. Here's how to open it, what each option removes, and which boxes you can safely tick.
Quick Answer: Run Disk Cleanup in Under a Minute
The taskbar search box is the fastest way in.
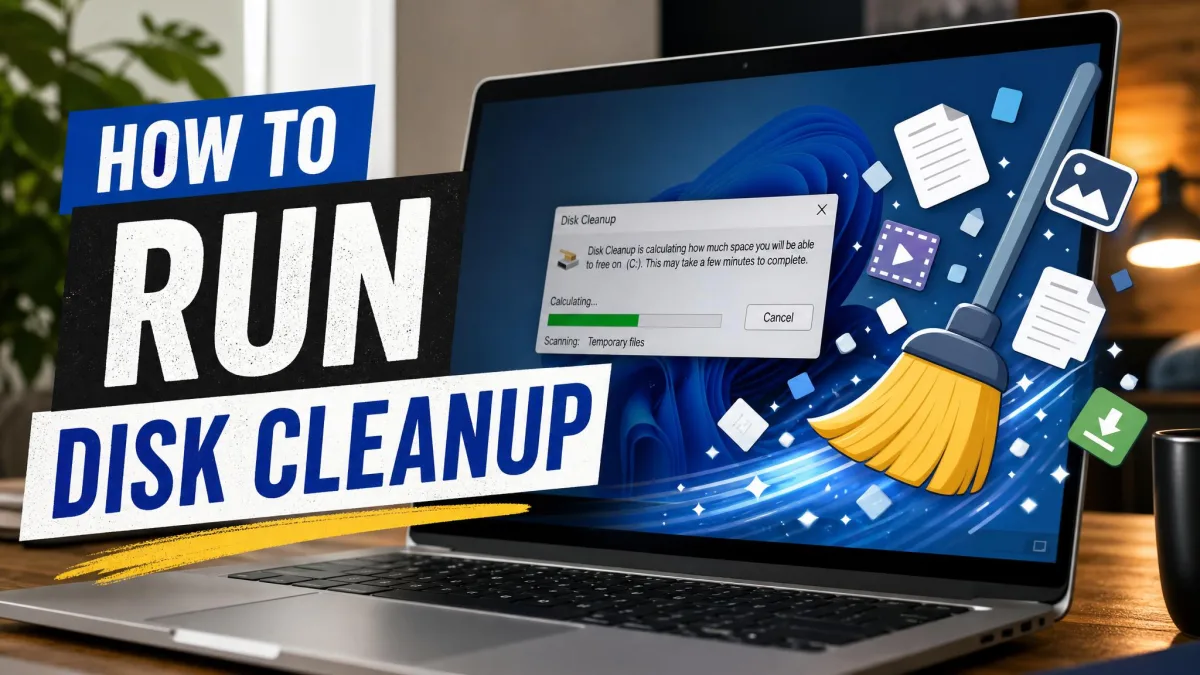
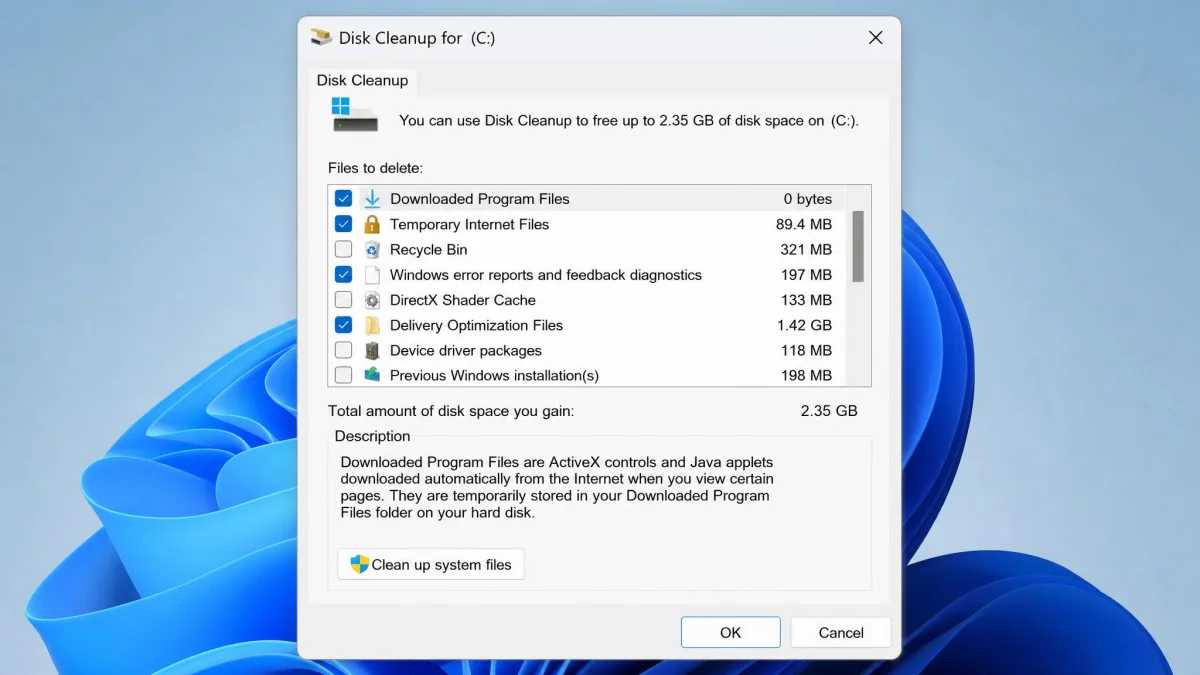
Type disk cleanup in your taskbar search box and open the Disk Cleanup app. Pick your Windows drive, usually C:, and select OK. Wait for the calculation, tick the categories you want gone, then select OK and confirm with Delete Files. Select Clean up system files first for the bigger categories, including old updates.
How to Open Disk Cleanup: 6 Ways
Every route below opens the same cleanmgr window, so pick whichever fits how you already work.
Method 1: Search for It From the Start Menu or Taskbar
Searching is the quickest way in, and it works the same whether you're on Windows 11 or Windows 10.
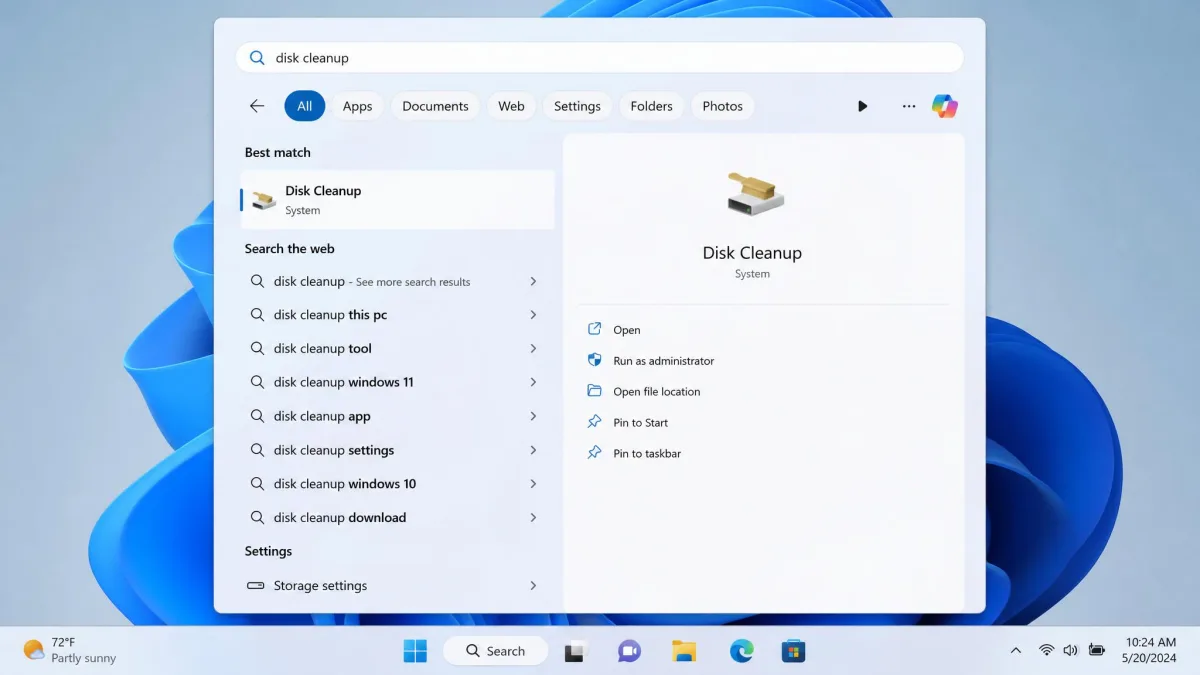
- Select the search box on your taskbar, or press the Windows key and start typing.
- Type disk cleanup, then select the Disk Cleanup app in the results.
- Choose the drive you want to clean, then select OK.
Method 2: Use the Run Dialog or Command Prompt (cleanmgr)
If you'd rather type than click, cleanmgr is the command behind the whole tool.
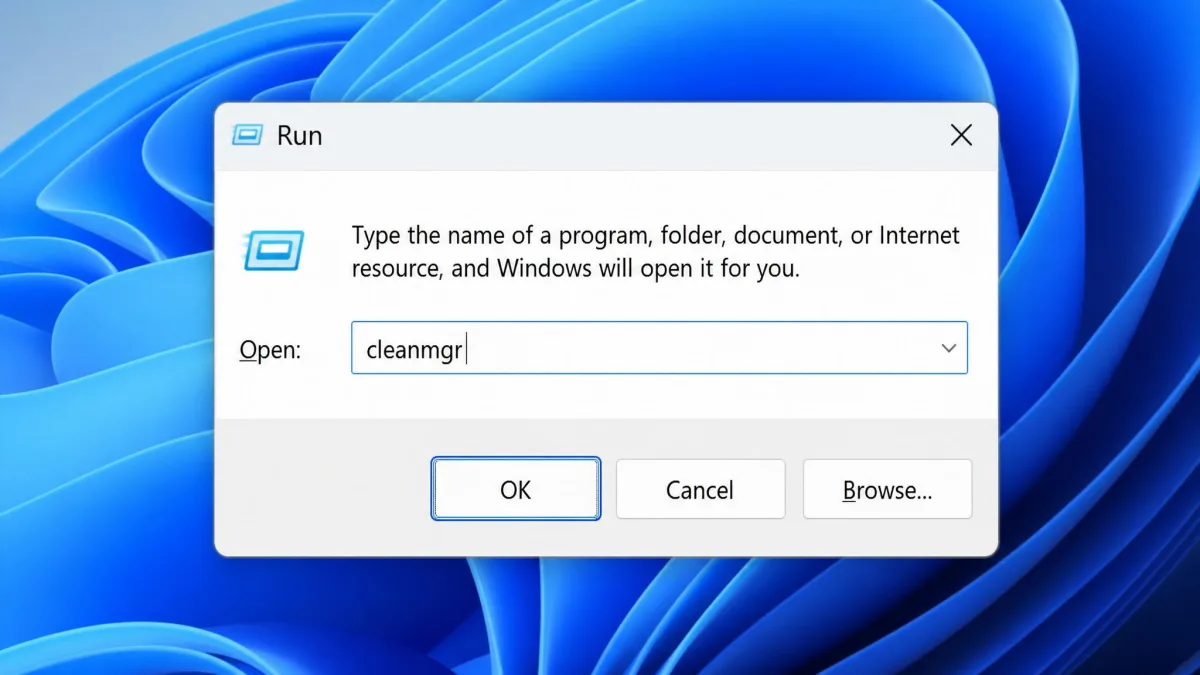
- Press Windows + R to open the Run dialog.
- Type
cleanmgr, then press Enter.
The same command works from Command Prompt and PowerShell on both versions, and cleanmgr /d D takes you straight to a second drive.
Method 3: Open It From a Drive's Properties in File Explorer
With File Explorer open, a drive's properties box gets you there in two clicks.
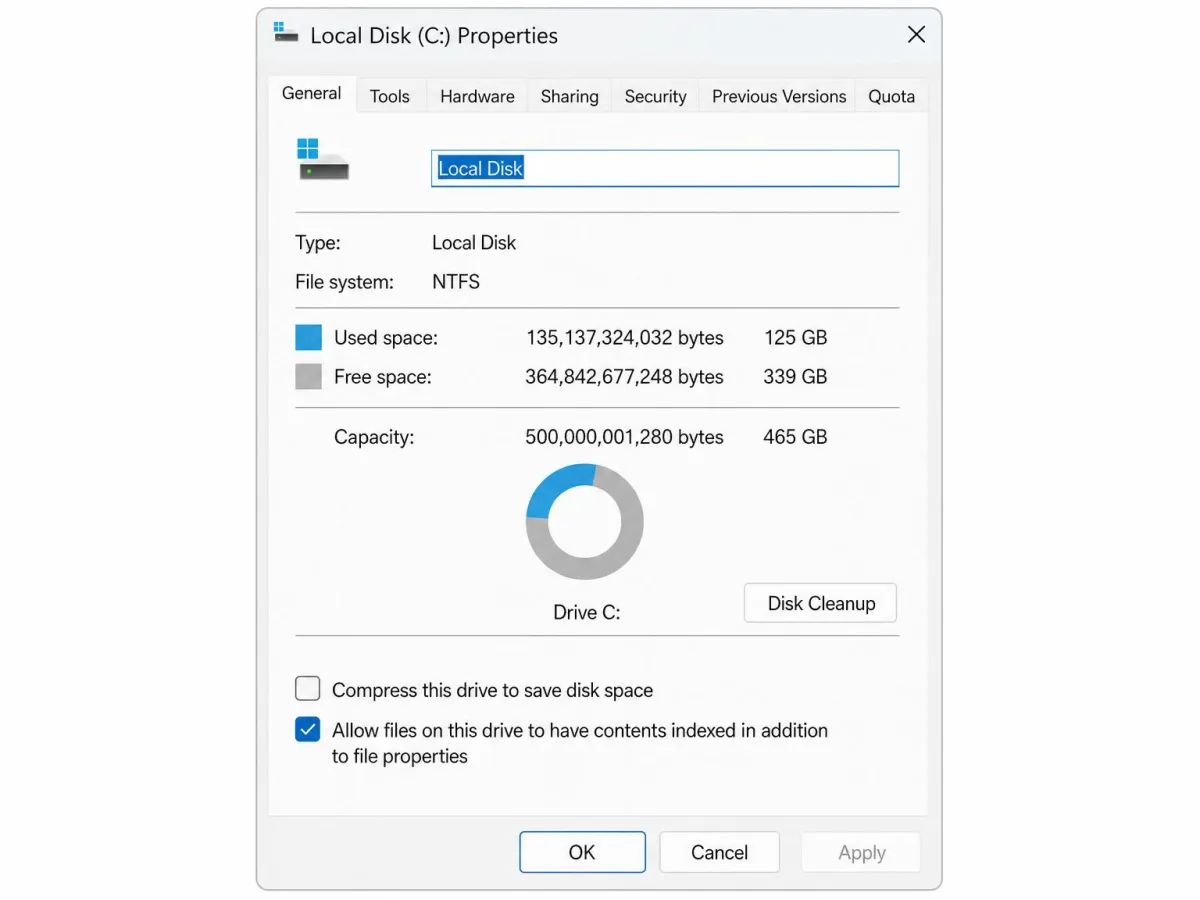
- Open This PC, right-click the drive you want to clean, then select Properties.
- On the General tab, select Disk Cleanup.
You land on the same dialog either way, so use whichever window you already have open.
Method 4: Launch It From Control Panel or Windows Tools
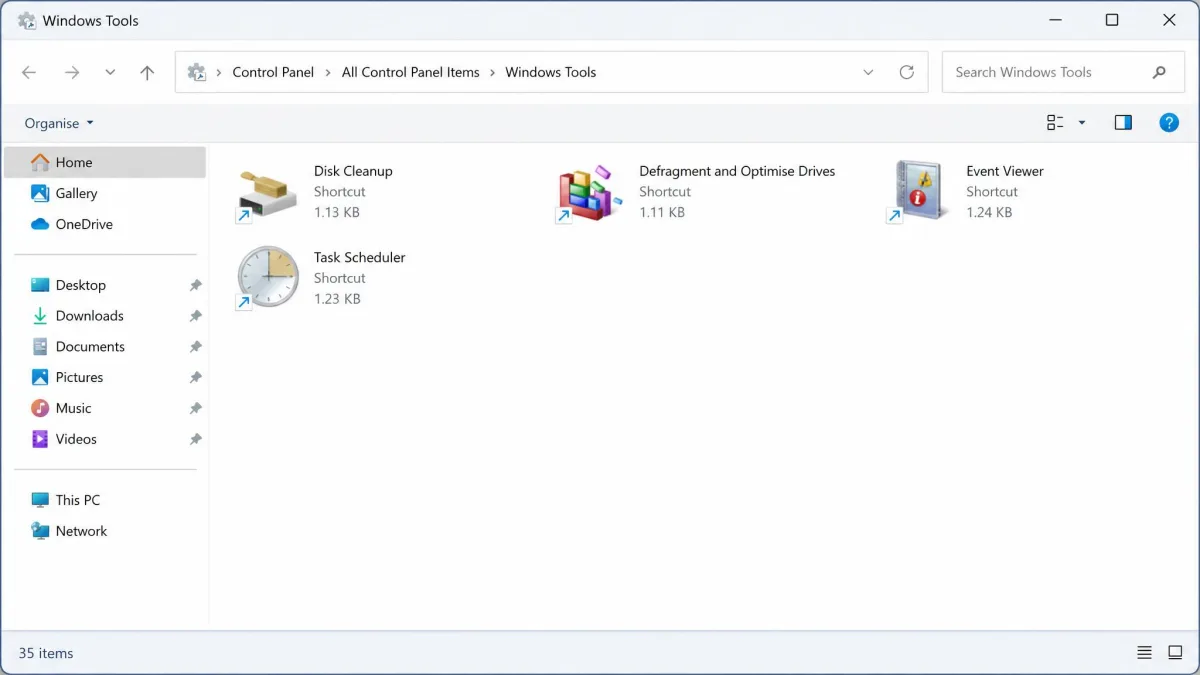
Control Panel still carries a shortcut, though Windows 11 renamed the folder you'll find it in.
- Open Control Panel and select System and Security.
- Select Windows Tools, then select Free up disk space.
On Windows 10 you'll find it under Control Panel > System and Security > Administrative Tools instead.
Method 5: Start It From Task Manager
Task Manager can launch it directly, which helps when File Explorer misbehaves or your Start menu won't respond.
- Press Ctrl + Shift + Esc to open Task Manager.
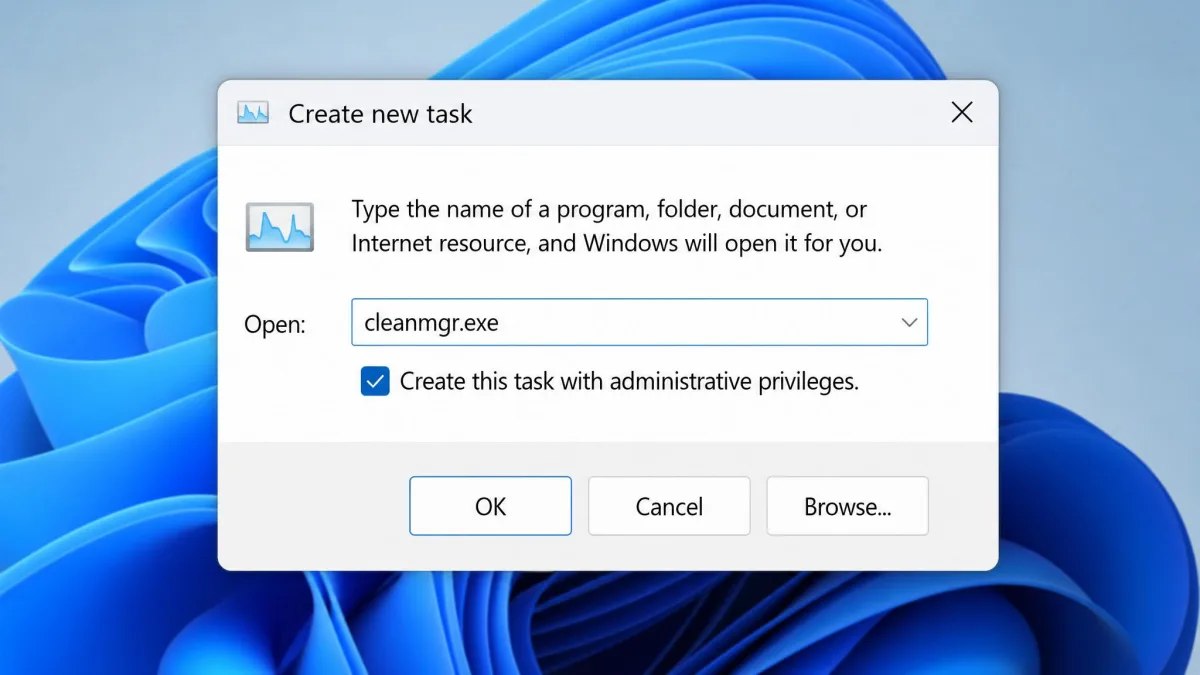
- Select Run new task, type
cleanmgr.exe, then press Enter. - Tick Create this task with administrative privileges for the system file categories.
On Windows 10 the same option sits under File > Run new task.
Method 6: Create a Desktop Shortcut for One-Click Access
If you clean up regularly, a desktop shortcut saves you the search every time.
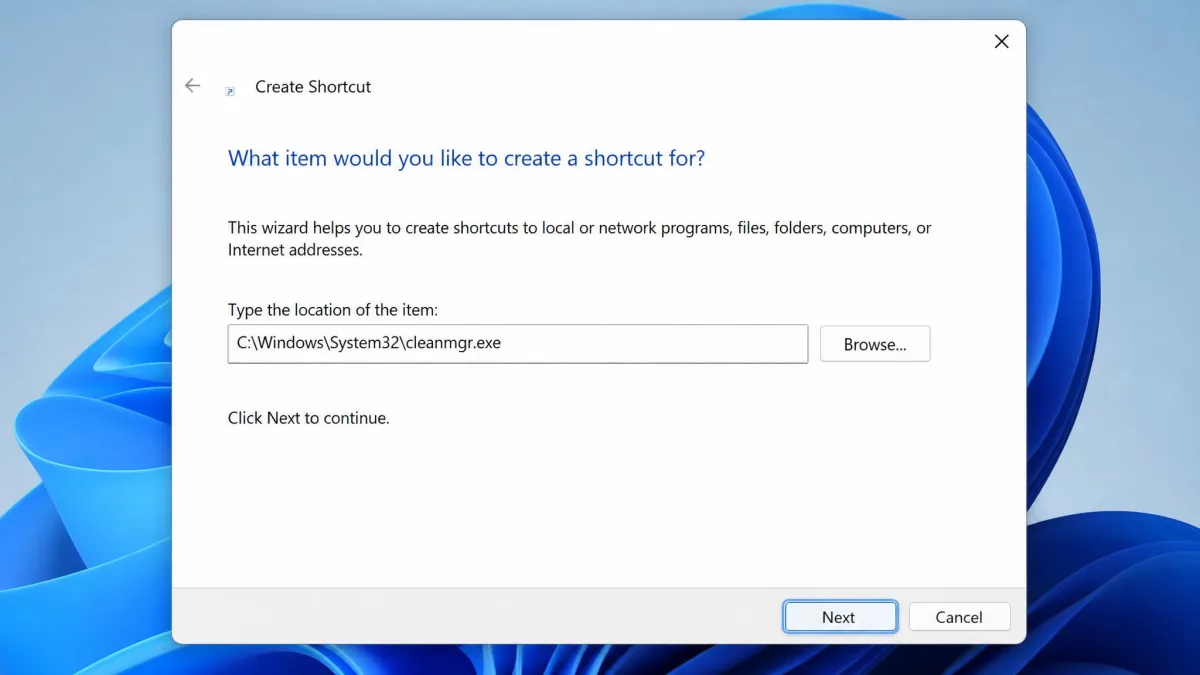
- Right-click an empty part of the desktop, then select New > Shortcut.
- Enter
C:\Windows\System32\cleanmgr.exeas the location, then name the shortcut. - Right-click it, select Properties > Advanced, then tick Run as administrator.
How to Run Disk Cleanup Step by Step
Four steps take you from an empty drive picker to files that are actually gone.
Step 1: Choose the Drive You Want to Clean
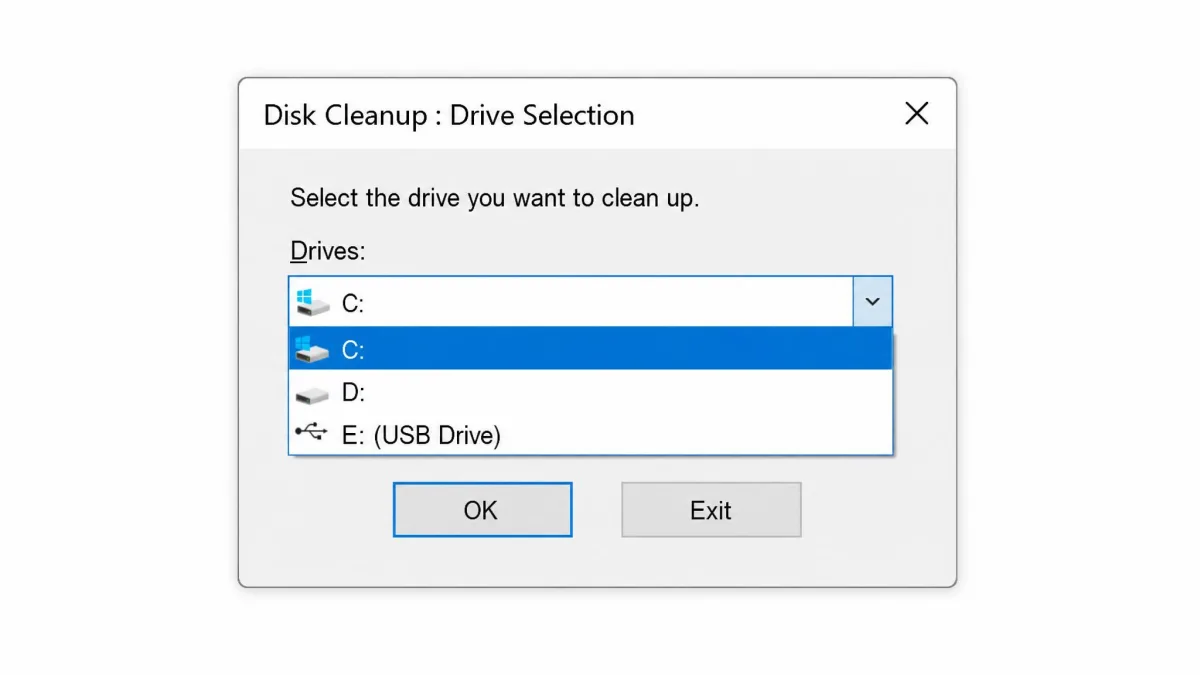
Disk Cleanup asks you which drive to work on before it does anything else.
Pick the drive Windows is installed on, usually C:, because that's where every category worth clearing lives. Note its free space in This PC first so you can see what the pass returns, and remember that a data drive offers you only Recycle Bin and catalog files.
Step 2: Let Disk Cleanup Calculate What It Can Free
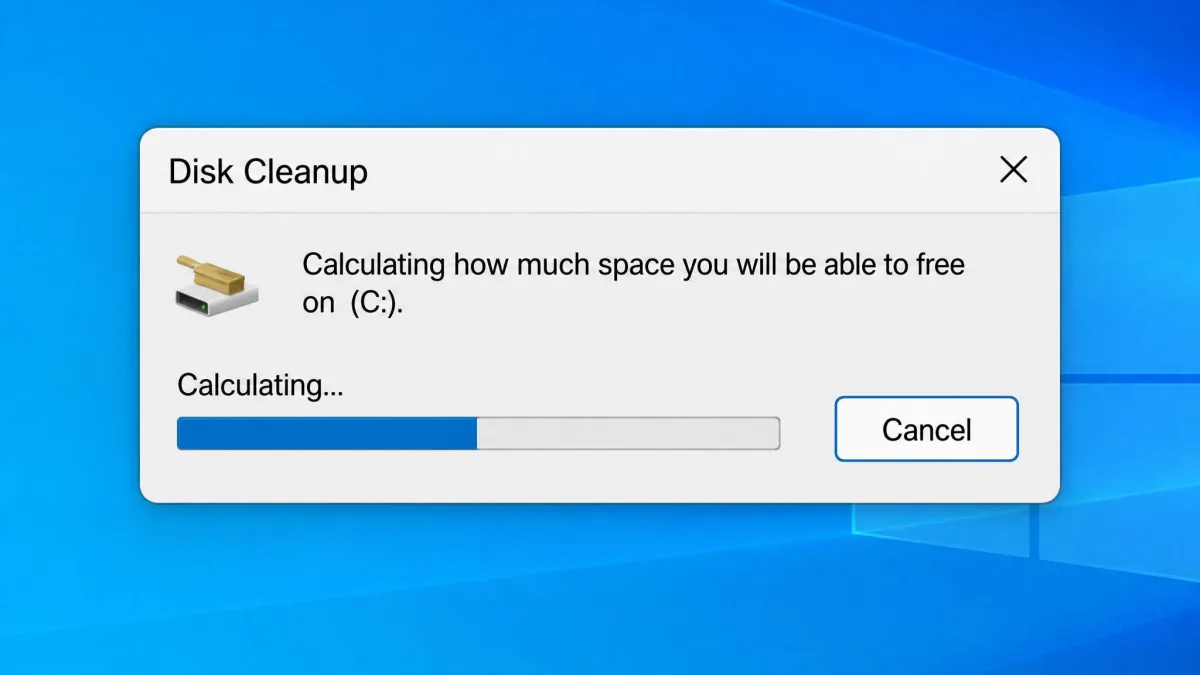
The tool works out how much space each category is holding before it shows you anything.
That calculation is quick on a tidy machine and slower on one you've had in service for years, and if you plan to select Clean up system files, expect this stage twice, because the elevated view recalculates from scratch.
Step 3: Tick the File Categories You Want to Delete
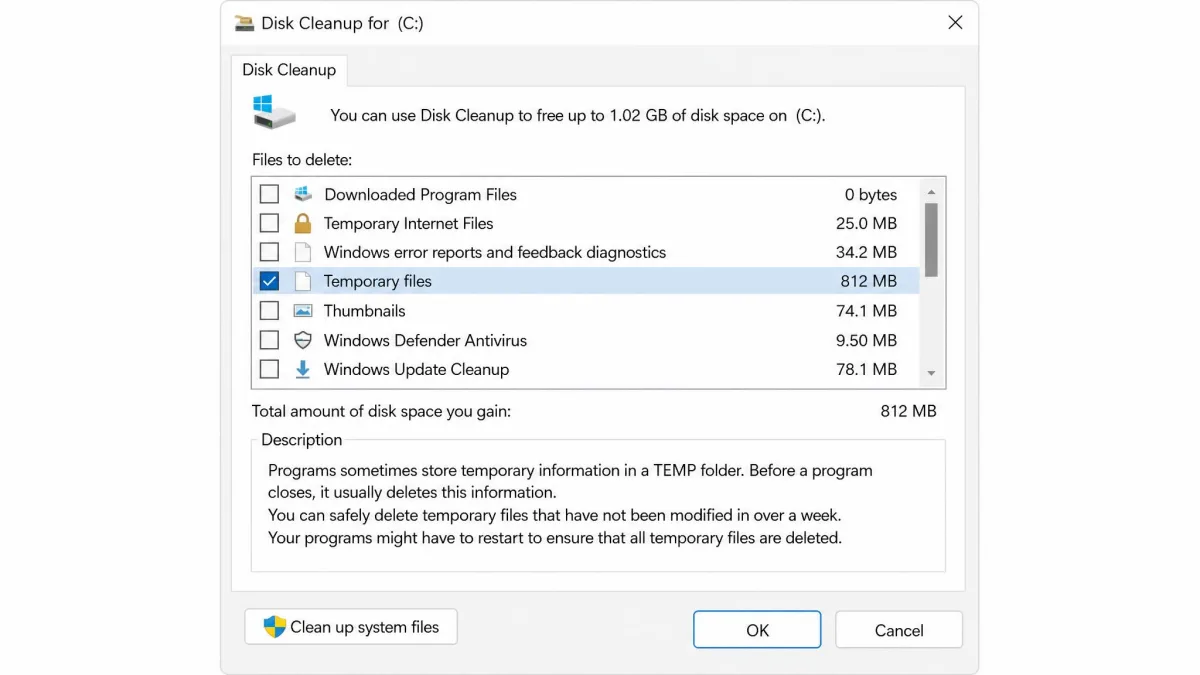
Every category shows you its own tick box, its own size figure, and a description pane below the list.
Select a name to read what it holds, and use View Files where that button appears to look inside first. The boxes that arrive pre-ticked differ between Windows builds, so check them yourself rather than trusting the defaults.
Step 4: Confirm the Deletion and Let It Finish
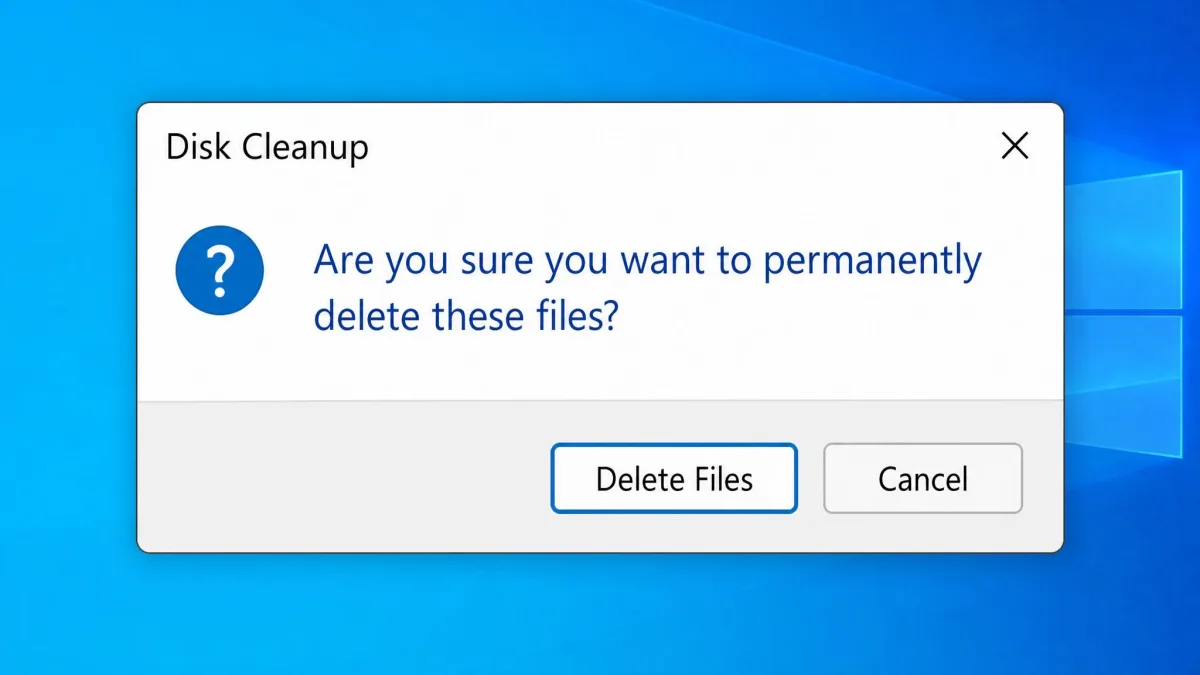
Select OK, then select Delete Files in the confirmation box.
A plain pass finishes in a couple of minutes, but tick Windows Update Cleanup and it usually takes several minutes, and on a PC with a long update history it can run past an hour. Deleting files isn't the same as freeing space, so leave the Recycle Bin box ticked if you want the room back.
How to Clean Up System Files for the Biggest Space Savings
The first list Disk Cleanup shows you is the short list.
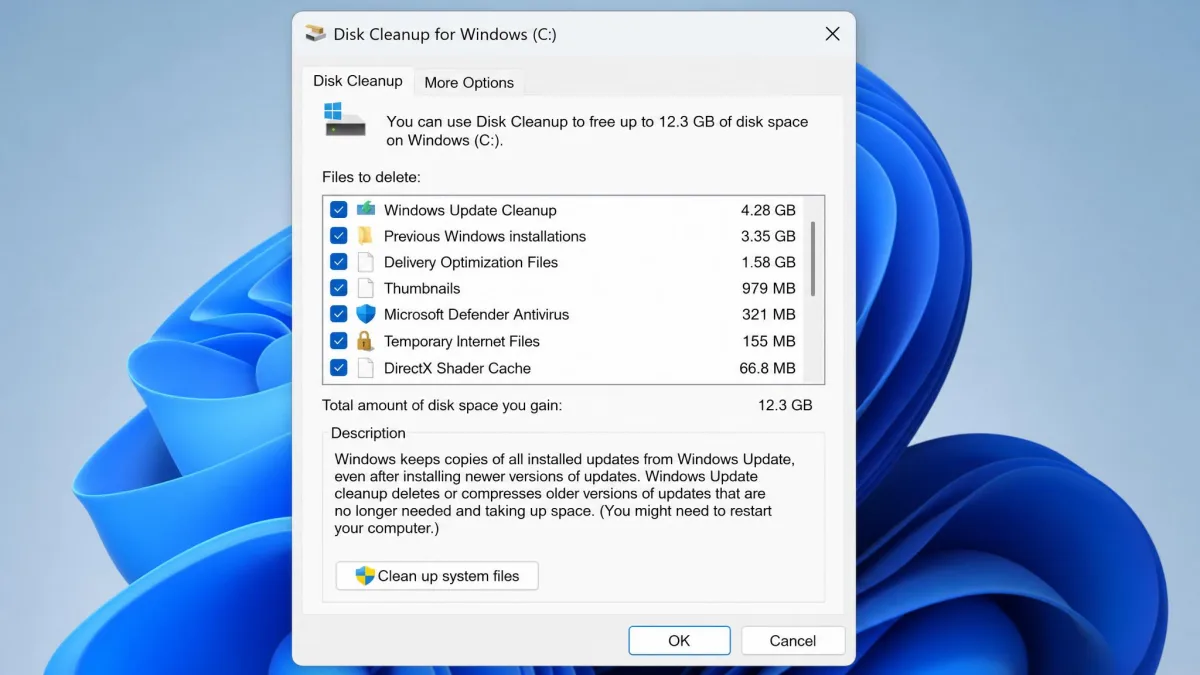
The categories that free real space appear only after you select Clean up system files, which relaunches the tool with administrator rights and recalculates the drive. That's the step most people skip, and it's where the biggest savings are. The longer list adds Windows Update Cleanup, Previous Windows installations, Delivery Optimization Files, Thumbnails and a More Options tab.
Removing Previous Windows Installations (Windows.old)
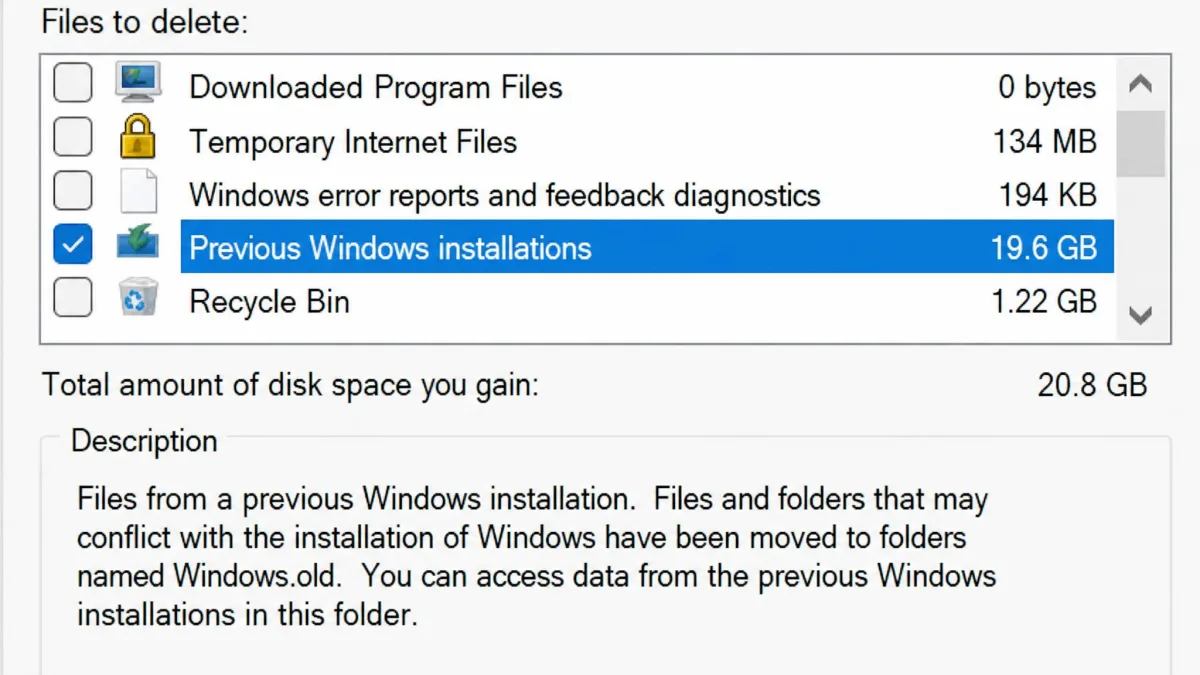
Previous Windows installations is the Windows.old folder an upgrade leaves behind, and it's usually the largest entry in the list.
It commonly accounts for 15 GB to 25 GB, and its size tracks how full the drive was before you upgraded. Windows should clear it automatically once the rollback period ends, though it doesn't always happen.
The figure shown here often reads higher than the space that comes back, because hard-linked files get counted alongside real data. Microsoft's guide to freeing up drive space in Windows sets out the rollback rules.
Deleting Previous Windows installations can't be undone, and it removes your route back to the previous version of Windows. You can only go back within 10 days of the upgrade, so don't tick it unless the new build is behaving. The More Options tab's Clean up button deletes every restore point except the newest one.
Running Windows Update Cleanup
Windows Update Cleanup holds superseded copies of updates Windows has already installed, and it's commonly worth several gigabytes.
Tick it and you lose the ability to uninstall those older updates, which is a fair trade on a PC that's running well. It's also the category that makes a run feel broken, sitting for several minutes on a tidy machine and past an hour on one with years of updates behind it.
After the Windows 11 24H2 upgrade it kept reporting about 8.6 GB that wouldn't clear, when in fact the space had been freed and only the figure was wrong, which Microsoft has since fixed.
What Disk Cleanup Does and When You Should Run It
Disk Cleanup finds files Windows can rebuild or no longer needs, then deletes the ones you approve.
It covers temporary files, the Recycle Bin, thumbnail caches, error report logs and downloaded program files, plus old update data once elevated. It won't touch your browser cache, though, and your Chrome and Firefox caches can run to gigabytes on their own.
Once a month suits most machines, but run it sooner when an update stalls, because a feature update needs 6 GB to 11 GB of free space and a quality update needs 2 GB to 3 GB.
Microsoft marked the tool deprecated in Windows 10 version 1809 and pointed people at Storage Sense. It still ships and works in Windows 11, but it's no longer actively developed.
What Each Disk Cleanup Category Means, and What's Safe to Delete
Almost everything in the list is safe, and this table says what each category holds and what clearing it costs you.
| Category | What it is | Typical size | Safe to delete? | What you lose |
|---|---|---|---|---|
| Downloaded Program Files | Legacy ActiveX and Java applets cached by Internet Explorer | A few MB, often empty | Yes | Nothing on a modern PC |
| Temporary Internet Files | Cached web pages from the legacy browser stack | Tens to hundreds of MB | Yes | Nothing; personalised page settings are kept |
| Windows Update Cleanup | Superseded copies of updates already installed | Commonly several GB | Yes | The ability to uninstall those older updates |
| Delivery Optimization Files | Update data cached for sharing with nearby PCs | A few MB up to about 20 GB | Yes | Future updates may re-download over the internet |
| Recycle Bin | Files you deleted but never purged | Up to 10 percent of the first 40 GB of the drive, plus 5 percent above that | Yes, once you have looked inside | Emptying it cannot be undone |
| Temporary files | Scratch files left behind by programs | Hundreds of MB to a few GB | Yes | Nothing; only files untouched for a week are targeted |
| Thumbnails | The cached preview images File Explorer builds | Usually well under 1 GB | Yes | Folders open a little slower until Windows rebuilds them |
| Previous Windows installations | The Windows.old copy of your old build | Commonly 15 GB to 25 GB | Only if you will not roll back | The go-back path, permanently |
Delivery Optimization Files swing furthest, from a few megabytes to around 20 GB on a PC that has been sharing updates across the network.
A Downloads checkbox also arrived in Windows 10 version 1809, unticked by default. Leave it that way, because that folder holds files you saved on purpose.
Disk Cleanup vs Storage Sense: Which Should You Use?
Storage Sense does much the same job automatically, which is why Microsoft now points people at it first.
Use Storage Sense for maintenance you never think about, and Disk Cleanup for a one-off deep clean that reaches Windows.old and old update data. Microsoft's Storage Sense documentation covers the settings in detail.
| Feature | Disk Cleanup | Storage Sense | Cleanup recommendations |
|---|---|---|---|
| Runs automatically | No, unless you schedule cleanmgr /sagerun:1 |
Yes, on a schedule or when free space runs low | No, you review and confirm each group |
| Handles system files | Yes, after Clean up system files | Yes, temporary system and app files | Yes, inside the Temporary files group |
| Drive scope | Any local drive, though non-system drives offer two categories only | System drive only, usually C: | System drive only |
| Windows versions | Windows 11 and Windows 10 | Windows 10 and Windows 11 | Windows 11 only |
| Where to find it | Taskbar search, Run, drive Properties, Windows Tools, Task Manager | Start > Settings > System > Storage | Start > Settings > System > Storage > Cleanup recommendations |
| Best for | A one-off deep clean including Windows.old | Set-and-forget maintenance on the C: drive | A guided pass over large, unused and cloud-synced files |
How to Turn On and Configure Storage Sense
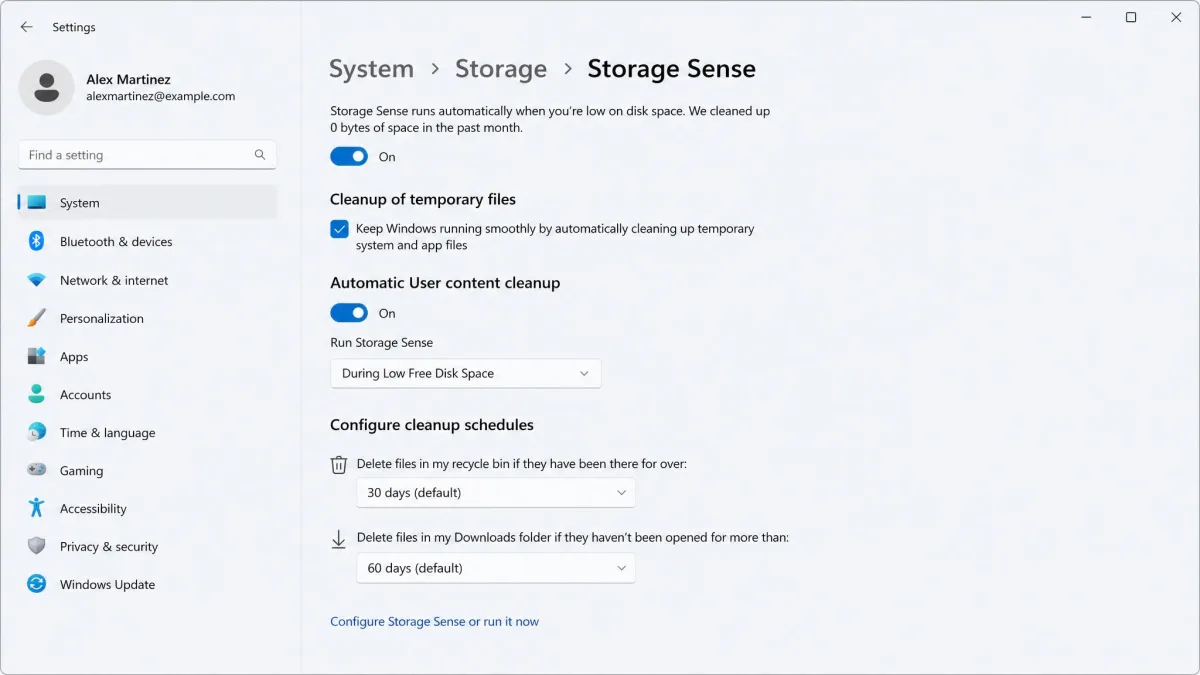
Storage Sense has been part of Windows since Windows 10 version 1703, and on most machines you have to switch it on yourself.
- Select Start > Settings > System > Storage.
- Set Storage Sense to On, then select it to open its settings.
- Choose how often it runs, from Every Day to During Low Free Disk Space.
It ships set to During Low Free Disk Space, so you'll see nothing happen until the drive is nearly full. With default settings it empties Recycle Bin items older than 30 days. Leave the Downloads rule alone, though, because it deletes by last-opened date, so files you saved deliberately go with the junk.
How to Use Cleanup Recommendations in Windows 11
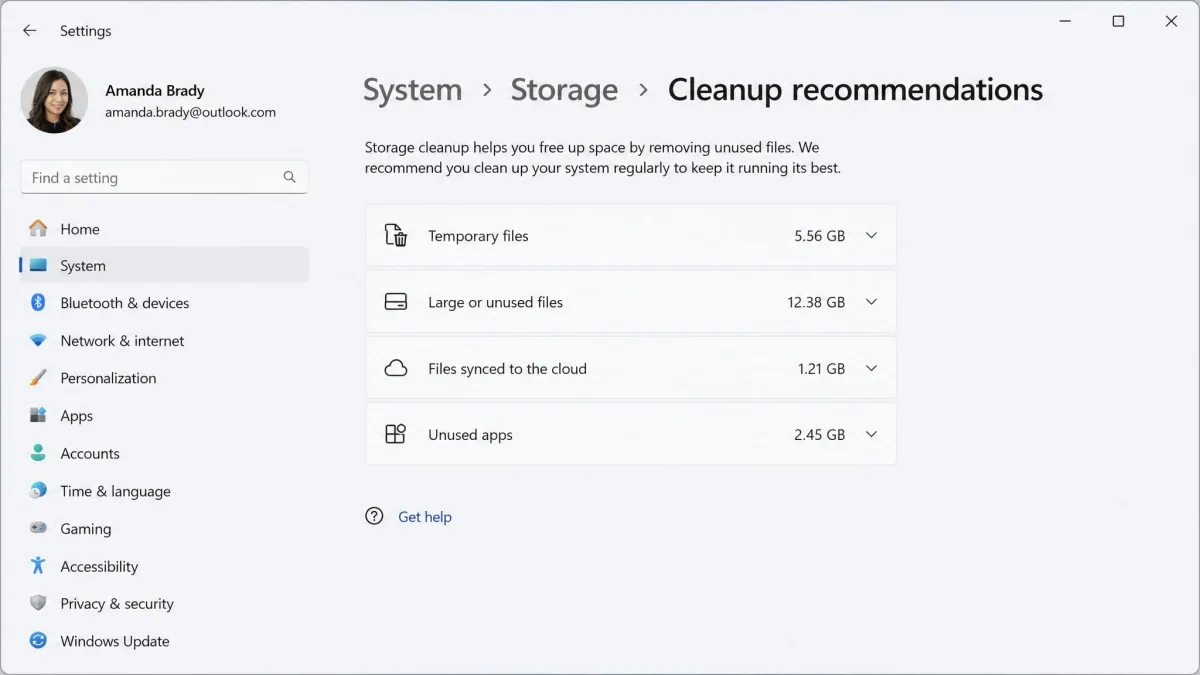
Cleanup recommendations is Windows 11's guided pass over the files taking up the most room.
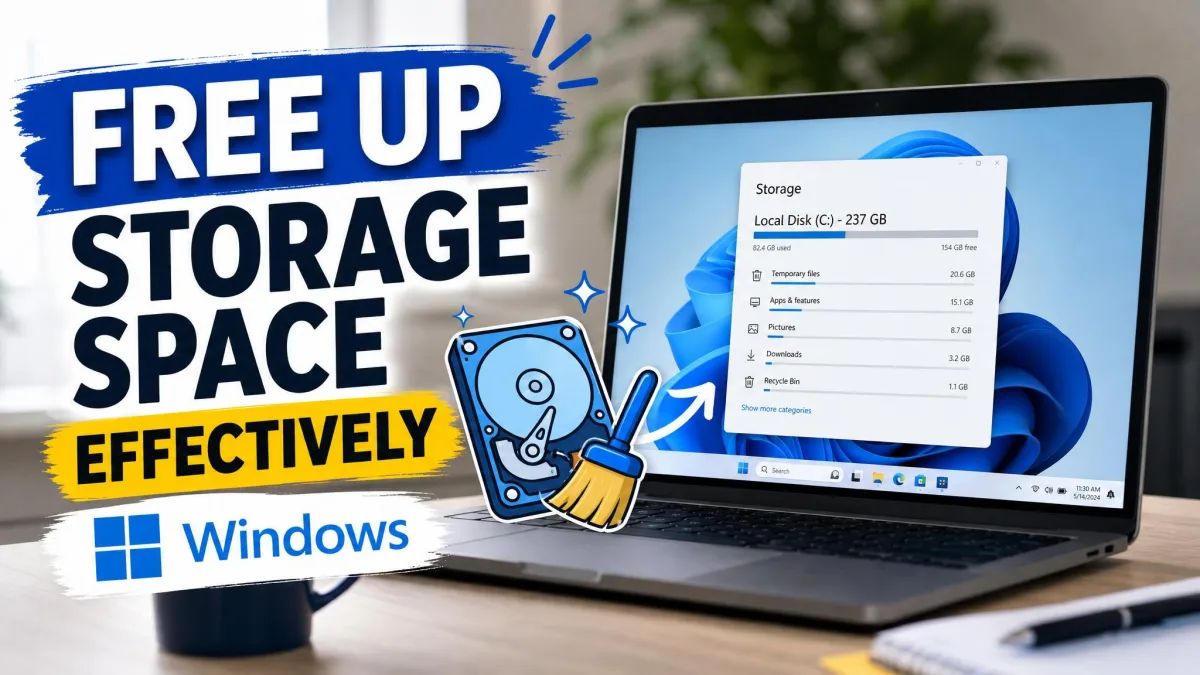
Select Start > Settings > System > Storage > Cleanup recommendations. You get four expandable groups covering temporary files, large or unused files, files synced to the cloud, and unused apps. Each has its own Clean up button and total, so you clear them one group at a time.
Windows 11 steers you towards Settings > System > Storage > Cleanup recommendations and tucks the classic tool inside Windows Tools. Windows 10 has the same Settings page but stops at Storage Sense, and its shortcut sits under Administrative Tools. The cleanmgr command opens the same dialog on both.
How to Automate Disk Cleanup With cleanmgr /sageset and Task Scheduler
Disk Cleanup can save your tick-box choices once and replay them later without asking anything.
Open Command Prompt as administrator and run cleanmgr /sageset:1. The dialog looks familiar, but nothing is deleted at this stage, because your choices are only written to the registry as profile 1.
Run cleanmgr /sagerun:1 and the tool replays that profile silently across every drive. The profile number can be any integer from 0 to 9999, so 1 is only a convention.
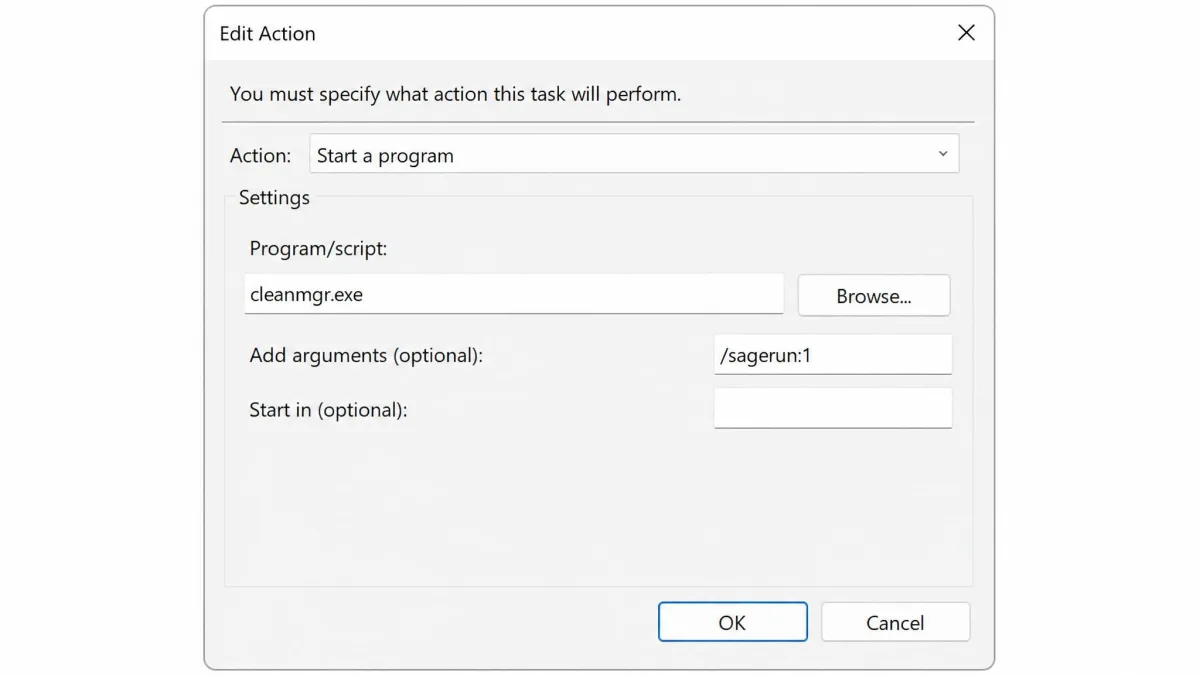
To schedule it, open Task Scheduler and select Create Basic Task. Name it, choose Monthly, then choose Start a program as the action. Enter cleanmgr.exe as the program and /sagerun:1 as the argument, and tick Run with highest privileges so the system file categories are included.
What to Do When Disk Cleanup Isn't Enough
When your drive is still tight after a full elevated pass, the space is going to things this tool never touches, so you need other ways to free up disk space.
Uninstall Space-Hungry Apps
Installed programs are usually the next biggest slice after Windows itself.
Select Start > Settings > Apps > Installed apps, then sort the list by size. Sorting that way doesn't tell you the whole story, because some programs report nothing and leave the Size column blank.
Delete or Move Large Personal Files
Your own files are yours, so Disk Cleanup leaves every one of them alone.
Move photo libraries, video projects and downloaded installers to an external drive or cloud storage, then empty the Recycle Bin. If you're clearing room for an update using a USB stick, Windows wants at least 10 GB free on it.
Use a Disk Space Analyzer or Third-Party Cleaner
An analyzer shows you where the space went, which beats guessing folder by folder.
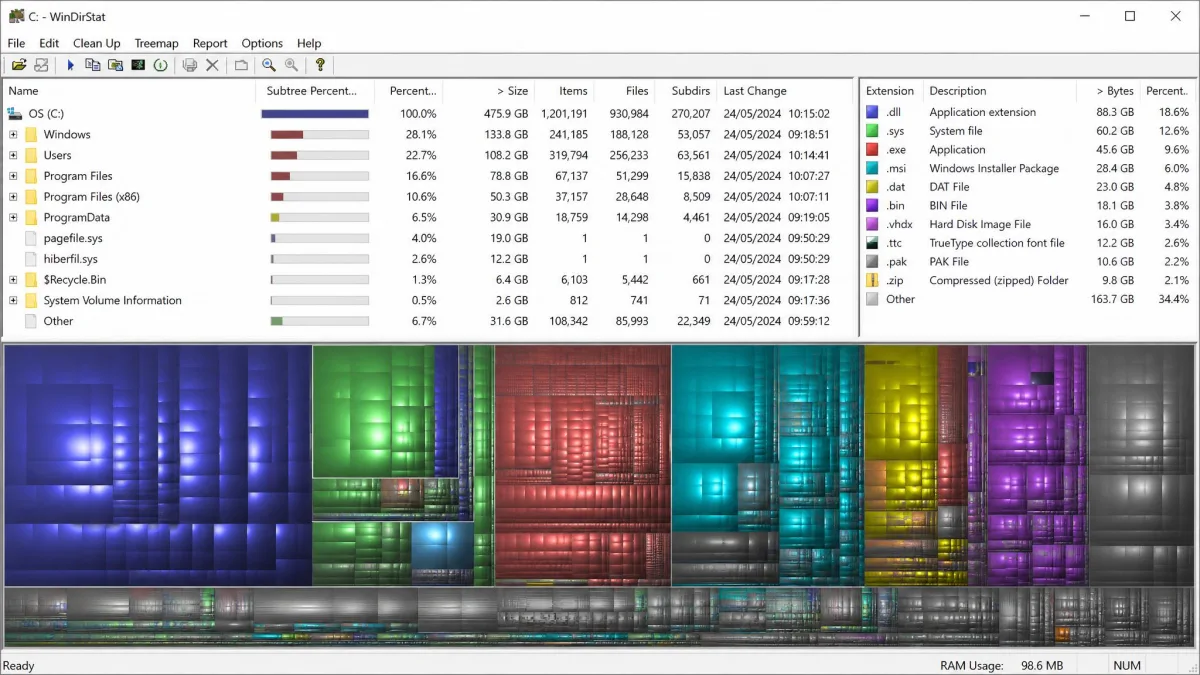
WinDirStat is free and open source, and it draws your drive as a treemap of blocks sized by the room each file takes. WizTree reads the NTFS Master File Table directly instead of walking folders, and Antibody Software's own benchmark puts it at 46x faster, though it needs Restart as Administrator to do so.
BleachBit goes deeper on application caches, and its current stable release, 6.0.2, supports Windows 10 and 11, and its Preview button lists what it would remove before anything is deleted. We have also rounded up the best PC cleaners we have tested, and our CCleaner review covers the most familiar name.
Leave the registry-cleaning module off in any of them, because it causes more trouble than the space it recovers, and keep the password-clearing options off too.
Troubleshooting: Disk Cleanup Stuck, Missing, or Freeing Too Little
Three problems account for most complaints about this tool, and each has a straightforward answer.
A stall on Calculating usually clears after you cancel the run, restart your PC and open the tool again, and when it doesn't, the cause is normally a bloated SoftwareDistribution folder.
If you can't find Disk Cleanup at all, Windows 11 moved the shortcut into Windows Tools rather than removing the program. Type cleanmgr into Run and it opens regardless.
If a pass frees far less than promised, check whether you ran it elevated, because the short list doesn't hold the categories with real volume.
Run Disk Cleanup elevated from the start and you skip the second calculation, so launch it from Task Manager with the administrative privileges box ticked, or from a shortcut set to run as administrator.
Frequently Asked Questions
Is it safe to delete everything in Disk Cleanup?
What is the difference between Disk Cleanup and "Clean up system files"?
Can I delete "Previous Windows installations"?
How often should I run Disk Cleanup?
Does Disk Cleanup delete my personal files?
Where did Disk Cleanup go in Windows 11?
cleanmgr.exe still sits in C:\Windows\System32 and opens from Run or search.Is Storage Sense better than Disk Cleanup?
Final Thoughts
Put the next pass in your calendar for a month from now, and run one before your next feature update rather than after the installer refuses to start. If today's run did not free enough, switch Storage Sense on so the drive keeps itself tidy, then point an analyzer at it to see what is holding the space.
The files that survive a full elevated pass are almost always your own, from game installs and video projects to disk images and old download archives. Moving a few of those off the drive can help your PC run better for longer.