If your Wi-Fi suddenly feels slower than usual, a neighbor might be using it without permission. Beyond slowing down your connection, unauthorized users can also expose you to serious security risks, including bandwidth theft and hacking attempts.
The good news is that the fixes are straightforward. A strong password with modern encryption, a changed admin login, a guest network, and a quick check of who is connected take most people less than an hour, using a browser and the router's IP address. We tested every step on our own routers, from an older model that caps out at WPA2-AES to a newer WPA3-capable one, so the instructions match what you will actually find in the admin panel.
Why Neighbors Can Access Your WiFi (and the Risks)
The entry points are usually simple: a weak or guessed password, factory-default admin credentials, WPS left enabled, or a password that was shared once and kept circulating. Most routers ship with default credentials widely listed online, and in our experience admin panels are often reached with those defaults. Someone with admin access can change settings or reopen access even after you change the Wi-Fi password.
The risks go beyond a slow connection. Someone on your network can see traffic headed to your devices, which is one way someone could access your phone over Wi-Fi. An open network also puts you on the hook for anything done through your connection.
An open network carries legal and data-security exposure, not just bandwidth theft.
— From our hands-on testing of home networks
The fixes below, at a glance:
| Fix | Stops bandwidth theft | Stops snooping/probing | Effort | Notes |
|---|---|---|---|---|
| Strong Wi-Fi password + WPA3/WPA2-AES | Yes | Yes | Low | The core fix |
| Change the router admin login | Indirect | Yes | Low | Separate credential |
| Check the connected-device list | Yes | Yes | Low | First step before any blocking |
| MAC address filtering | Partial | Weak | Medium-high | Bypassable; phone MACs rotate |
| Hide the SSID | Minimal | Minimal | Low | Deterrent only |
| Disable WPS | Yes | Yes | Low | Closes the PIN hole |
| Guest network | Yes | Yes | Medium | Isolates visitors and smart devices |
| Firmware updates | Yes | Yes | Low | Patches vulnerabilities |
| Disable remote access + UPnP | Indirect | Yes | Low | Recommended hardening |
| Reduce signal range | Yes | Minimal | Medium | 2.4GHz reaches farthest |
| VPN | No | Yes | Medium | Does not stop joining |
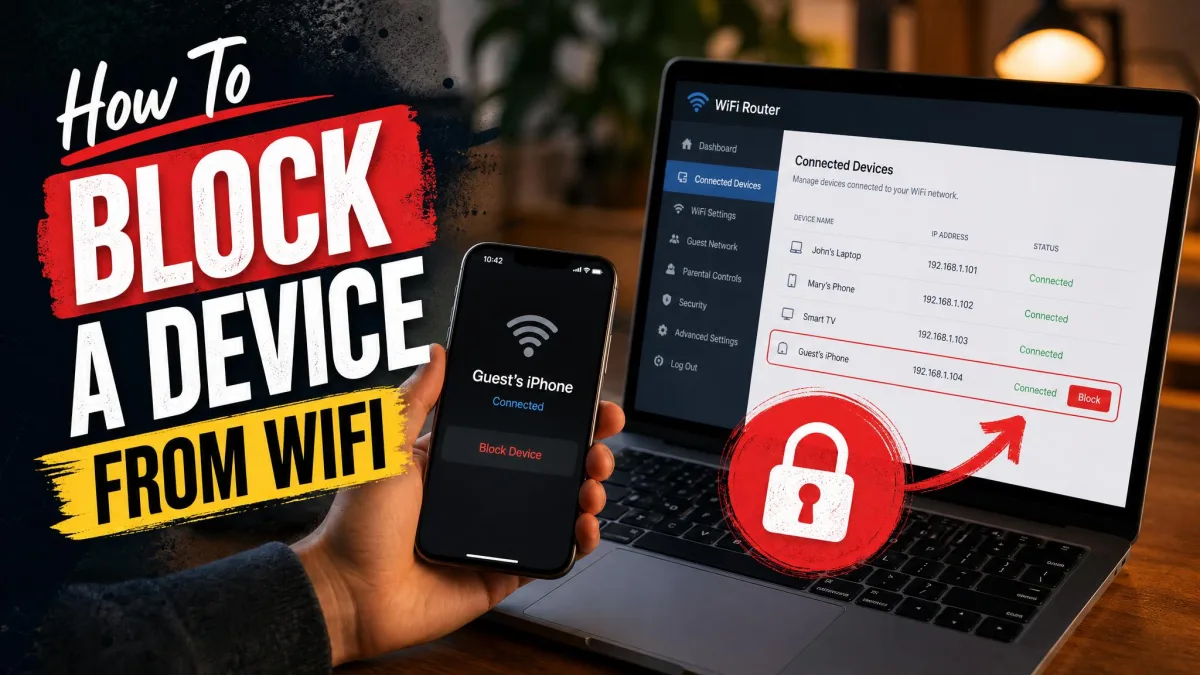
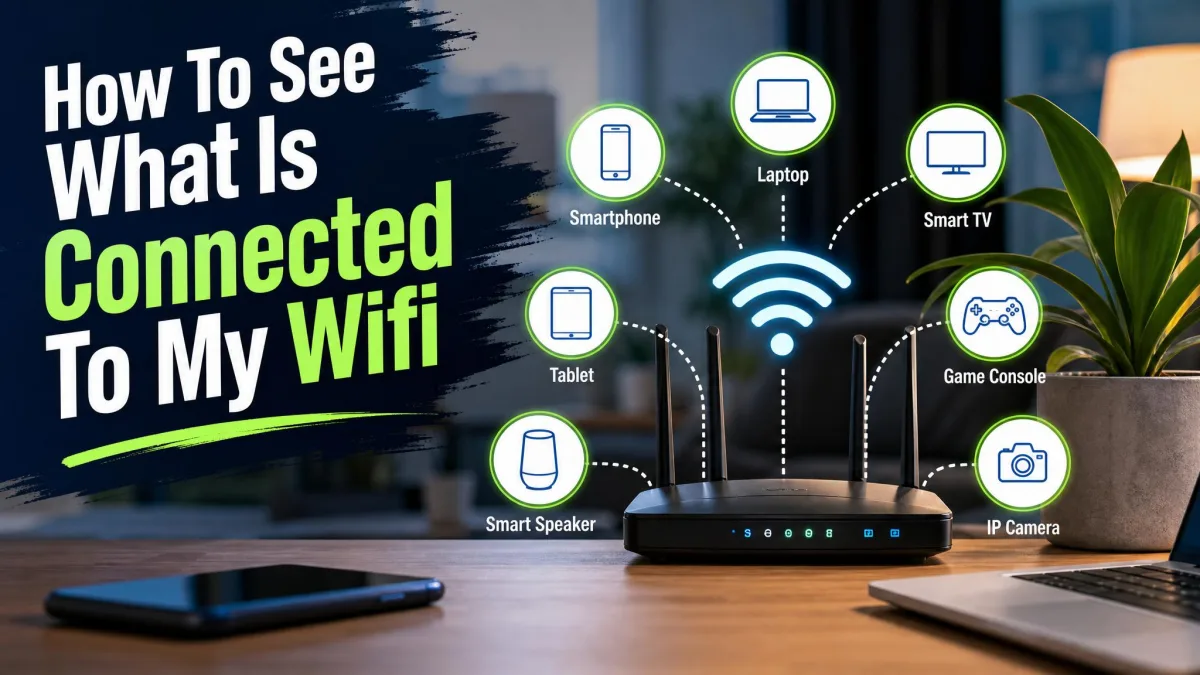
3. Check Who's Connected to Your Wi-Fi — and Block Unwanted Devices
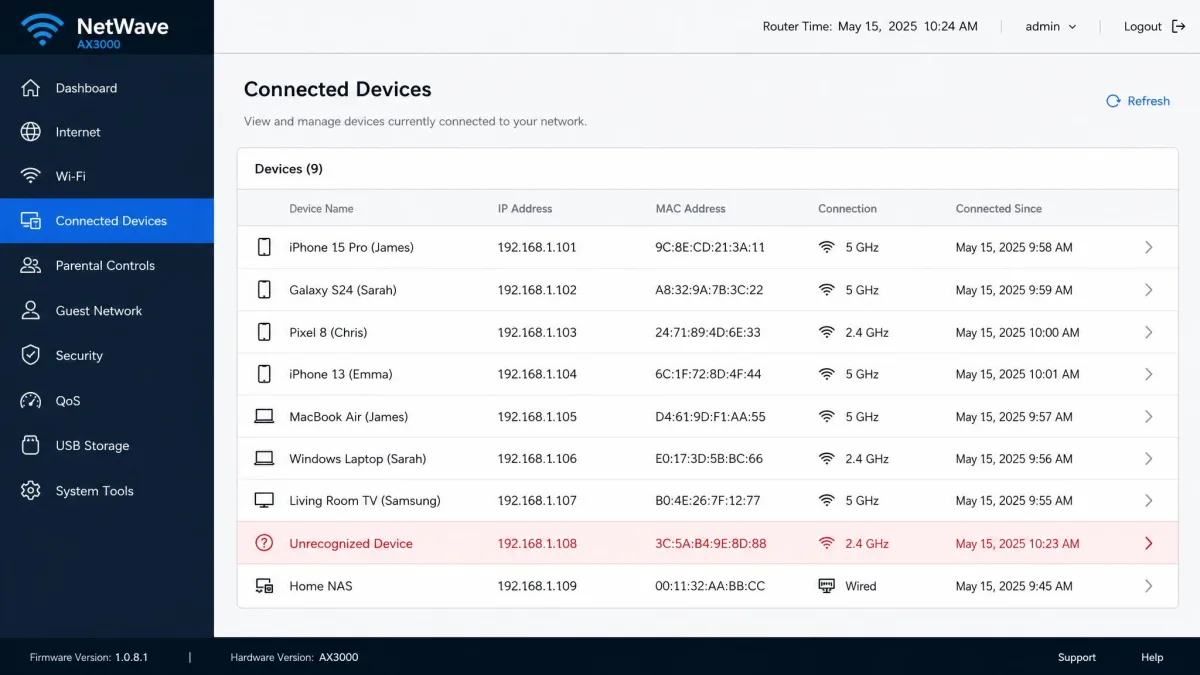
Start by finding out who is on your network. In our testing, the connected-device list could show devices we did not recognize even when we believed we knew every device in the house. Some were ours under generic names, which is why the next steps matter.
Use your router's connected-device list
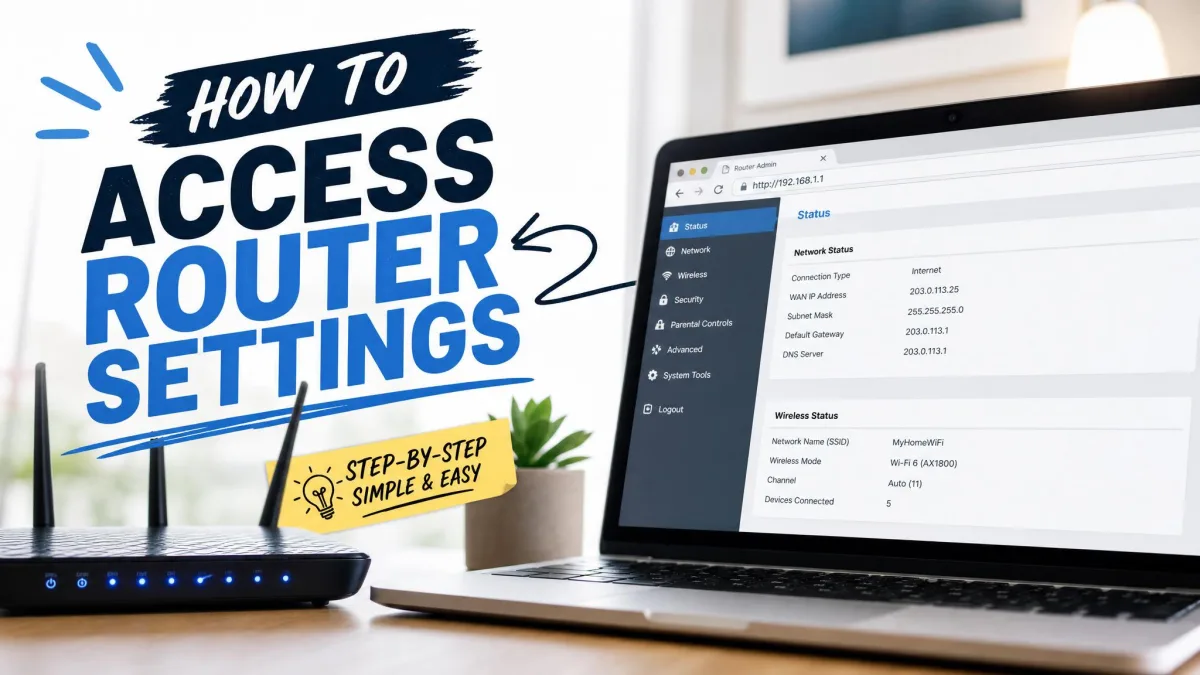
Open your router's admin panel in a browser, then look for a page labeled Devices, Attached Devices, or Client List, often under Status or Network. The list shows every device currently connected, usually with a name, an IP address, and a MAC address.
Work through it against everything you own that connects to Wi-Fi: phones, laptops, tablets, the smart TV, streaming sticks, a printer, and smart-home hubs or cameras. Some appear under generic names, so investigate before you ban anything. If the router has a device-history view, check it, since it can reveal brief connections from devices not currently online.
Block unknown devices with MAC address filtering
If a device truly is not yours, the simplest fix is the block or deny button on the device list. MAC address filtering is the heavier option: you must collect the MAC address of every trusted device and maintain the allowlist as devices are added. In our experience it is high-maintenance, and it backfires when a phone uses a randomized address, since a device you own can be banned by mistake. Phones have used private Wi-Fi addresses since iOS 14, so treat MAC filtering as a stopgap, not a strong layer.
Slower speeds, blinking router lights, and data-usage spikes all sound like an intruder, but background updates and smart-home devices cause the same signs. The connected-device list is the only reliable proof of who is on your network.
1. Change Your Wi-Fi Password and Enable WPA3 Encryption
The most important fix is a strong Wi-Fi password on modern encryption. WPA2 was ratified in 2004, and while it beats the WEP and original WPA modes before it, the standard has been superseded. WPA3 arrived in 2018, and since July 2020, WPA3 support has been mandatory for new Wi-Fi CERTIFIED devices.
Open the admin panel and go to Wireless Settings, then find the Security or Encryption option. Set the security mode to WPA3-Personal if it is available. If not, WPA2-AES is the next best choice; avoid WPA2-TKIP, which is considered insecure. In our testing, several mid-range and older routers capped out at WPA2-AES, so WPA3-Personal may not appear in your list at all. WPA2-AES is still a solid layer.
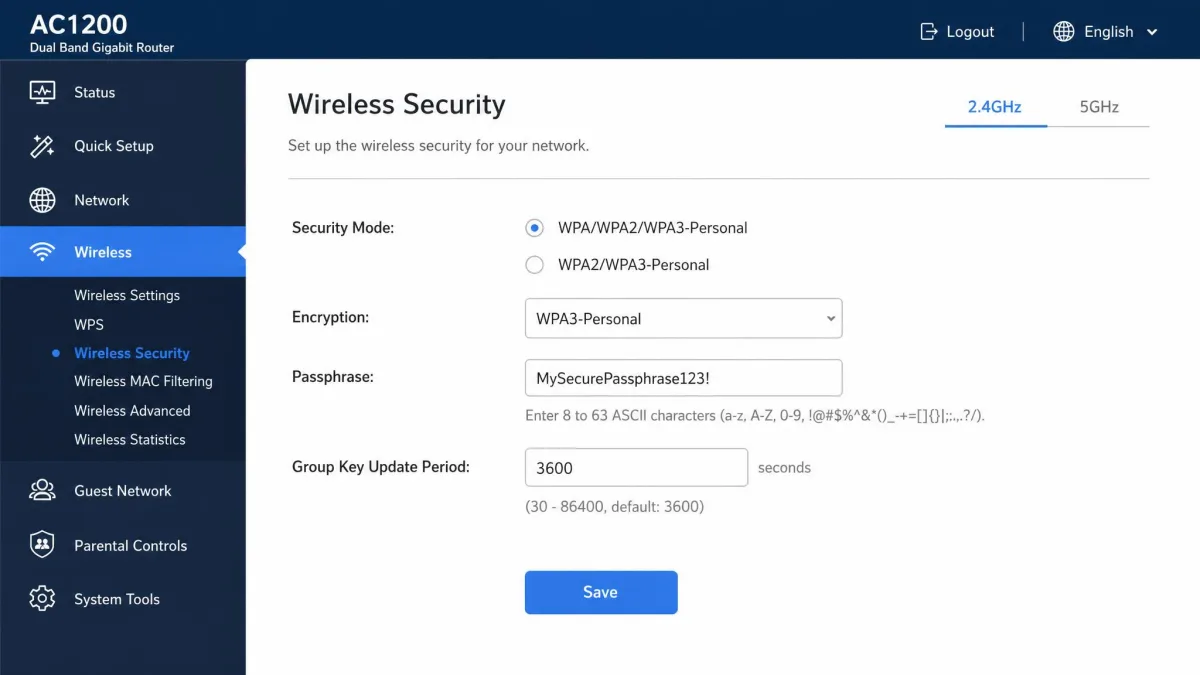
WPA3 is backward compatible with WPA2 through a mixed or transitional mode, so older devices can keep joining while you upgrade. The switch to WPA3 is low-risk even for a household full of gadgets.
Choose a passphrase that is long and not in the dictionary, since WPA3's authentication method resists offline password-guessing. Changing the password ejects every connected device, so expect to reconnect each phone, laptop, and smart-home gadget. The FTC's guidance on how to secure your home Wi-Fi network says the same.
2. Change Your Router's Default Admin Login
Your router has two separate credentials. The Wi-Fi password lets devices join your network; the admin login controls the router itself. Factory credentials are commonly admin/admin or admin/password, and those defaults are widely listed online.
In our experience, admin panels are still commonly reached with factory defaults. Leaving them in place is the riskiest omission here, because anyone who reaches the panel can change settings or reopen access even after you change the Wi-Fi password.
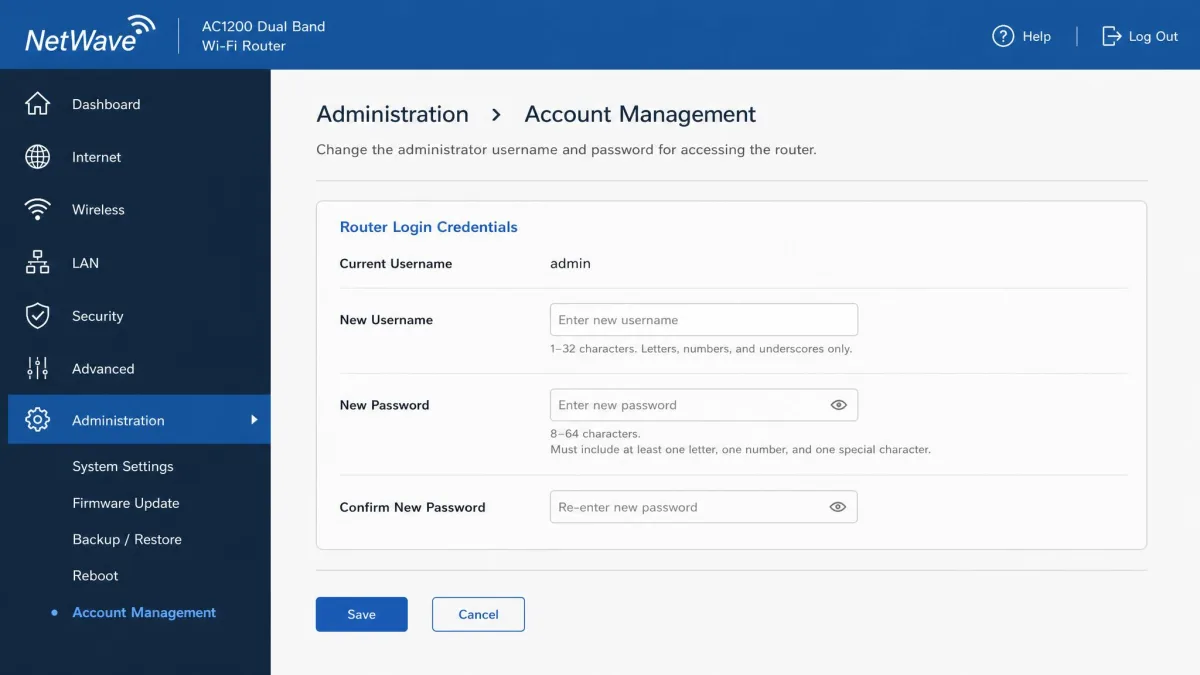
In the admin panel, look for Administration, System, or Management, and find the section that sets the login password. Use a password you do not use anywhere else, and change the admin username too if the router allows it.
4. Hide Your Network Name (SSID) and Disable WPS
Hiding the SSID is one of the most overrated Wi-Fi tips. In our experience it is a deterrent against casual snooping rather than a real defense, and it can cause connectivity problems with some devices. What matters more is the name itself: if your router still uses the default SSID, change it, because a default name often reveals the brand or model. Pick a generic name that does not identify your household.
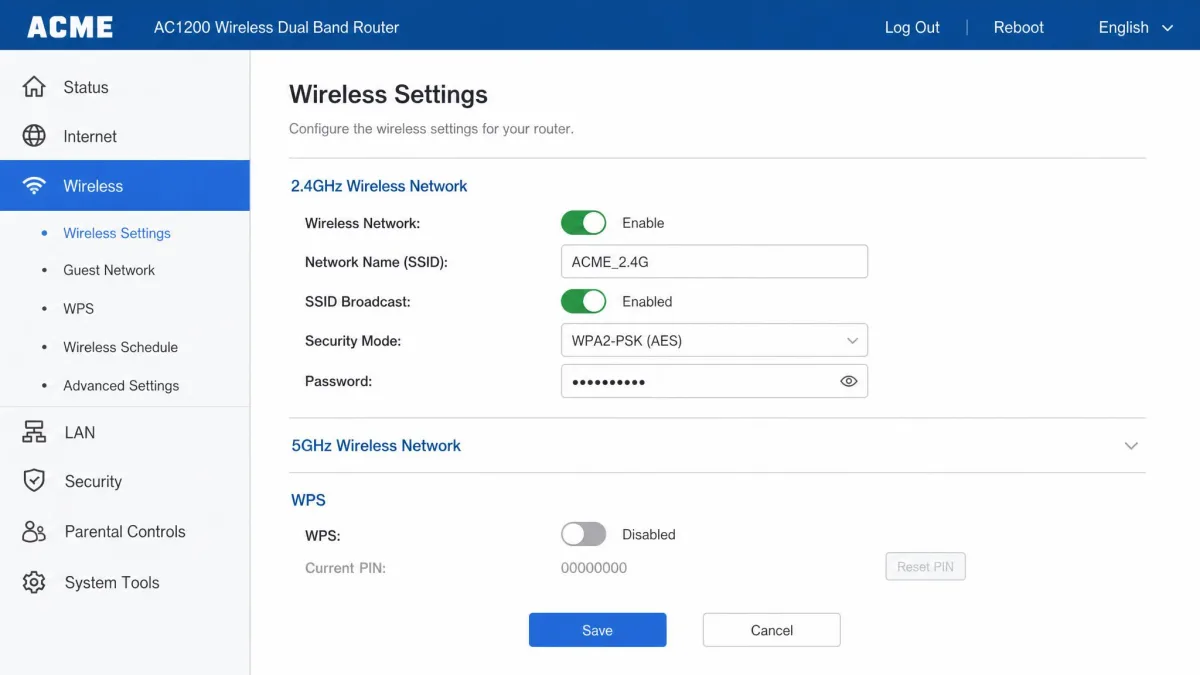
The more important setting here is WPS, or Wi-Fi Protected Setup. It makes connecting easy, but it hands an attacker a shortcut: the WPS PIN is only 8 digits, and a design flaw lets an attacker learn when the first 4 digits are correct, cutting the search space to roughly 11,000 guesses. Look for WPS or WiFi Protected Setup under Wireless Settings and set it to Off or Disabled.
5. Set Up a Guest Network for Visitors and Smart Devices
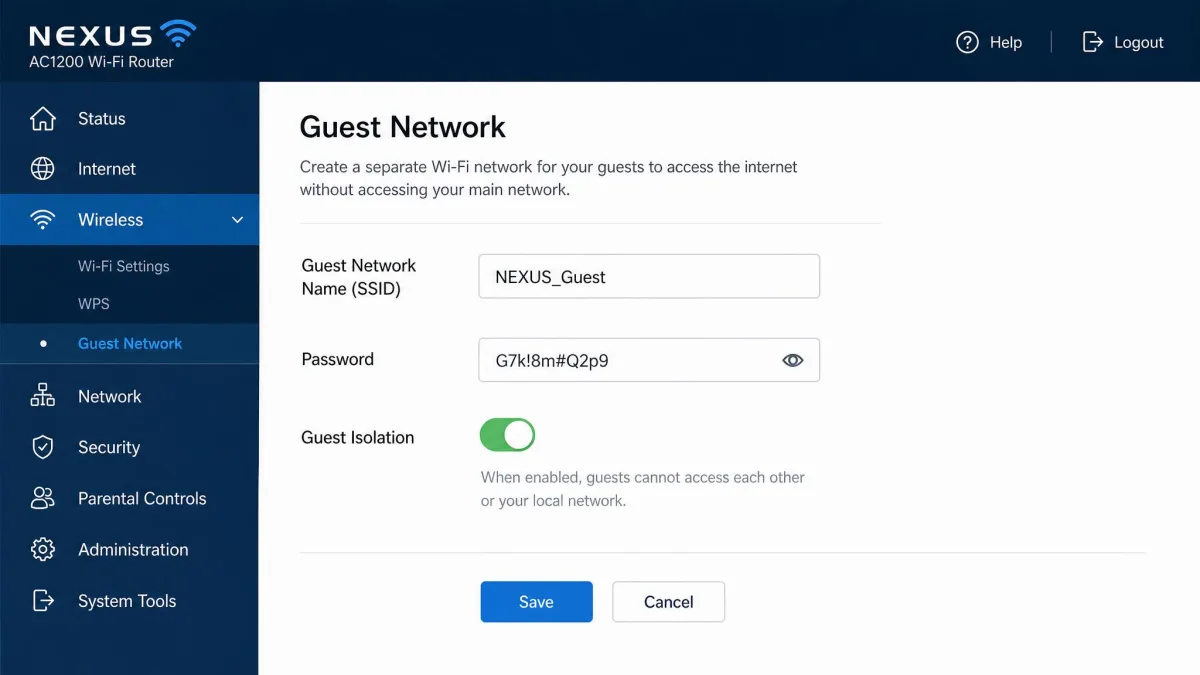
A guest network is a separate wireless network with its own name and password, and devices on it typically cannot reach devices on the main network. You never hand the main password to visitors, and a compromised guest device cannot easily spread to the rest of your network.
Smart-home devices are the other reason to use one. Many have weak security and infrequent updates, so keeping them isolated from your phones and computers limits the damage.
In the admin panel, look for Guest Network and enable it. Give it its own name and password, and select the same encryption you use on the main network. If the router offers guest isolation or AP isolation, turn it on. Turn the guest network off when you are not expecting visitors, because unused guest modes are often not secure by default.
6. Keep Firmware Updated and Disable Remote Access
Router firmware updates routinely include security patches, and many modern routers apply them automatically. Enable automatic updates when you can; if your router no longer receives updates at all, it is time to replace it.
The upgrade path differs by brand. On TP-Link routers, firmware upgrades run from the management page at Advanced, System, Firmware Upgrade, or from the Tether app at More, System, Firmware Update.
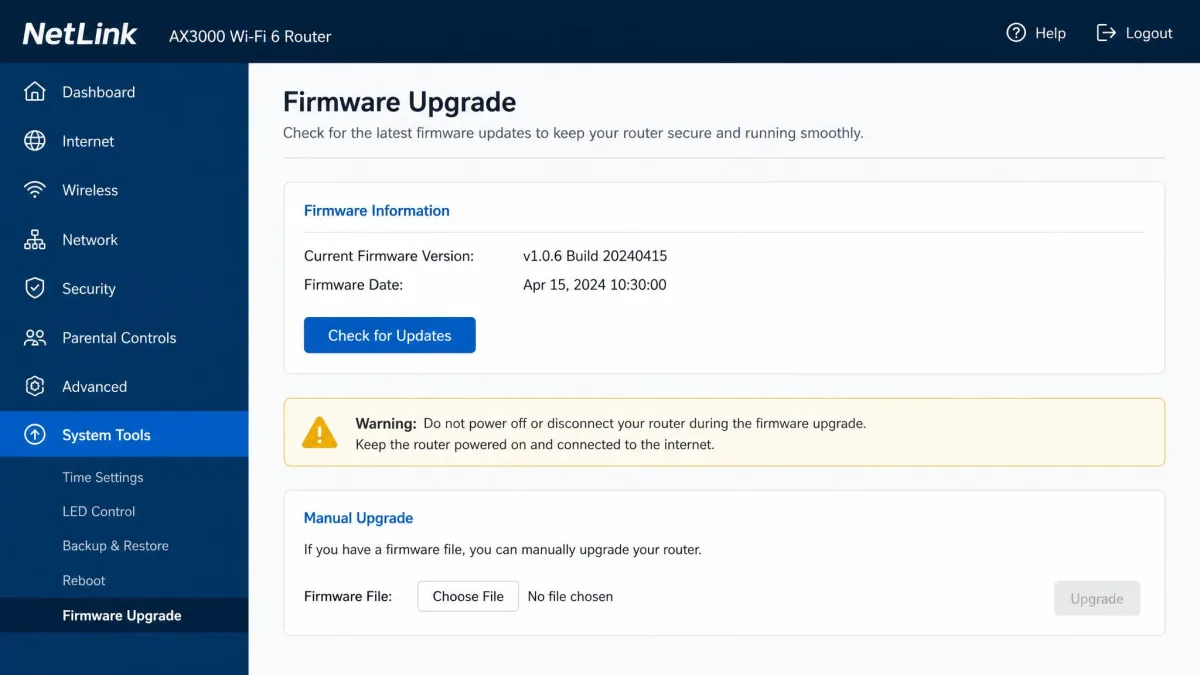
Run an upgrade over a wired connection with the power left on, because interrupting it can damage the router. Upgrades occasionally reset the router to factory defaults, so back up the configuration first if you can. Then disable remote management, the setting that lets people log in from outside your home: look for Remote Management, Remote Access, or Access from WAN and set it to Off. Turn off UPnP under Advanced settings too, since it lets devices open ports without your review. If you worry about someone reaching your devices, our guide on how to stop someone from accessing your devices remotely covers the next steps.
If the router's settings already look modified, with unfamiliar DNS servers, remote management enabled, or port-forwards you did not create, a factory reset followed by a clean setup is safer than patching over the changes.
7. Optional Extras: Reduce Signal Range, Add a Firewall, Use a VPN
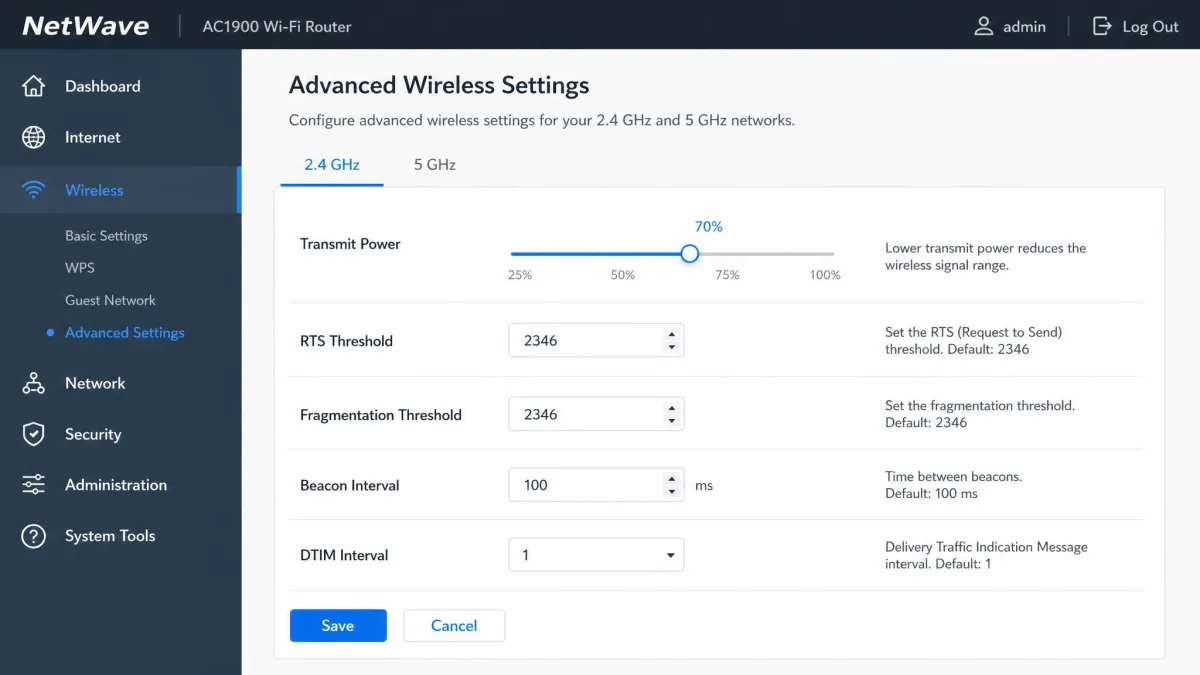
To shrink your network's footprint, start with the 2.4GHz band: it travels farther and penetrates walls better than 5GHz, so it is the band most likely to reach neighboring spaces. Routers also default to near-full transmit power, and lowering it shrinks the signal footprint. Look for Transmit Power or Output Power and lower it, then check your devices still get a strong signal where you need it. Placement matters too, since a router near a window or exterior wall leaks the signal farther outside.
Most routers include a built-in firewall, usually on by default, so confirm it is enabled in the admin panel. The NIST guidance on security controls for information systems makes the same point in plainer terms: security works best as layers rather than one setting.
A VPN encrypts your outbound traffic so it is harder to snoop on what you do online, but it does not stop a neighbor from connecting to your Wi-Fi or protect you from an attacker already on the network. Treat it as an extra layer, not a fix on its own. Our guide to using a VPN as an extra layer of network security covers the options.
FAQ: Protecting Your Wi-Fi from Neighbors
How can I tell if my neighbor is using my Wi-Fi?
How do I block a specific device from my Wi-Fi?
Should I turn off WPS?
Can I hide my Wi-Fi from neighbors?
How often should I change my Wi-Fi password?
Is it illegal to kick someone off my Wi-Fi?
Do I need to change my router admin password?
Final Thoughts
Most of the fixes in this guide are one-time jobs. Set a strong Wi-Fi password with WPA3 or WPA2-AES, change the admin login, and check the connected-device list. Add a guest network, disable WPS and remote access, and turn on automatic firmware updates. The optional extras, like lowering transmit power and using a VPN, are worth adding when they fit your setup.
You do not need to do everything at once. Start with the password and admin login, since those close the most common entry points, then work through the rest. Do that and your network stops being the easy target on the street, and the neighbors stay off your Wi-Fi for good.