If you've spotted a device on your WiFi that you don't recognize, you can block it without resetting the password for everyone else, whether the connection belongs to a neighbor using your password, a smart-home gadget on the wrong network, or a device you don't want around.
Your router has the tools to cut it off, and this guide walks through all five blocking methods, including Access Control, MAC address filtering, a password change, a guest network, and parental controls, with brand-specific steps for TP-Link, Netgear, Linksys, and ASUS routers.
Why Block a Device from Your WiFi?
An unknown device on your network is not always a threat, since a visitor's phone can auto-connect, a game console can wake up to download updates, and a smart plug can grab the wrong network after a power blip. Sometimes the stranger is a real problem, because a neighbor on your password is using your bandwidth and putting your network at risk, while a compromised gadget can reach your other devices, and blocking that specific device fixes the issue without touching the rest of the network.
It is a home-scale version of the NIST security and privacy controls discipline that IT teams apply to business networks, and the methods below let you act on it in minutes.
What You Need Before You Start
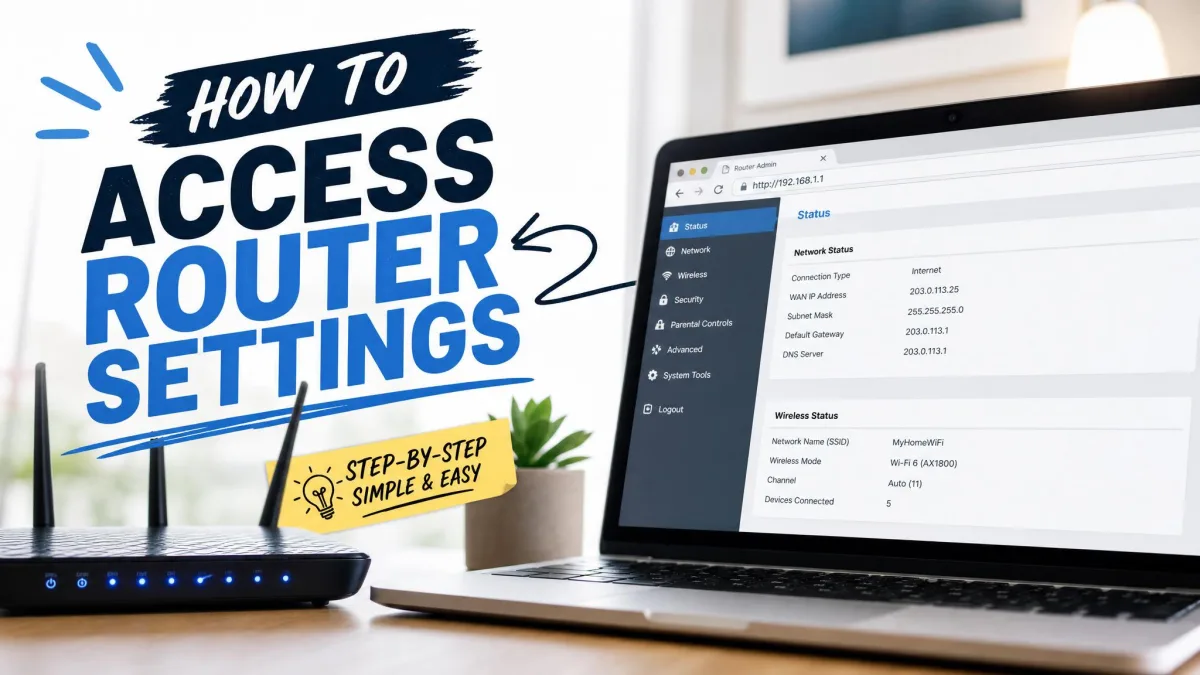
To block a device you need two things, access to the router's admin panel and a way to identify the device, and the admin panel is where every blocking method lives. Start by typing your router's gateway IP into a browser, most commonly 192.168.1.1 or 192.168.0.1, though some brands use dedicated addresses like tplinkwifi.net or routerlogin.net, and then log in with the admin user name and password, remembering that some older units still use factory defaults like admin/admin while newer routers force a custom one.
You'll also need to identify the device in the router's list by name, IP, or MAC address, which the next sections show you how to do.
Method 1: Block a Device with Router Access Control
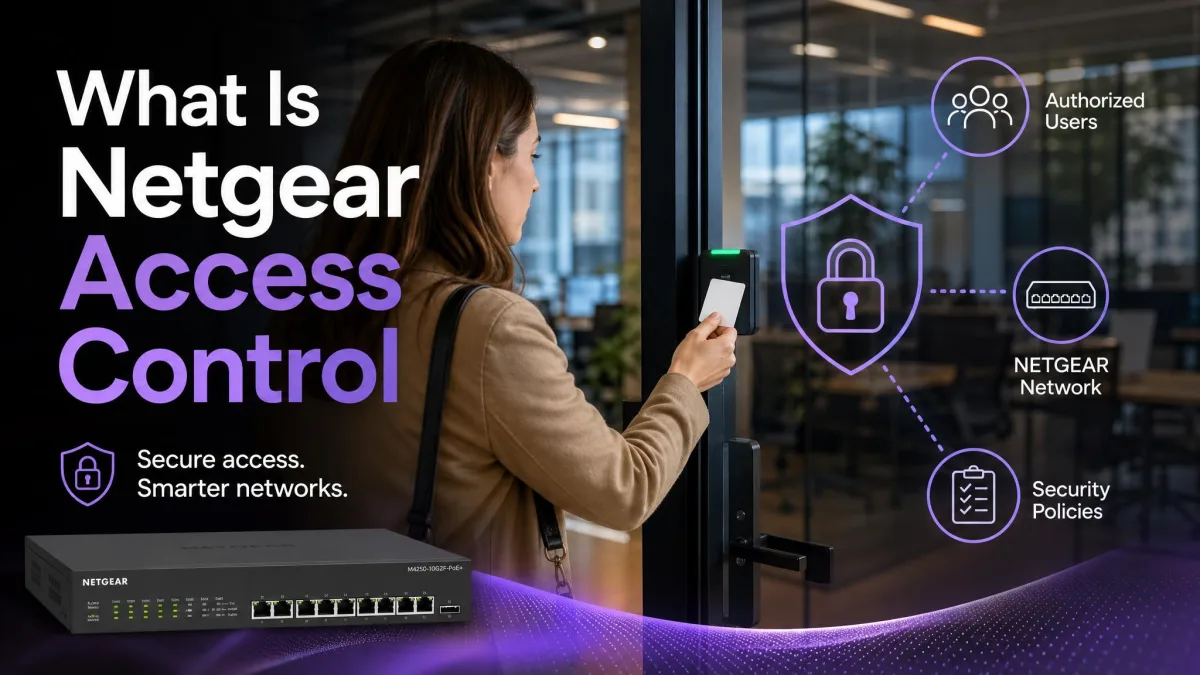
Access Control is the cleanest way to block a single device, because it keeps a per-device list on the router and works without changing the WiFi password for anyone else.
Access Control runs in one of two modes, where a deny list blocks the devices you add while an allow list blocks everything you haven't added, so in allow-list mode any device that is not on the list cannot connect even if it can detect the network.
How to Log In to Your Router's Admin Panel
- Connect to your WiFi, open a browser, and type the router's admin address.
- Enter the admin user name and password, or find the default on the router's label.
- You're in when the dashboard loads.
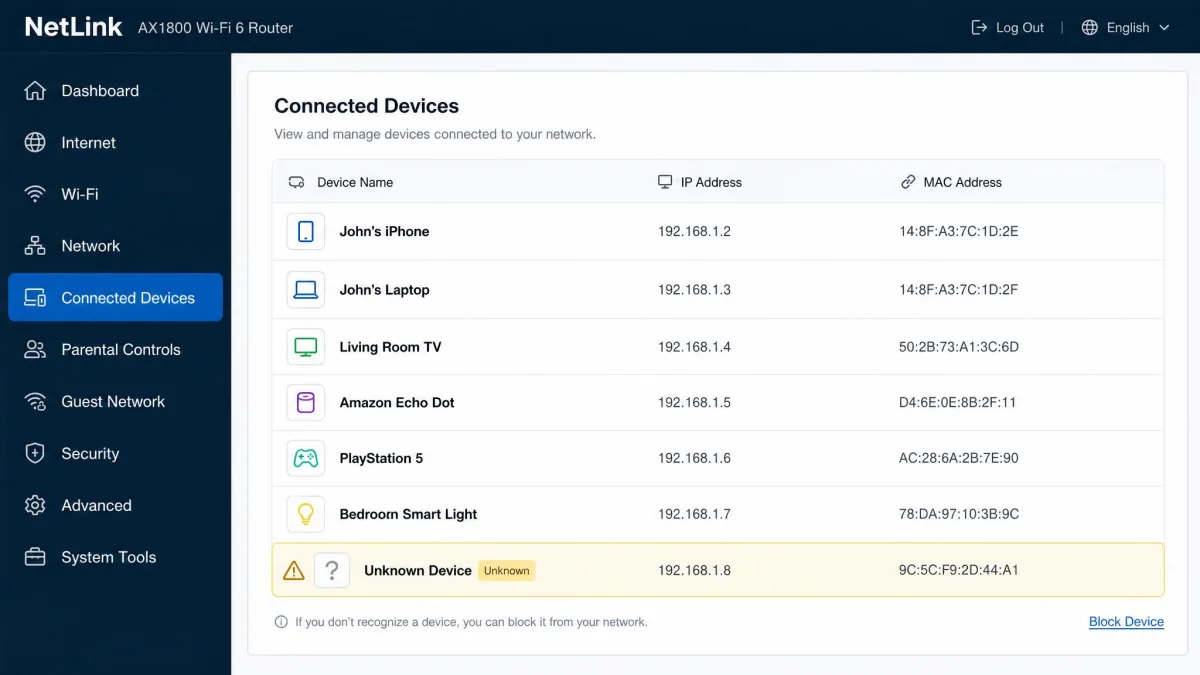
How to Find the Connected Devices List
- Open the device list, labeled Connected Devices, Device List, Attached Devices, DHCP Client List, or Network Map.
- Note each device's name, IP, and MAC address.
- Match the entry to the device you want to block.
Block the Device (Allow/Deny List)
- Open Access Control, usually under Security or Advanced Settings.
- Choose Deny List to block specific devices or Allow List to lock the network to your own gear.
- Select the device, or enter its name and MAC manually.
- Save, and on most routers the block applies right away; if it doesn't, restart the router.
Method 2: Block a Device Using MAC Address Filtering
MAC address filtering blocks a device by its hardware address, since every network interface has a 12-digit hexadecimal MAC address commonly written like 00:1B:63:84:45:E6, and with filtering on the router checks each device's MAC against the list. It's a good fallback when your router lacks Access Control, and it works without changing the WiFi password.
How to Find a Device's MAC Address
You can get a device's MAC address from the router's connected-device list or from the device itself, and it pays to compare the address you find against the router's own list because the address a device shows in its own settings is not always the one the router recorded.
- Copy the MAC address next to the device in the router list.
- On the device, look in the network or About settings, and on Windows run ipconfig /all and read the Physical Address.
- Keep it handy for the filter step.
Enable MAC Address Filtering on Your Router
- Open the wireless settings and find MAC Filtering or Wireless MAC Filter.
- Enable it, then choose Deny to block listed addresses or Allow to permit only listed ones.
- Add the device's MAC address, apply, and save.
Pros and Cons of MAC Filtering
Pros
- Blocks a device without changing the WiFi password
- Works on routers without a separate Access Control section
- Stops a known device from reconnecting
Cons
- Not a security control, because MAC addresses can be cloned or spoofed
- Phones with randomized MAC addresses can slip past a block
- Keeping the list current gets tedious as devices change
Method 3: Change Your WiFi Password (The Nuclear Option)
Changing the WiFi password is the nuclear option, and it is the only method that reliably stops someone who knows the current password, because it forces every device off the network, including your own, and blocks a determined user from reconnecting a new device since the password they had no longer works. The catch is the reconnect round, and on the networks we've managed, reconnecting all your own gear is the tedious part of the job.
- Log in to the router admin panel.
- Replace the WiFi password with a new, strong one.
- Save, and every device drops off.
- Reconnect your own devices and share the new password only with people you trust.
To remove just one device, use Access Control or MAC filtering instead, since a password change punishes your whole household for a single connection.
Method 4: Set Up a Guest Network to Isolate Devices
A guest network is a separate SSID that gives visitors internet access while isolating them from your main network's devices, and it's the low-friction workaround because you change only the guest password to eject a guest while your own gear stays connected. It's also a good home for smart-home gadgets, which often ship with weak security.
- Open the wireless settings and find the guest network option.
- Enable it and set its own name and password.
- Connect the visitor's device to it.
- To eject a guest, change just the guest password.
Method 5: Use Parental Controls and Scheduling
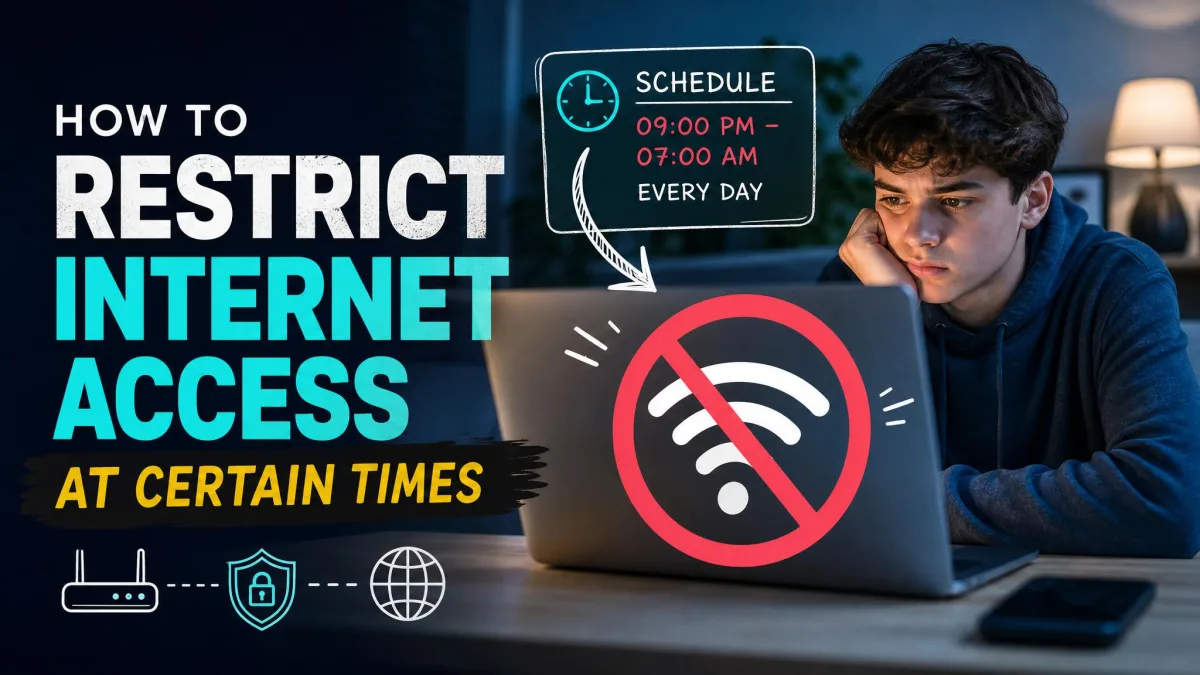
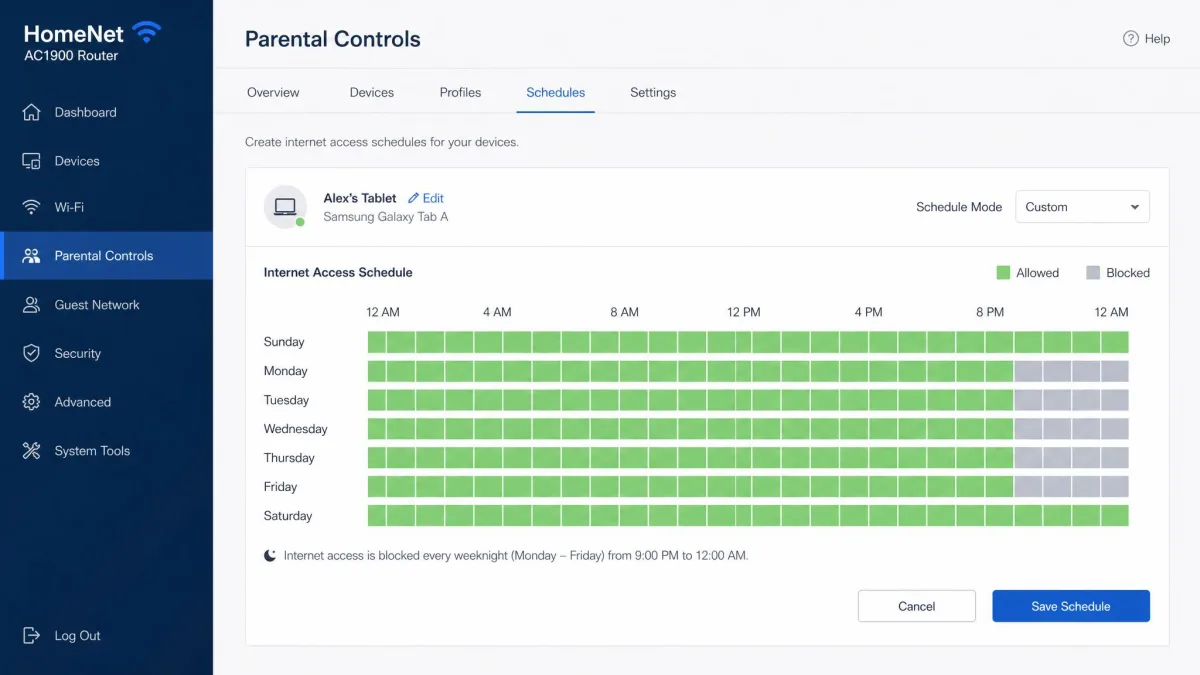
Parental controls are a time-based block rather than a permanent one, since they restrict a device's internet access by day and time, which suits kids' screen-time limits or shutting a console off overnight. Most routers keep these in a parental controls or access-schedule section, and on Google Wifi and Nest Wifi the Google Home app lets you pause a device on Google Wifi for a set amount of time, though pausing stops the internet without disconnecting the device from the WiFi itself.
- Open parental controls in the admin panel or the router's app.
- Add the device.
- Set allowed days and times.
- Save, and the block engages when the window ends.
How to Block a Device with a Mobile App
Most router brands ship a companion app that mirrors the admin panel, and TP-Link's Tether app, Netgear's Nighthawk app, and the ASUS Router app put blocking a tap away by using the router's own Access Control, so the block is as reliable as one made in the admin panel. Third-party apps are different, because Fing needs a Fingbox or an agent on the network and its scan refreshes roughly every five minutes, so a block can take a while to show, and aggressive tools like NetCut can be sidestepped by router protections and, in our experience, can slow or even crash the router.
If your router has none of these options, a newer router with Access Control built in makes the job simpler.

Router-by-Router Instructions (TP-Link, Netgear, Linksys, ASUS)
Exact menu names vary by model and firmware, but the path stays consistent within each brand.
TP-Link (Tether App / Access Control)
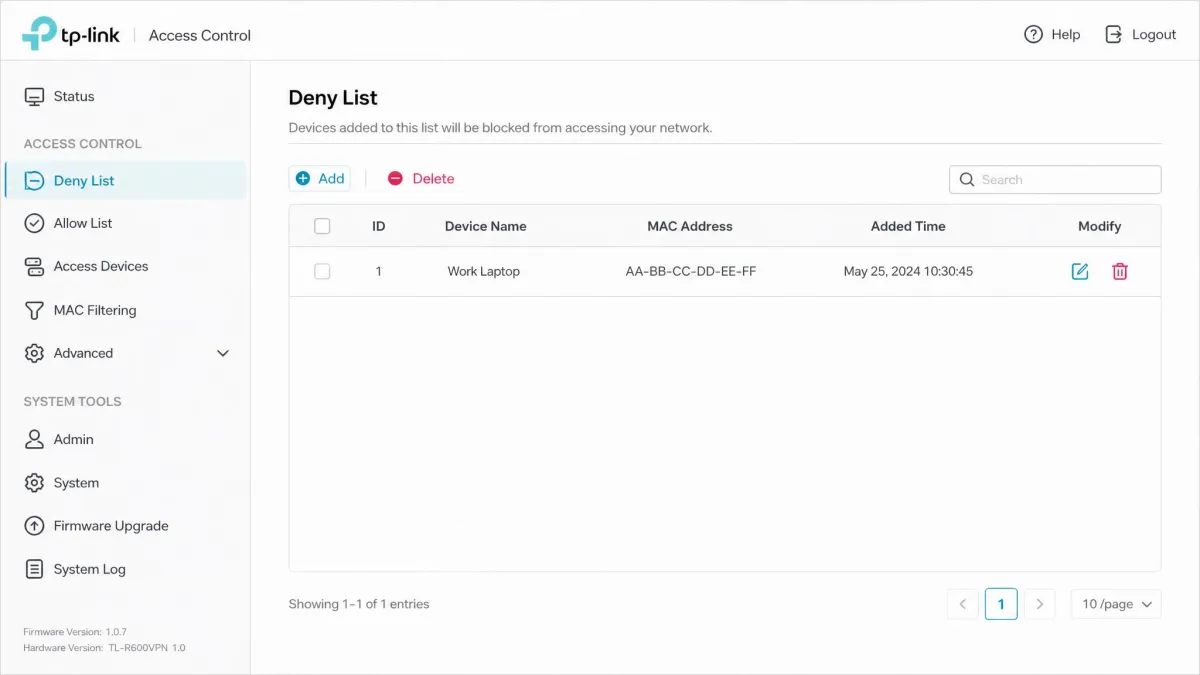
On TP-Link routers, open Advanced > Security > Access Control, enable the toggle, and choose the Deny List to block specific devices or the Allow List to allow only listed ones, then add devices from the Online Devices table or enter a name and MAC manually, knowing that in Allow List mode any device not listed cannot connect even if it can see the network. TP-Link's TP-Link Access Control (Deny List) walkthrough covers both modes.
- Go to tplinkwifi.net and log in.
- Open Advanced > Security > Access Control.
- Choose Deny List or Allow List.
- Add the device and save.
The Tether app offers the same control, since on Wi-Fi 6 and newer routers you use the Block List while on older models you swipe left on a device in the Clients list, and on some older TP-Link models a blocked device still connects to the WiFi and just loses internet access.
Netgear
Netgear Nighthawk routers use Access Control too, so log in at routerlogin.net with user name admin, then open ADVANCED > Security > Access Control, turn it on, and choose to allow all new devices or block all new devices, and Netgear's Netgear Nighthawk Access Control page documents the setup. Add your own devices to the allowed list before switching to block-all, or you'll lock yourself out, and keep the checkbox on, because a cleared checkbox silently lets every blocked device back online.
Linksys
Linksys calls it MAC filtering, so open Wireless > MAC Filtering, enable it, choose Deny for listed addresses or Allow for ONLY listed addresses, add the MAC address, and apply, though on newer models the same setting lives under Wireless > SSID > MAC Address Filtering. Enabling filtering disables WPS, and the classic interface caps the list at 31 MAC addresses while newer firmware doesn't document a limit.
ASUS
On ASUS routers, open Advanced Settings > Wireless > Wireless MAC Filter, set the filter to Yes, pick Reject to block listed devices or Accept to allow only listed ones, choose the device or type its MAC, and apply, while on newer firmware and ZenWiFi models the same options live under General > Network after you log in at router.asus.com. For time limits, open AiProtection > Parental Controls and set allowed days and times.
What to Do If the Device Keeps Reconnecting
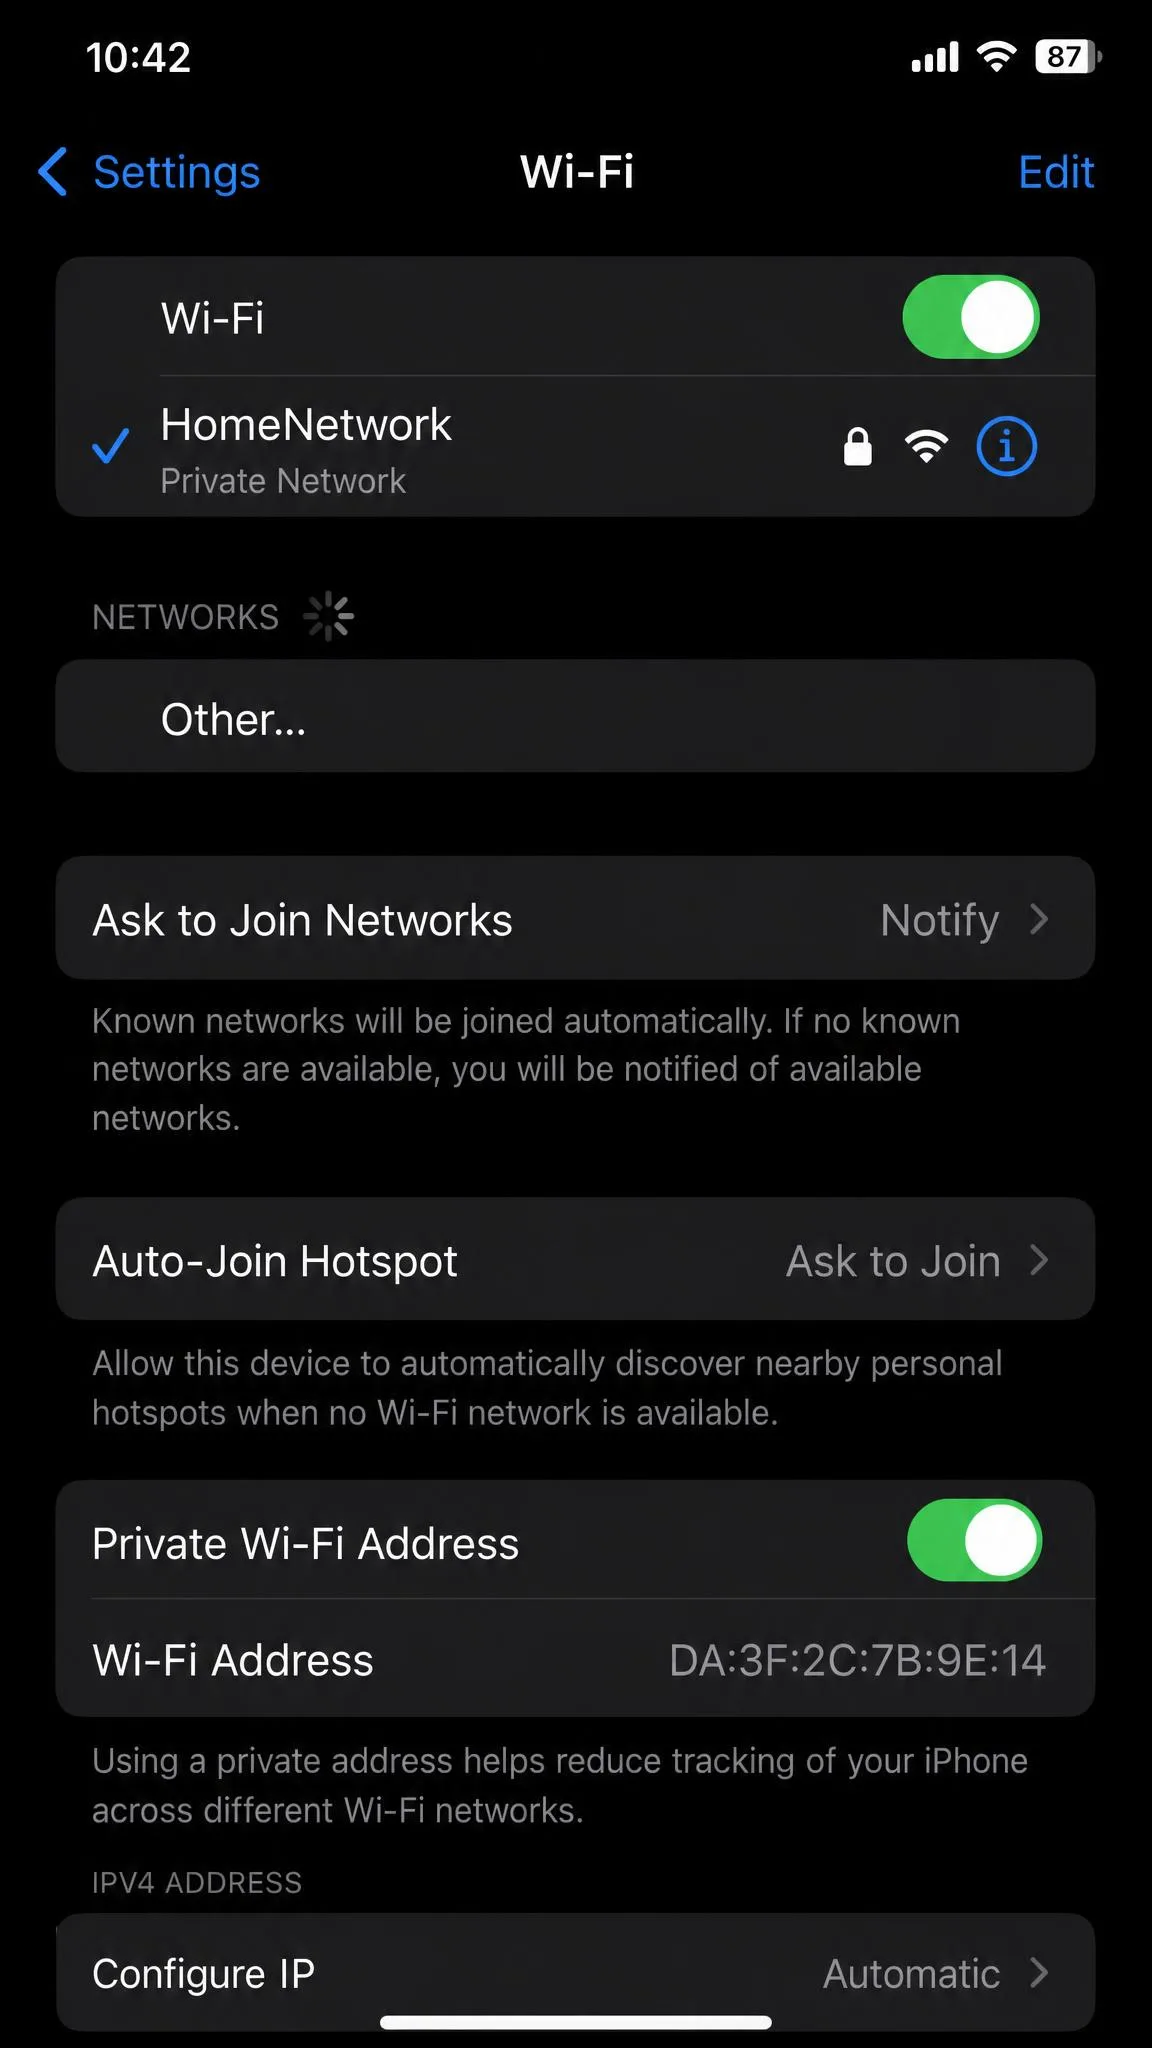
If a blocked device keeps coming back, the block usually isn't the problem but the workaround is, and the common causes are MAC randomization on modern phones and deauthentication-style kicker apps. A phone with MAC randomization can rejoin as a brand-new device, since an iPhone with iOS 14's Private Wi-Fi Address enabled keeps a fixed random MAC per network, so the block holds until the network is forgotten or reset, while Android and Windows devices are more likely to rotate addresses and slip past a MAC-based block.
A Wi-Fi deauthentication attack only forces a temporary disconnect, and the client automatically reconnects, so in our experience kicker apps are not a permanent fix and a password reset is the real remedy, though routers with 802.11w protection make these attacks harder to pull off.
If a specific device keeps reappearing and it isn't a MAC-randomization ghost, change the WiFi password and reconnect your own gear, because it's the one method that reliably stops a determined user.
Frequently Asked Questions
Can I block a device without changing my WiFi password?
Can someone bypass the block (MAC spoofing)?
Why does the MAC address on my phone differ from the one shown in the router's list?
What if my router doesn't have a blocking option?
How can I see who is connected to my WiFi?
Is it illegal to kick someone off my WiFi?
Why is my WiFi slow?
Final Thoughts
Blocking a device is usually a two-minute job once you know where the setting lives, so start with Access Control or MAC filtering to remove one device quietly, use the guest network for visitors and IoT gear, and change the WiFi password when a device keeps coming back. Every method here runs on the router you already own, so apply the one that fits, and then check the device list a day later to confirm the block held.