You have a WireGuard server or a provider config in hand, and now you need your Mac to use it. That last mile trips people up more than the server ever does. WireGuard's official macOS client keeps the whole process short and predictable, and this is the step-by-step path we follow on our own test Macs.
What You'll Need (Prerequisites)
- A Mac running macOS 12.0 or later, which the current WireGuard app requires.
- Your tunnel configuration: a
.conffile, or the raw settings (keys, endpoint, allowed IPs). - Admin access, since the app needs your approval to manage a system VPN.
If you self-host, make sure the server is running. WireGuard peers use UDP port 51820 by default, so that port must be open.
WireGuard does not include VPN servers. It is the client that connects your Mac to a server you run yourself or get from a provider. You need a config before this guide is useful.
Step 1: Download and Install the WireGuard App
The client is free, small, and published by WireGuard LLC.
Installing from the Mac App Store
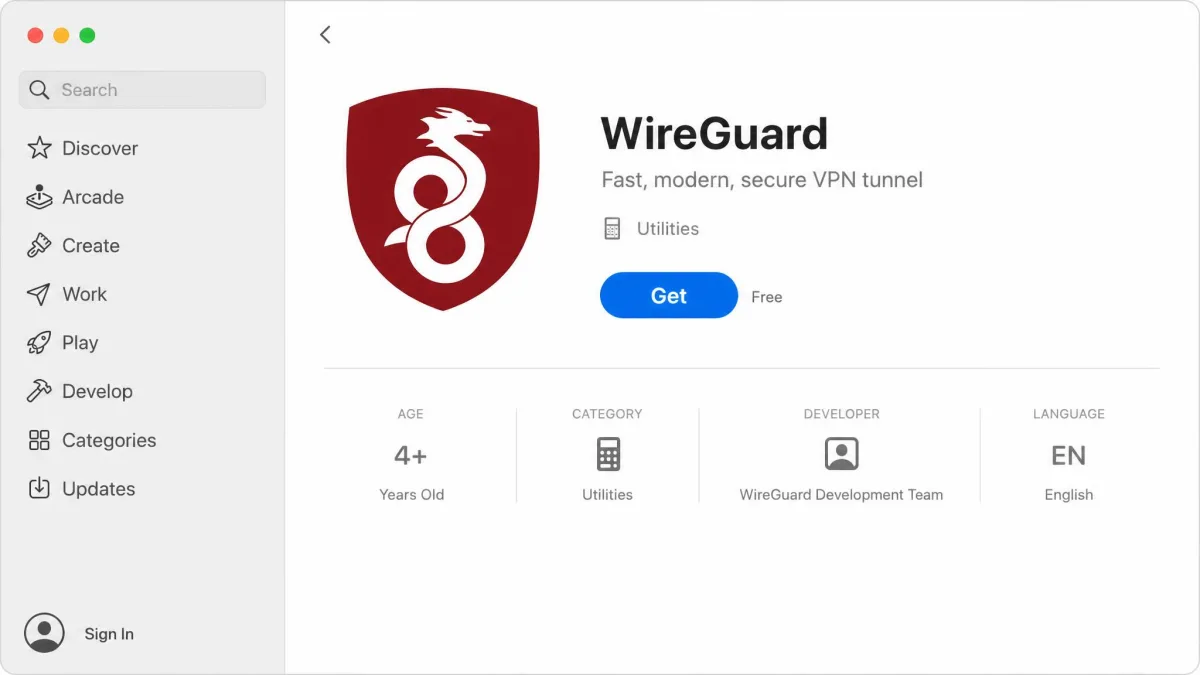
Search for WireGuard and download the official WireGuard app on the Mac App Store. It is listed under Utilities and free to install. Launch it and look for the WireGuard icon in your menu bar, where you will spend most of your time.
Installing via Homebrew (optional / advanced)
If you prefer the command line, Homebrew installs the CLI tools with brew install wireguard-tools. That gives you the wg and wg-quick commands but not the menu-bar app, so most users should stick with the App Store version. Both options appear on WireGuard's official installation page.
Step 2: Get or Create Your Tunnel Configuration
A WireGuard tunnel is a plain-text .conf file with an [Interface] section for your Mac and a [Peer] section for the server. You either import one or build it in the app.
Importing a .conf configuration file
If your provider gave you a .conf file, move it to your Mac over SCP, SFTP, or an encrypted message rather than plain email. In the app, choose Import tunnel(s) from file and select it. This loads every setting at once and avoids the retyping that causes most mistakes.
Adding an empty tunnel and entering settings manually
No file? Click the plus button and choose Add empty tunnel. The app auto-generates your keypair, so the private and public keys are filled in for you rather than typed by hand. Copy the public key it shows, because your server needs it.
Configuration here is plain text-field editing, not a guided wizard. A single typo in a key or endpoint quietly stops the tunnel from connecting, so paste values rather than retype them.
Step 3: Add Your Server (Peer) Information
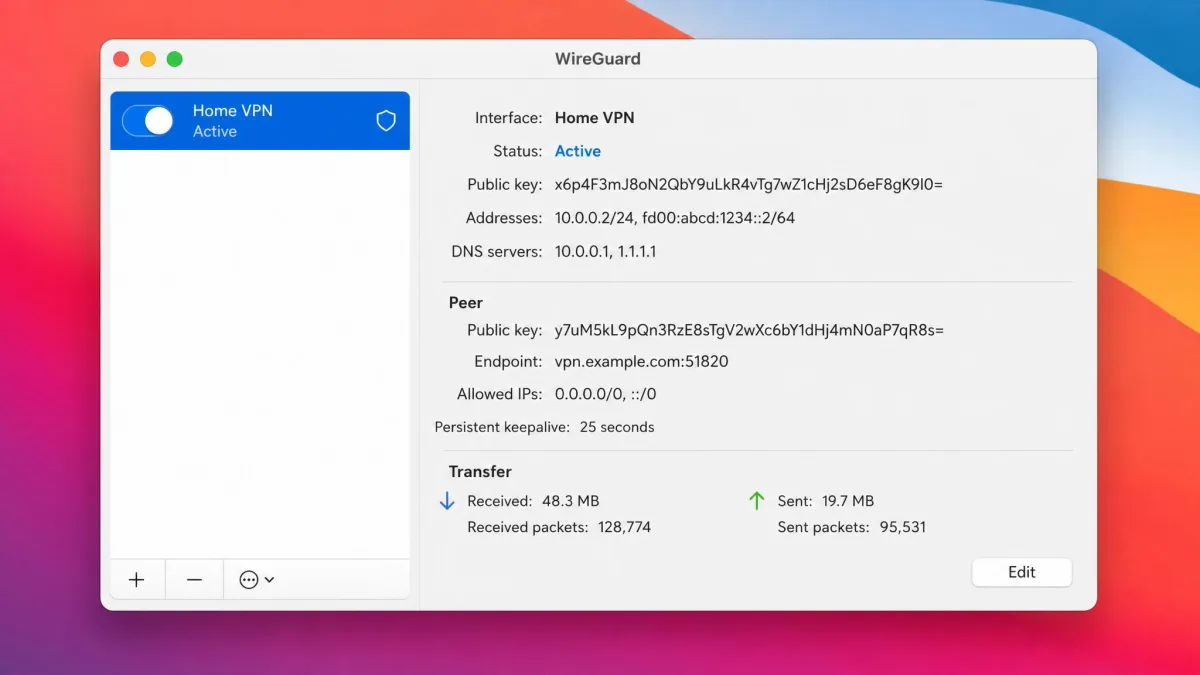
In the [Peer] section, enter the server's public key, its Endpoint as an address and port (for example vpn.example.com:51820), and the AllowedIPs. Use 0.0.0.0/0, ::/0 to route all traffic through the VPN, or a narrower range for split tunneling.
If your Mac sits behind a home router, add PersistentKeepalive = 25. That 25-second value holds the NAT-bound connection open and prevents the drops we see most often on home networks.
One step is easy to miss: the server also has to register your Mac's public key and its assigned VPN IP. Skip that and the tunnel silently fails from the server side, even when your Mac's config is perfect.
Step 4: Activate and Connect the VPN
Flip the tunnel's activation switch to On. The first time, macOS pops a permission prompt to allow the VPN configuration. You must press Allow, or WireGuard cannot manage the connection through the macOS Network Manager.
Once approved, the status indicator turns blue when the connection is live. From then on, the menu-bar icon gives you a quick on/off toggle without opening the main window.
Step 5: Test and Verify Your Connection
A blue light means connected, not necessarily private. Two quick checks confirm your traffic is protected.
Checking for DNS leaks
Run a DNS leak test in your browser. The servers it reports should belong to your VPN, not your home ISP. If your ISP shows up, your DNS is leaking; you can edit the DNS servers directly in the app's tunnel settings.
Confirming your IP and speed
Search "what is my IP" and confirm the address matches your VPN server's location, not your real one. Then run a speed test with the tunnel active. Some drop is normal; a connection that stalls usually points back to the server rather than the app.
Troubleshooting Common Issues
- Won't connect at all. The cause is almost always a wrong server endpoint or port, not the client. Recheck the address and that UDP 51820 is open.
- Connects, then keeps dropping. Add
PersistentKeepalive = 25to the peer when your Mac is behind NAT. - Connected but no internet. Check your
AllowedIPsand confirm the server registered your Mac's public key and VPN IP. - No permission prompt. If macOS never asked to allow the VPN, remove and re-add the tunnel to trigger it again.
Conclusion
Setting up WireGuard on a Mac comes down to four moves: install the app, load your tunnel, add the server's peer details, and verify with a DNS and IP check before you rely on it. The client stays out of your way once it is running. If the tunnel ever misbehaves, start at the server endpoint and the keepalive value, since that is where the trouble almost always hides.