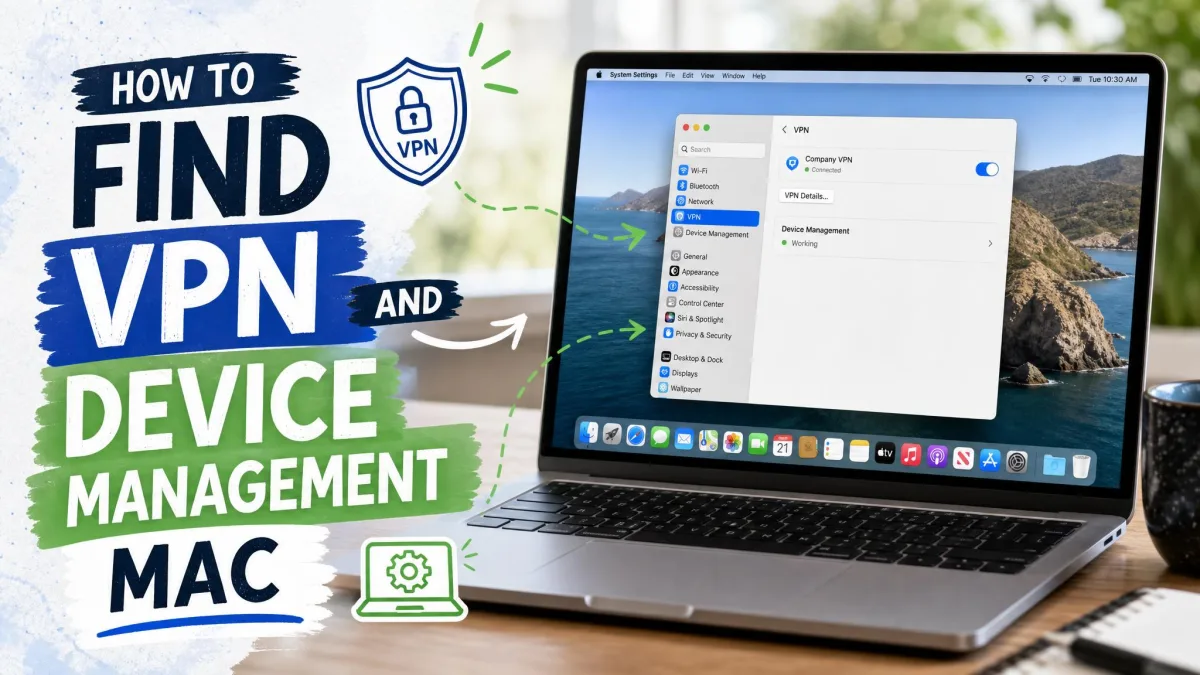
"VPN & Device Management" describes two related jobs on an Apple device: routing your network traffic through a secure VPN tunnel, and letting an organization apply configuration profiles that manage how the device behaves. On an iPhone or iPad, both sit under a single menu with that exact name. On a Mac, the two functions are split across different panes, which is the first thing that trips people up when they go looking.
We work through this topic the way we test every VPN at HTS, by clicking through the actual settings and confirming where each control lives. There is no single Mac menu literally named "VPN & Device Management." That label belongs to iOS and iPadOS. On macOS you use the VPN pane for connections and the Profiles pane for device management, and we will show you both, then walk through adding, changing, and removing each one.
Where VPN & Device Management Lives on a Mac
The naming difference matters, so start by knowing which platform you are on. The wording you see in a support article often assumes an iPhone, which sends Mac users hunting for a menu that does not exist under that name.
If a tutorial tells you to open "VPN & Device Management" on your Mac and you cannot find it, you are reading iPhone instructions. On macOS the same two jobs are handled in two separate places.
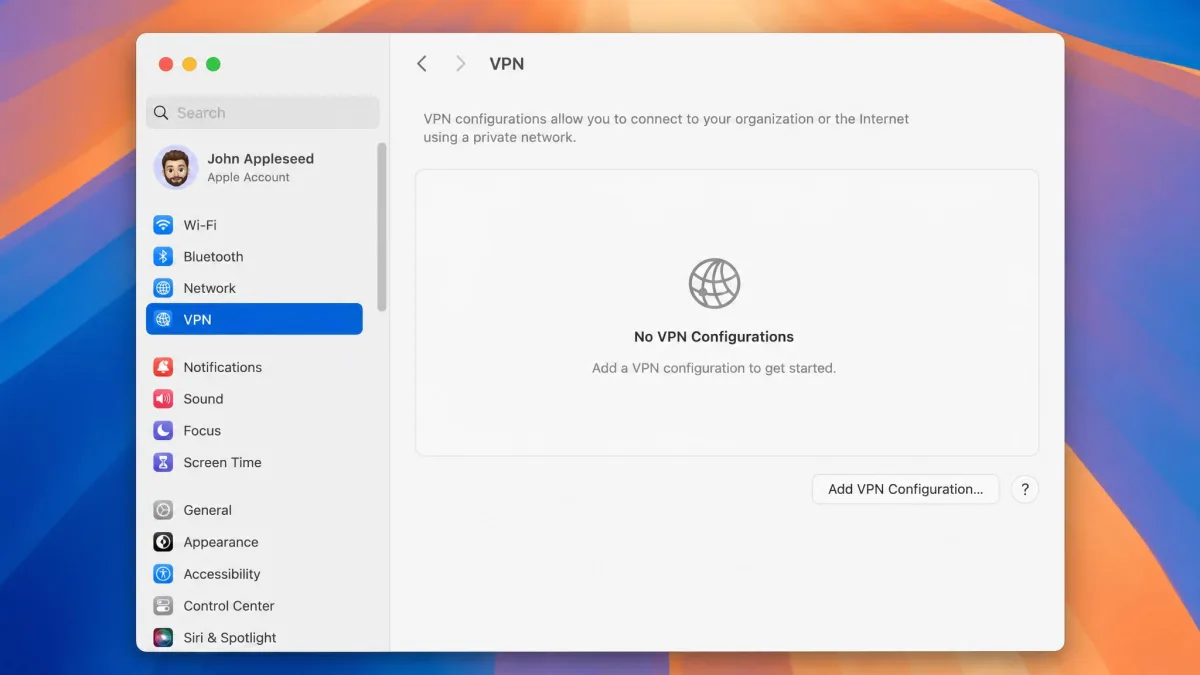
On macOS: System Settings > VPN and Privacy & Security > Profiles
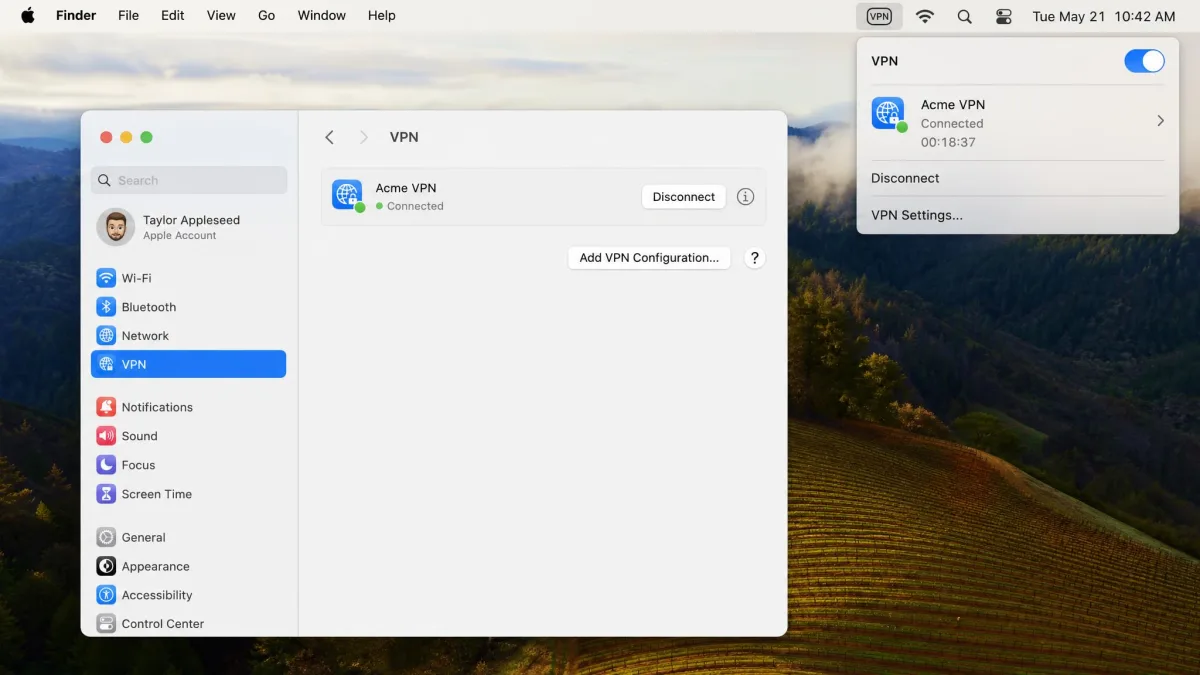
To find your VPN connections, open the Apple menu, choose System Settings, then select VPN in the sidebar. The VPN entry sits partway down the sidebar and is easy to scroll past, so it often takes a second look to spot. Any saved connections appear here, and this is also where you add a new one.
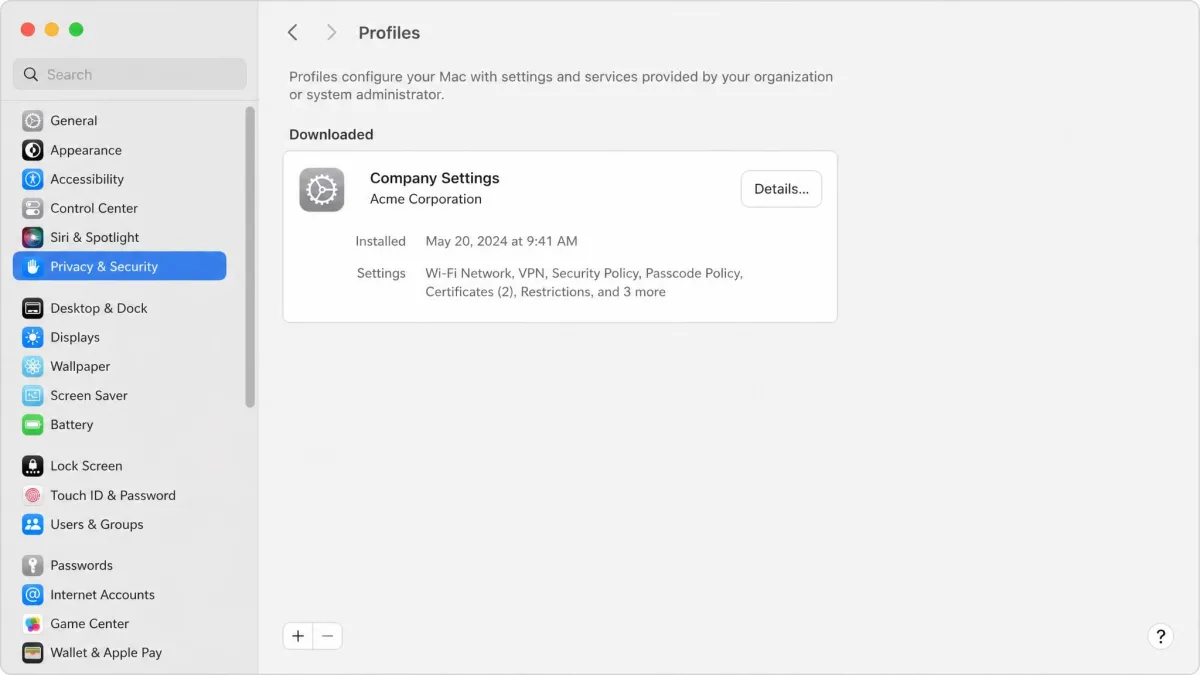
To find device-management profiles, open System Settings, go to Privacy & Security, and scroll to Profiles. The Profiles pane stays hidden until a profile is actually installed, which is why many Macs show no Device Management section at all. If you have never enrolled your Mac with an employer, school, or MDM service, expect that pane to be missing, and that is normal.
The iPhone/iPad equivalent: Settings > General > VPN & Device Management
On an iPhone or iPad, both functions share one menu. To reach it, open Settings, tap General, then tap VPN & Device Management. From there you can tap VPN to add or edit a configuration, and any installed management profiles are listed below. Keep this path in mind, because most articles that use the full "VPN & Device Management" phrase are describing this iOS screen, not your Mac.
What VPN and Device Management Actually Do on a Mac
A VPN, or virtual private network, encrypts your Mac's internet traffic and routes it through a remote server, which hides your real network address and protects data on untrusted connections. This is the piece you control yourself, one connection at a time.
Device management is different. A configuration profile is a file that sets policies on your Mac, such as VPN settings, restrictions, or certificates, usually pushed by an employer or school through a mobile device management (MDM) service. Unlike Windows, macOS has no centralized Device Manager for hardware; connected devices are handled across System Settings, System Information, and these profiles.
Native tools like System Information and Activity Monitor show device and performance detail, but they offer no remote oversight. A business that needs to manage a fleet of Macs uses an MDM service instead.
How to Add or Change VPN Settings on Your Mac
You do not need a third-party app to run a VPN on a Mac. The built-in VPN pane supports IKEv2, Cisco IPSec, and L2TP over IPSec, so if your provider or workplace hands you those details, you can set the connection up directly. You can review the exact steps in Apple's guide to change VPN settings on Mac.
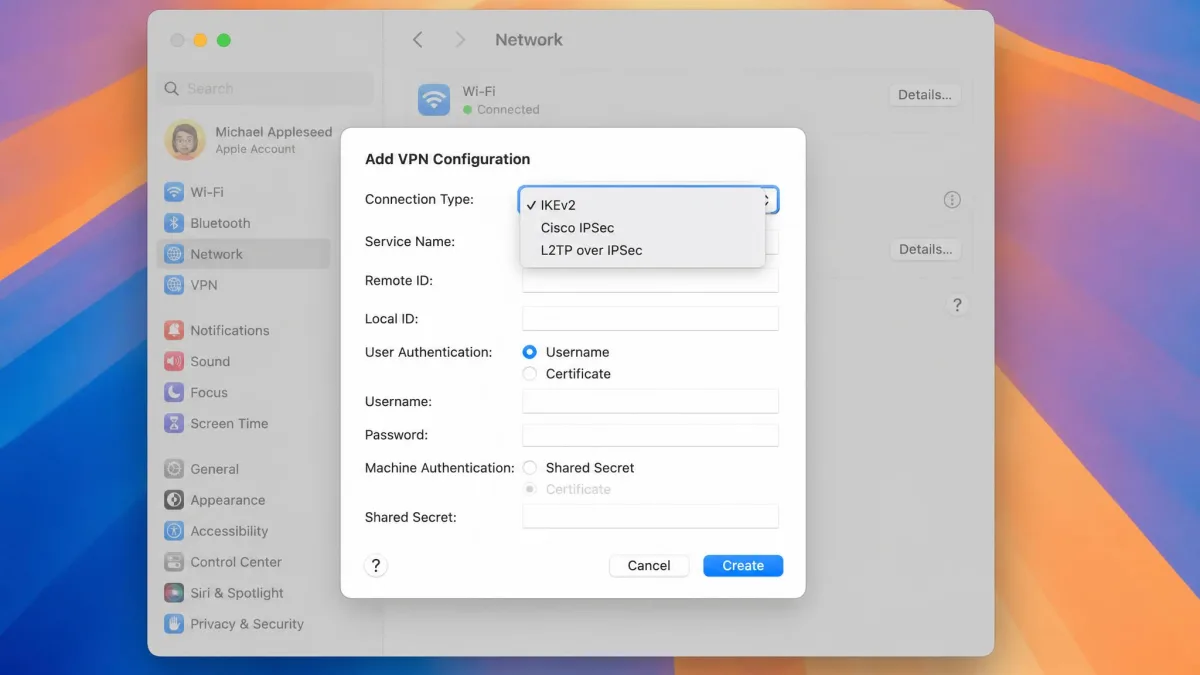
Adding a VPN configuration manually
To add a connection by hand, open System Settings, select VPN, then click Add VPN Configuration and choose your connection type. Enter a Display Name so you can recognize the connection later, then fill in the Server Address and Account Name your provider gave you.
Next, set the authentication. For Cisco IPSec you enter a password, while IKEv2 asks for a Remote ID and often a Local ID. The available fields change with the VPN type, so do not worry if your screen shows fewer boxes than a friend's. Save the configuration, and it appears in the VPN pane ready to switch on.
Importing a VPN configuration profile
Many providers and IT teams skip the manual work by shipping a configuration profile instead. To use one, double-click the profile file, then open System Settings, go to Privacy & Security, scroll to Profiles, and review and approve it. Approving the profile writes the VPN settings for you, which removes the chance of a typo in a server address or a shared secret.
Choosing the Right VPN for Mac
If your VPN is for personal privacy rather than a workplace requirement, you get to choose the service, and a few things matter more than the headline price. Look for a native Apple Silicon app, modern protocols, and a server network broad enough to give you fast options near you.
Protocol support is the piece we weigh first. WireGuard is the current speed leader, and you can read the technical background on WireGuard and the older, widely audited OpenVPN. Most leading Mac VPNs now offer WireGuard-based connections alongside IKEv2, which the built-in pane also handles.
The table below breaks down the three VPN setting fields you will meet whichever service you choose, because getting these right is what makes a manual connection work.
| Field | What it is | Required for |
|---|---|---|
| Connection type | IKEv2, Cisco IPSec, or L2TP over IPSec | Every manual VPN |
| Server Address | The VPN endpoint host your provider gives you | Every manual VPN |
| Authentication | Password, or Remote ID plus Local ID for IKEv2, a certificate, or a shared secret | Varies by connection type |
When you compare services, test a provider during its trial window on your own Mac before you commit. A network that looks fast on paper can still be slow to the servers closest to you.
How Managed (MDM) VPN Profiles Work
A managed VPN is deployed through an MDM service rather than typed in by hand. Apple's device-management payload supports IKEv2, IPsec, and L2TP, plus third-party clients such as Cisco AnyConnect, F5 SSL, Juniper SSL, Pulse Secure, Aruba VIA, and Check Point Mobile VPN. You can see the full field reference in Apple's Apple VPN device-management payload documentation, and a broader overview in VPN device management settings on Apple devices.
Settings pushed inside a management profile are locked, so you cannot change the VPN values the profile specifies. That is by design: it lets IT guarantee a consistent, secure configuration across every Mac, iPhone, and iPad it oversees. If you manage devices yourself, tools like Microsoft Intune can configure VPN via MDM on macOS with split tunneling, per-app VPN, and on-demand rules.
Configuration profiles from an employer or school
When an institution manages your device, it can install VPN configurations and management profiles across the hardware it owns, including iPhone, iPad, and Mac. On your Mac these appear under System Settings, Privacy & Security, then Profiles, and each one shows what it controls. Reviewing that list is the quickest way to see which policies an organization has applied.
Removing a device management profile
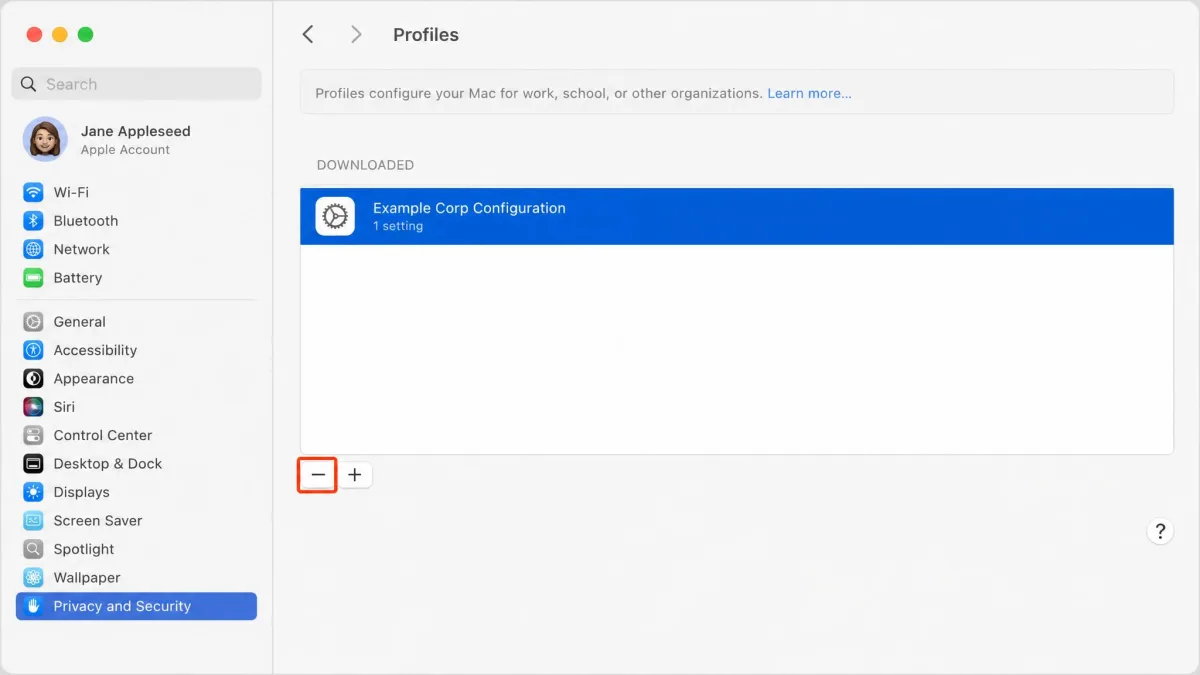
To remove a profile you installed yourself, open System Settings, go to Privacy & Security, scroll to Profiles, select the profile, and click the minus button. On a company-owned Mac, though, that minus control is greyed out or blocked, so employees cannot delete an employer's profile themselves. In that case only an IT admin can lift the management, usually by unenrolling the device.
Setting Up a VPN for Remote Management of a Mac
Sometimes the goal is the reverse: reaching your own Mac from somewhere else. A VPN gives that remote session a secure, encrypted path onto your home or office network before you connect to the machine itself.
Installing and configuring the VPN client
Install your VPN client the usual way, then watch for the permission prompt. Installing a VPN client triggers a permission grant under Security & Privacy that you have to approve before the connection will work, and it is easy to dismiss that prompt and wonder later why nothing connects. After you approve it, sign in and confirm the client shows an active connection.
One more setting is worth checking straight away. Auto-connect is off by default and has to be enabled manually, so the VPN can quietly stay disconnected until you turn it on. If you rely on the tunnel for remote access, switch auto-connect on so the link is up when you need it.
Enabling Remote Management in System Settings
With the VPN running, enable the remote session on the target Mac. Open System Settings, choose General, then Sharing, and turn on Remote Management. Set a password for connecting apps and configure the access permissions you want. On older macOS versions these same options live under System Preferences instead, and menu locations drift between releases, so written steps can point to the wrong place. The machow2 guide to VPN remote management on Mac is a useful cross-check if a menu has moved.
Securing and Testing Your Connection
Setting a VPN up is only half the job. A connection that looks active can still leak data or sit disconnected, so it is worth a few minutes to confirm the tunnel is doing what you expect.
Verifying the VPN is active
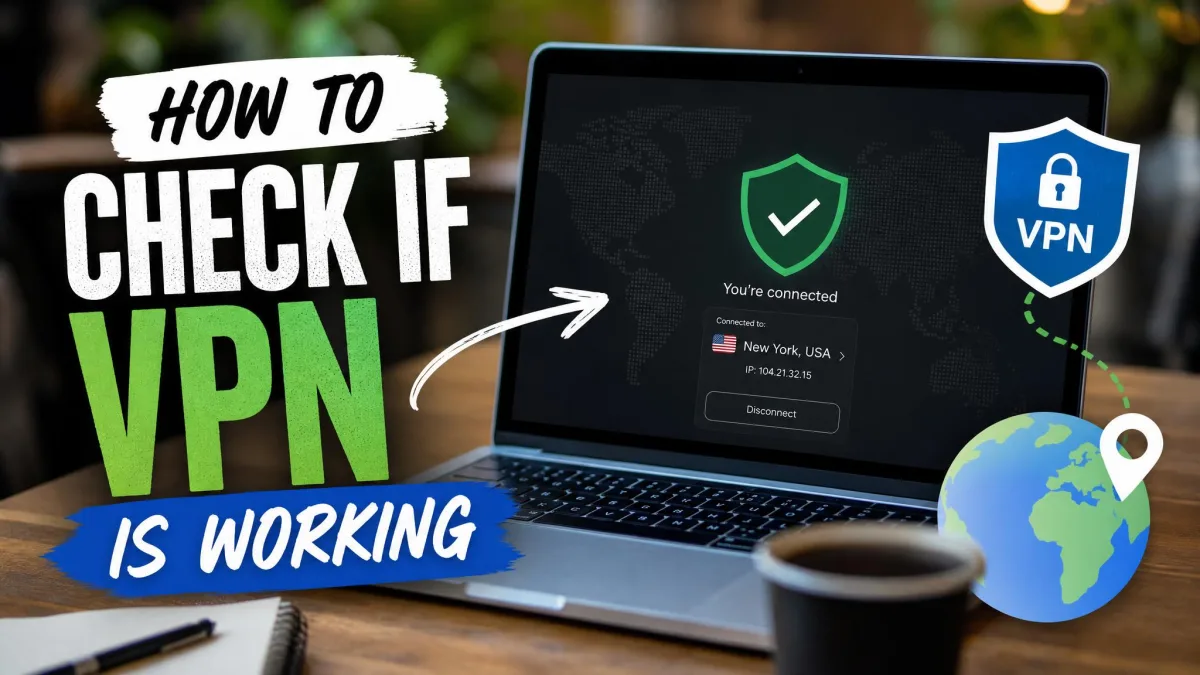
Check the VPN status in the VPN pane of System Settings, where an active connection shows as Connected, and confirm your public network address has changed using any "what is my IP" lookup. Then test for DNS leaks. DNS can leak outside the tunnel unless custom DNS is set in the VPN client, so setting a trusted DNS server and re-checking is part of a setup you can rely on.
Run your checks twice, once right after connecting and once a few minutes later. A tunnel that passes immediately can still drop, and a second look catches a connection that quietly fell away.
Troubleshooting common issues
Two problems come up more than any others. VPN connections can drop intermittently, and switching to a different server usually restores a stable link. A VPN can also noticeably slow throughput, and testing several servers is the practical fix for speed loss, since the nearest or least-crowded server is not always the one the app picks by default.
If the connection will not start at all, revisit the permission grant under Privacy & Security, confirm the server address and authentication details are exact, and make sure no locked management profile is overriding your settings.