Does your VPN app say "Connected"? That word alone proves almost nothing. A VPN can show a green "Connected" badge and still leak your DNS requests or expose your real IP address. The status indicator tells you the app is running, not that your traffic is actually protected.
We learned this the hard way on our own machines. One test session, our VPN read as connected to a server in Japan, yet Netflix Japan stayed blocked. A DNS leak was quietly exposing our real location behind the apparent connection. The app looked fine. The protection was not.
So the honest answer to "is my VPN working?" comes from running a few quick checks, not from trusting the dashboard. Below are seven tests we run ourselves, in order, using free browser-based tools. Most take under a minute. Together they confirm your encrypted tunnel is doing its job: hiding your address, sealing your DNS, and closing the small leaks that slip past a casual glance.
Test 1: Confirm your VPN is connected and your IP address changed
The first test is the simplest, and it catches the most common mistake. Opening the VPN client is not the same as being connected. The app has to be explicitly joined to a server. We have seen people leave the client sitting on its home screen, assume they are protected, and browse wide open.
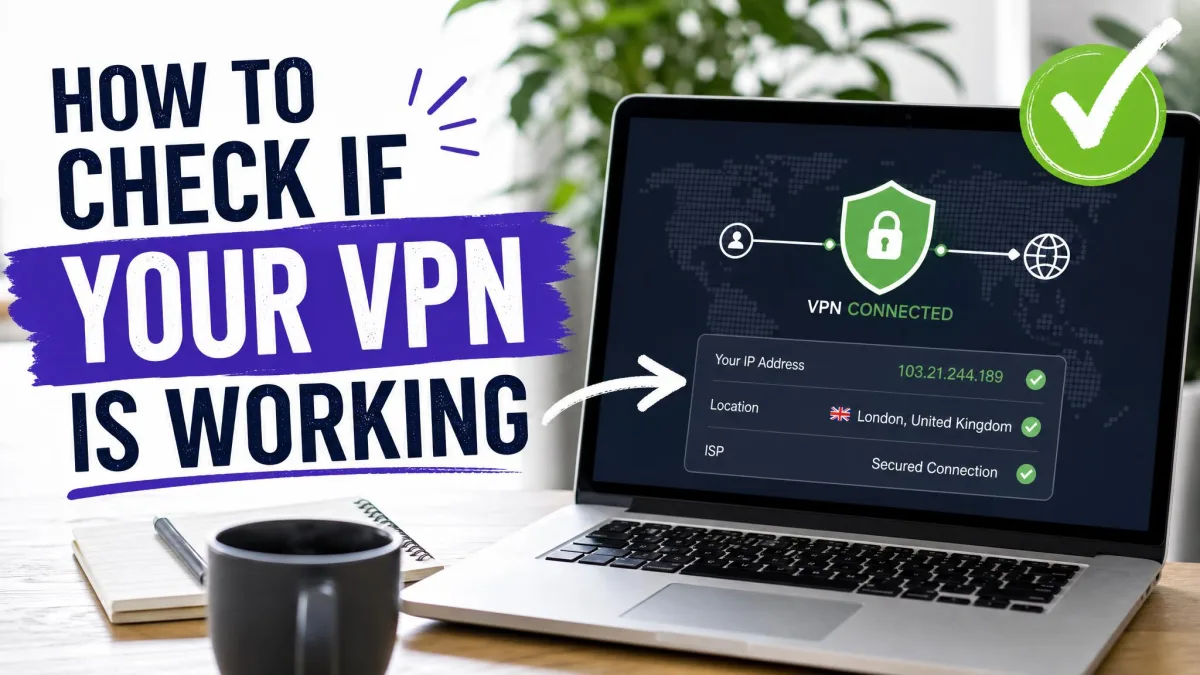
Your public IP address is the clearest signal here. When the VPN connects, websites should see the server's address, not yours. If the address never changes, the tunnel is not carrying your traffic.
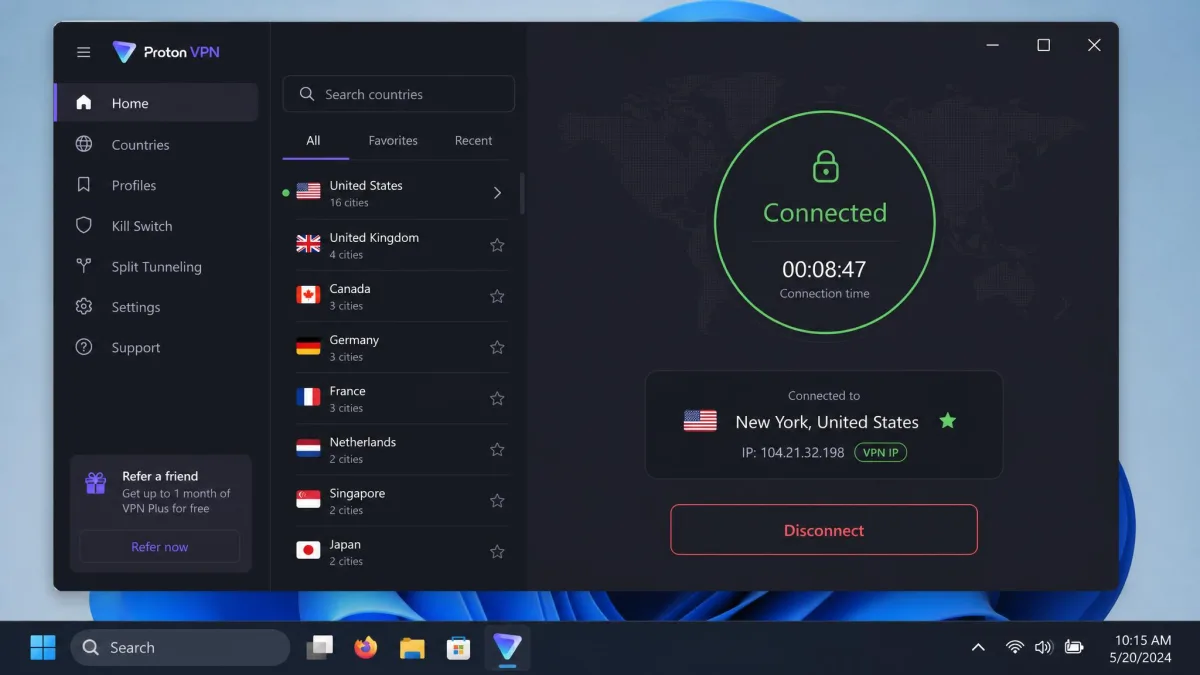
How to check your IP before and after connecting
Do this in two steps so you have something to compare.
First, disconnect the VPN completely. Open a browser and check your IP address on a public lookup tool. Write down the address it shows. This is your real IP, the one your internet provider assigned you.
Next, connect the VPN to any server and pick a country that is clearly not your own. Reload the same lookup page. The address and location should now match the VPN server, not your home city. If the number changed and the country is right, this test passes.
Choose a server on another continent for this check. A far-away location makes an accidental match with your real region much easier to spot at a glance.
If the address did not change, the VPN is not really connected. Reconnect, switch servers, and reload the page before moving on.
Test 2: Check that websites see the VPN location, not yours
Test 1 confirmed the number changed. Test 2 confirms the location a website reads actually lines up with the server you chose. These sound the same, but a mismatch here is a classic sign of a leak.
Stay connected and reload your IP lookup page. Look past the raw address to the city, region, and country fields. If you connected to a server in Amsterdam, the page should place you in the Netherlands, not back home.
When the address looks like the VPN server but the location still reads your real country, something is leaking your true position. That is usually a DNS leak, which is exactly what the next test isolates.
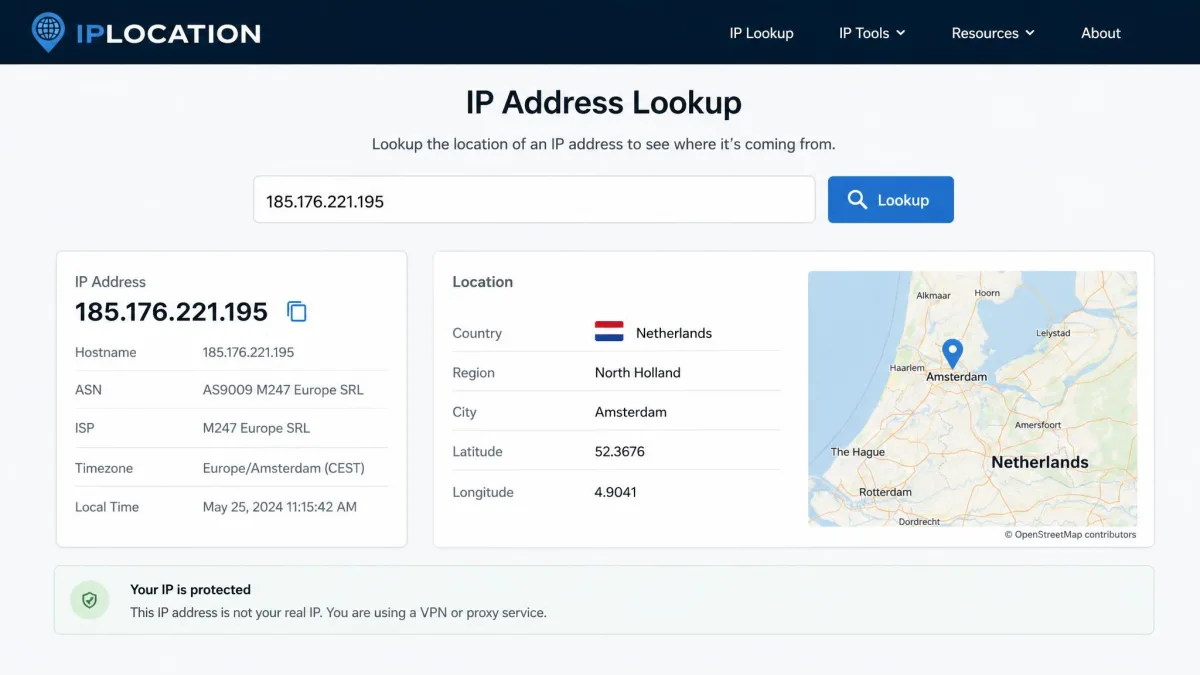
Different lookup sites sometimes disagree on the exact city, because IP-to-location databases are estimates. The country is the field that matters. A wrong country is a real problem; a neighboring city is not.
Test 3: Run a DNS leak test
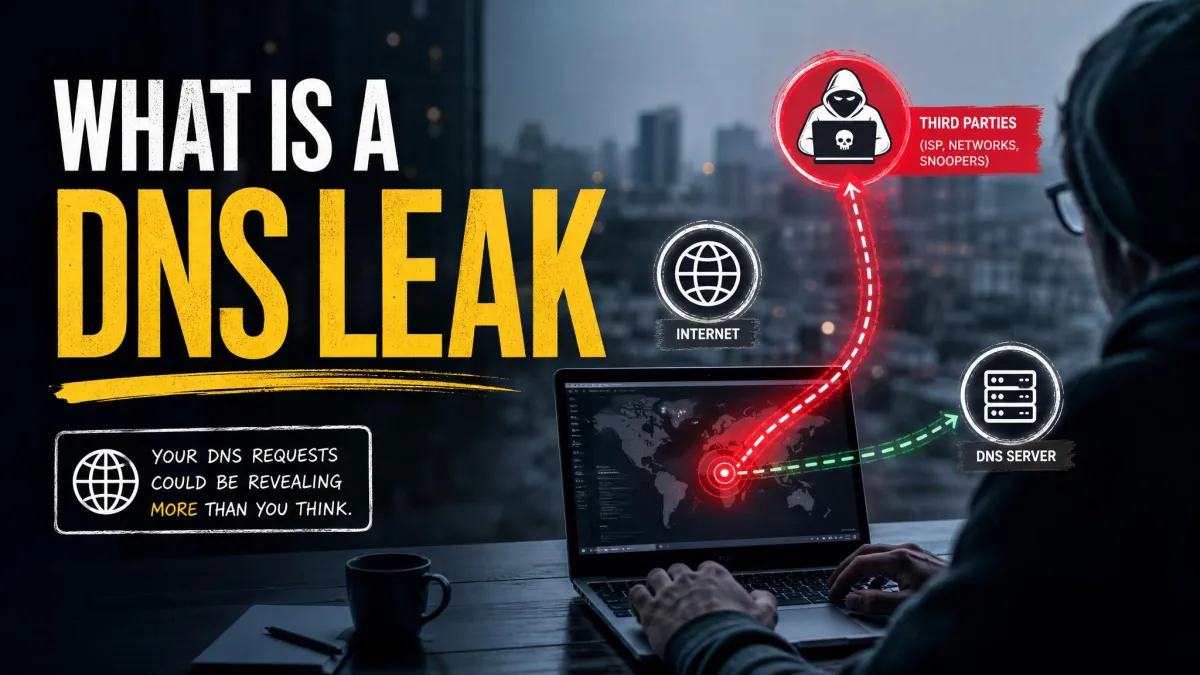
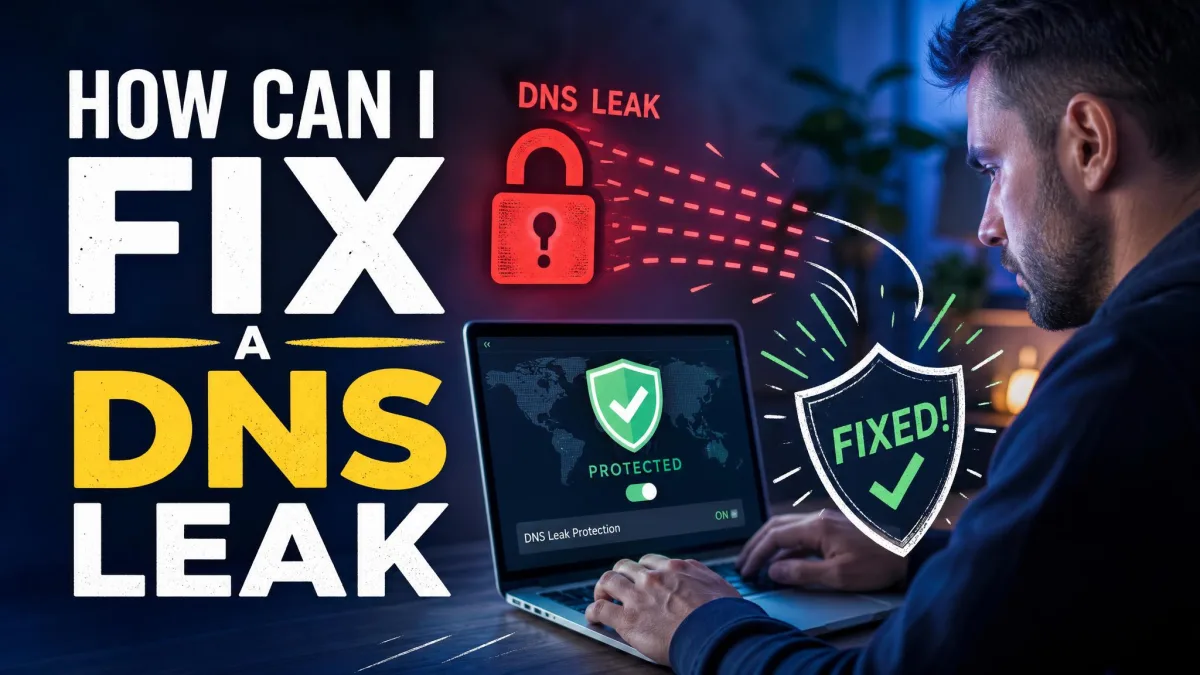
DNS is the internet's address book. Every time you visit a website, your device asks a DNS server to translate the name into a number. A DNS leak means those requests bypass the VPN and travel through your internet provider instead. Your browsing stays visible to your ISP even though the VPN looks connected.
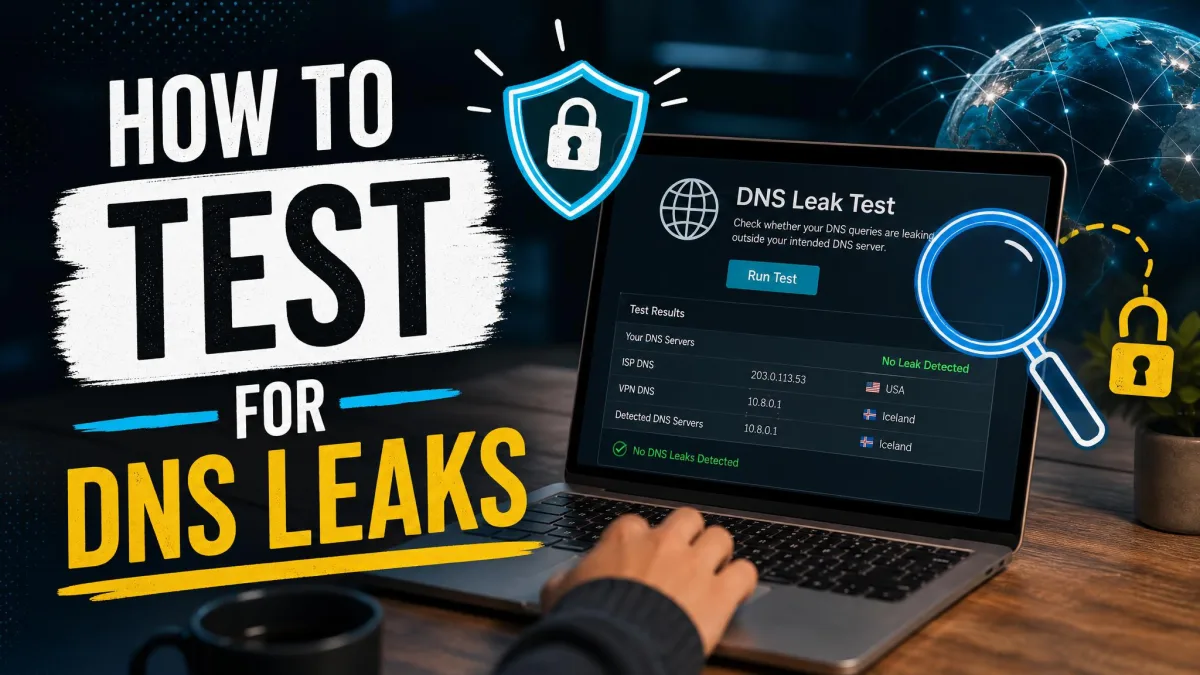
To check, stay connected and run a DNS leak test. The standard test runs one round of 6 queries, so 6 in total. The extended test runs 6 rounds for 36 queries and takes a little longer, but it is more thorough. We run the extended version when we want to be sure.
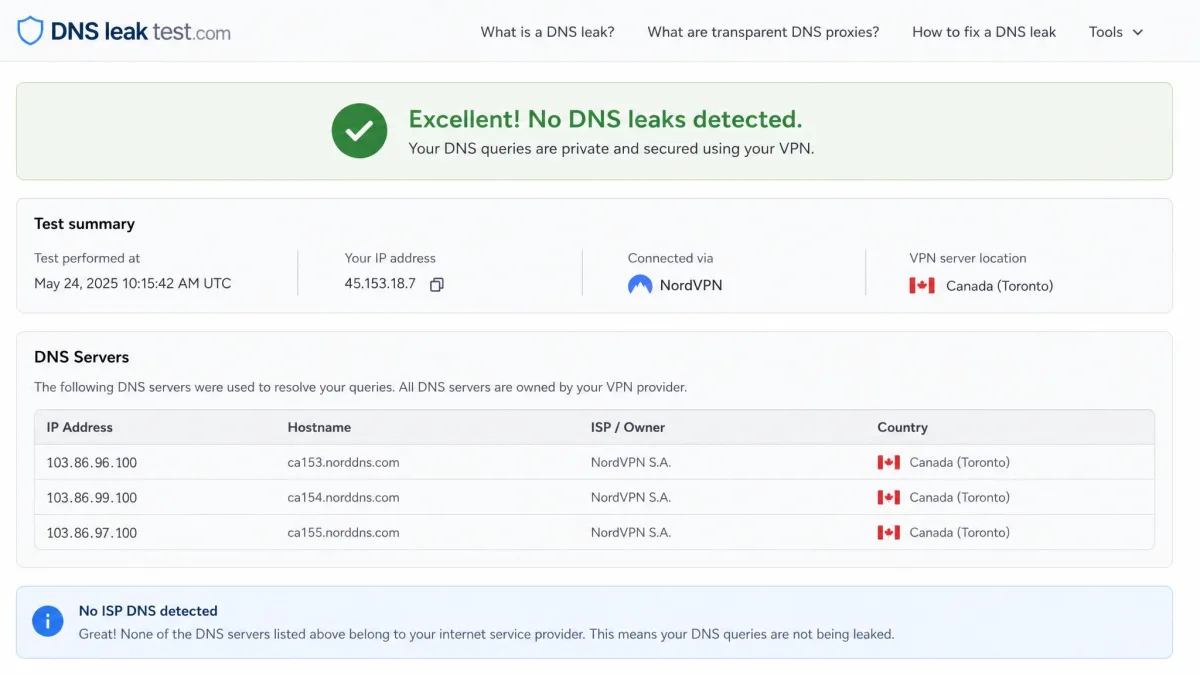
Read the results by owner and location. A clean result lists DNS servers that belong to your VPN provider, in the country you connected to. A leak shows your own ISP's name or your real country in that list. That is the tell.
One thing surprised us the first time: an extended test can surface many DNS servers for a single provider, sometimes 6 to 10, because of load balancing. Seeing several servers is normal and is not a leak by itself. What matters is whose servers they are and where they sit.
What a DNS leak is and why it matters
A DNS leak defeats much of the point of a VPN. The encrypted tunnel might hide the contents of your traffic, but your ISP can still log every site you asked for by name. That record is enough to reconstruct your browsing.
The fix is usually to enable your VPN's own DNS or its leak protection setting, which we cover in the troubleshooting section below.
Some public and hotel networks force all DNS through their own servers. If a leak test fails only on one network, the network may be intercepting DNS. Test again on a different connection before you blame the VPN.
Test 4: Run a WebRTC leak test
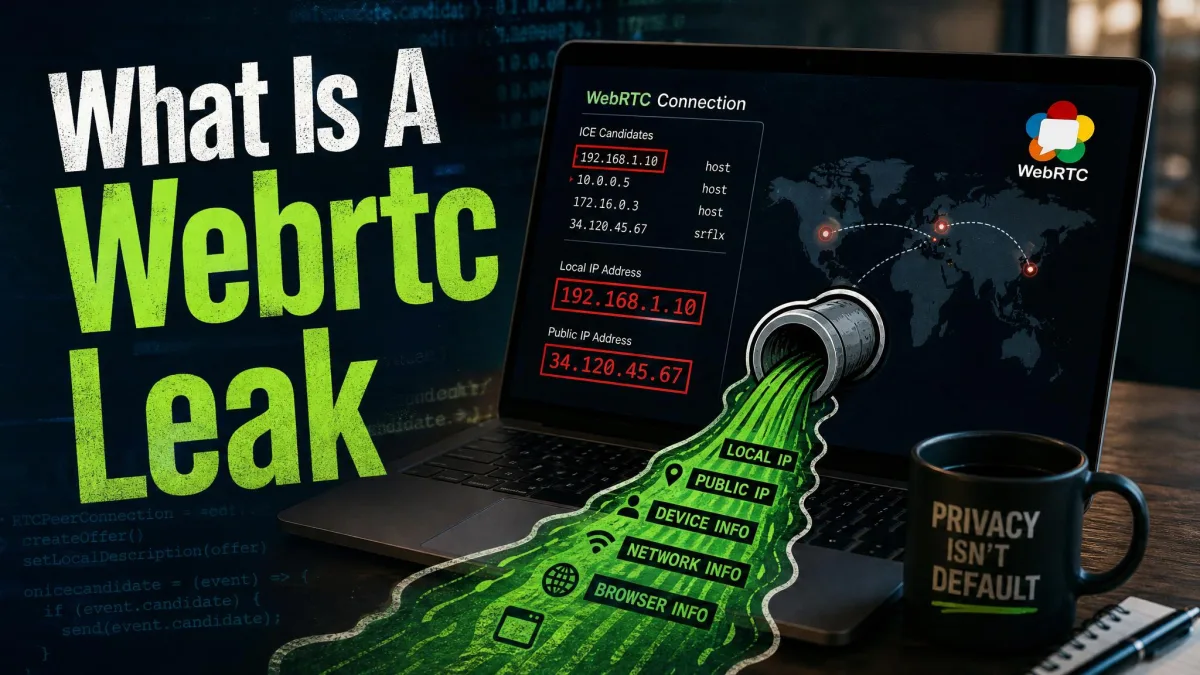
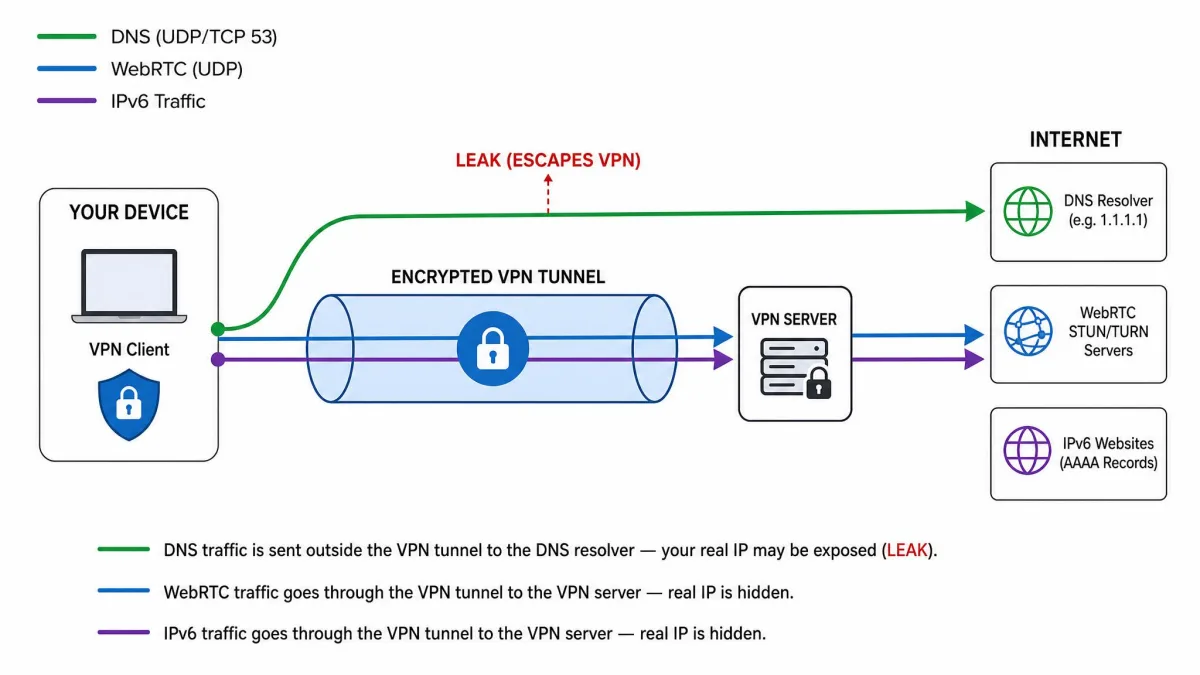
WebRTC is a browser feature that powers video calls and live chat. It is useful, but it can reveal your real IP address directly to a website, even when a VPN is active. This leak lives in the browser, not the VPN app, which is why the other tests can pass while this one fails.
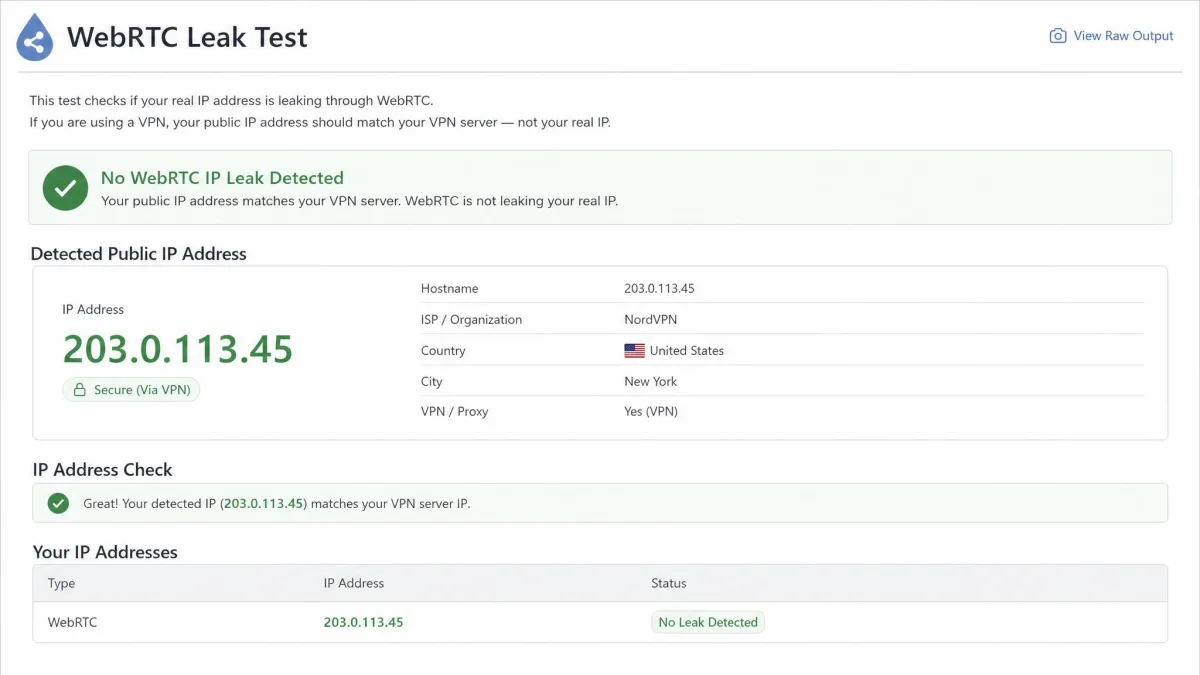
Stay connected and run a WebRTC leak test. A good tool checks for both the local IP and the public IP that WebRTC can expose behind a VPN or proxy. Compare the public IP it finds against your real address from Test 1.
If the WebRTC result shows your VPN server's address, you are safe. If it shows your real public IP, the browser is leaking around the tunnel.
WebRTC is active by default in Chrome, Firefox, and Opera. Safari and Internet Explorer generally do not enable it, though browser defaults shift between versions, so confirm with the test rather than assuming. In Firefox you can disable WebRTC through about:config, and in Chrome you can limit it with Google's WebRTC Network Limiter extension.
Test 5: Check for IPv6 leaks
Here is a leak most people never think to check. Many VPNs were built to secure IPv4 traffic, the older addressing system, because the software predates widespread IPv6 adoption. If your network hands out an IPv6 address and the VPN only guards IPv4, your real IPv6 address can slip out.
To confirm your real IPv6 address stays hidden, stay connected and run an IPv6 leak test. The result should either show no public IPv6 address or an address that belongs to the VPN, never your home connection.
If the test exposes a real IPv6 address, you have two practical options. Turn on IPv6 leak protection in your VPN settings if it offers one, or disable IPv6 on your device or router so nothing can leak. Both close the gap.
IPv6 leaks are common precisely because the problem is invisible day to day. Your IPv4 traffic looks perfectly protected while IPv6 quietly slips around it, so this is a test worth running on purpose.
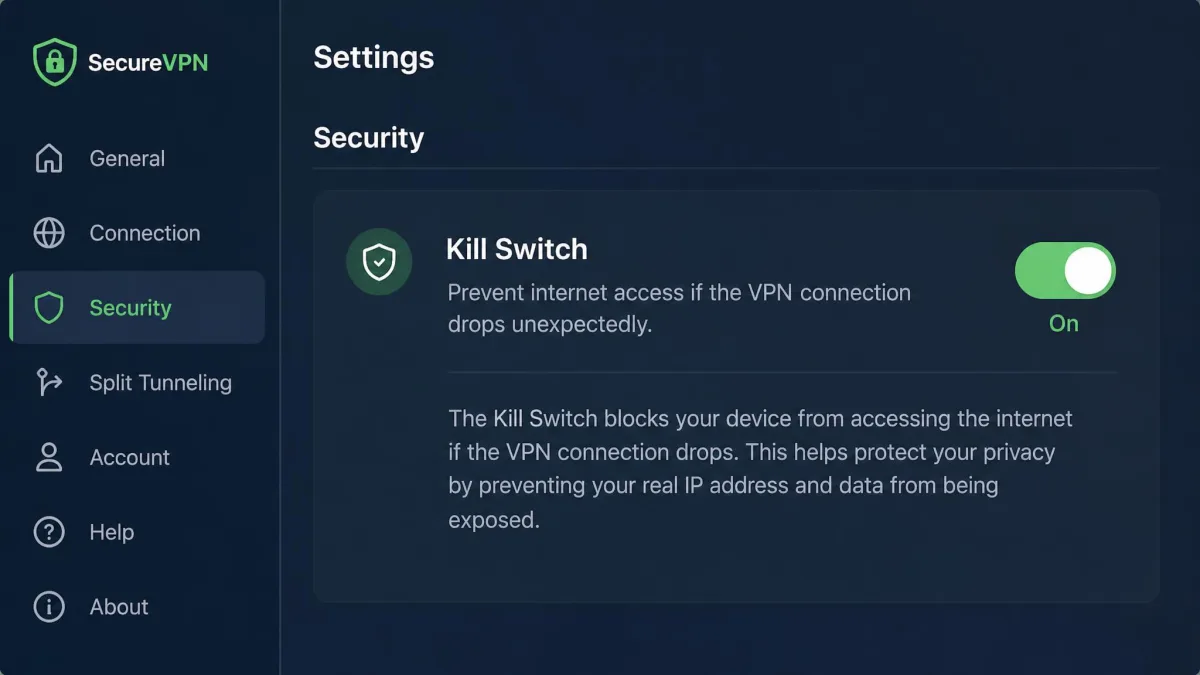
Test 6: Test your VPN kill switch
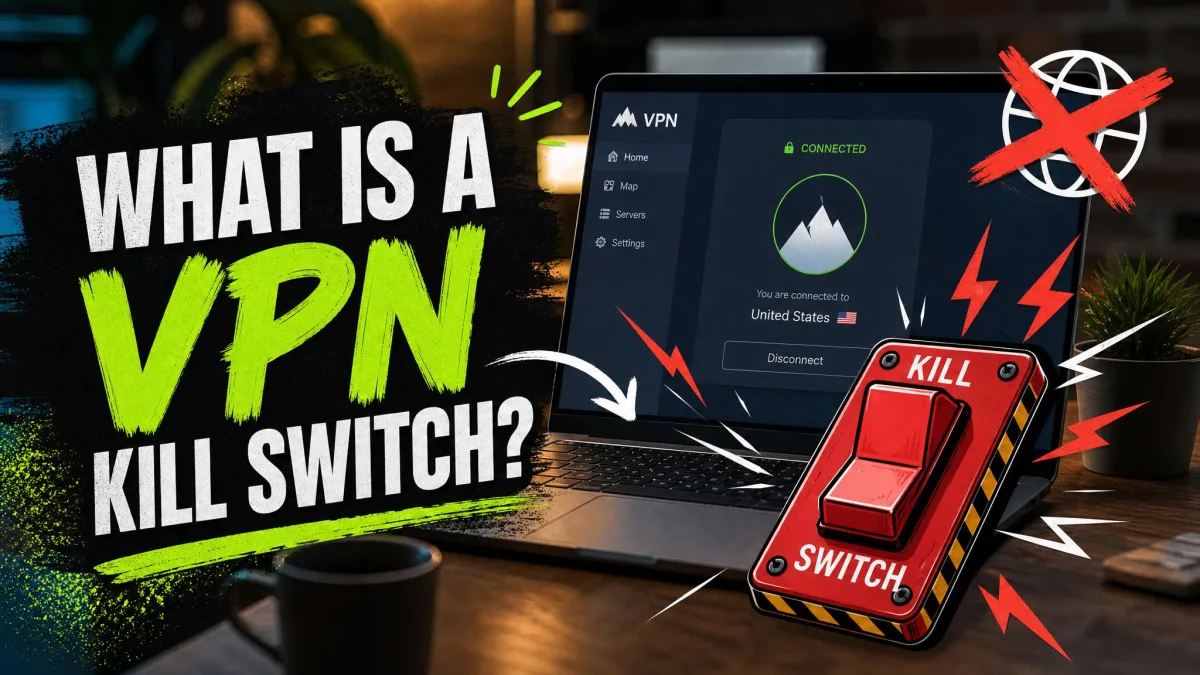
A kill switch is your safety net. If the VPN connection drops, the kill switch is supposed to cut your internet instantly, so no traffic escapes unprotected while the tunnel is down. The trouble is that a kill switch can fail silently, and you will not know until you test it.
Here is how we check it. Enable the kill switch in your VPN settings. Then break the connection on purpose: switch servers, drop the network, or quit the VPN app without disconnecting first. Watch what happens to your internet.
If the kill switch works, your connection should freeze until the VPN reconnects. Web pages stop loading. If instead the internet keeps working normally after you kill the app, the switch did not cut your traffic, and you were briefly exposed.
Quitting the VPN app is the harshest version of this test, and the one that catches silent failures. If the internet still works right after you force-quit, do not trust that kill switch.
Test 7: Run a speed and streaming/region test
This last test measures performance and access, not privacy. A slow or blocked connection does not mean your VPN is leaking. Still, it tells you whether the VPN is usable for what you actually want to do.
For speed, keep the VPN connected and run a speed test. Some slowdown is normal, since your traffic now travels farther and through encryption. A large drop usually means the server is busy or far away, and switching servers often helps.
For access, try to open a region-locked service such as Netflix, Hulu, Disney+, or ESPN+ through the VPN. If the stream plays in the region you connected to, the VPN is passing that check.
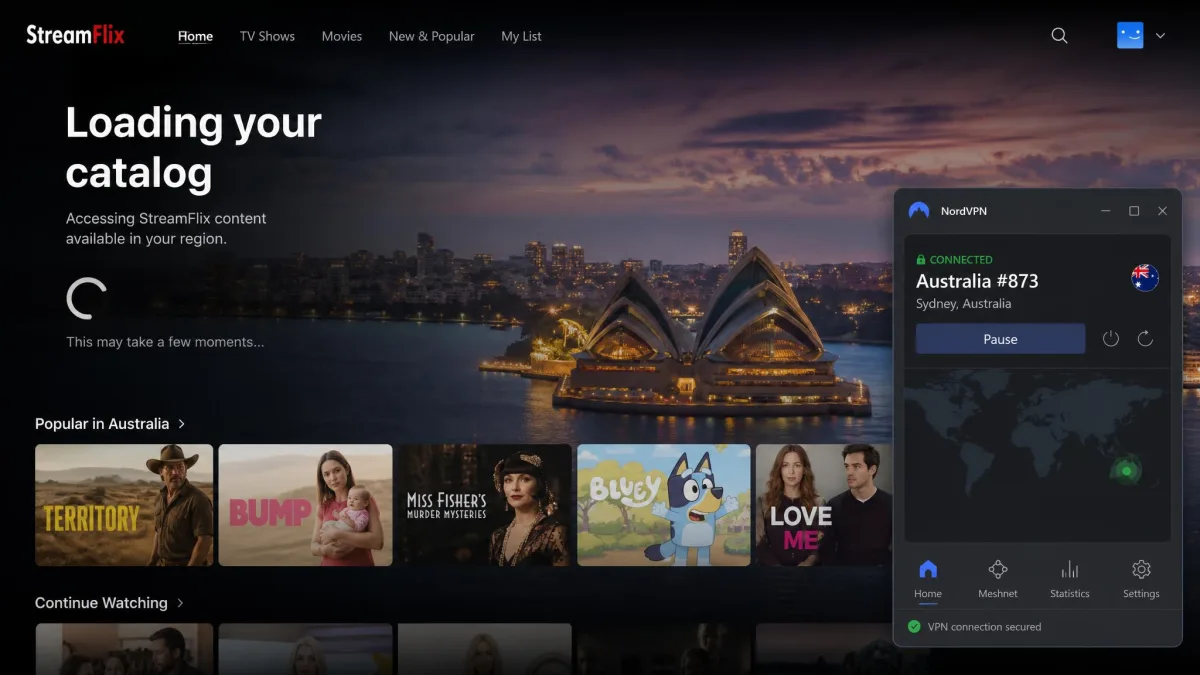
A blocked stream is worth reading carefully. Streaming can fail even on a perfectly working VPN, because the service has blocklisted that specific server's IP address. When this happened to us, switching to another server in the same country usually cleared it. If several servers all fail, the provider itself may be blocked, and that is a reason to switch providers rather than a privacy failure.
Why "connected" doesn't mean your VPN is working
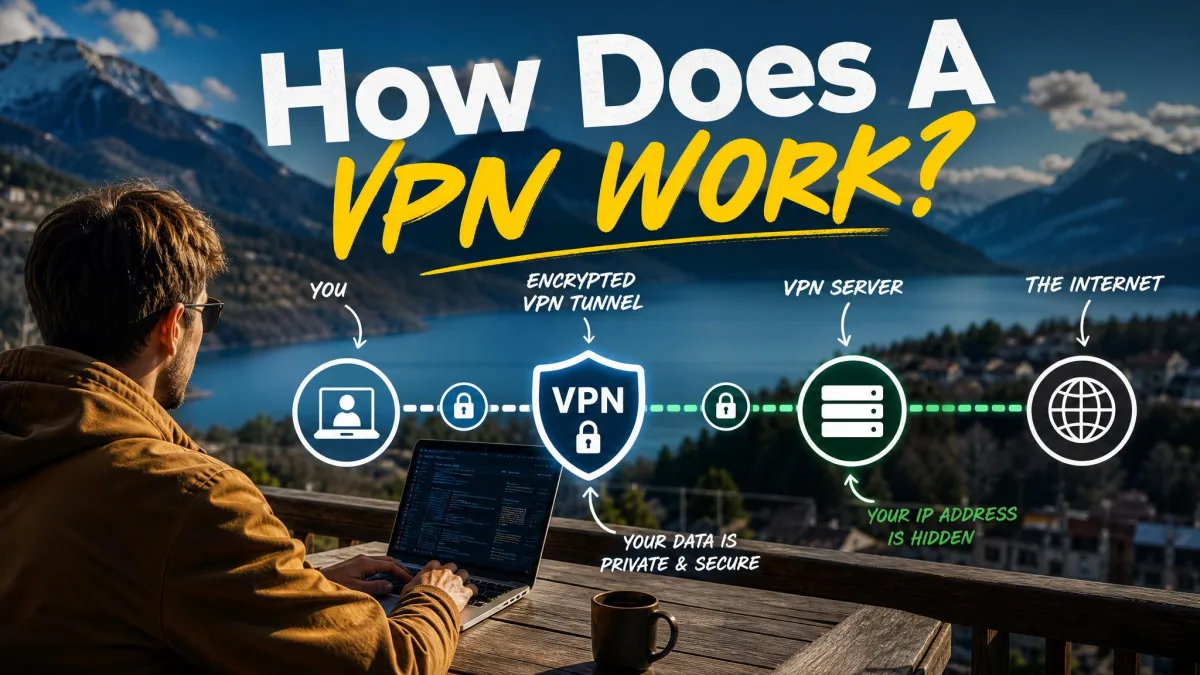
It helps to understand why the status badge lies so easily. "Connected" only reports that the app has opened a session with a server. It says nothing about whether every type of your traffic is riding inside that encrypted tunnel.
DNS requests, WebRTC calls, and IPv6 packets each travel on their own path. A VPN has to capture all of them. Miss one, and that channel leaks around the tunnel while the dashboard still glows green. That is the whole reason the tests above check separate leak types instead of trusting a single indicator.
The status badge tells you the app is running. Only a leak test tells you your traffic is actually private.
— From our hands-on testing
The good news is that the core checks are fast. A quick IP, DNS, and WebRTC pass takes under a minute once you know where to look. That is short enough to run before a browsing session, not just once at setup, and we treat it as a habit rather than a one-time chore.
How to fix a VPN that isn't working (troubleshooting)
If a test failed, work through these fixes in order. Most problems come down to a setting rather than a broken app.
The IP never changed. The VPN is not truly connected. Disconnect fully, reconnect to a different server, and confirm the app reports an active session before you retest. Restart the app if the button seems stuck.
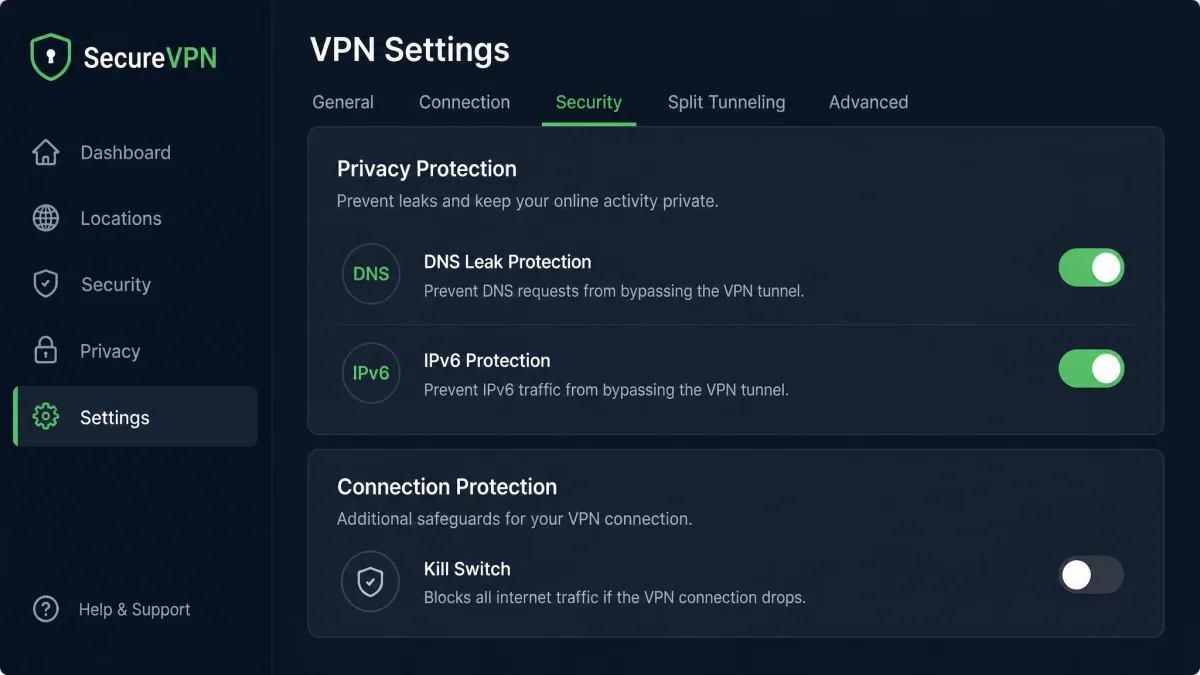
A DNS leak showed your ISP. Open your VPN settings and enable its built-in DNS or DNS leak protection, which forces name lookups through the provider. On Windows, this also helps to disable the "smart multi-homed name resolution" feature that can send DNS to your ISP in parallel.
WebRTC exposed your real IP. This is a browser problem, so fix it in the browser. Disable WebRTC in Firefox through about:config, add the WebRTC Network Limiter extension in Chrome, or use a browser and VPN extension that blocks WebRTC directly.
An IPv6 address leaked. Turn on IPv6 leak protection in the VPN, or disable IPv6 on your device or router so there is nothing to expose.
The kill switch did nothing. Confirm it is actually enabled in settings, since many apps ship with it off. If it is on and still fails, update the app or reinstall it, and contact the provider if the failure repeats.
Streaming stays blocked. Switch to another server in the target country first. If several servers fail, the service is blocking the provider, and a different VPN may be the only fix.
After any fix, rerun the specific test that failed before you trust it again. A setting can look enabled and still not apply until you reconnect the VPN.
If everything still fails after these steps, the app itself may be out of date or your subscription may have lapsed. Reinstall the latest version and check your account status before assuming the service is at fault.