You connect to a VPN, expecting your browsing to stay private, yet your ISP can still see every site you visit. That gap has a name. A DNS leak happens when your device sends its domain lookups outside the encrypted tunnel, straight to your ISP's DNS server instead of the VPN's.
The good news is that most leaks come from a handful of predictable causes, and each one has a fix you can apply in a few minutes. We have chased these leaks across Windows, macOS, and Linux, and the same short checklist keeps resolving them.
What Is a DNS Leak?
DNS is the system that turns a website name into a numeric address your device can reach. Every time you open a page, your device asks a DNS server to look up that address.
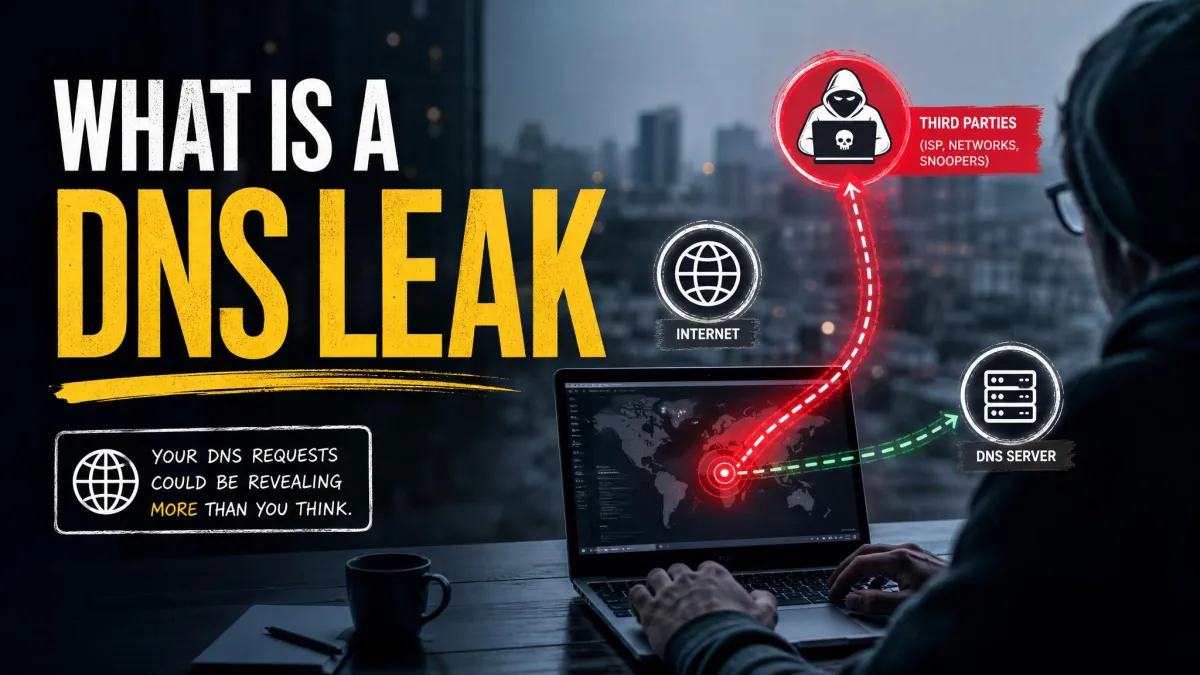
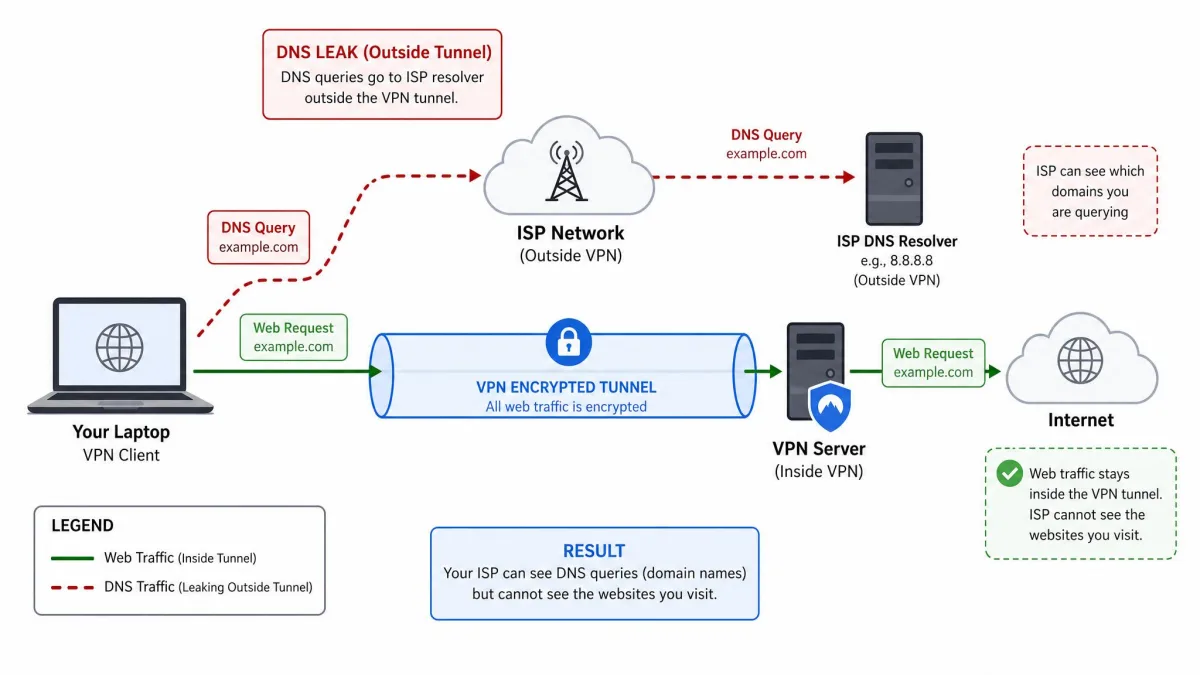
A DNS leak occurs when those lookup requests escape your VPN's encrypted tunnel. Instead of the VPN's private resolver, the queries go to your ISP or another outside server. The web traffic itself may still be encrypted, but the record of which sites you visited leaks out.
Standard DNS travels in clear text. That means your ISP can build a profile of the domains you visit from the queries alone, even when the page content is fully encrypted.
Why DNS Leaks Are a Problem (and What They Expose)
The whole point of a VPN is to keep your activity private from your network provider. A DNS leak defeats that. Your ISP can log every domain you request and tie it back to your account.
It can reveal your location, undermine attempts to bypass regional restrictions, and hand a detailed browsing history to whoever controls the leaking resolver. In hostile setups, a leak also opens the door to DNS spoofing, where a bad resolver quietly sends you to a fake site.
a silent DNS leak is one of the most common ways that privacy quietly fails.
Common Causes of DNS Leaks
In our testing, nearly every leak traced back to one of the causes below.
Misconfigured network settings
Your network adapter may have a DNS server set manually, or your router may push its own DNS through DHCP. Either one can override the VPN. We have seen DHCP-assigned DNS re-attach itself even after a VPN connects, which regularly trips up remote workers whose routers push their own resolver.
On Windows, a feature called Smart Multi-Homed Name Resolution makes this worse. It quietly fires DNS lookups out of every network interface at once and accepts the fastest reply, so a lookup can leak to your ISP even with a VPN running.
No IPv6 support in your VPN
Many VPNs tunnel only IPv4 traffic. If your connection also uses IPv6, those lookups slip outside the encrypted tunnel. The connection keeps leaking until IPv6 is disabled or the VPN handles it directly.
Transparent DNS proxies (ISP interception)
Some ISPs run transparent DNS proxies. These intercept and redirect DNS requests to the ISP's own servers no matter which resolver you set. This kind of leak is hard to fix from device settings alone and usually needs a VPN that encrypts DNS end to end.
Manual DNS setup errors and software conflicts
If you have set custom DNS by hand, a small mistake can leave a leaking address in place. Browser features and security software can also override your resolver. Browser Secure DNS, covered further down, is a frequent culprit.
How to Check for a DNS Leak (Run a DNS Leak Test)
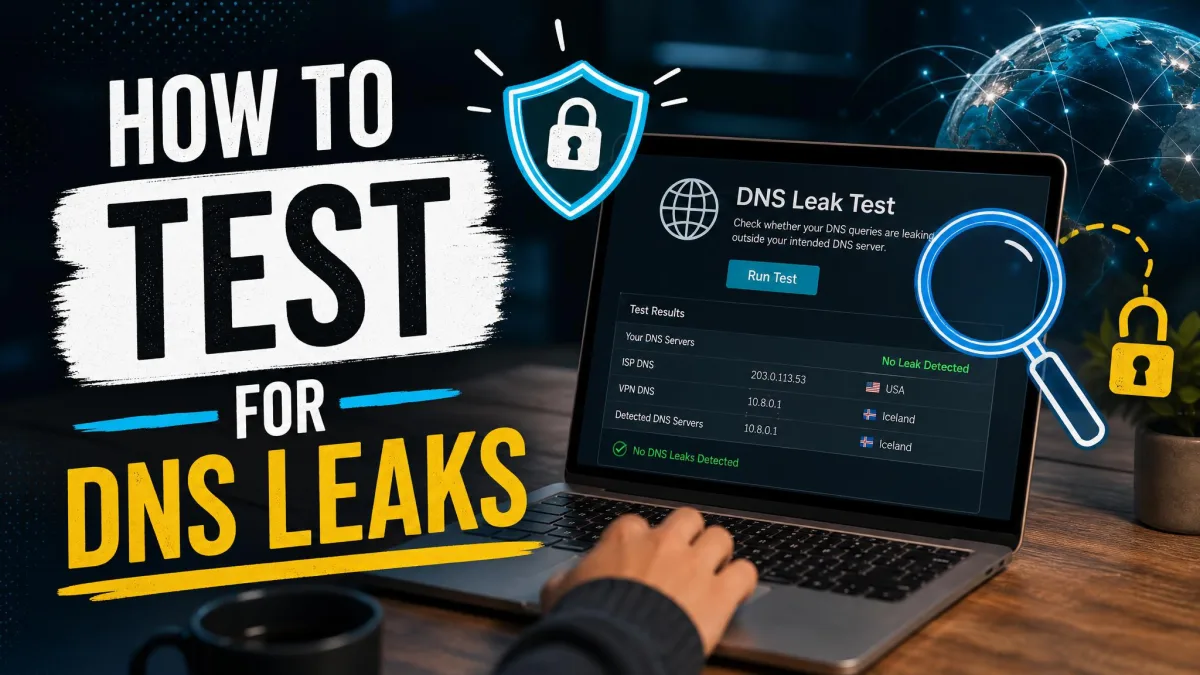
Testing takes under a minute. Connect your VPN first, then run a free DNS leak test and read the results.
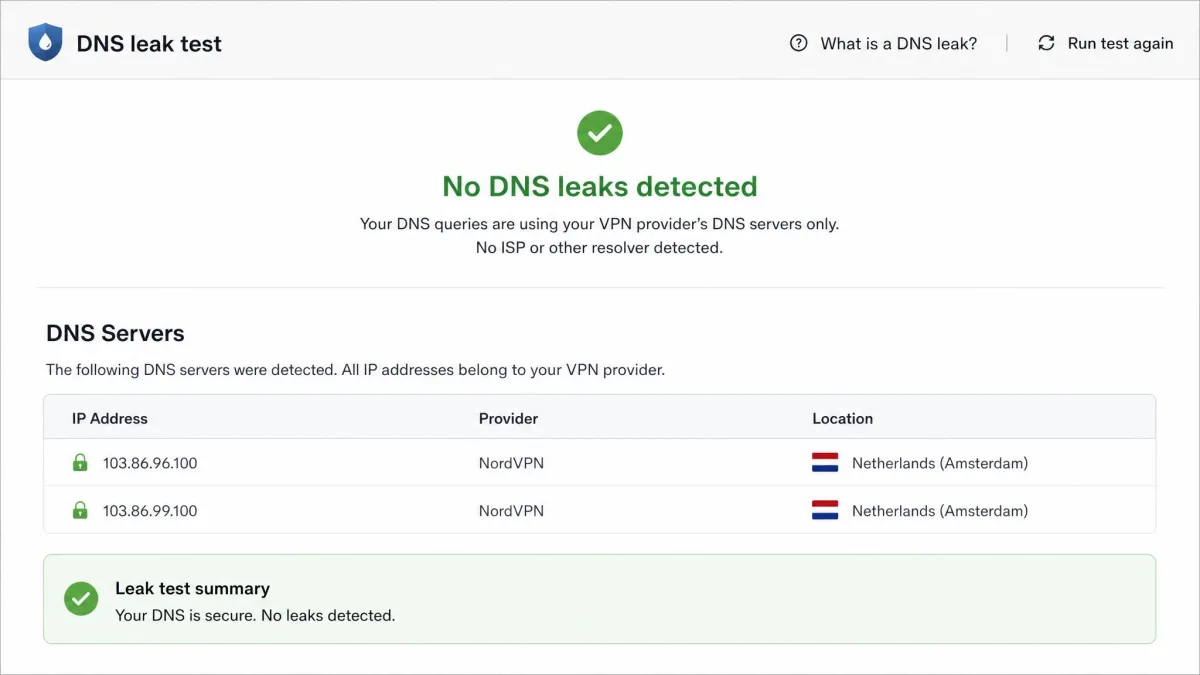
The test lists the DNS servers currently handling your lookups. If you see your VPN provider's servers, your setup is clean. If you see your ISP or its resolver, DNS is leaking. Free tools like dnsleaktest.com and IPLeak.net both work well for this check.
Run the extended or full test, not just the standard one. The longer test queries more servers and catches leaks that a quick check misses.
How to Fix a DNS Leak: Quick Fixes That Work on Any System
The core principle is short: once you connect to a VPN, use only the DNS servers the VPN provides. These four fixes apply that principle on any system, and they resolve the majority of leaks.
Enable your VPN's DNS leak protection
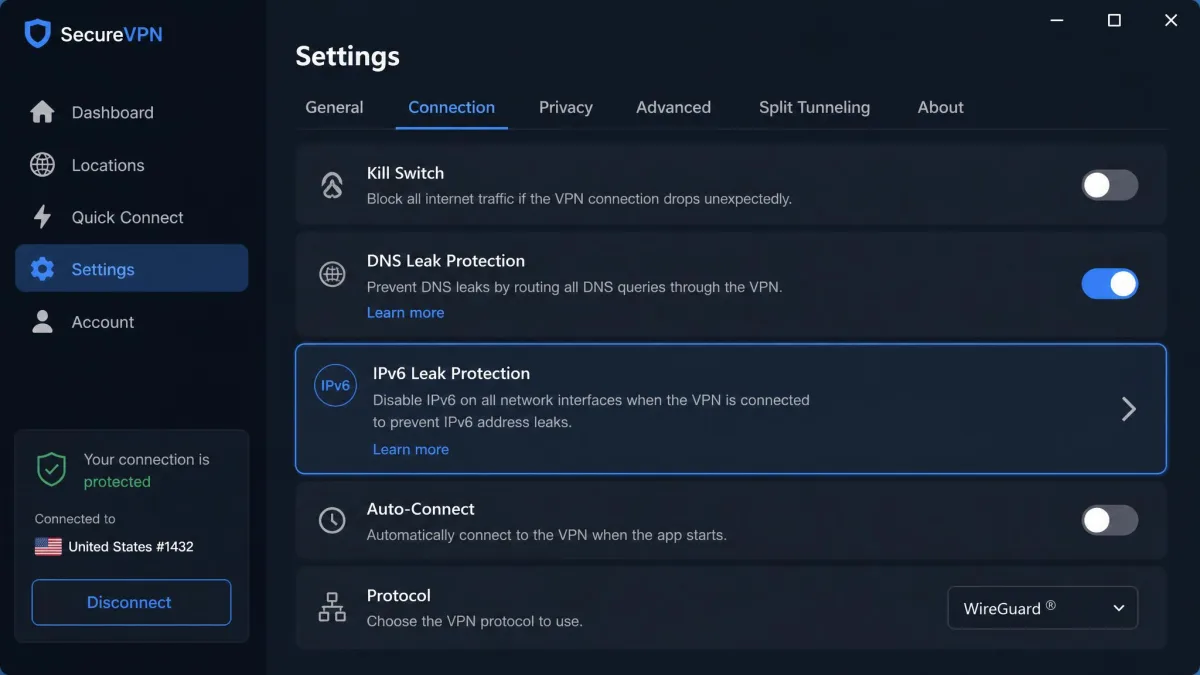
Most reputable VPNs include built-in DNS leak protection. Open your VPN settings and turn it on. This forces every lookup through the VPN's own resolver and is the single most effective fix. Pair it with the VPN's kill switch so traffic stops if the tunnel drops.
Switch to trusted DNS servers (Google, Cloudflare, Control D)
If you are not on a VPN, or your VPN lets you choose, set a trusted public resolver. Google Public DNS uses 8.8.8.8 and 8.8.4.4. Cloudflare DNS (1.1.1.1) uses 1.1.1.1 and 1.0.0.1. Control D's free resolvers start at 76.76.2.0 and 76.76.10.0, with optional tiers that block malware or ads.
Flush your DNS cache
Your system stores past lookups in a cache, and stale entries can keep a leak alive. Flush the cache after any DNS change. On Windows, run ipconfig /flushdns. On macOS, run sudo dscacheutil -flushcache. On Linux, restart your resolver service.
Disable IPv6 if your VPN doesn't support it
If your VPN handles only IPv4, turn IPv6 off at the network-adapter level. This stops IPv6 lookups from leaking around the tunnel. Re-enable it only once you confirm the VPN supports IPv6 fully.
Fix a DNS Leak on Windows
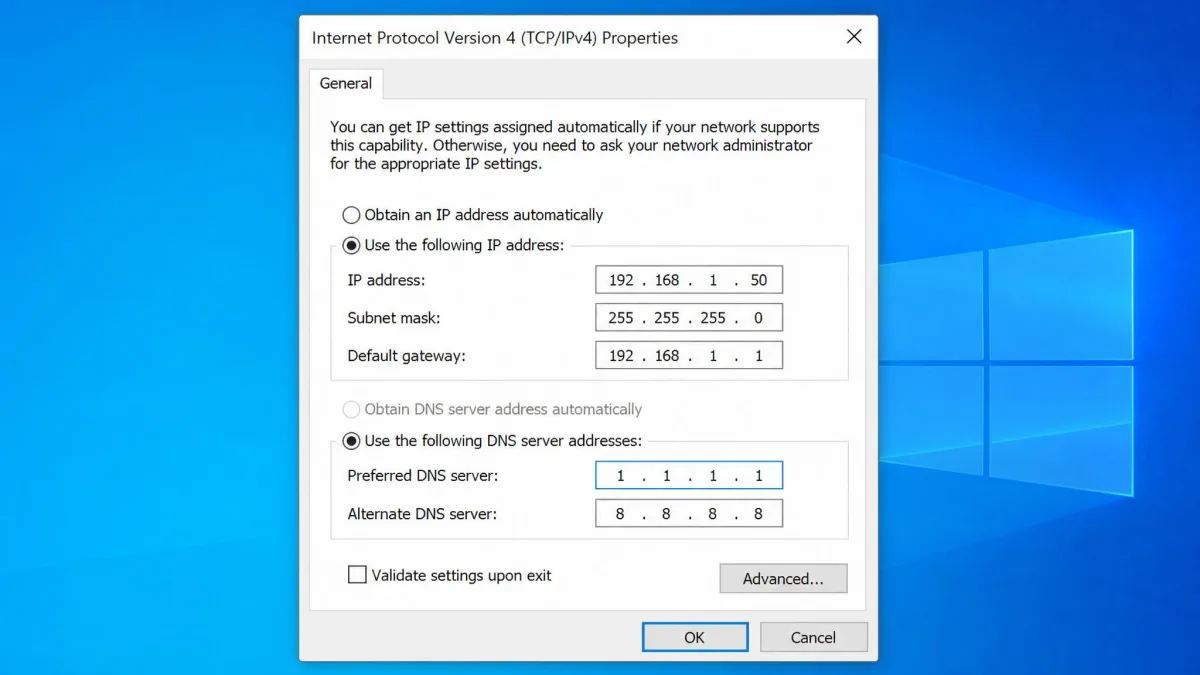
Windows needs a little extra attention because of its Smart Multi-Homed Name Resolution and tunneling features. Start by opening your adapter settings and setting your DNS to a trusted resolver, or clearing a static entry by setting 0.0.0.0 for IPv4 and :: for IPv6.
Next, disable Teredo tunneling, which can carry IPv6 lookups outside the tunnel. Open an admin command prompt and run netsh interface teredo set state disabled. If you use OpenVPN, add block-outside-dns to your config file to stop Windows from leaking DNS.
On Windows Pro or Enterprise, you can also disable Smart Multi-Homed Name Resolution through Group Policy under the DNS Client settings. Finish by flushing the cache with ipconfig /flushdns.
Fix a DNS Leak on macOS
On macOS, open System Settings, then Network, and select your active connection. Under DNS, remove any servers your ISP assigned and add a trusted resolver such as 1.1.1.1 or 8.8.8.8.
If your VPN offers leak protection, enable it in the app so it manages DNS for you. Then flush the cache with sudo dscacheutil -flushcache and, on recent versions, sudo killall -HUP mDNSResponder. Re-run a leak test to confirm the change stuck.
Fix a DNS Leak on Linux
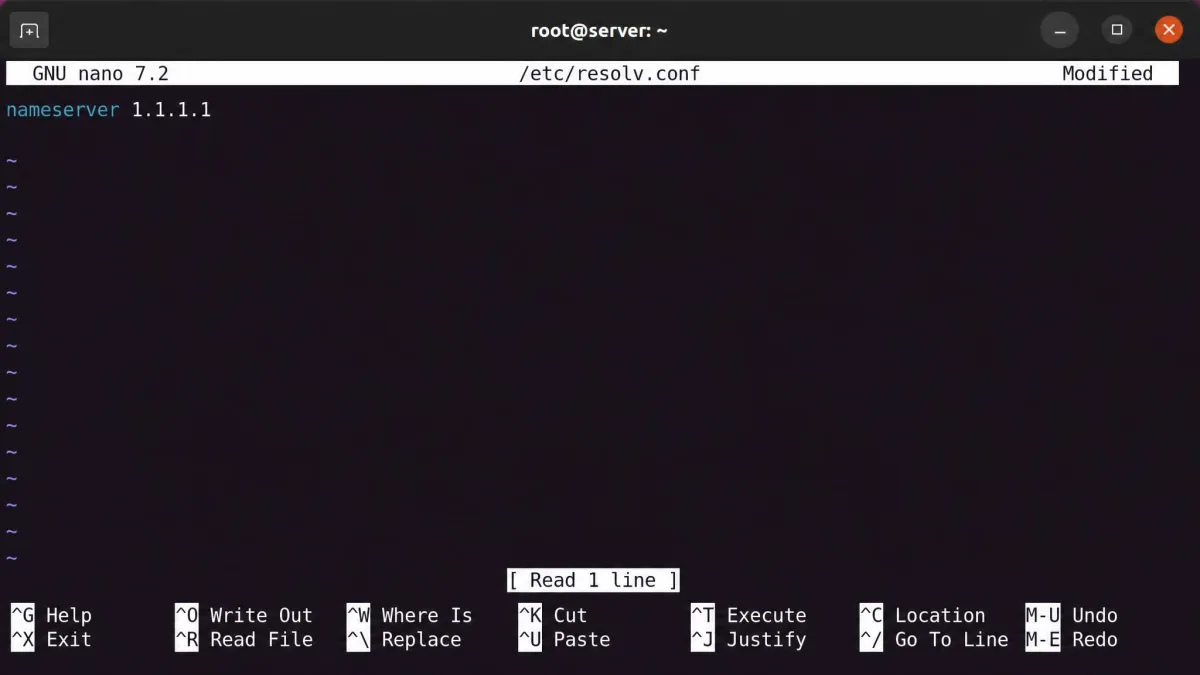
On Linux, DNS settings live in /etc/resolv.conf. Edit that file to remove any nameservers that are not your VPN's, leaving only the trusted resolver in place.
One catch trips people up here. System processes often reset resolv.conf automatically, so your changes revert on the next connection. If that happens, making the file immutable can hold the setting in place. Restart your resolver service afterward, then test again.
Browser Settings: WebRTC and DNS over HTTPS (DoH)
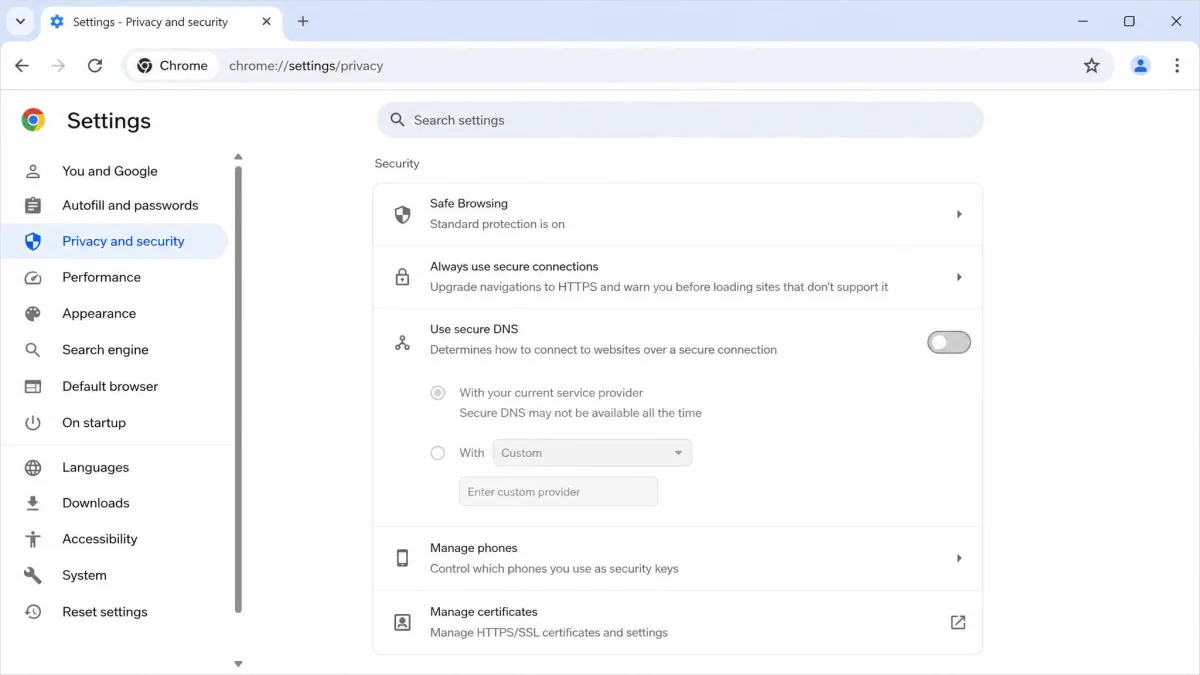
Your browser can leak on its own, independent of the operating system. Secure DNS, also called DNS over HTTPS or DoH, can override your VPN's resolver and route queries to Cloudflare or Google directly. That sounds private, but it pushes DNS outside the tunnel, so turn it off while you use a VPN.
In Chrome, look under Privacy and security for "Use secure DNS" and switch it off. In Firefox, the same control sits under Privacy and Security as "DNS over HTTPS." WebRTC is a separate concern that can expose your real IP address, so disable it or install a WebRTC-blocking extension for full coverage.
VPN Settings That Prevent DNS Leaks
A well-configured VPN closes most leaks by itself. Enable DNS leak protection and IPv6 leak protection in the app. Turn on the kill switch so no traffic escapes if the connection drops for a moment.
Choose a VPN that runs its own DNS servers inside the encrypted tunnel rather than relying on a third party. That single design choice removes most of the failure points above.
Test your VPN right after you install it, not just once. An update or a network change can reintroduce a leak that a fresh test will catch early.
DNS Leak Troubleshooting Checklist
When a leak refuses to clear, work through these steps in order:
- Confirm the VPN is connected and its DNS leak protection is enabled.
- Set a trusted DNS server on your adapter, or clear any static entry.
- Disable IPv6 if your VPN does not support it.
- Turn off browser Secure DNS and DoH.
- On Windows, disable Teredo and Smart Multi-Homed Name Resolution.
- Flush the DNS cache on your system.
- Re-run a leak test after each change to see which step fixed it.
If the leak survives all of this, your ISP may be running a transparent proxy. In that case, switch to a VPN that encrypts DNS end to end.
Verify Your Fix
Never assume a fix worked. A DNS leak test that still shows your ISP's resolver instead of the VPN's is the clearest sign the fix has not taken, which is exactly why we re-run the test after every change.
Reconnect your VPN, run the extended test again, and check the server list. When only your VPN's DNS servers appear, the leak is closed.