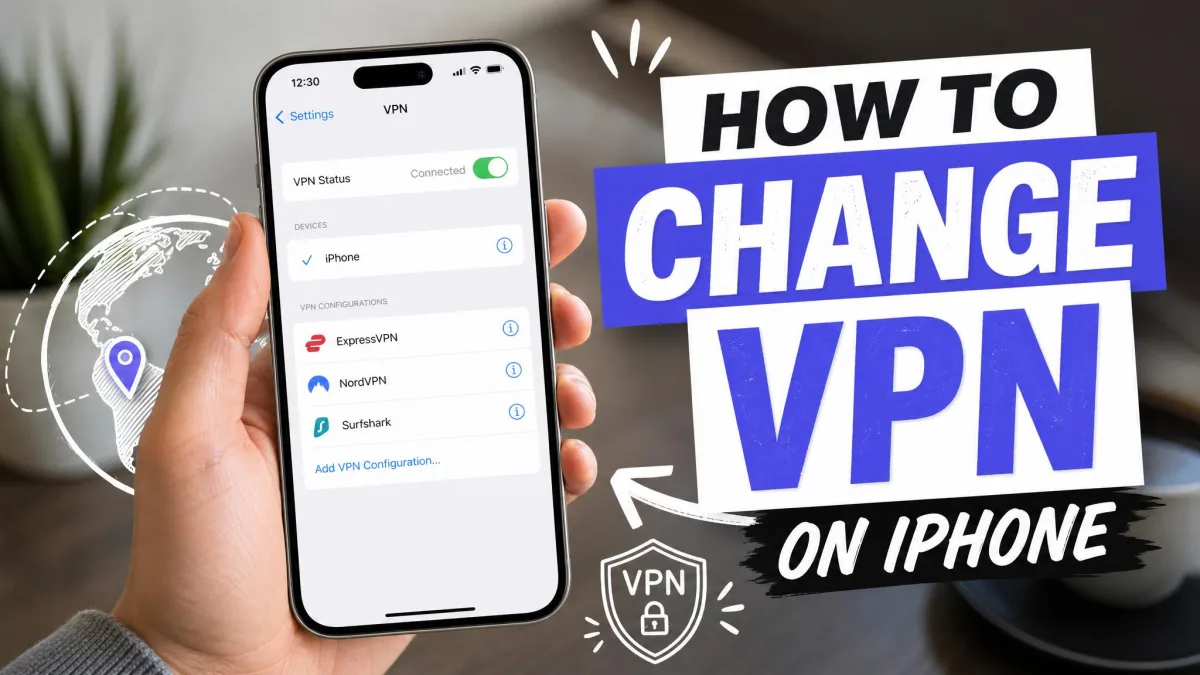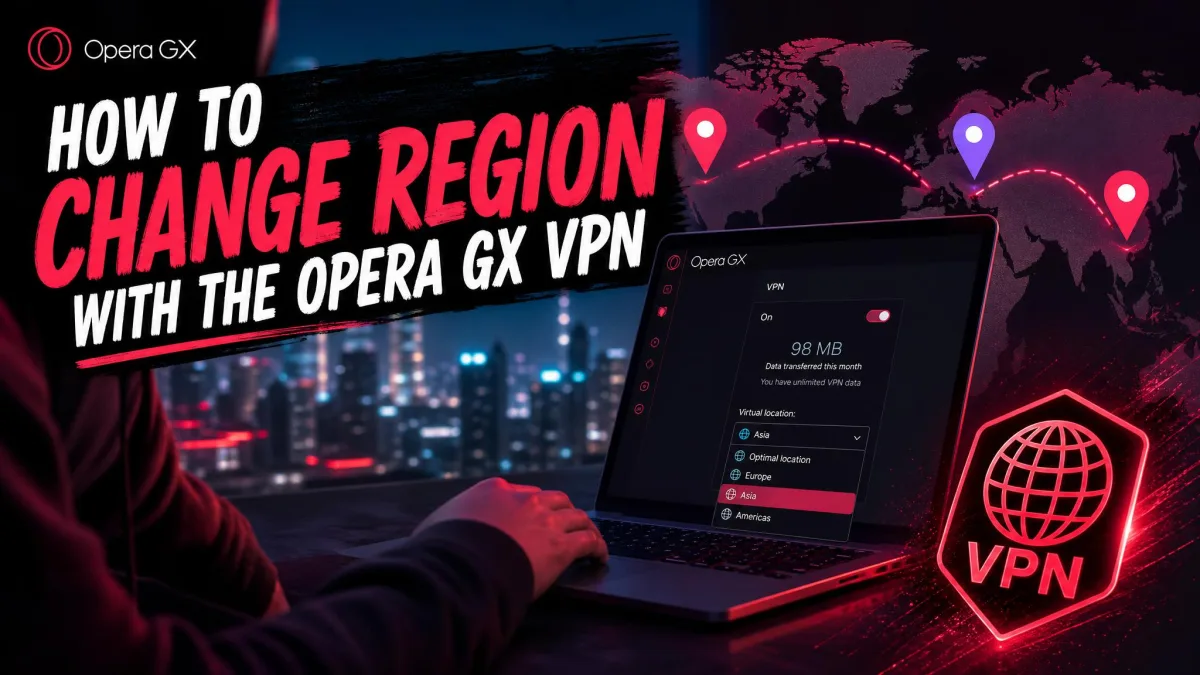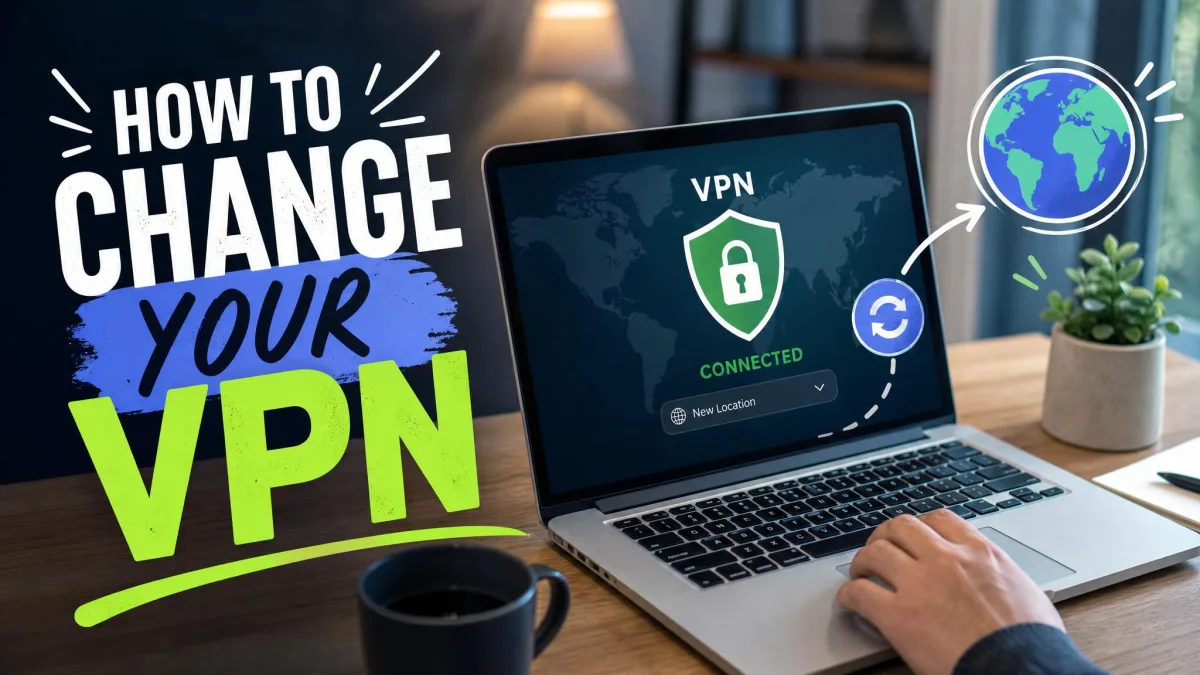
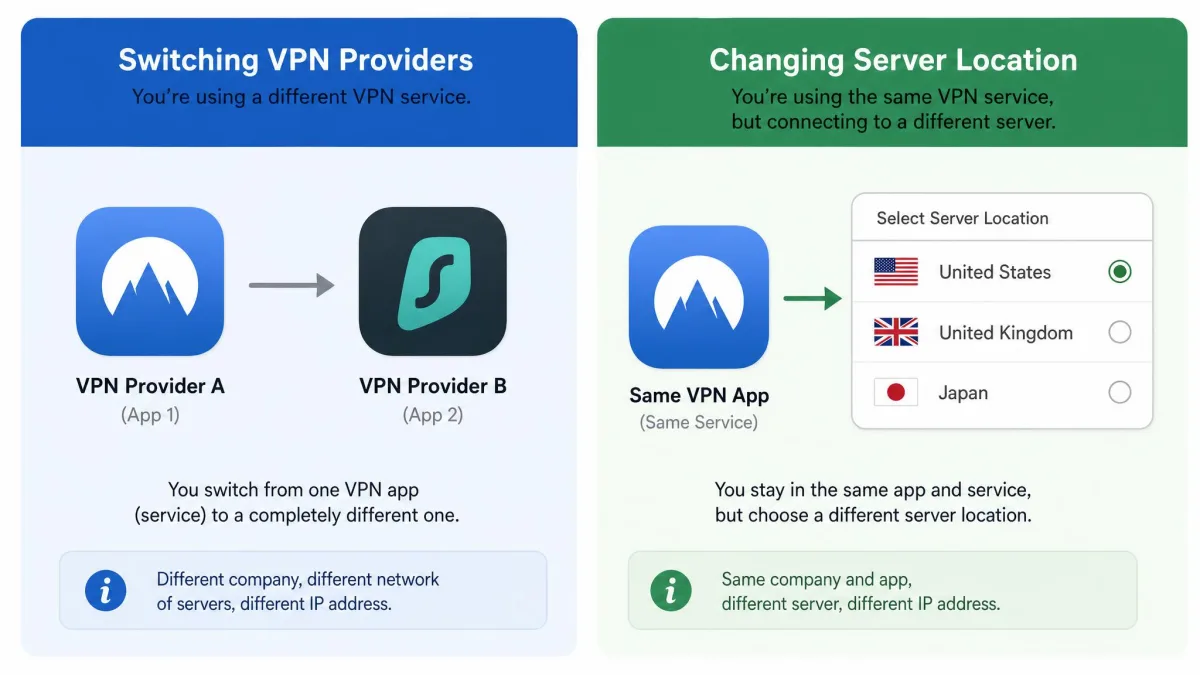
Changing your VPN can mean two very different things, and sorting out which one you need is the first step. Sometimes it means switching to an entirely new VPN service, a different provider with its own app, account, and pricing. Other times it means keeping the same service but changing your server or location, so your internet traffic exits through a different country.
Both are simple once you know the steps, and this guide covers each one on every major device. We test VPNs the way most people actually use them, installing the apps, switching servers, and checking for leaks on Windows, Mac, Android, and iPhone. Over years of running these tools on our own test machines, we have learned where the process trips people up and how to avoid the common mistakes.
Below you will find plain, step-by-step instructions for switching providers and for changing your location or server country. We also show you how to confirm the change actually worked, what to do when a new VPN will not connect, and how to choose the right service if you are shopping for a replacement.
What "changing your VPN" actually means (provider vs. location/server)
There are two separate tasks that both get called "changing your VPN," and mixing them up leads to wasted effort. Knowing which one you need makes the rest of this guide much faster to follow.
Changing your VPN provider means moving to a different service entirely. You cancel or stop using your old subscription, remove the old app, then download, install, and sign in to a new one. This is what you do when you are unhappy with speed, price, or features and want a fresh service.
Changing your VPN location or server means staying with the same provider but connecting through a different country. You open the app, find the server or location menu, and select a new option. Your account and app stay the same, only the exit point of your connection moves.
Most modern VPN services configure your operating system automatically through their own app. In our testing, manual network settings edits are rarely needed on Windows or Mac, so start with the provider's app before touching anything deeper.
Before you switch: cancel and remove your old VPN
If you are moving to a new provider, do a little housekeeping first. Skipping these steps is the most common reason a new VPN seems broken when the real problem is a leftover from the old one.
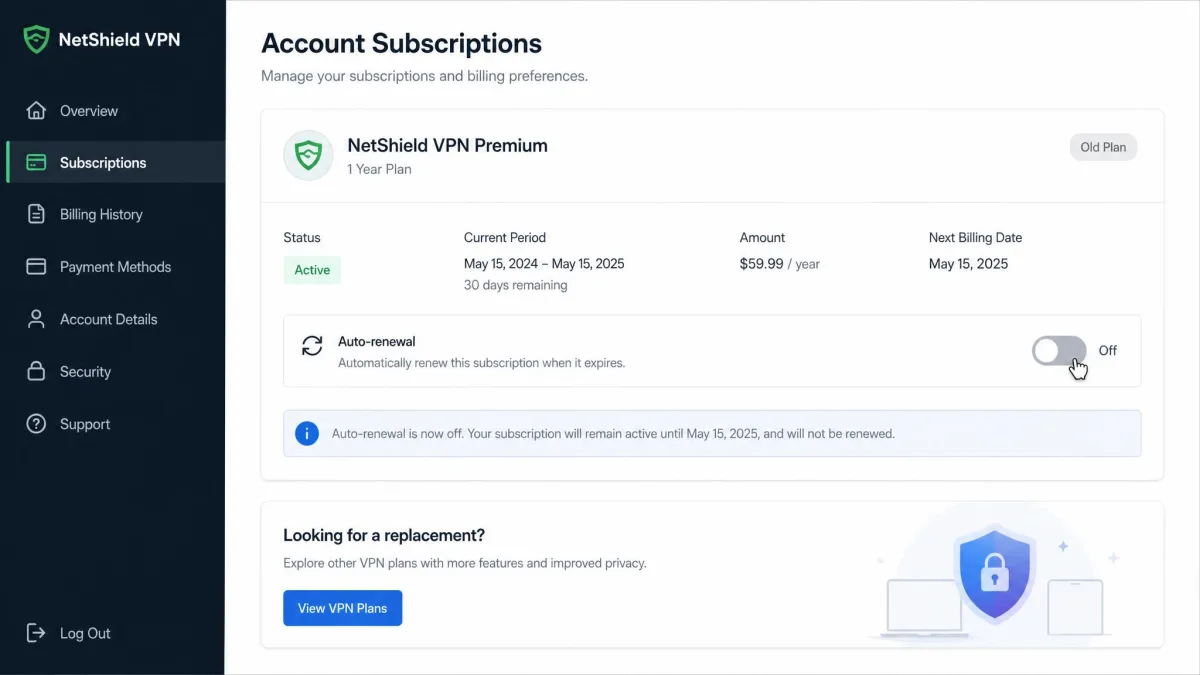
First, cancel or unsubscribe from your old paid plan. Canceling before you install the new VPN avoids being billed twice, an easy detail to forget when the old plan auto-renews quietly in the background. Log in to your old provider's account page or your app store subscriptions and turn off renewal there.
Next, uninstall the old app. A new VPN can appear connected while still leaking your real location if the old app or its configuration profile is left installed and running. On mobile, also check for and remove any VPN configuration profile the old app left behind in your device settings.
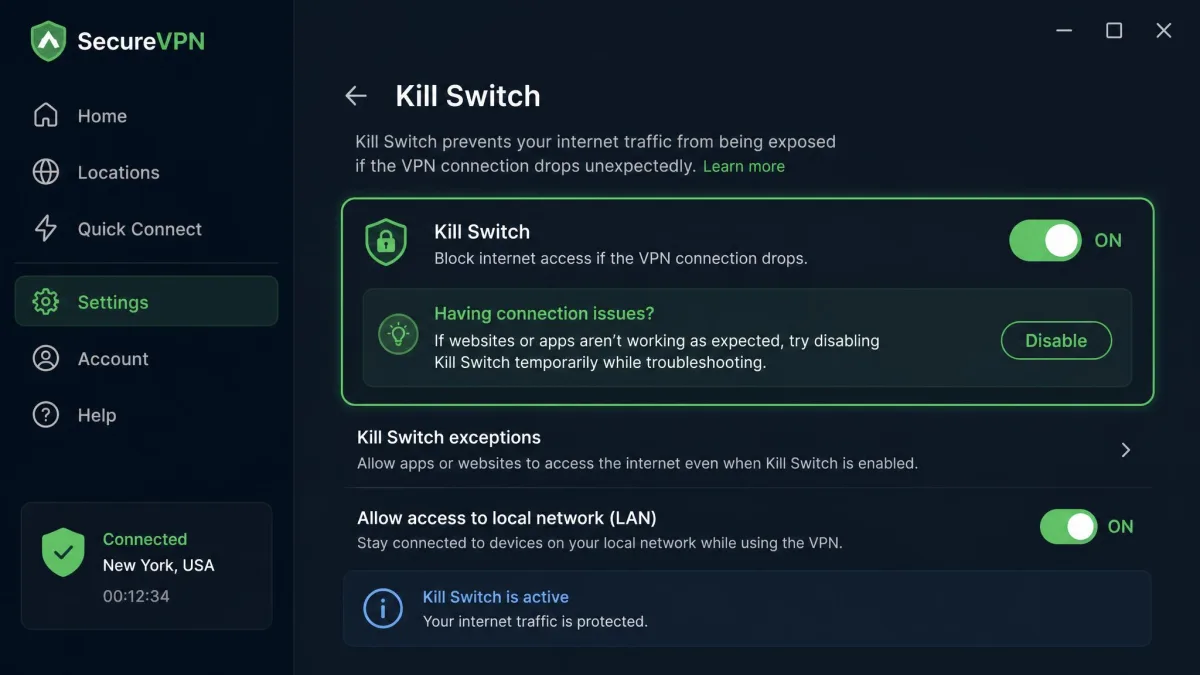
A kill switch left enabled in the old app can block all internet traffic once that app disconnects. This looks exactly like the new VPN failing, when the real cause is the leftover setting. Turn off the old kill switch before you uninstall.
The recommended order is simple: cancel the old paid plan, uninstall the old app, then install and sign in to the new one. Follow that sequence and most switching problems never appear.
How to change your VPN on Windows
On Windows, the fastest route is almost always the provider's own app, which handles the connection for you. Here is how to switch to a new service.
- Cancel your old subscription and uninstall the old VPN app from Settings, then Apps.
- Download the new VPN's Windows installer from its official website or the Microsoft Store.
- Run the installer and follow the on-screen steps to finish setup.
- Open the app, sign in to your account, or create a new one if you are a first-time user.
- Allow the VPN configuration prompt if Windows asks for permission.
- Click Connect, then open the location list to select a server.
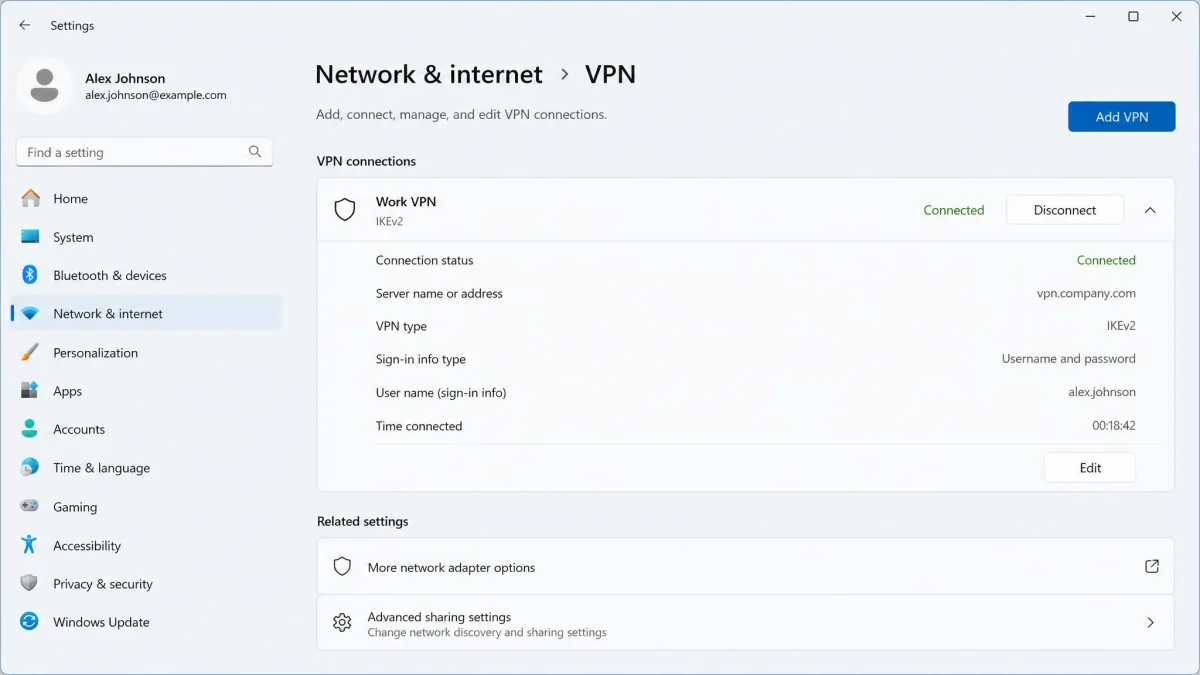
If you prefer to set up a connection by hand, Windows lets you change a VPN connection in Windows under Settings, then Network & internet, then VPN. Most people never need this, because the service configures it automatically, but it is there for manual profiles and work connections.
How to change your VPN on Mac (macOS)
The process on a Mac mirrors Windows closely. The app does the heavy lifting, and manual configuration is the exception rather than the rule.
- Cancel your old plan, then drag the old VPN app to the Trash to uninstall it.
- Download the new VPN app from the provider's website or the Mac App Store.
- Install the app and open it from your Applications folder.
- Sign in with your account details, or create an account if you do not have one.
- Approve the VPN configuration prompt in System Settings when macOS asks.
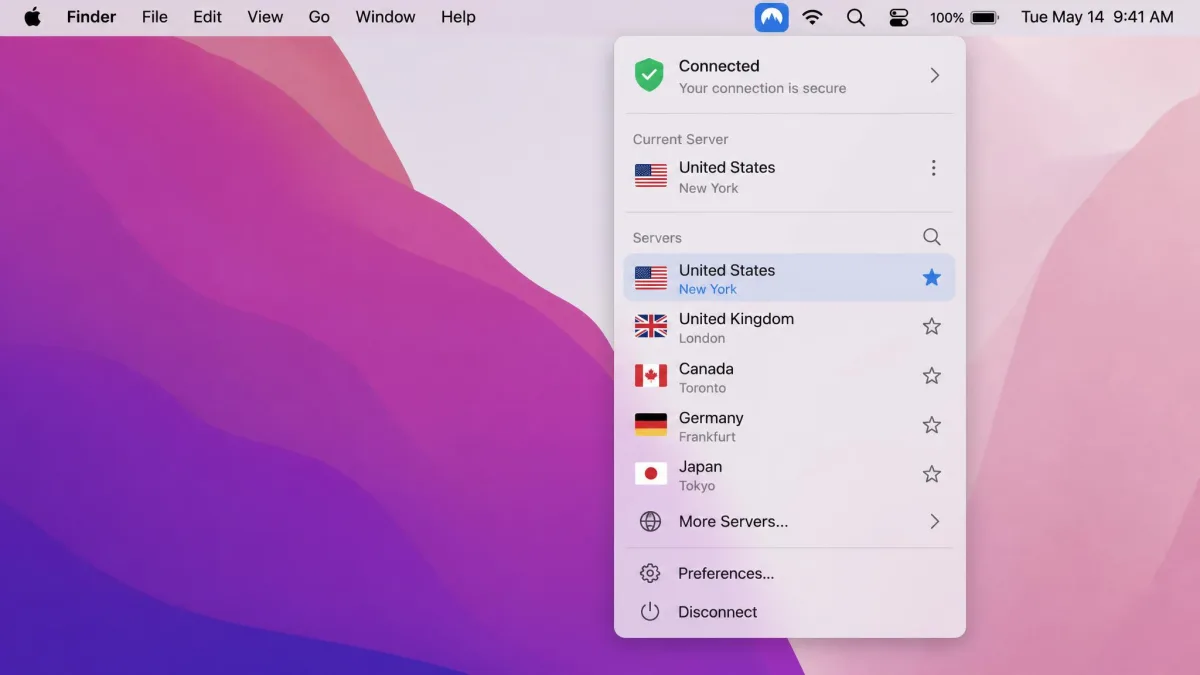
- Choose a server from the location menu and connect.
If you downloaded the app directly from the provider rather than the App Store, macOS may ask you to approve it in System Settings under Privacy & Security the first time you open it. This is normal and only happens once.
How to change your VPN on Android
On Android, everything runs through the app, and the store manages your subscription. Switching providers takes only a few minutes.
- Open the Google Play Store, find your old VPN, and cancel its subscription under your Play Store account.
- Uninstall the old app by pressing and holding its icon, then selecting Uninstall.
- Search the Play Store for your new VPN and tap Install to download it.
- Open the app and sign in, or create a new account to get started.
- Tap the connection prompt to allow Android to add the VPN configuration.
- Select a server or country from the app's list, then connect.
How to change your VPN on iPhone (iOS)
Changing your VPN on an iPhone follows the same pattern, with one extra detail: iOS stores a VPN configuration profile that you should clean up when you remove an old service.
- Cancel the old subscription in Settings, then your Apple Account, then Subscriptions.
- Delete the old VPN app by pressing and holding its icon and choosing Remove App.
- Open Settings, then General, then VPN & Device Management, and remove any leftover VPN profile from the old service.
- Download your new VPN from the App Store and open it.
- Sign in or create an account, then tap Allow when iOS asks to add a VPN configuration.
- Pick your server country in the app and connect.
On iPhone, that leftover configuration profile is the usual culprit when a fresh VPN behaves oddly. Removing it under VPN & Device Management clears the slate before your new app takes over.
How to change your VPN on a router
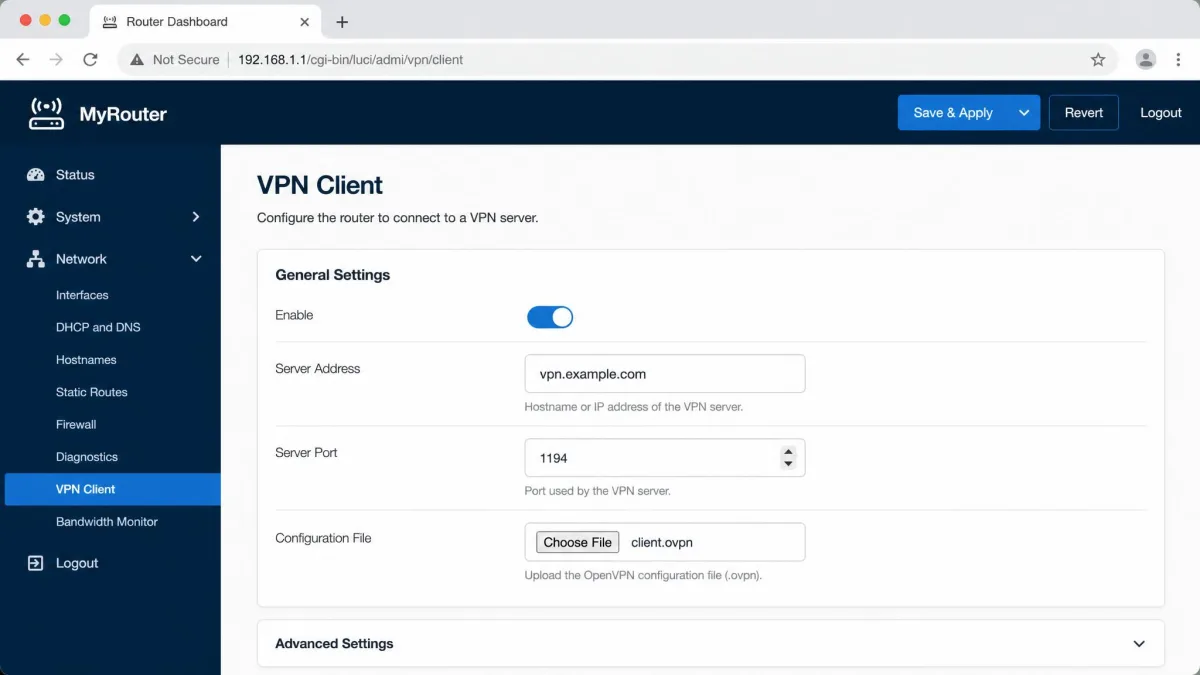
Setting a VPN on your router protects every device on your network at once, which is handy for smart TVs and consoles that cannot run a VPN app. The exact steps depend on your router, but the shape of the process is consistent.
- Confirm your router supports VPN client connections, and check your provider's list of compatible models.
- Log in to your router's admin page, usually by typing its IP address into a browser.
- Find the VPN client section in the router settings, often under Advanced or Security.
- Enter the configuration details or upload the config file your VPN provider supplies.
- Choose the server location you want and save the connection.
- Reconnect your devices to the network, which now routes through the new VPN.
Router VPN setups vary widely between brands, so follow the specific setup guide from your VPN provider for your exact model. Providers like NordVPN and ExpressVPN publish router walkthroughs with the correct config files and server addresses.
How to change your VPN location or server country
If you already have a service you like and only want to appear in a different country, this is the easy part. You do not need a new account or app.
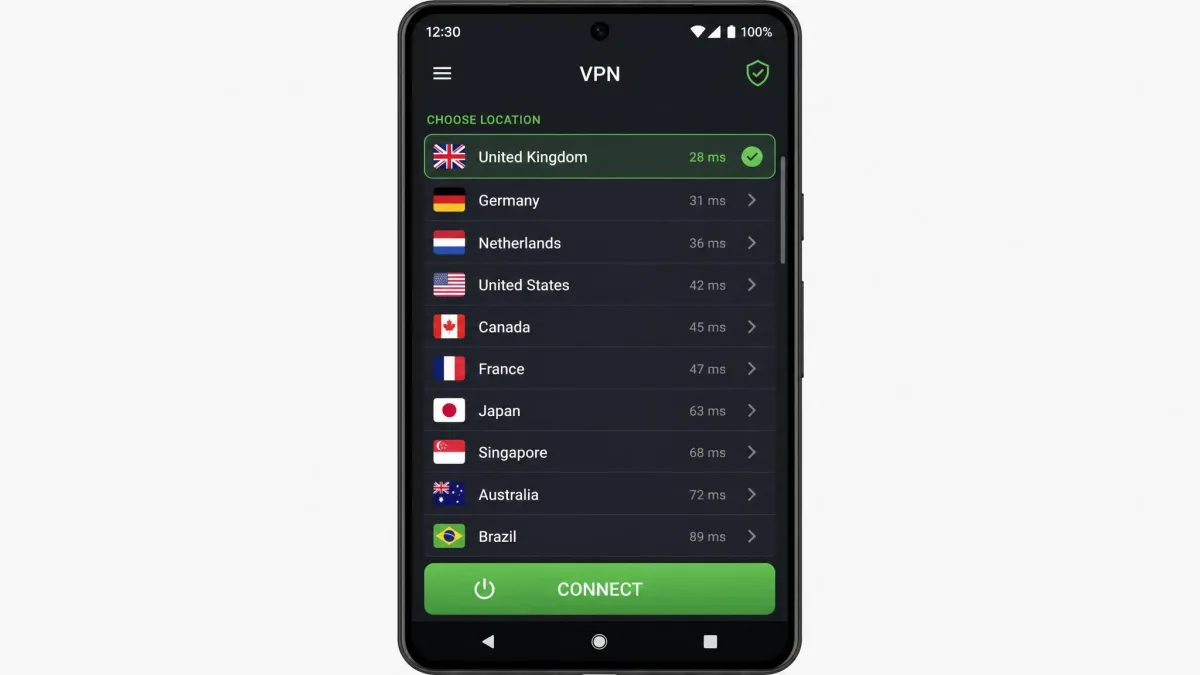
- Open your VPN app and sign in if you are not already connected.
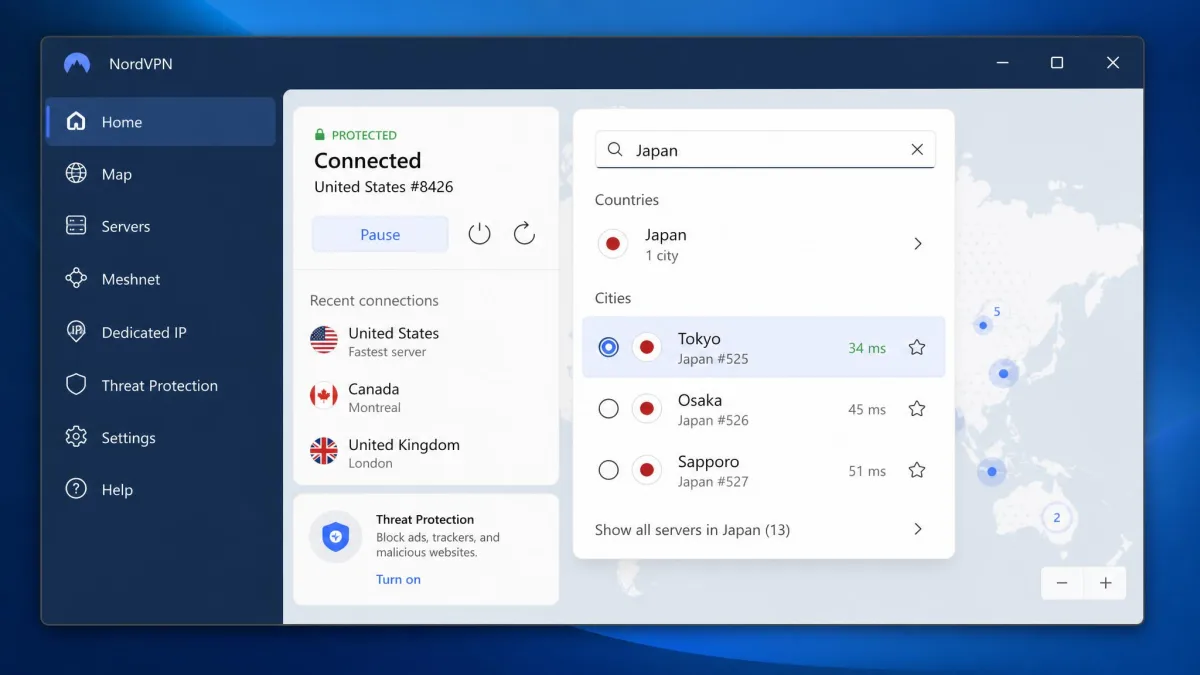
- Find the server list, location menu, or map view in the app.
- Browse or search for the country you want to connect through.
- Select that server, and the app reroutes and encrypts your traffic through it.
- Wait for the status to show connected before you start browsing.
One thing to watch: auto-connect defaults usually route you to the fastest available server rather than a specific country. To land in a particular location, open the server list and choose it manually instead of relying on the quick-connect button.
How to confirm your VPN (IP/location) changed
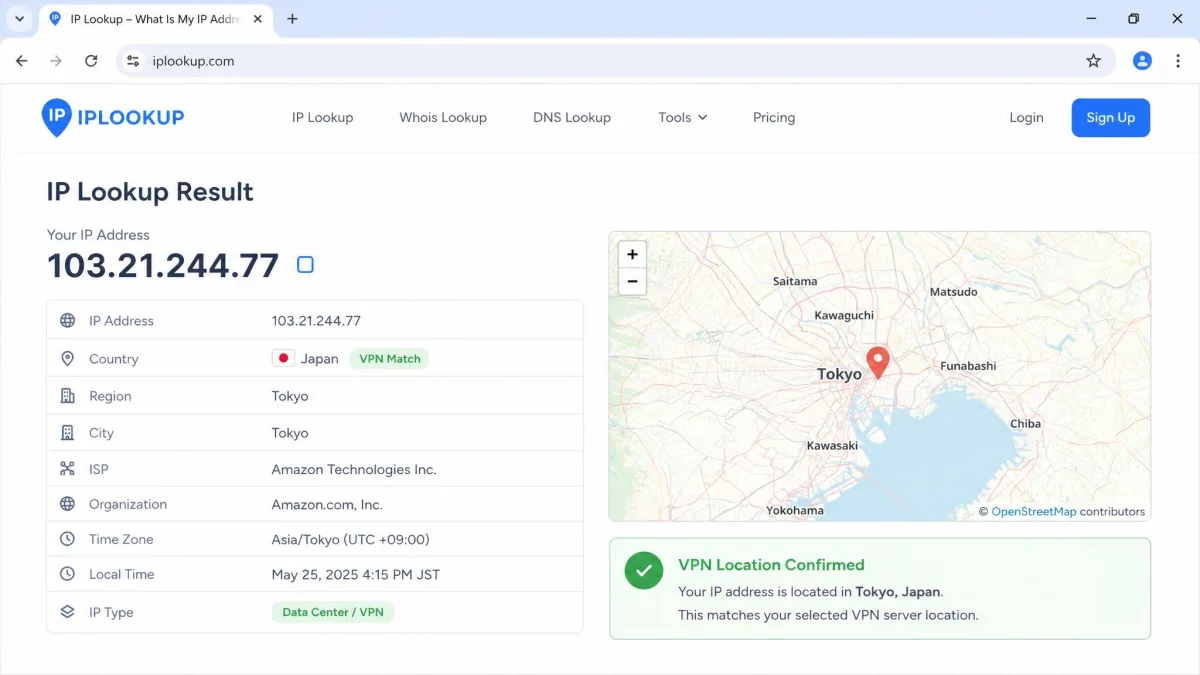
Do not assume the switch worked just because the app says connected. Confirming the change takes one extra step that most people skip, and it is the only way to be sure your real location is hidden.
Connect to your chosen server, then open a browser and check your IP address using an IP-lookup site. The location shown should match the server country you selected, not your real one. If the two match, your VPN is working as intended.
For a more thorough check, run a leak test at a site like ipleak.net, which reports both your IP address and any DNS leaks. If your real country still shows up, an old app or profile is probably still active in the background.
Run the IP check every time you switch providers, not just the first time. It takes fifteen seconds and catches the leaks that a "connected" label alone will hide.
New VPN not working? Troubleshooting tips
When a freshly installed VPN refuses to connect or leaks your location, the cause is almost always something small. Work through these checks in order.
- Old app still running. Fully quit and uninstall your previous VPN, since two VPNs fighting for the same connection will break both.
- Leftover kill switch. A kill switch enabled in the old app can block all traffic once it disconnects. Disable it in the old app, or reinstall and turn it off before removing the app.
- Stale configuration profile. On iPhone and Mac, remove old VPN profiles in your device settings so the new app can install its own.
- Wrong server or overloaded location. Try a different server in the same country if one refuses to connect or feels slow.
- Permissions not granted. Reopen the app and accept the VPN configuration prompt your operating system shows on first launch.
- Account not active. Confirm your new subscription is active and that you are signed in with the correct account.
If your internet stops entirely right after switching, suspect a kill switch before anything else. Turning it off in both the old and new app restores your connection in most cases we have seen.
How to choose the right new VPN service
If you are switching because your current VPN falls short, pick the replacement on the features that actually matter. We weigh speed, a working kill switch, server reach, independent audits, and honest pricing before any VPN earns a recommendation. Free trials and money-back guarantees let you test a service on your own devices before you commit.
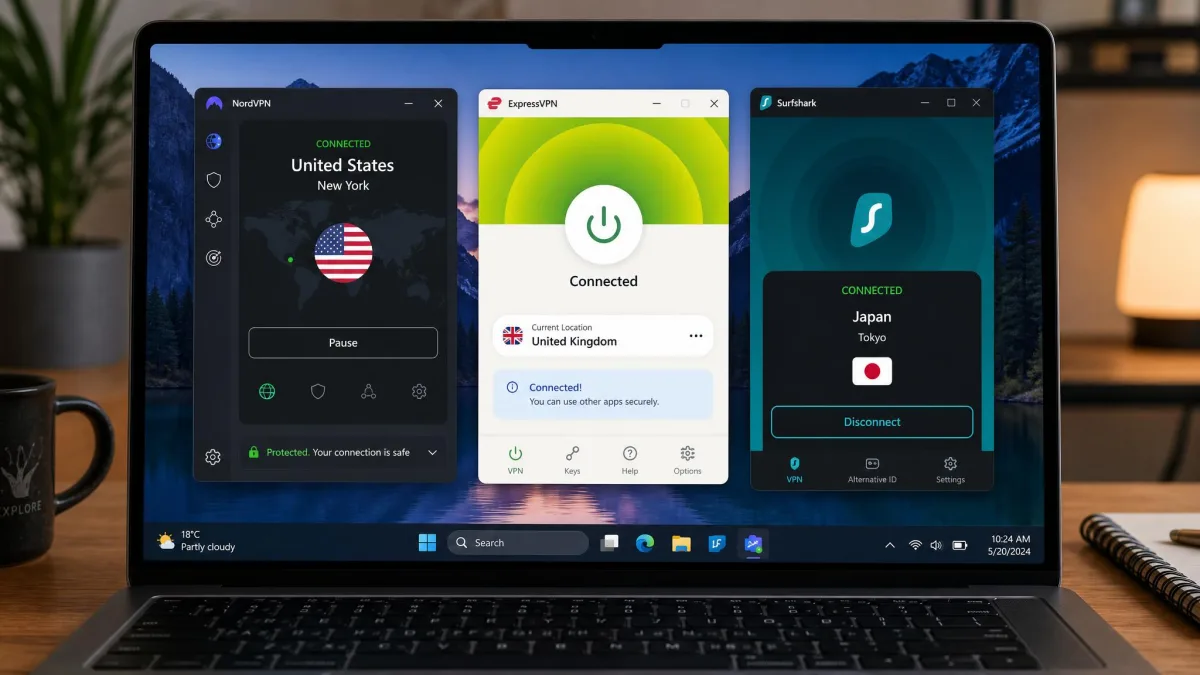
Three providers come up most often when readers ask us for a new service. Proton VPN stands out for privacy-minded users who want a genuinely free option, and you can try Proton VPN at no cost with unlimited data and no payment details required. NordVPN and ExpressVPN are the paid heavyweights, with kill switches, wide server networks, and apps for every platform including routers.
| Provider | Free tier | Money-back guarantee | Lowest advertised rate | Kill switch |
|---|---|---|---|---|
 |
No | 30-day | Around $3.49/mo (2-yr intro) | Yes |
 |
No | 30-day | Around $2.49/mo (2-yr intro) | Yes |
 |
Yes (unlimited data, limited locations) | 30-day | Around $2.99/mo (2-yr intro) | Yes |
A note on those prices: the lowest advertised rates are first-term promotional pricing on two-year plans, and they renew higher. NordVPN's no-commitment monthly plan runs about $14.99 a month according to current NordVPN pricing roundups, so read the renewal terms before you commit. ExpressVPN splits its service into Basic, Advanced, and Pro tiers with rates that range widely by term, and Proton VPN's paid plans start low on longer commitments.
Whichever you choose, install it, run the IP check above, and give it a few days of normal use. A VPN that stays fast and leak-free through daily browsing is the one worth keeping.