You turned on your VPN, so your browsing should be private, yet your ISP may still see every site you look up. DNS leak protection is the VPN feature that stops that from happening. It forces your DNS queries through the encrypted tunnel to the VPN's own DNS servers, instead of letting them slip out to your internet provider.
That single feature is the difference between a VPN that actually hides your activity and one that only looks like it does. Below, we explain what a DNS leak is, why it matters, how to test for one in a couple of minutes, and how to fix it for good.
What Is a DNS Leak? (Quick Definition)
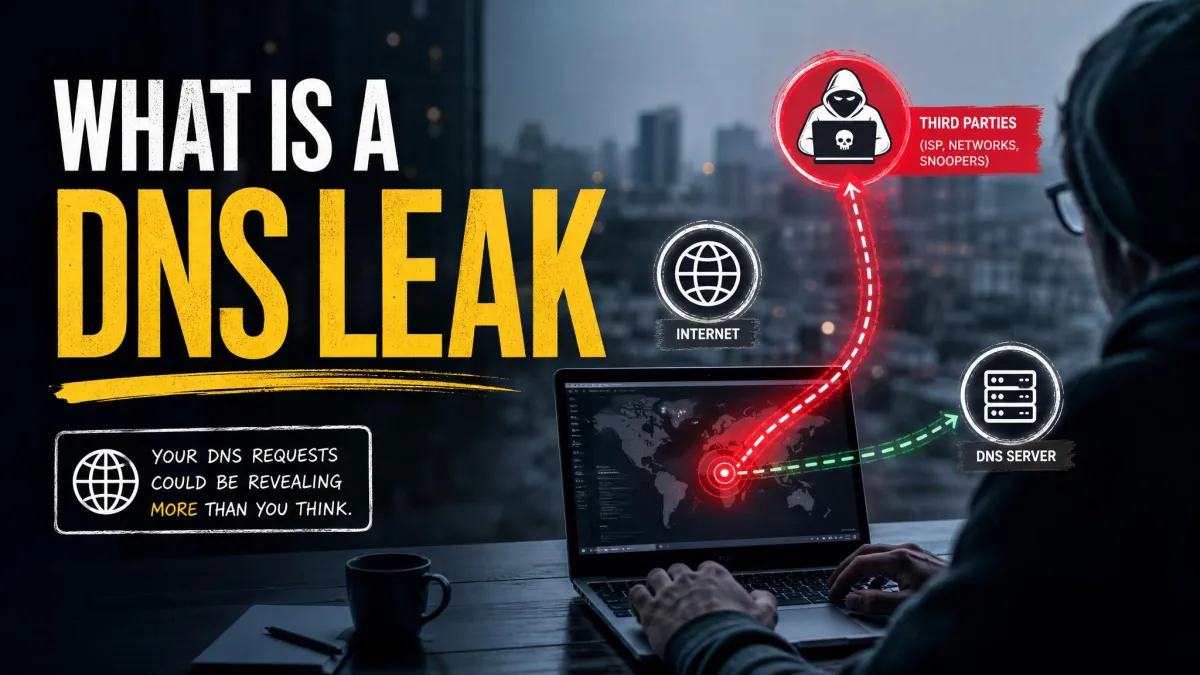
A DNS leak is a security flaw where your DNS requests reach your ISP's DNS servers even though you are connected to a VPN. Those requests are supposed to travel inside the secure tunnel. When they escape it, they reveal which websites you visit.
The result is quietly misleading. Your VPN still shows a connected status and hides your IP address, but the log of your browsing goes straight to your provider. The privacy you thought you had is only partial.
How DNS Works (and Where It Leaks)
Every time you type a web address, your device asks a DNS resolver to translate that name into an IP address. This lookup is the internet's phone book. If you want the full background, Cloudflare has a clear primer on how DNS resolution works.
The problem is the protocol itself. Standard DNS runs in clear text over port 53, so any observer on the network path can read your queries. Your ISP sits right on that path.
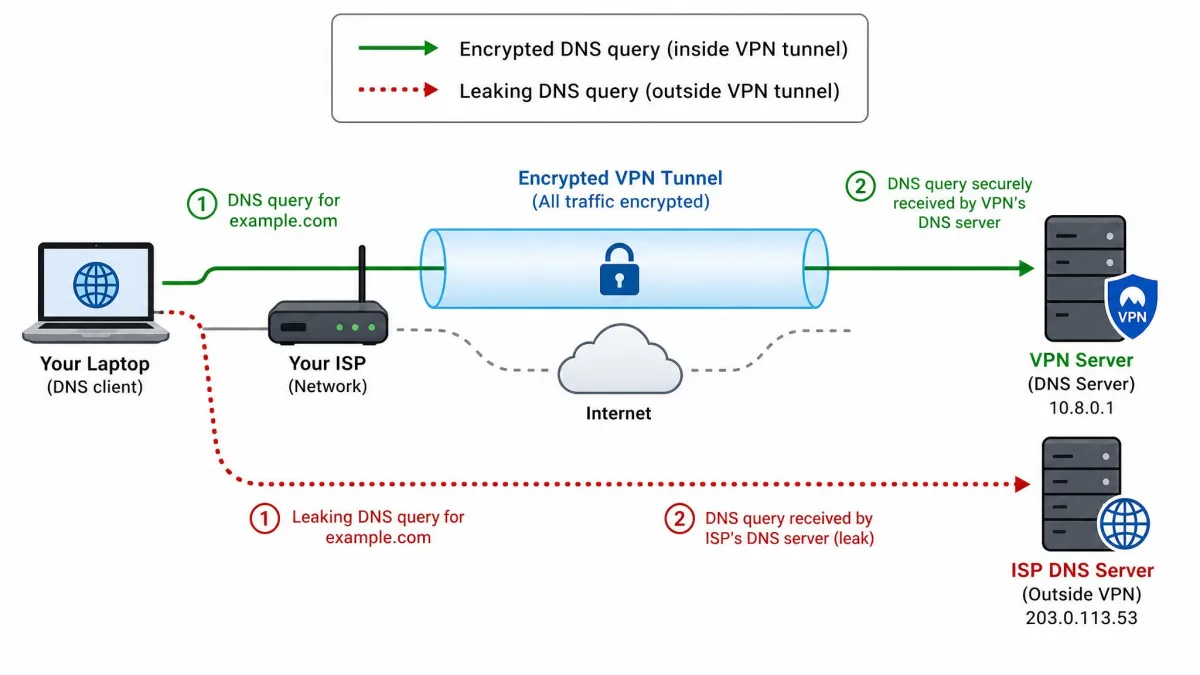
A VPN is meant to close this gap by carrying your DNS requests inside its encrypted tunnel. A leak happens when a request skips the tunnel and travels to a resolver outside it, usually your ISP's default server. The lookup completes normally, so you never notice anything is wrong.
What Is DNS Leak Protection?
DNS leak protection is a VPN feature that forces your DNS queries through the encrypted tunnel to the VPN's own DNS servers, rather than the ones your ISP assigned. When it works, the only party resolving your lookups is the VPN, so there is nothing for your provider to log.
Think of it as a seal on the tunnel. Without it, DNS requests can find their own way out through the side door. With it, they have only one path to take.
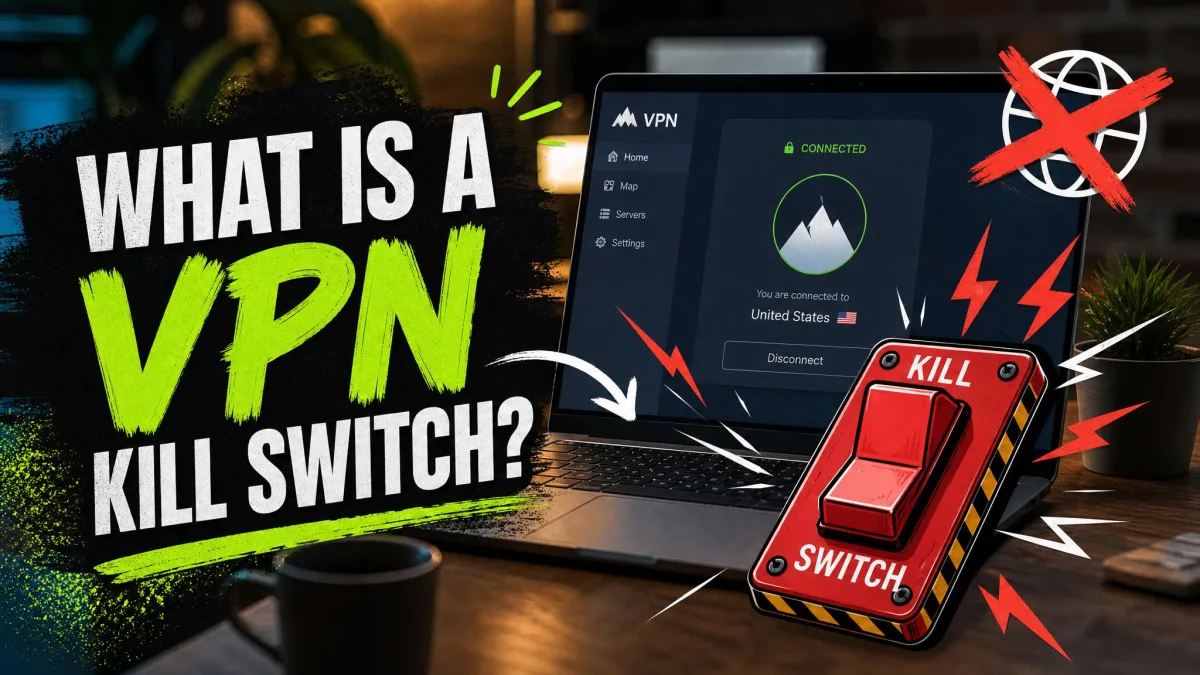
DNS leak protection and a kill switch solve different problems. Leak protection keeps DNS inside the tunnel while the VPN is up. A kill switch cuts your traffic if the VPN drops, so nothing falls back to your ISP mid-session.
How DNS Leak Protection Works
The feature relies on three mechanisms working together. First, forced tunneling: the VPN routes all DNS traffic to its own network interface, so no query can address a different resolver. Second, dedicated resolvers: the VPN runs its own DNS servers and answers your lookups itself. Third, firewall rules: while the VPN is active, the software blocks DNS from leaving the device by any other route.
Together, these close the common escape hatches. A query has nowhere to go except the tunnel.
What Causes DNS Leaks
Leaks are rarely random. They come from a handful of predictable gaps between your operating system, your network, and the VPN.
Misconfigured VPN
The most basic cause is a VPN that never reroutes DNS in the first place. If the client fails to point your lookups at its private servers, your device keeps using the ISP's default DNS. Everything appears connected, but the DNS path was never changed.
This is common on free and budget VPNs, which often skip proper DNS configuration to save on infrastructure.
IPv6 and Teredo
Most VPNs handle only IPv4 traffic. If your connection also uses IPv6 and the VPN ignores it, those IPv6 DNS requests bypass the tunnel and leak. Leaving IPv6 enabled on an IPv4-only VPN keeps producing leaks until you disable it.
A related culprit is Microsoft's Teredo tunneling, a transition technology that carries IPv6 over IPv4 networks. Teredo can take precedence over the VPN's tunnel and route DNS around it.
Transparent DNS Proxies
Some ISPs deploy transparent DNS proxies. These intercept any DNS traffic on port 53 and force it back to the provider's own servers, no matter what resolver you configured. You set a custom DNS, and the ISP quietly overrides it.
On Windows there is a fourth gap worth naming. Smart Multi-Homed Name Resolution, present since Windows 8, sends DNS queries across every network interface at once and accepts the first reply. That behavior can pull a response from outside the VPN.
Why DNS Leaks Are Dangerous (Privacy Risks)
The immediate risk is exposure. A leak hands your browsing history and interests to your ISP and any third parties it shares data with. The whole point of the VPN was to keep that private.
The record is more revealing than it sounds. Your DNS lookups map the sites you visit, the services you use, and often the topics you care about. That profile has commercial value and can be sold or subpoenaed.
There is a security angle too. An attacker who sees or controls your DNS can redirect you to malicious lookalike sites or feed you targeted phishing. A leak turns a privacy problem into an opening for abuse.
A leak is easy to miss because nothing breaks. Pages load normally and the VPN still says connected. The only sign is a leak test, which is why checking matters more than trusting the status icon.
How to Test for a DNS Leak (Step-by-Step)
Testing takes about two minutes, and the method is simple. You can run a free DNS leak test from any browser.
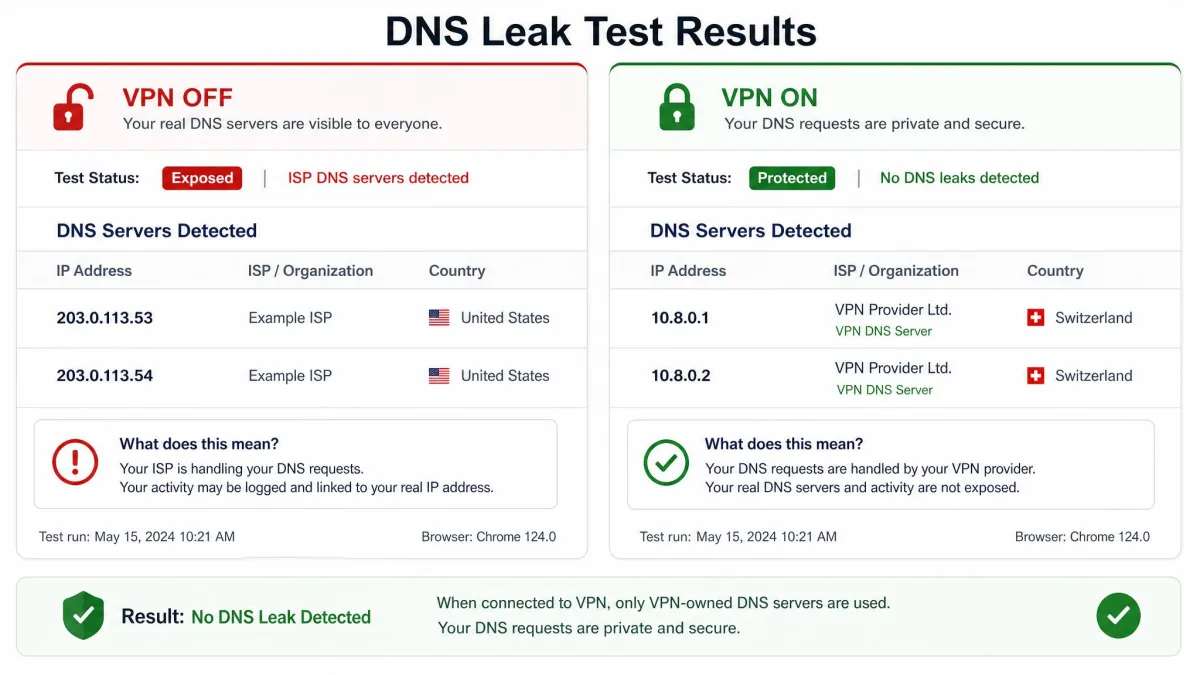
- Disconnect your VPN. Load the test and note the DNS server IPs and locations it reports. These belong to your ISP.
- Connect your VPN and wait for it to confirm the connection.
- Reload the test and run it again. Compare the new results against the first run.
- Read the outcome. If the DNS servers now belong to your VPN provider, you are protected. If any of the original ISP servers still appear, DNS is leaking.
In our own checks, running the test twice this way is the fastest way to spot trouble. When the same DNS server IPs turn up in both the off and on runs, DNS is escaping the tunnel. A leaking connection will show your ISP's own servers even while the VPN reports as connected.
Most test tools offer a standard test and an extended test. The extended test queries more DNS servers across multiple rounds for a more thorough result, which is worth running if the standard test looks clean but you want to be sure.
Signs Your DNS Might Be Leaking
You will not get an error message, but a few patterns hint at a leak before you test. Geo-restricted content still recognizes your real country even with the VPN on. Ads or search results reflect your true location rather than the server you picked.
The clearest tell comes from a test itself: your ISP's DNS servers appearing in the results while the VPN is connected. In our experience, a brief VPN disconnect is another common trigger, because the operating system can fall back to the default ISP DNS mid-session. That is exactly why a kill switch belongs alongside leak protection.
How to Prevent and Fix DNS Leaks
Most leaks clear up with one of the fixes below. Work through them in order, retesting after each.
Choose a VPN With Built-In DNS Leak Protection
The simplest fix is the right tool. A VPN with dedicated DNS servers and a leak protection toggle handles this for you. In practice, most leaks disappear the moment you enable that toggle or switch the VPN's DNS servers.

Disable IPv6
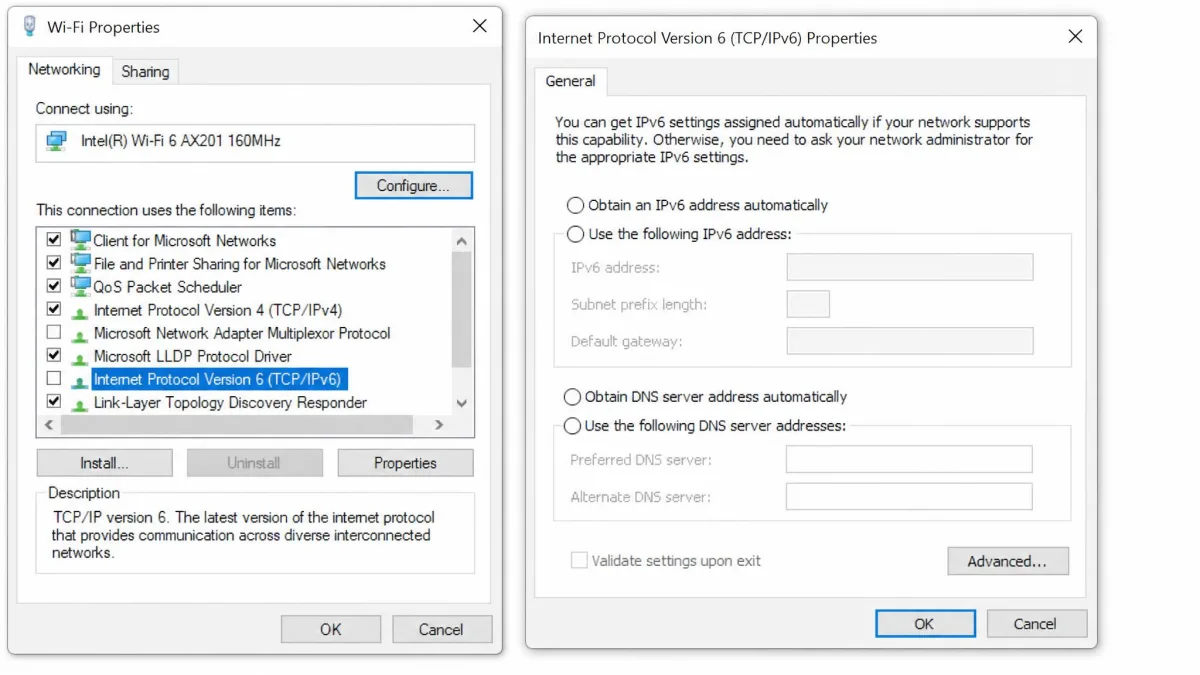
If your VPN handles only IPv4, IPv6 is a recurring source of leaks. On Windows, set the IPv6 preferred DNS server field to :: (two colons), or disable IPv6 on the network adapter entirely. Either step stops IPv6 DNS from wandering outside the tunnel.
Use DoH / DoT or a Secure DNS Resolver
Encrypting DNS itself adds a strong second layer. DNS over HTTPS (DoH) and DNS over TLS (DoT) wrap your queries so on-path observers like your ISP cannot read them.
One caution here. A browser's built-in secure DNS can quietly override your VPN's DNS and keep triggering leaks. If tests still fail after everything else, switch off "Use secure DNS" in your browser's privacy settings and retest. For OpenVPN users, adding the block-outside-dns directive to the config stops Windows from using DNS outside the tunnel.
Flush Your DNS Cache
Your device caches DNS answers, so old entries can linger after you fix a leak. Clear them before your final test. On Windows, run ipconfig /flushdns from Command Prompt. On macOS, run sudo killall -HUP mDNSResponder.
Fix one thing at a time and rerun the leak test after each change. That way you learn which gap was actually causing the leak instead of guessing.
Do All VPNs Include DNS Leak Protection?
No. DNS leak protection is common among reputable paid VPNs, but it is not universal. Free and budget services frequently ship without proper DNS configuration, and they are the ones most likely to fail a leak test out of the box.
The scale of the problem is worth noting. One study found that 84% of 283 VPN apps on the Google Play Store leaked DNS, though that figure reflects the specific app set tested rather than VPNs as a whole. The lesson is simple: never assume a VPN protects your DNS. Test it yourself.
DNS Leak vs IP Leak: What's the Difference?
People often confuse the two, but they expose different things. A DNS leak reveals which sites you look up. An IP leak reveals your real IP address and location. Here is how they compare.
| Aspect | DNS Leak | IP Leak |
|---|---|---|
| What leaks | Which domains you look up, sent to the ISP's resolver | Your real IP address and true location, exposed to sites you visit |
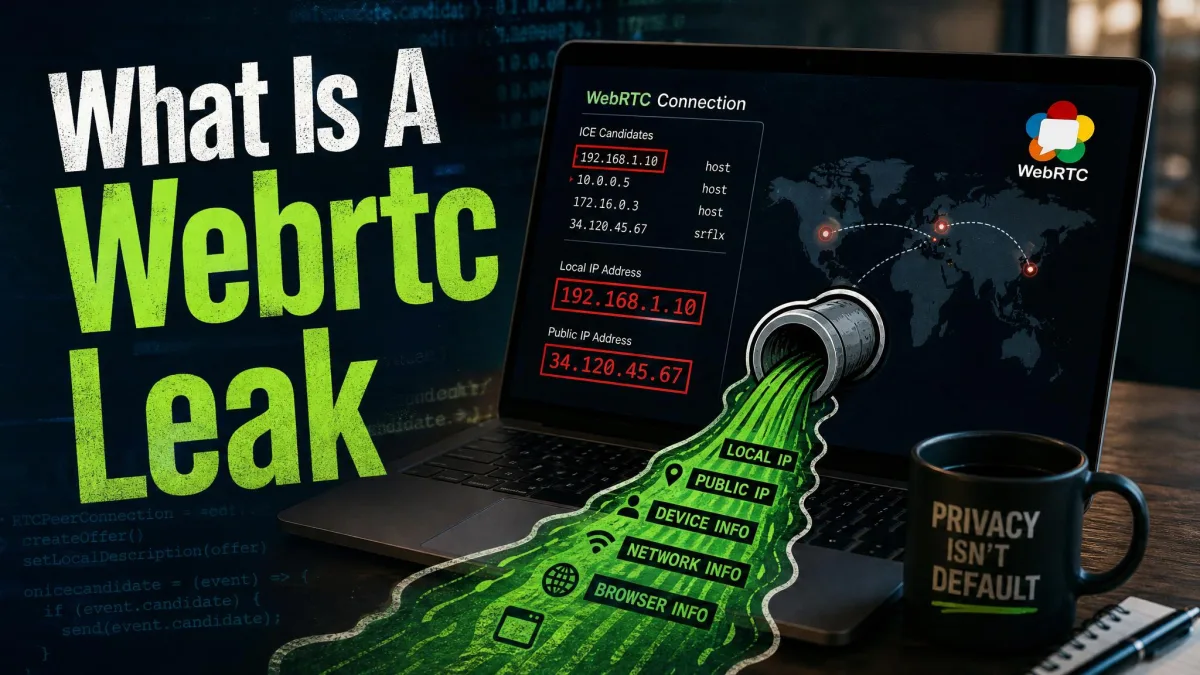
| Cause | DNS queries escape the VPN tunnel via IPv6, Teredo, a transparent proxy, or misconfig | VPN drops without a kill switch, or WebRTC and IPv6 expose the real IP |
| How to detect | Run a DNS leak test; ISP DNS servers appear while connected | Check the shown IP against your VPN server IP; run a WebRTC or IP leak test |
| How to fix | Enable DNS leak protection, use VPN DNS servers, disable IPv6, flush DNS | Enable a kill switch, disable WebRTC in the browser, disable IPv6 |
The fixes overlap on IPv6, which sits behind both problems. That is why disabling IPv6 shows up as advice for either leak.
Frequently Asked Questions
If my VPN says "connected," how can DNS still leak?
Who is most at risk from a DNS leak, and is it worse than an IP leak?
Does a VPN prevent DNS leaks?
How do I test if my DNS is leaking?
Does DoH prevent DNS leaks?
Is DNS leak protection necessary?
Bottom Line
DNS leak protection is the feature that keeps a VPN honest. It forces every DNS query through the encrypted tunnel to the VPN's own resolvers, so your ISP never sees the sites you visit. Without it, a VPN can hide your address while quietly exposing your activity.
The good news is that checking is quick and fixing is usually simple. Run a leak test, disable IPv6 if needed, turn off your browser's secure DNS, and choose a VPN that ships with leak protection built in. A two-minute test today is cheaper than months of leaked browsing you never knew about.